Thank you Trenton Farmers’ Market.
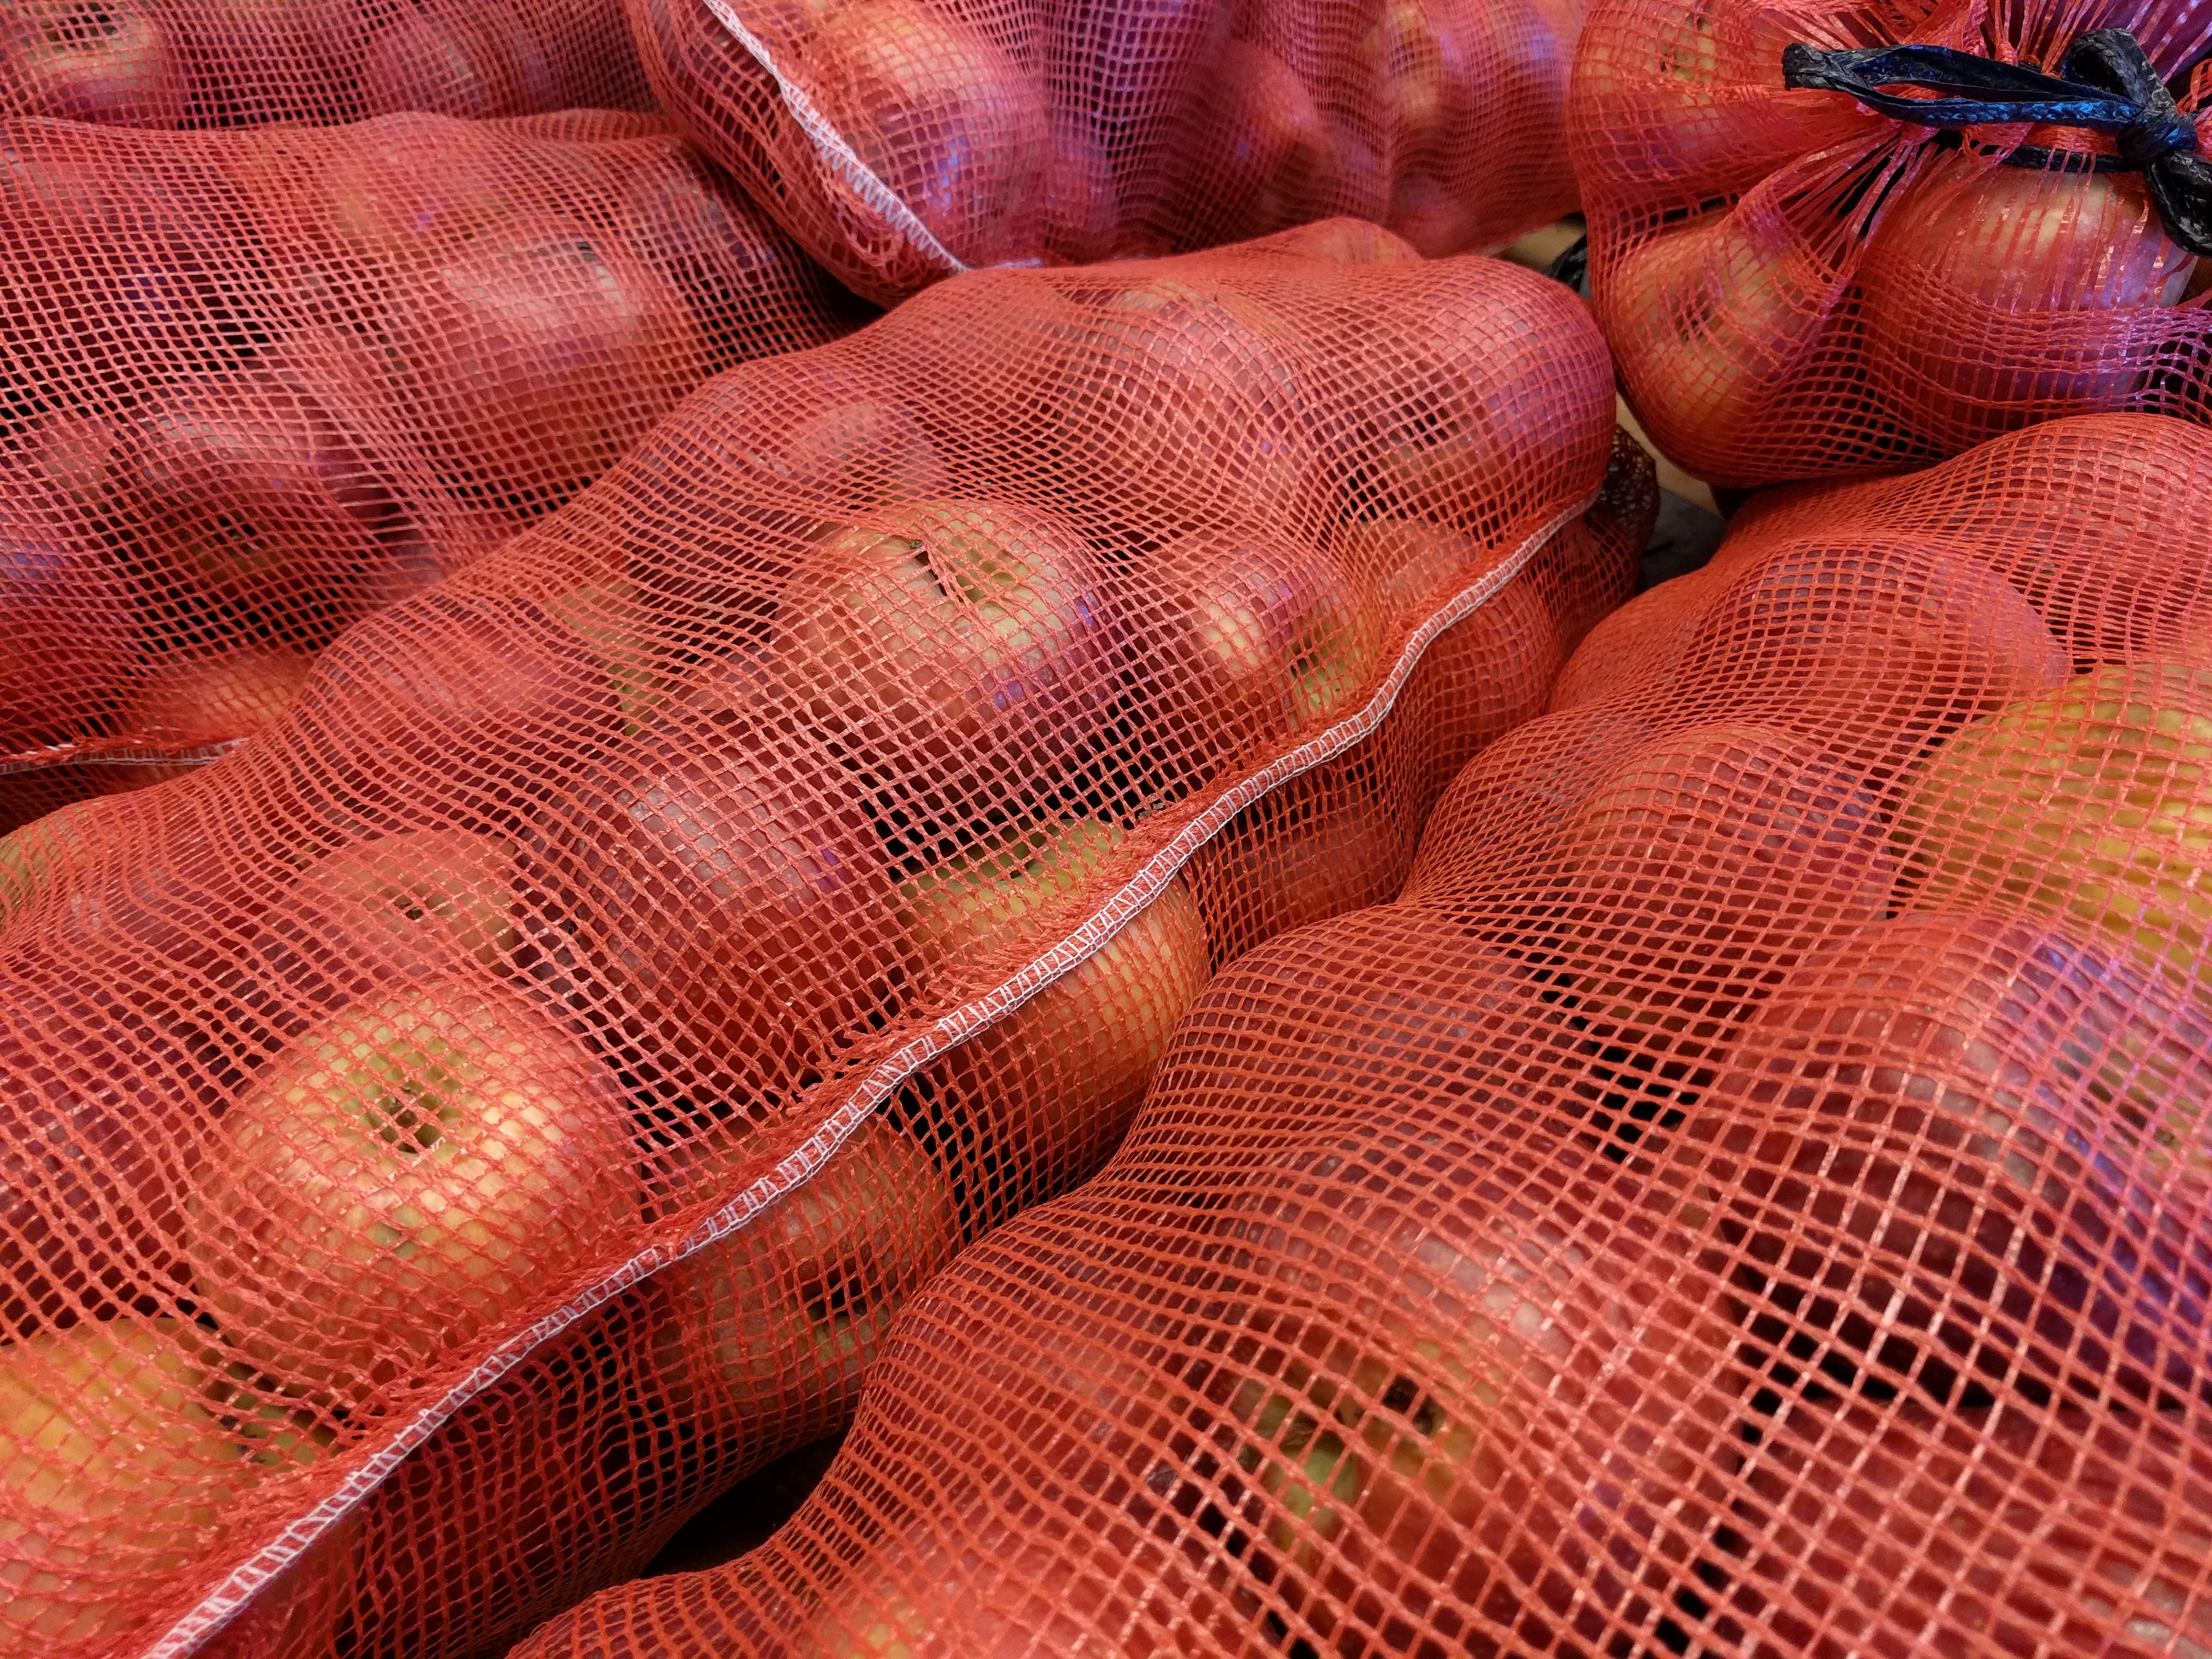
Where else can you buy a bag of apples for $6 the day before Thanksgiving?
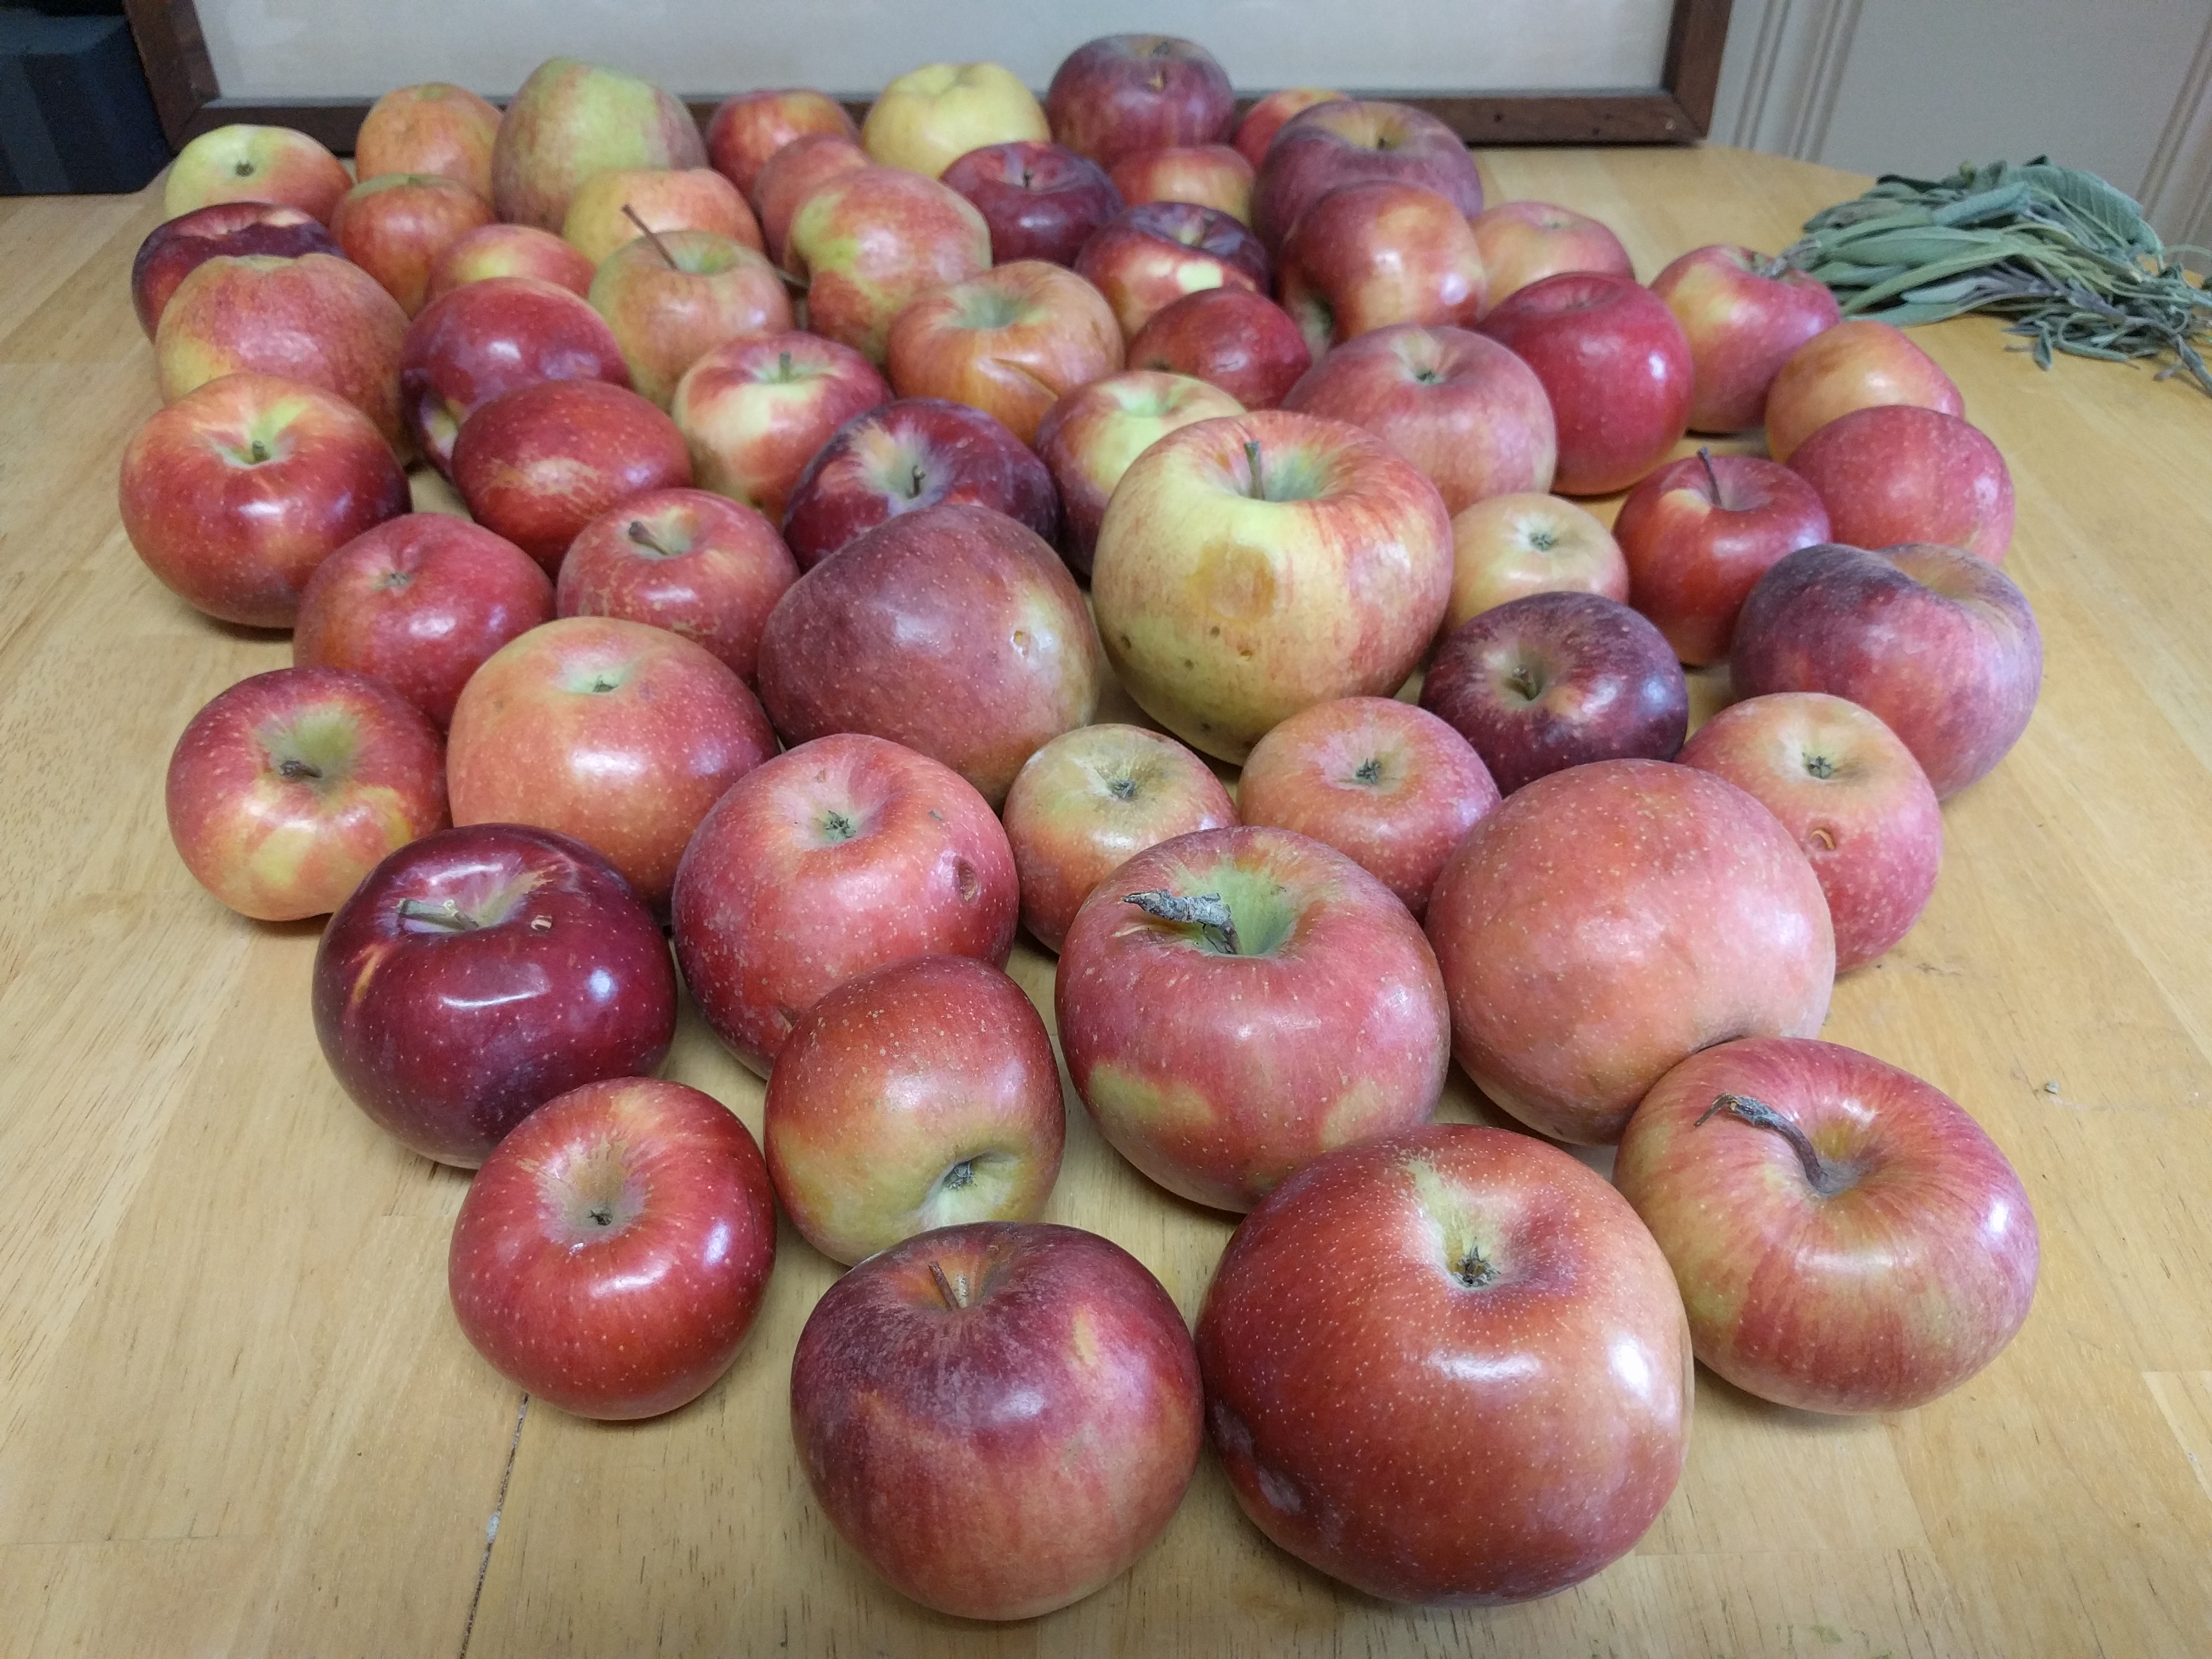
There were also 55 apples in the bag, but who’s counting.
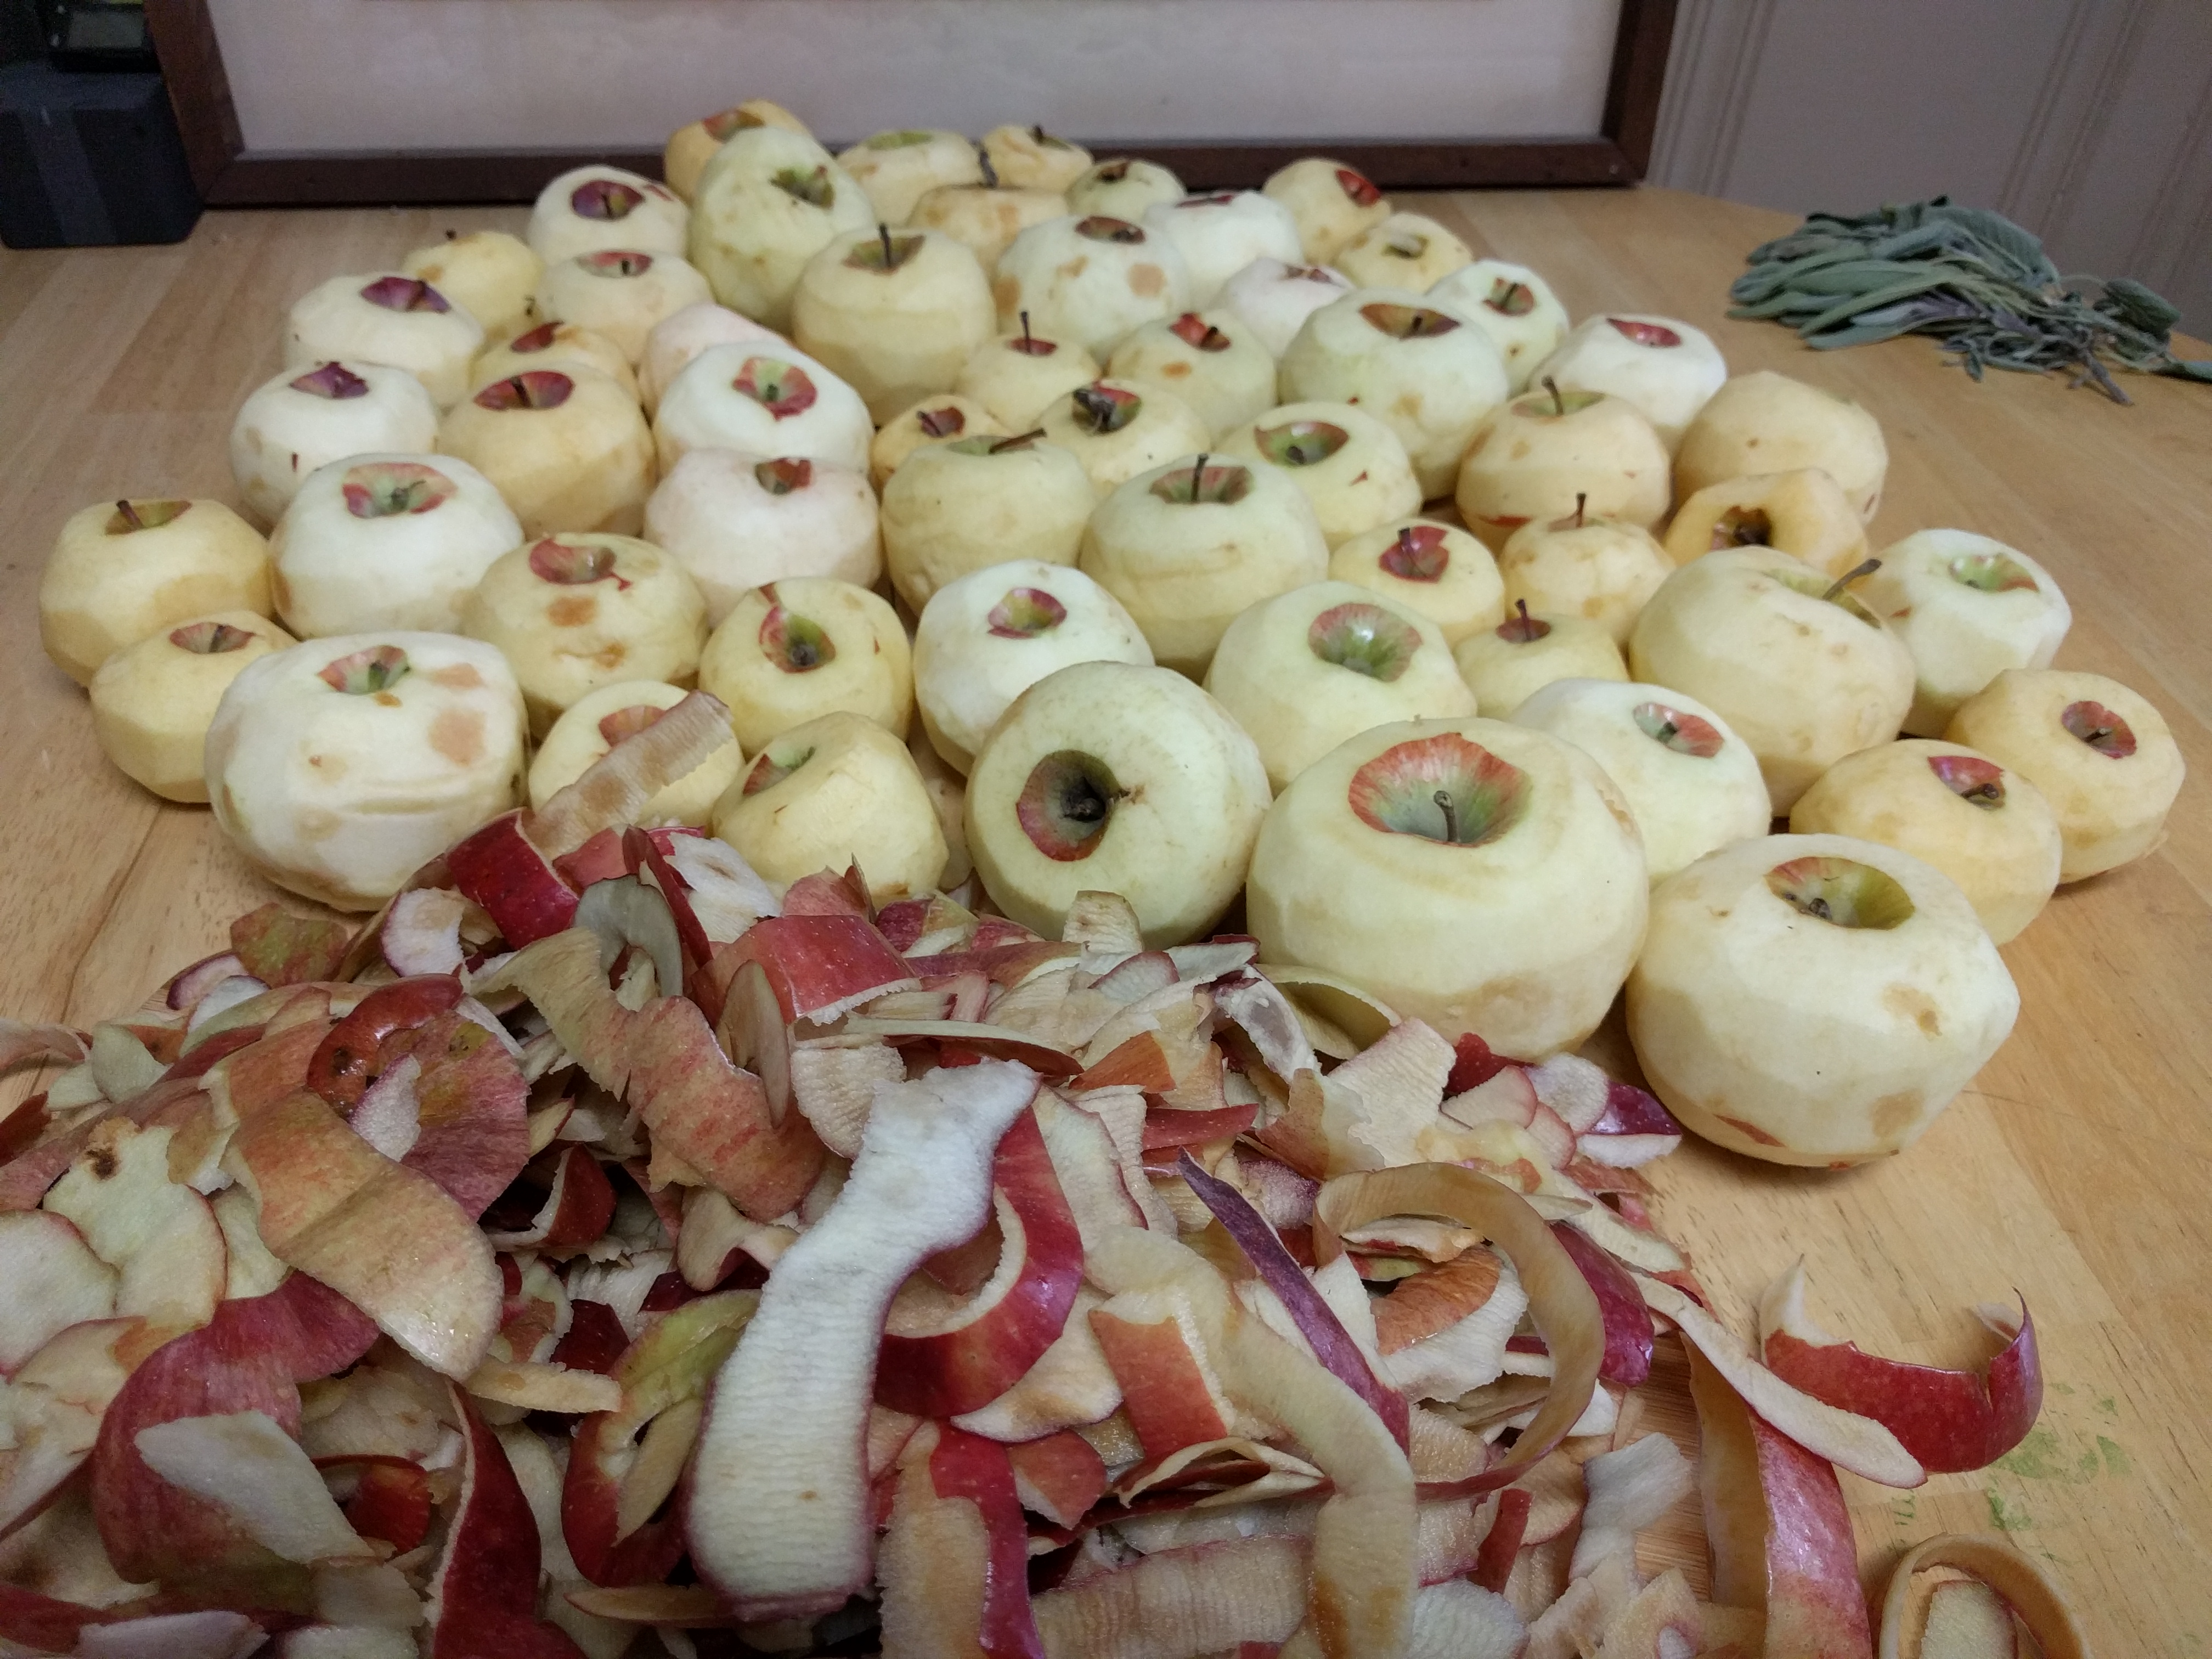
It took me exactly 30 minutes to peel the 55 apples, which means I peeled about 1.8 apples/minute, but again, numbers.
What is important is that with this many apples, you can make a fair amount of applesauce.

How much applesauce, you might ask? Ah yes, another number!
Several numbers actually. By the time I had finished making the applesauce, it was time to eat Thanksgiving dinner at my parents’ house. So I borrowed a tape measure from my mom and made a few quick measurements. And then a week later, I did the calculations, and made some new art math.
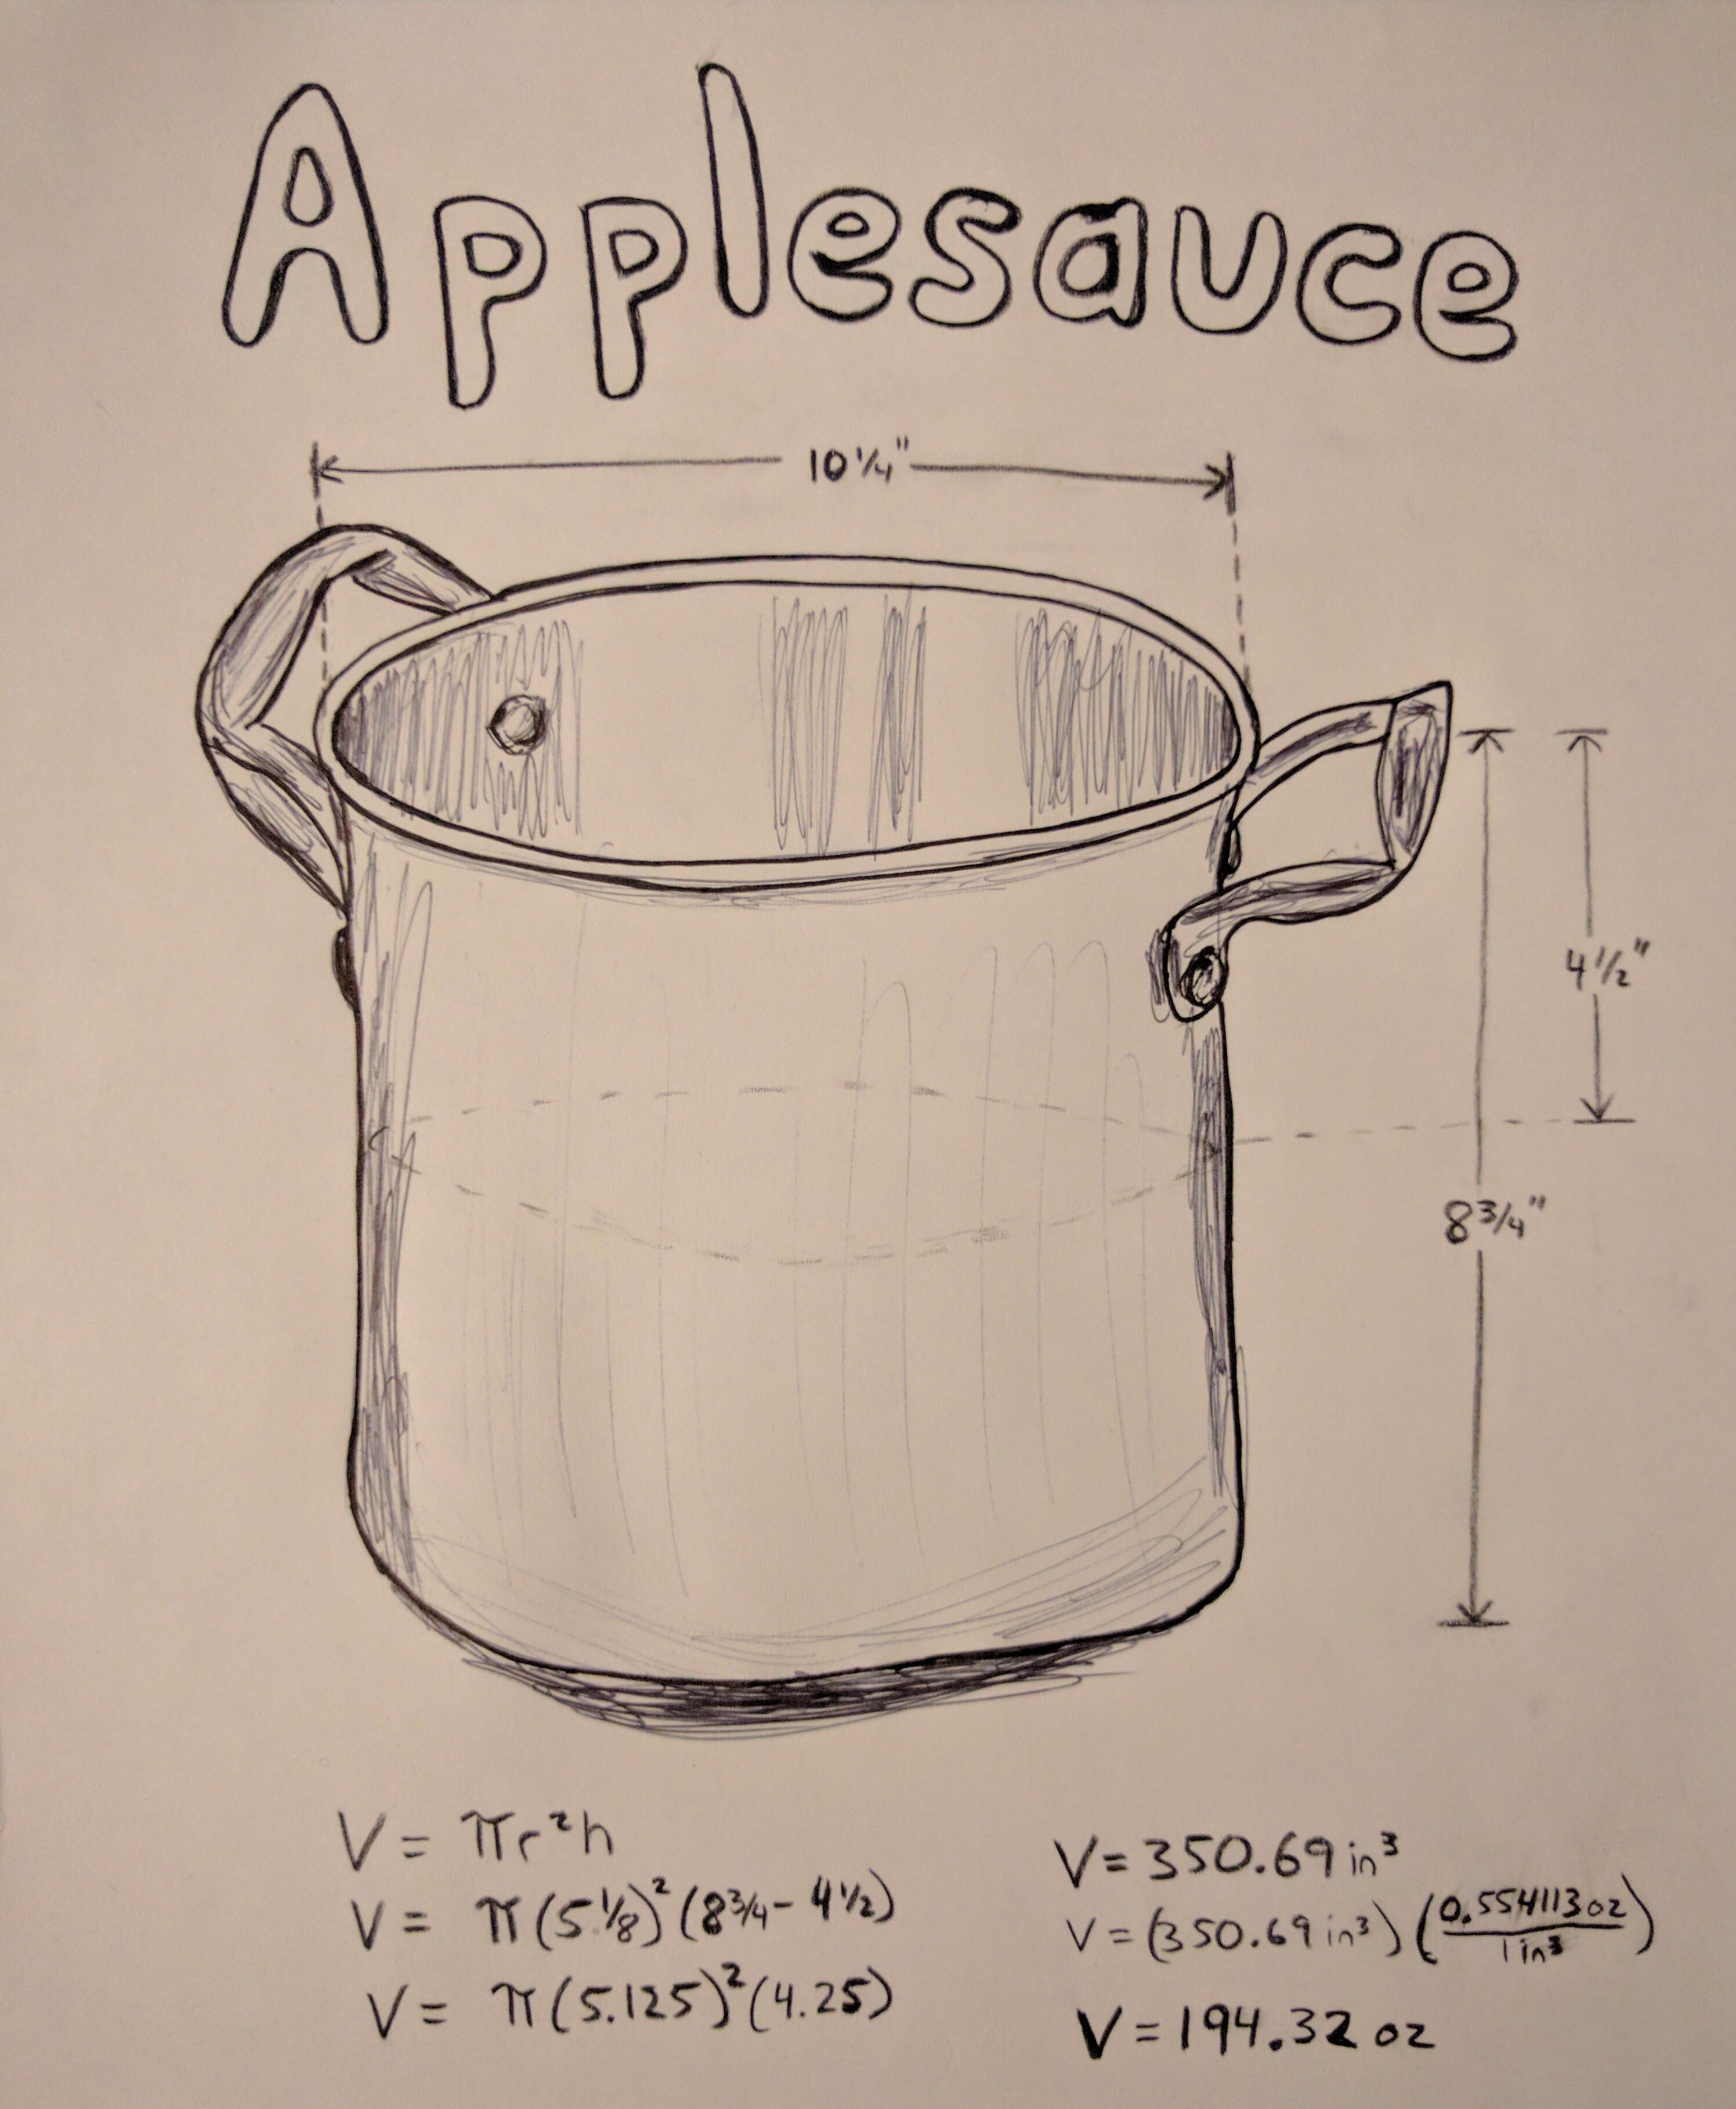
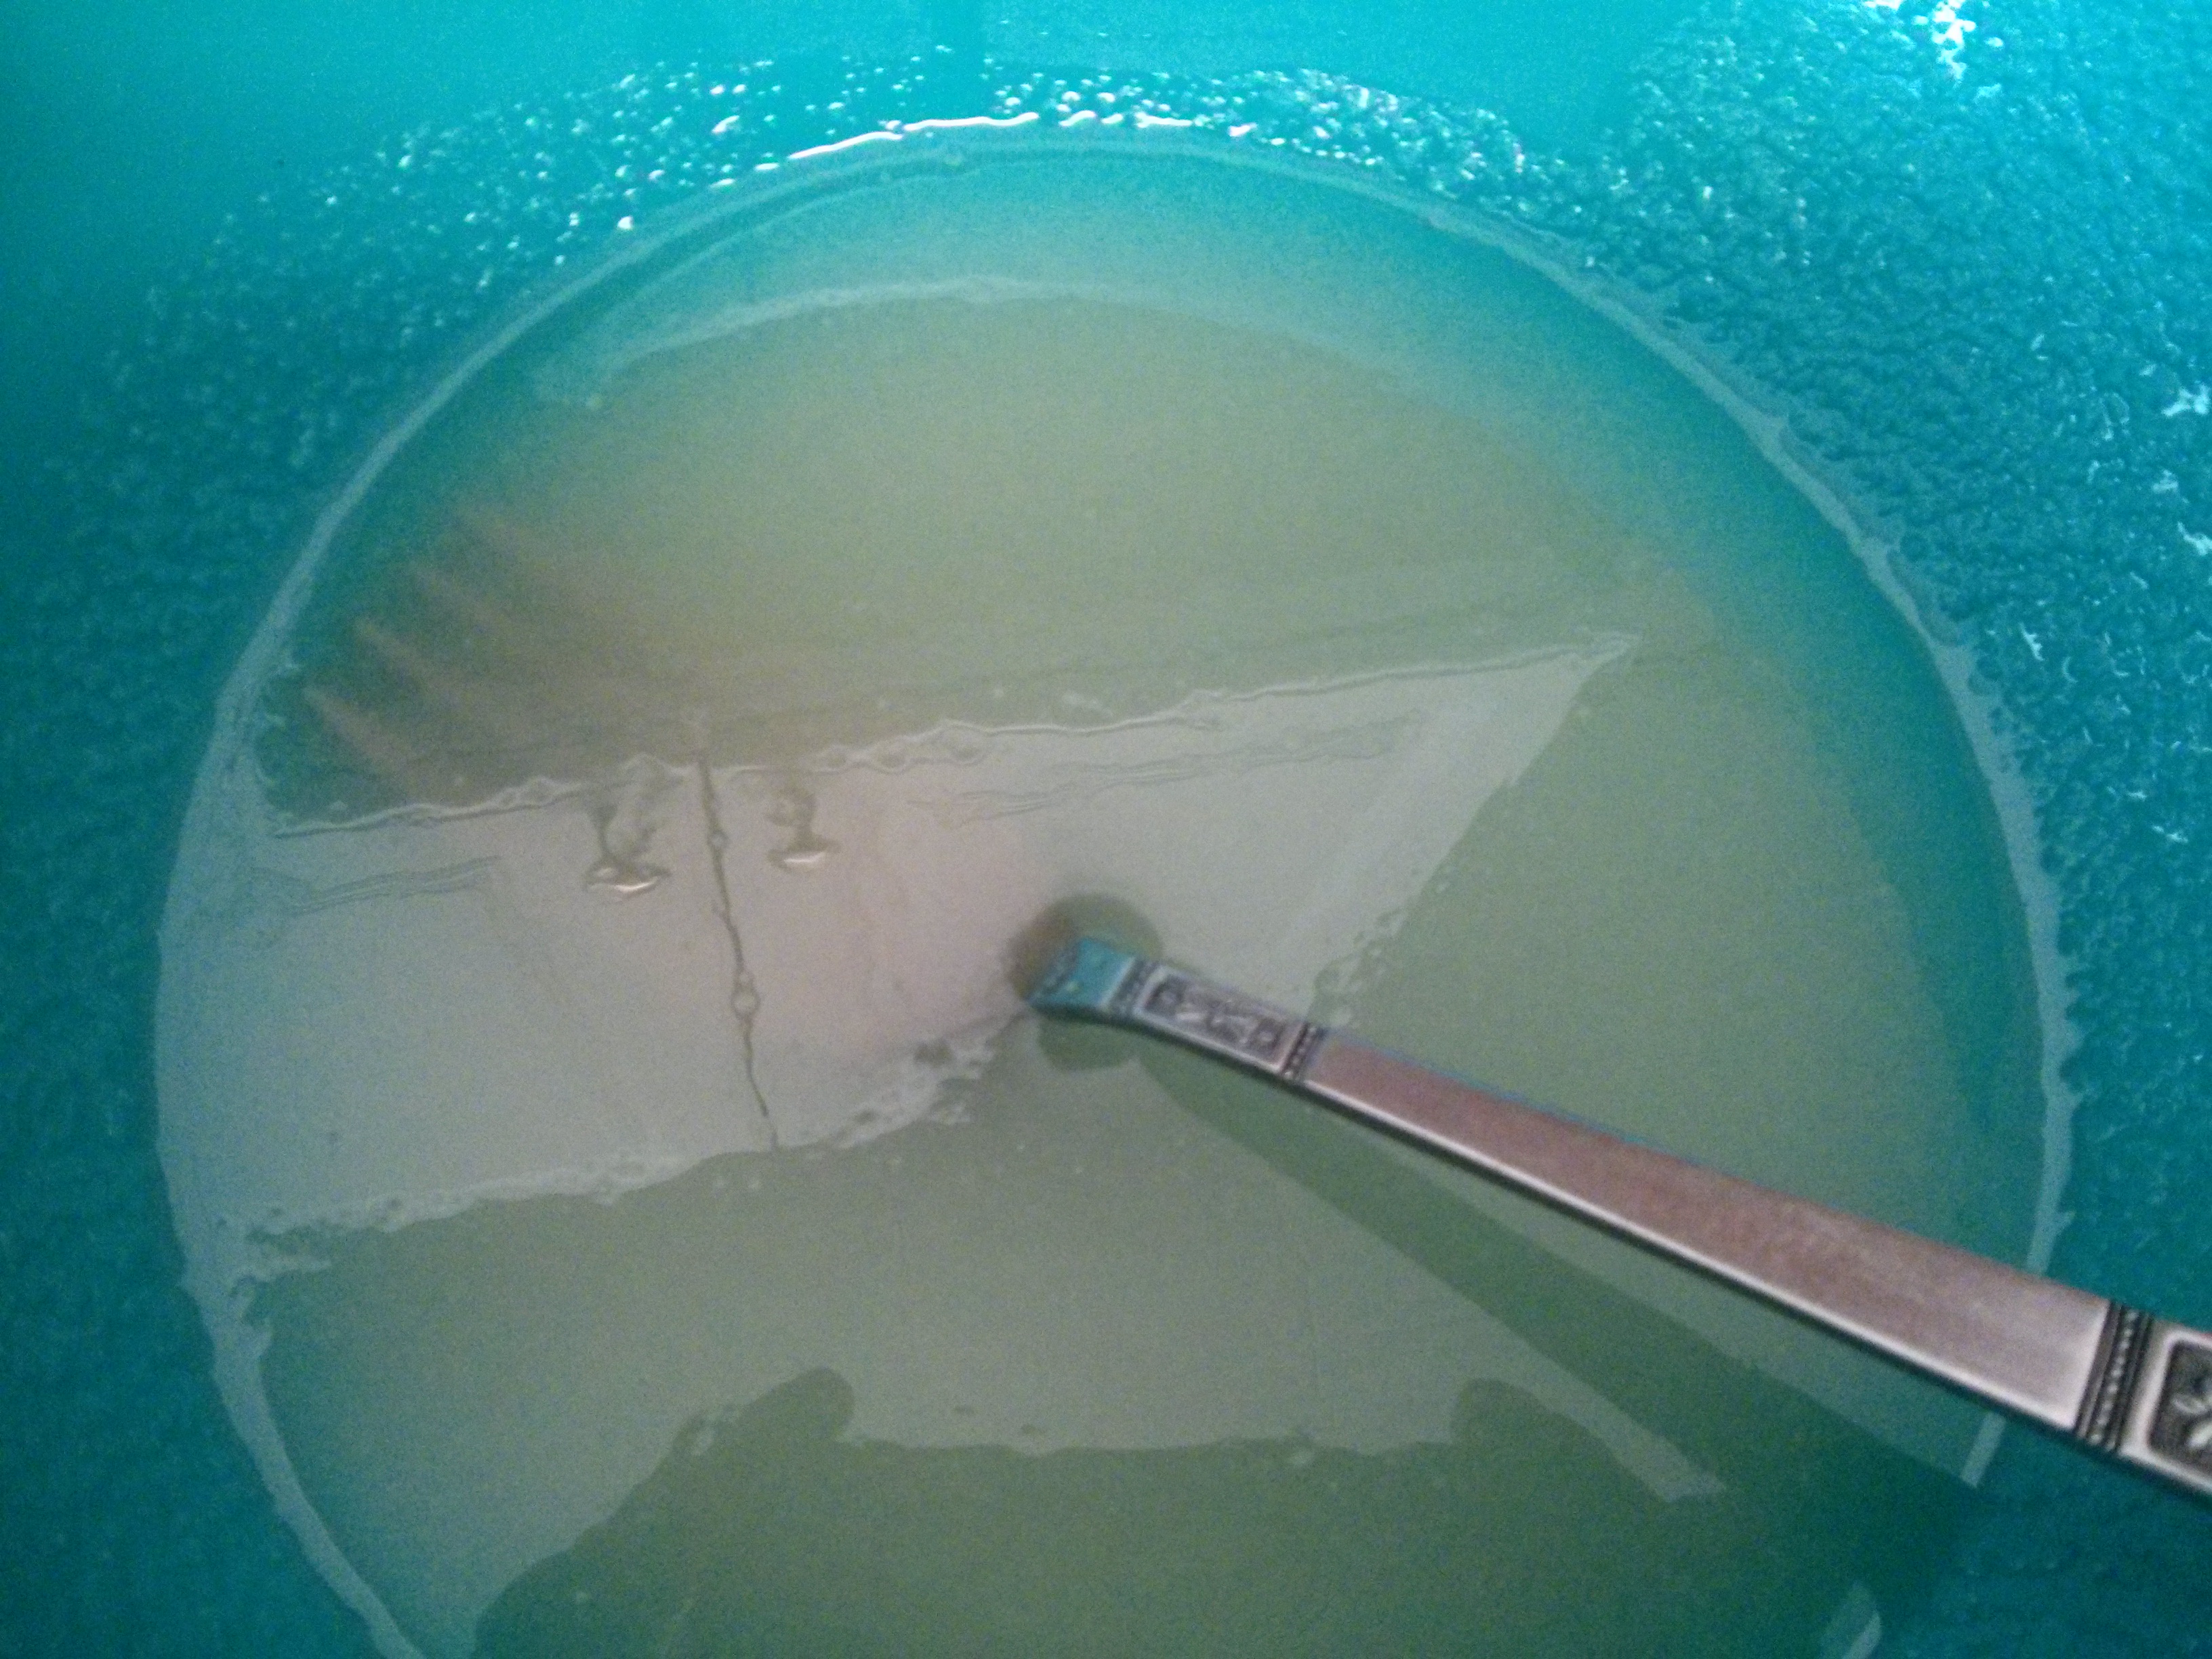
Yes, that’s right. I made a gallon and a half of applesauce.
The great thing about applesauce, though, is that you don’t have to make 194 ounces to enjoy it. You can make as much or as little as you like, it’s really easy to make (one ingredient!), and it tastes so good and naturally sweet. If you’ve never made it, give it a try – here’s the recipe.
Applesauce
- 10 apples (or more)
- (Optional) 1/4 cup apple cider or water
- (Optional) Cinnamon
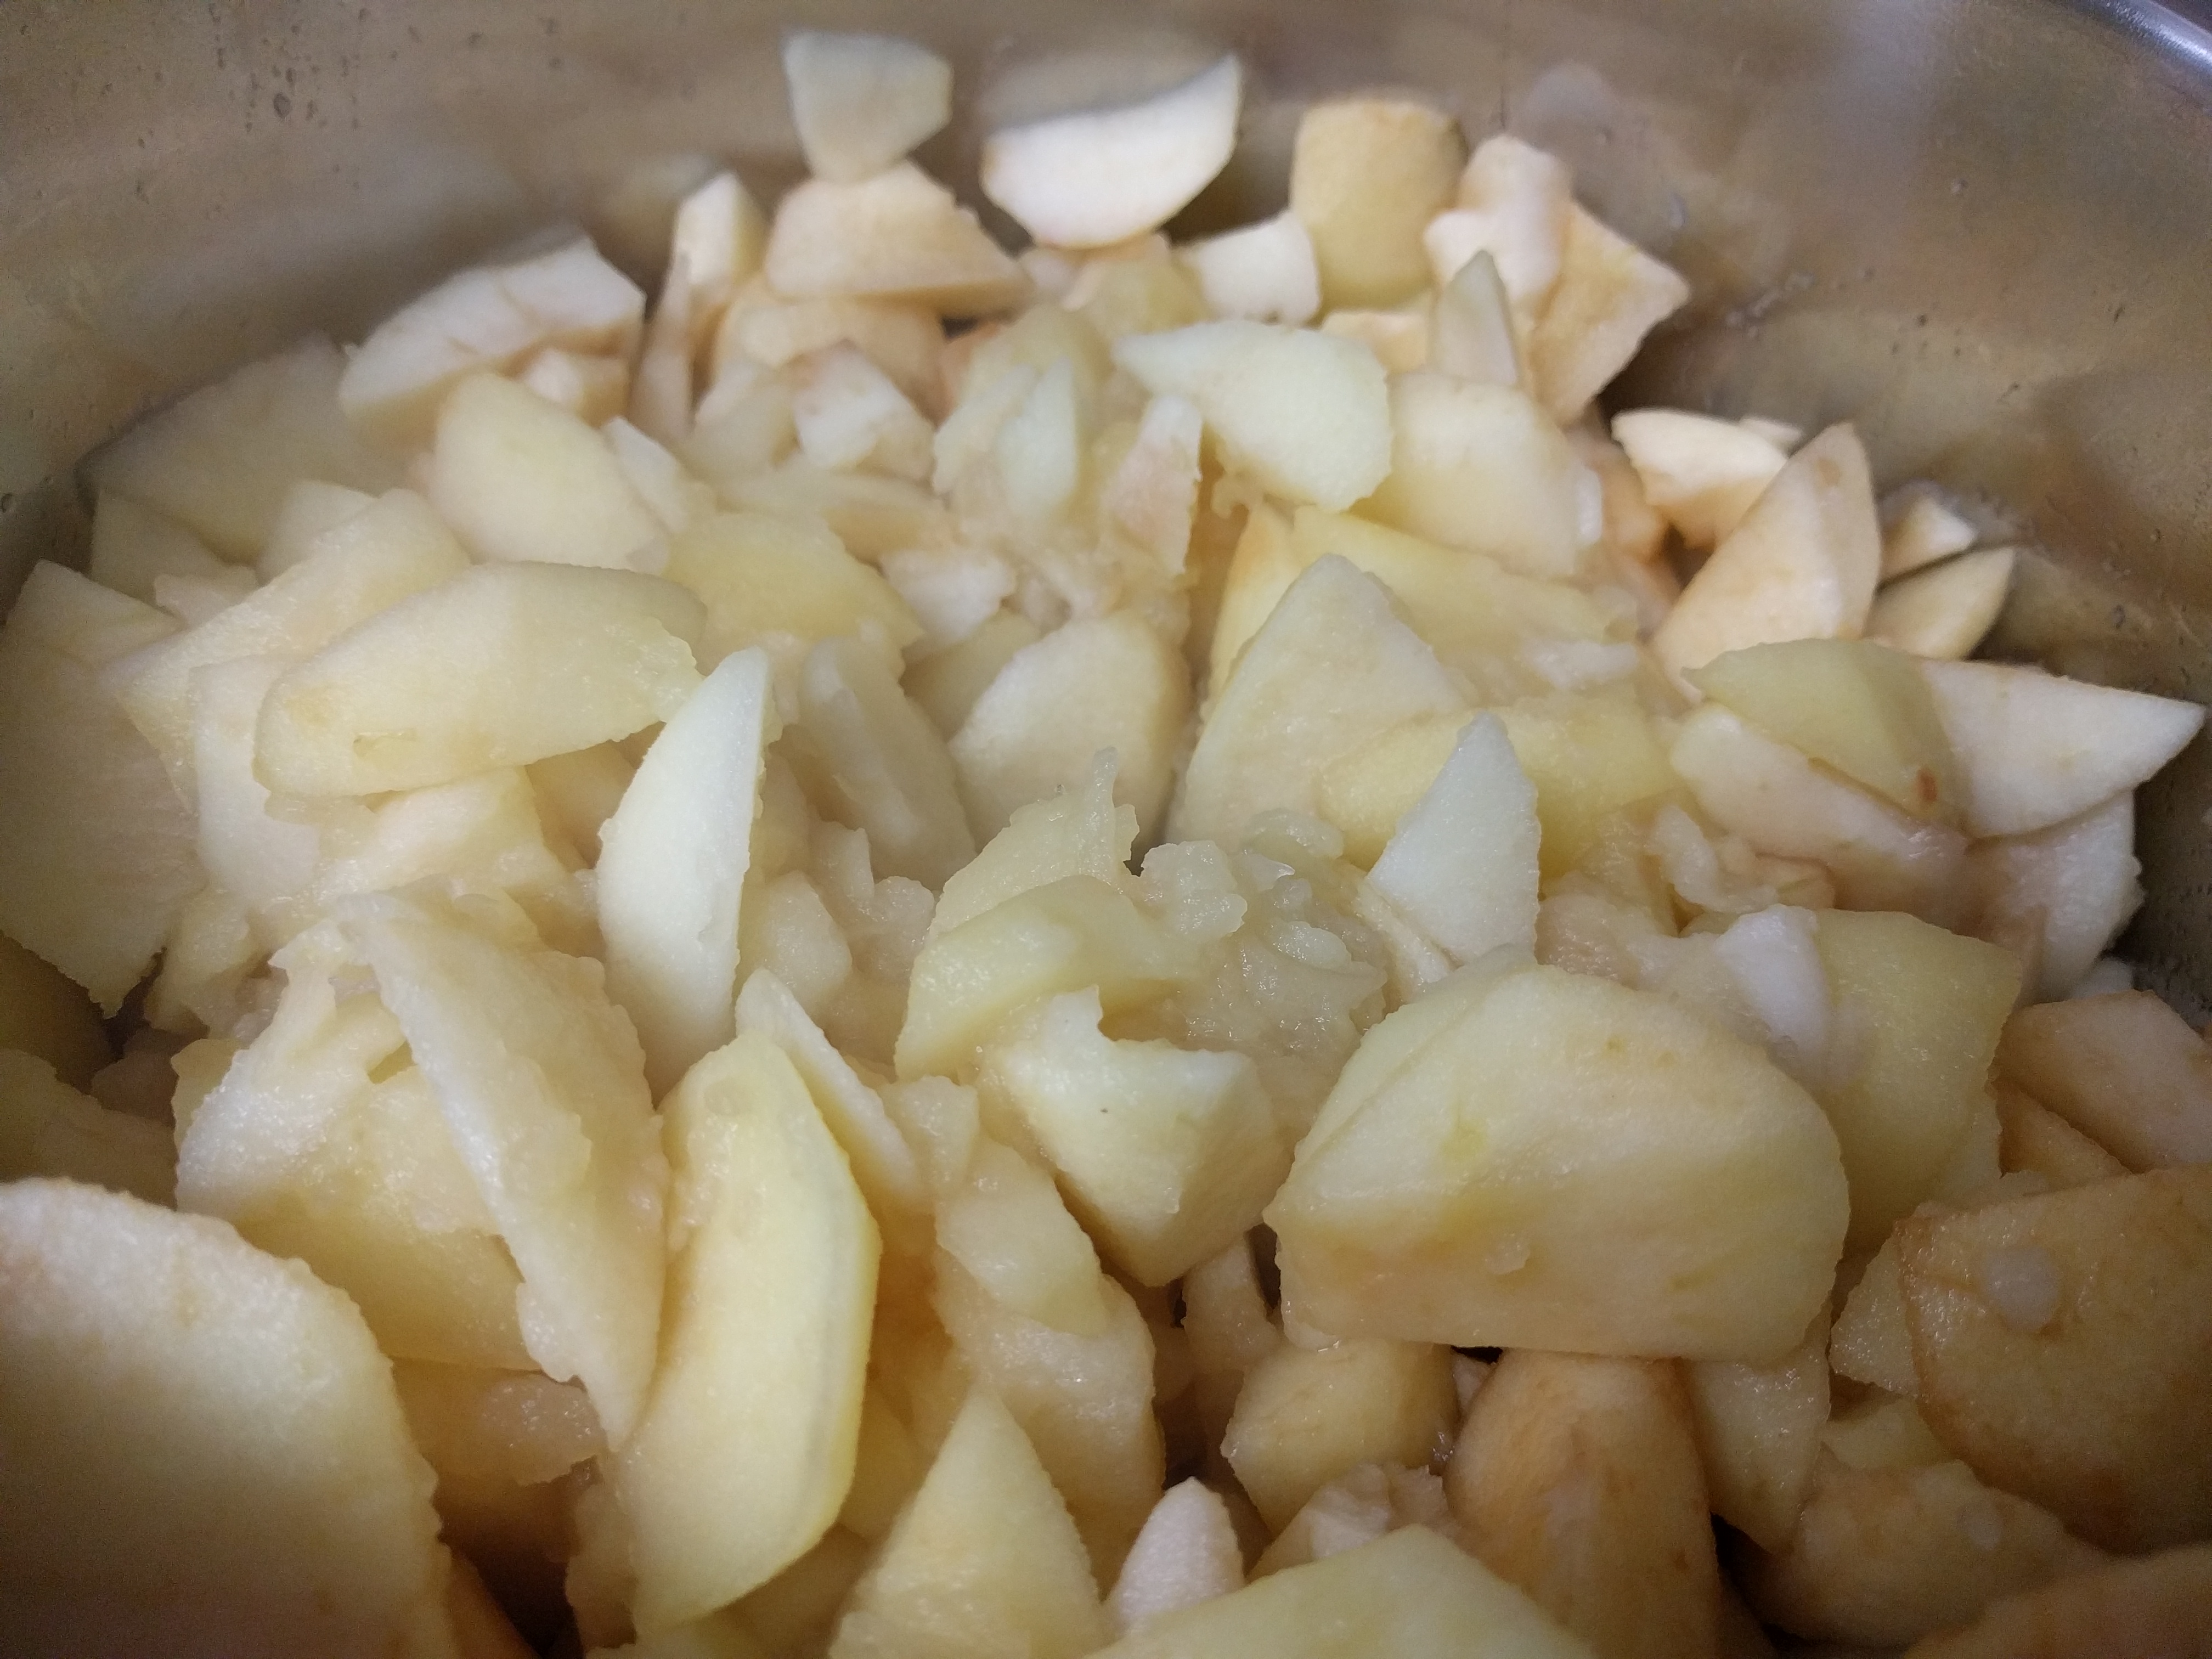
- Peel the apples
- Chop the apples into pieces (discard the cores)
- (Optional) Add the apple cider or water to a pot
- Add the chopped apples to the pot and cook over low-medium heat, stirring occasionally
- Cook until the applesauce is the desired consistency (smooth, chunky, or in between)
- (Optional) Add a little cinnamon
As the apples heat up, they become soft and release some of their juices. Then they do all the work themselves and cook themselves into applesauce. If you want to speed things up, you could add a little apple cider or water at the beginning, and you could also cook them covered for a bit. Towards the end, you could use a potato masher too, if what you want is smoother applesauce more quickly.
Whatever you do, make sure to stir the apples occasionally so they don’t stick to the bottom of the pot and burn. There’s nothing like having to use a second or third pot on a single batch of applesauce, and then having to do a multiple-pot-cleaning (scrubbing) afterwards. I mean, hypothetically speaking of course 🙂 My last note is that all types of apples are good to use. For the sweetest, richest applesauce flavor, I’ll use several different types of apples together.
But what about the brownies? I thought there were going to be brownies! Applesauce Brownies!! And while we’re on the topic, what is an Applesauce Brownie???

Yes, exactly! I was wondering what an Applesauce Brownie is too, so I made some.
I’d actually been wondering this for a while, as I remember having eaten them once as a kid and having been amazed that they tasted like brownies despite having applesauce in them. Lucky for me, I now had one of the main ingredients on hand, and in abundance. So into the kitchen I went: Curiosity plus surplus equals creation.
I looked up a brownie recipe in a printed cookbook, searched for applesauce brownie recipes online, and then on the advice that applesauce is a big ingredient in vegan baking, I searched for vegan applesauce brownies too.

Applesauce brownie batter, Version one
The vegan suggestion, combined with my further searching, got me thinking. What is the fewest number of ingredients I could use and still end up with brownies? The Google auto-fill in the search bar was pointing me in this direction too, listing among other things the following:
- Baking substitute applesauce for eggs
- Baking substitute applesauce for butter
- Baking substitute applesauce for oil
Could applesauce be that versatile? And in the same recipe??
I thought, Let’s find out! The short answer to both questions is yes. The long answer is it took me two tries to come up with a recipe that I liked. For the first version, I used the following: applesauce, cocoa powder, salt, sugar, vanilla, and flour. It turned out alright, but it also came out a little flat, literally, and had an interesting chocolately, apple tangy flavor.

Version one (with b/g apples from a different purchase)
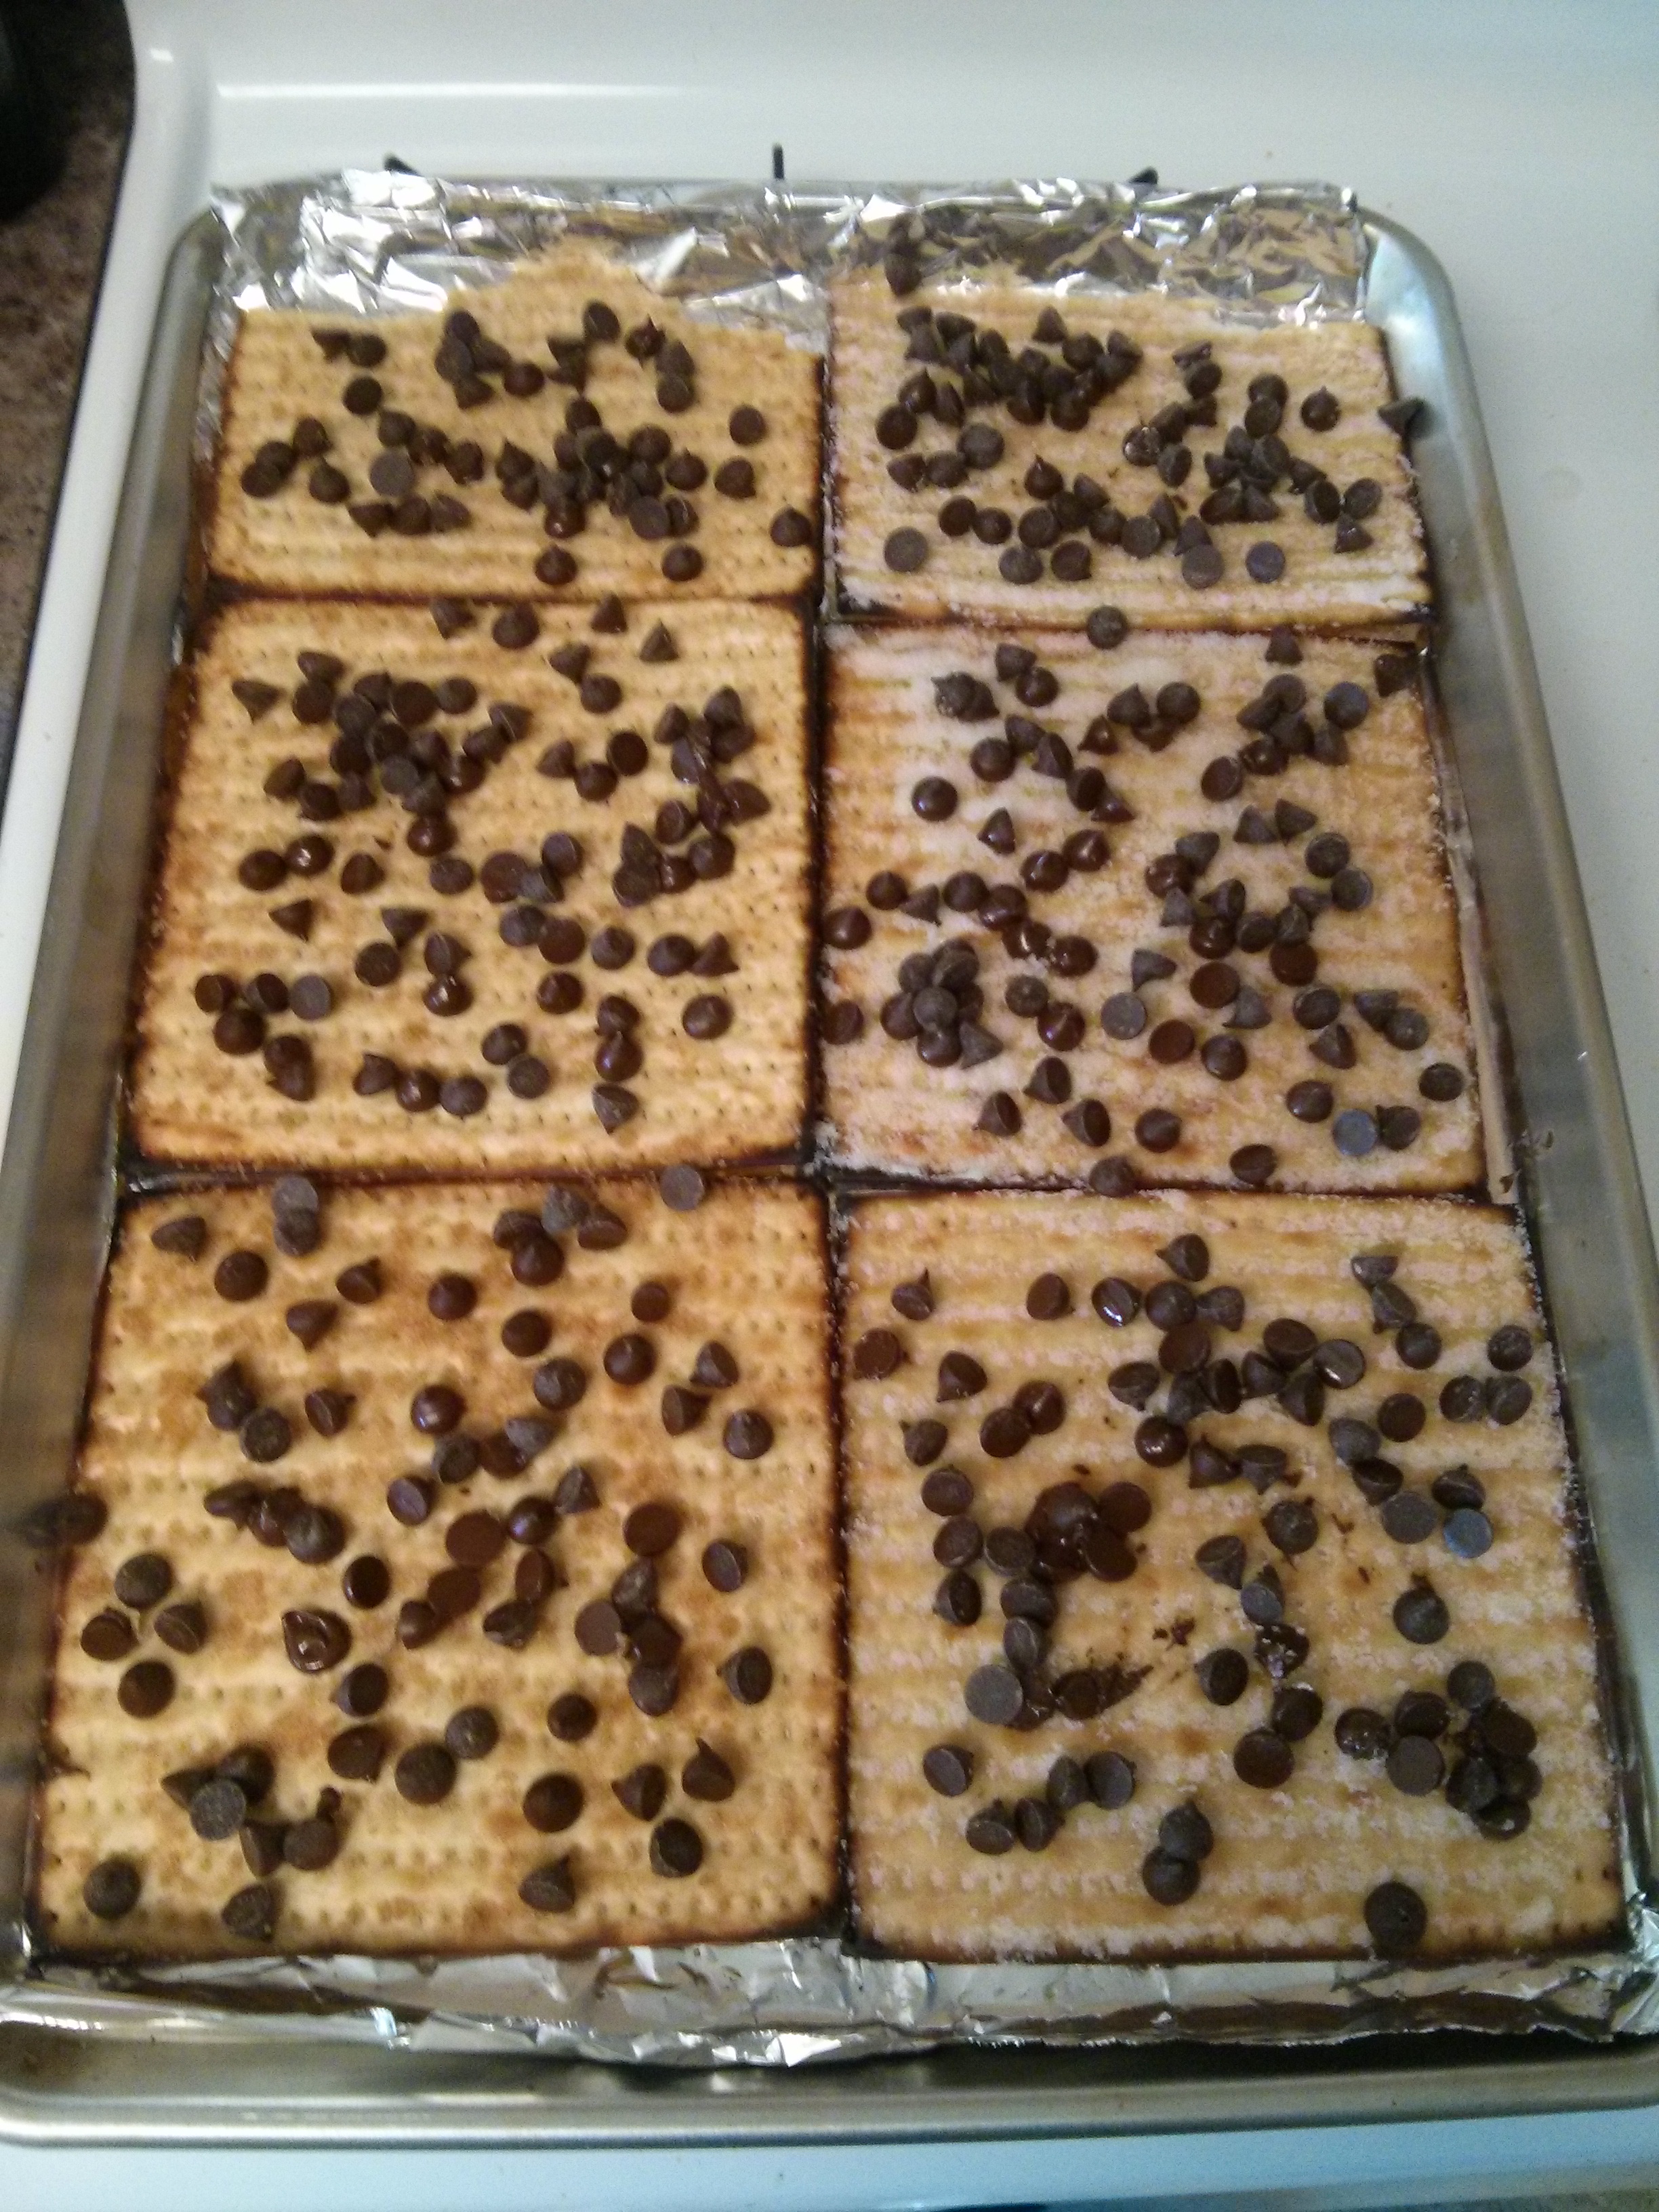
When making version two, I included the three ingredients I figured had been missing in version one: baking powder, baking soda, and chocolate. And the result?
So good.
So rich.
So chocolatey.
Here’s the recipe 🙂
Applesauce Brownies
- 1 1/2 cups applesauce
- 1 cup sugar
- 1 tsp vanilla
- 4 oz bittersweet chocolate
- 1 cup flour
- 1 tsp salt
- 3/4 cup cocoa powder
- 1 1/2 tsp baking powder
- 1/2 tsp baking soda
- Mix the applesauce, sugar, and vanilla
- Melt the chocolate, and add it to the applesauce mixture
- In another bowl, mix the flour, salt, cocoa powder, baking powder, and baking soda
- Add the flour mixture to the applesauce mixture, and mix
- Lightly oil an 8″ x 8″ baking dish
- Add the batter to the baking dish
- Bake at 350 degrees for about 40-45 minutes

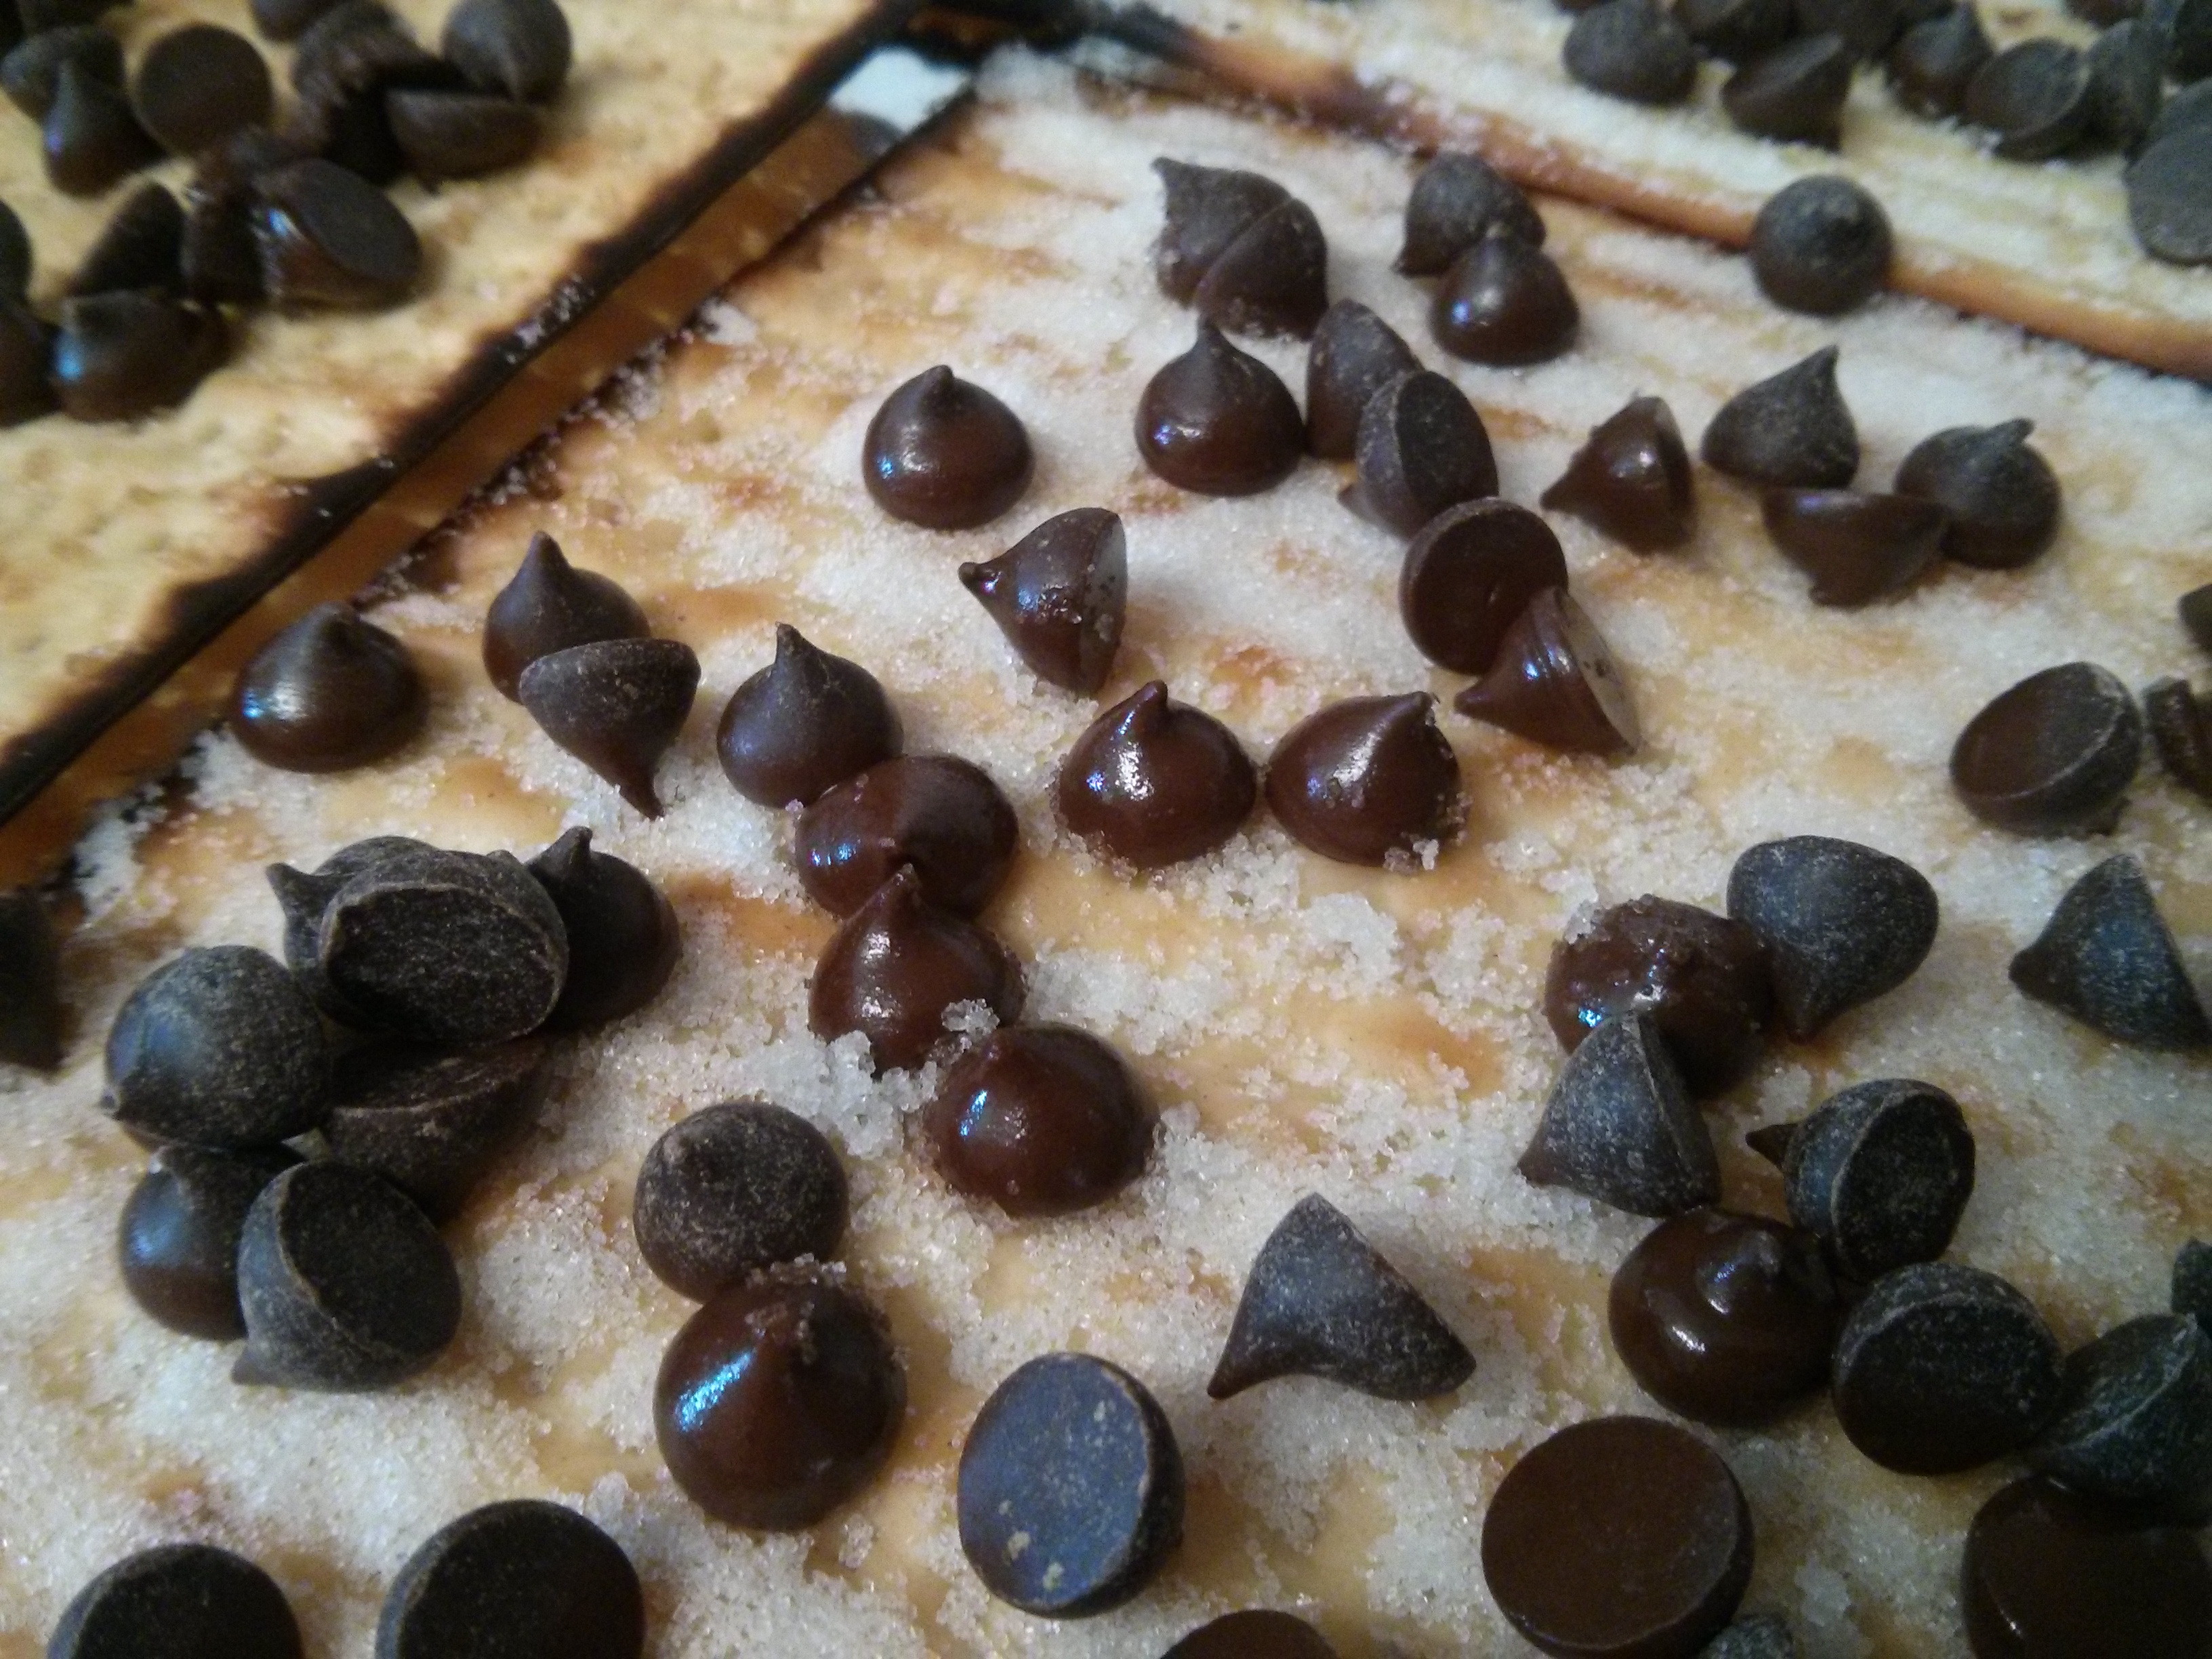
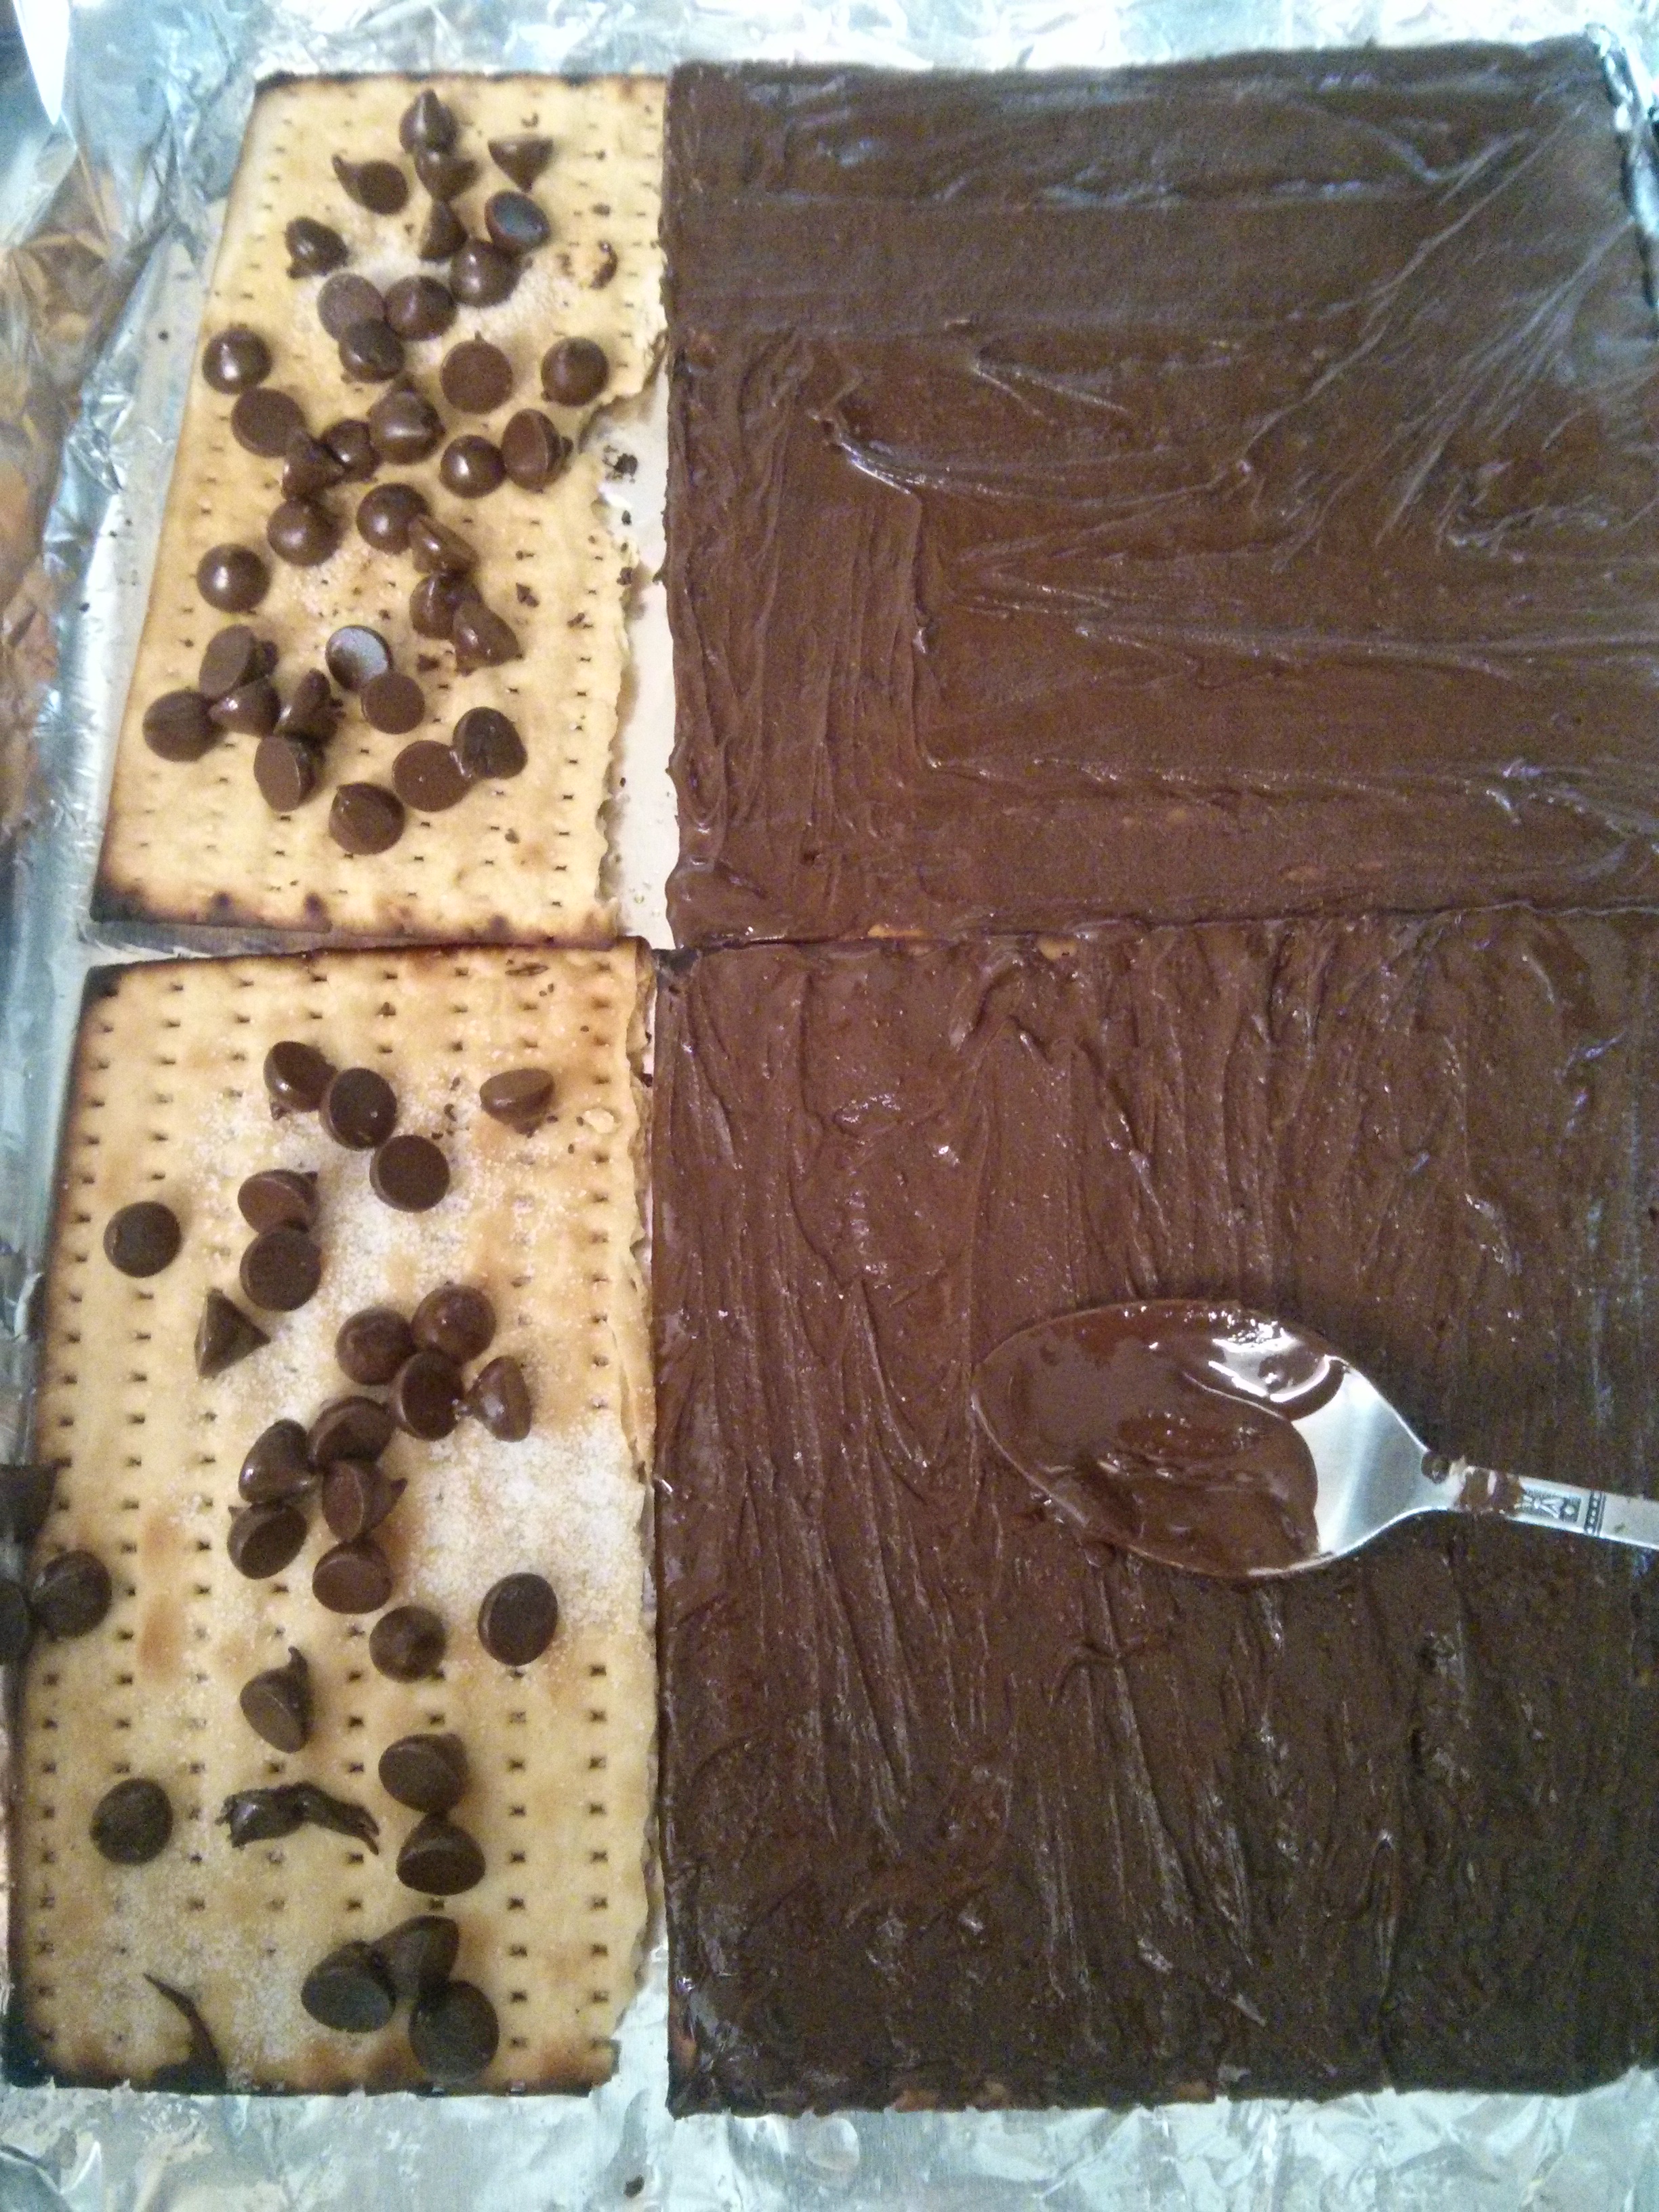
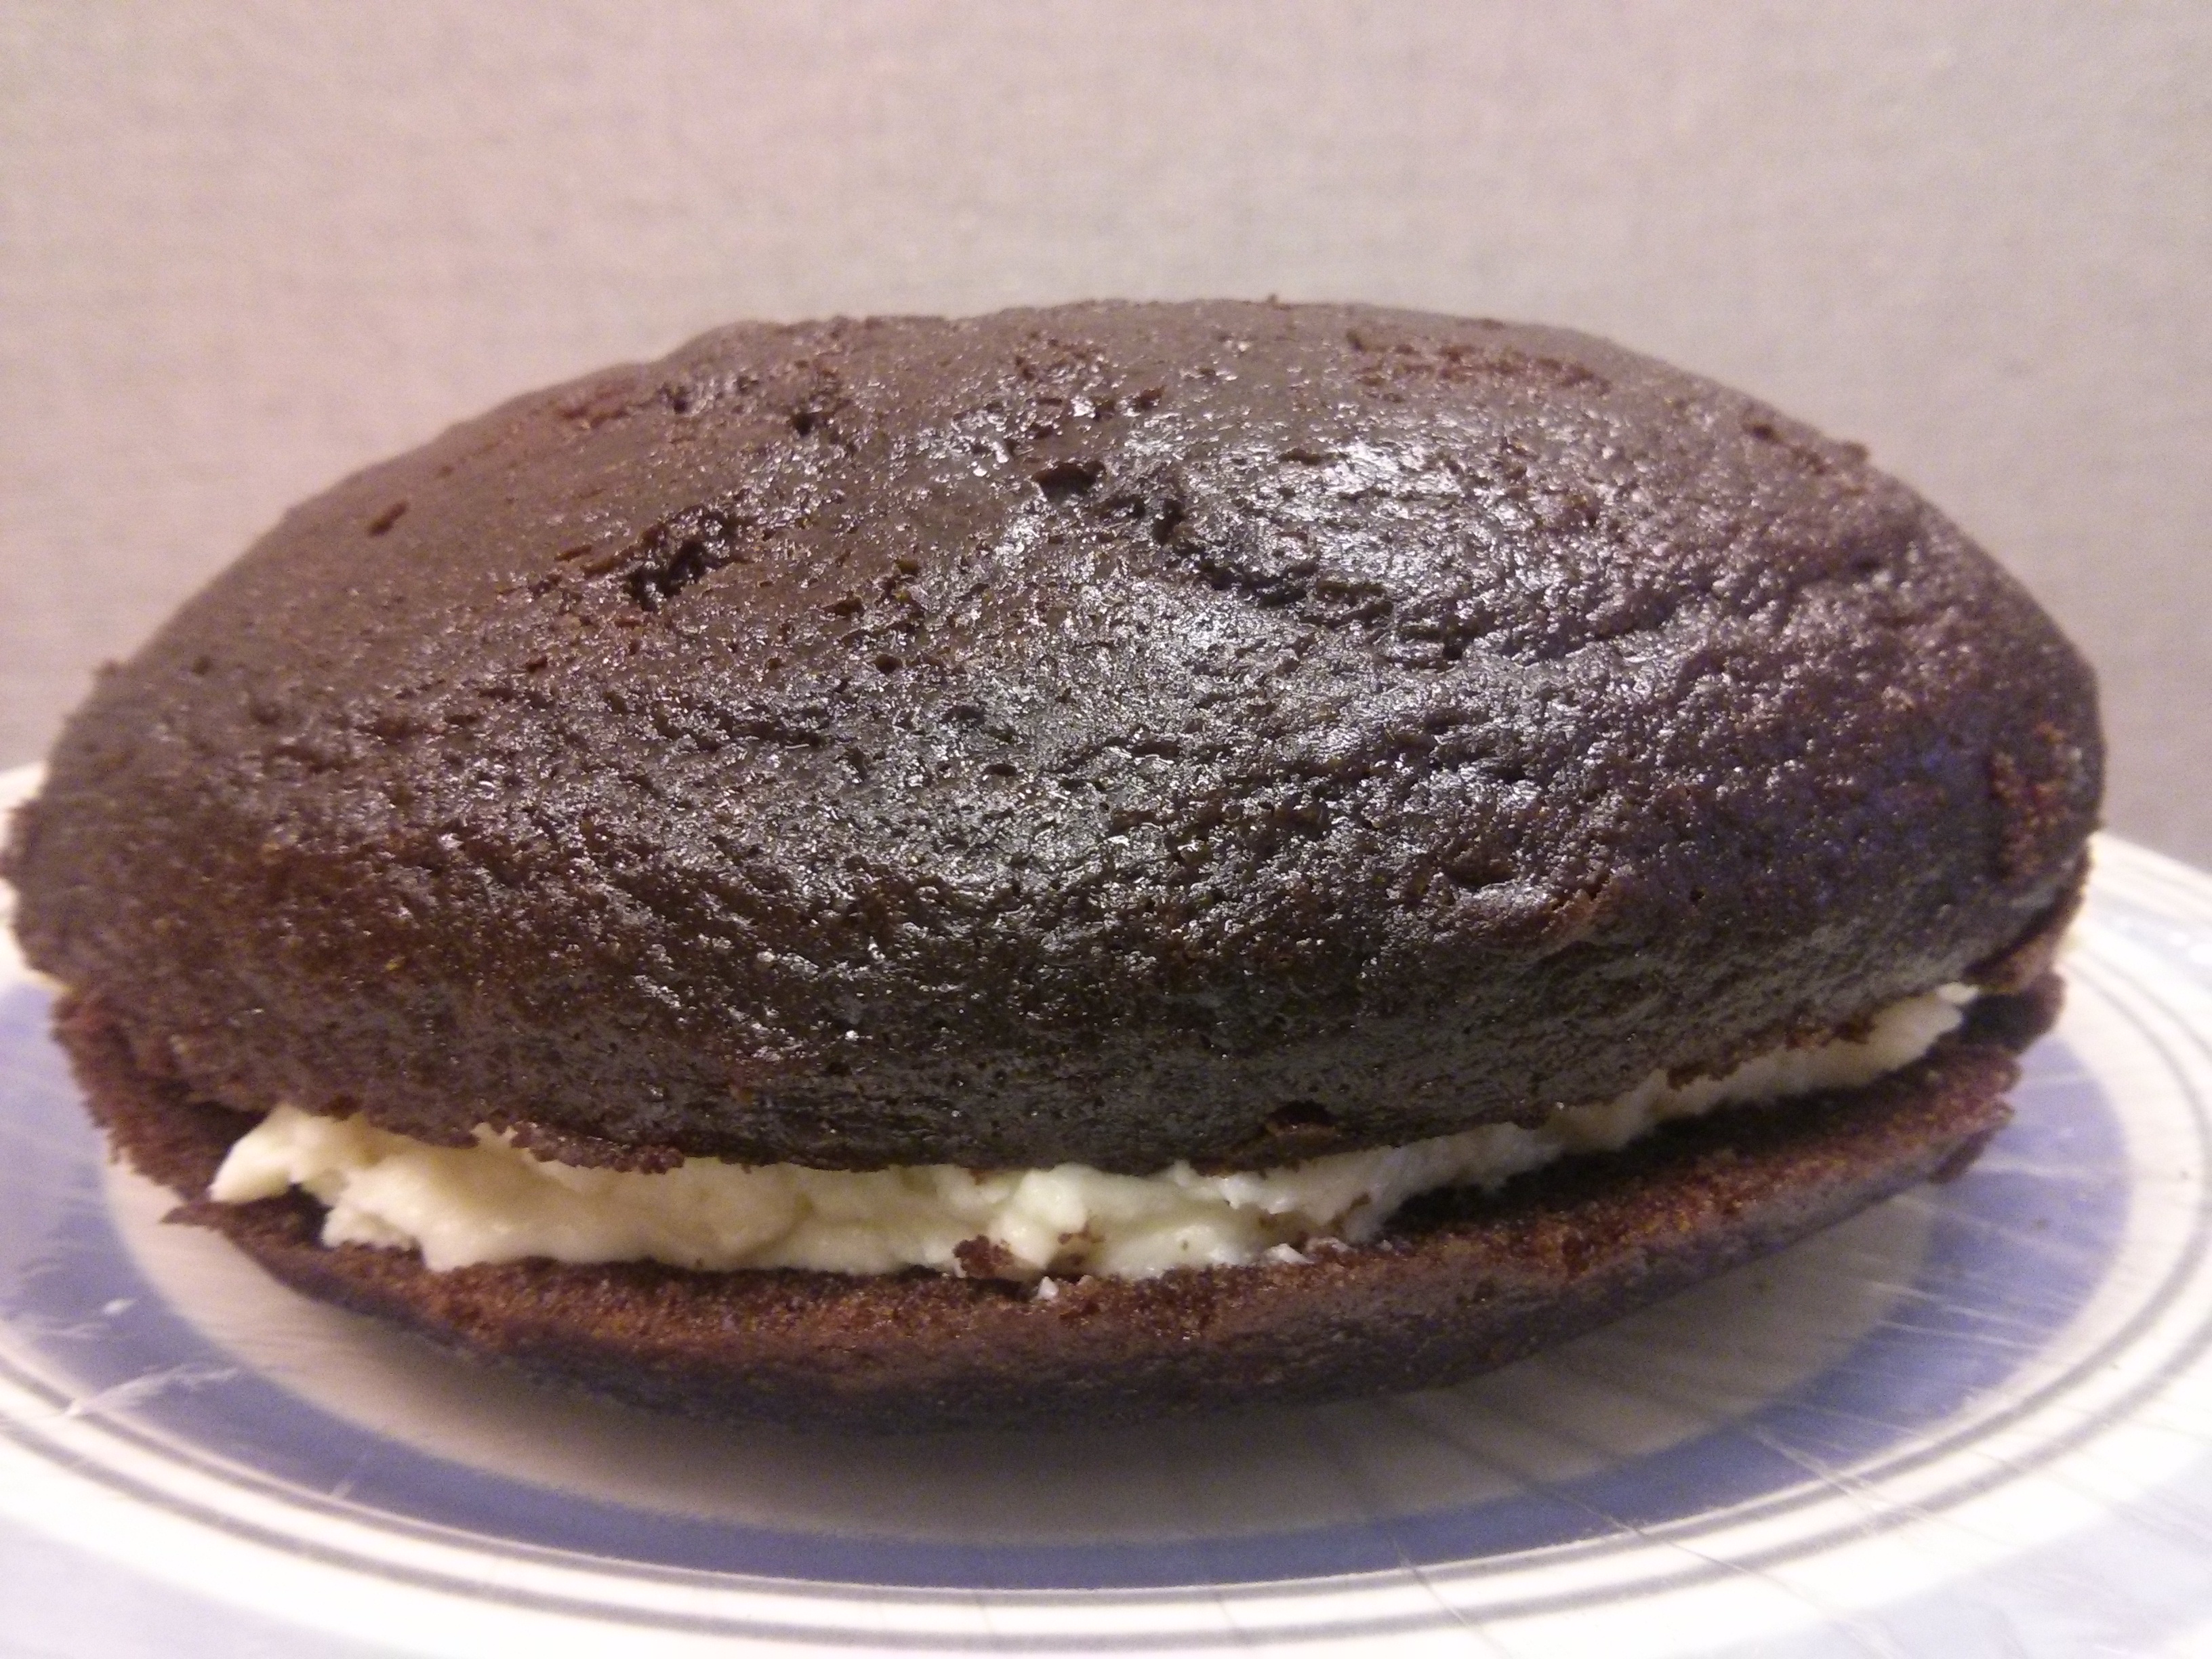
Love that chocolate melting

And love that final chocolate brownie product
It’s not easy to predict the future, but I do believe mine will include the following: additional apple purchases, more applesauce making, and now also vegan applesauce brownie baking.

And if you want, you can even have them side by side.
Thank you applesauce.