Let us see, what here do we have… A large bowl, used for something. The contents – empty, with a film remaining, dried. Used recently, a batter of some type, yes last night! A cutting board, similarly splattered, an upturned pot and pan behind. But why upturned? The shelves past the stove, full, a recently used bowl, close, yes the dishes! Not cooking now, but the morning after, the dishes all done but one, a bowl to go. Dish rack full, pots inverted, pots in place, pots not in place, yes pots drying! The bowl, posing, waiting, take my picture, speaking what? To the brim, over, no more, no matter, well used, well spent, alive, and dried.
Yes, two nights ago I made an Ethiopian dinner and had my parents over, and the night before that I went to McCarter Theater and saw Ken Ludwig’s Baskerville: A Sherlock Holmes Mystery. As you may have deduced. 🙂
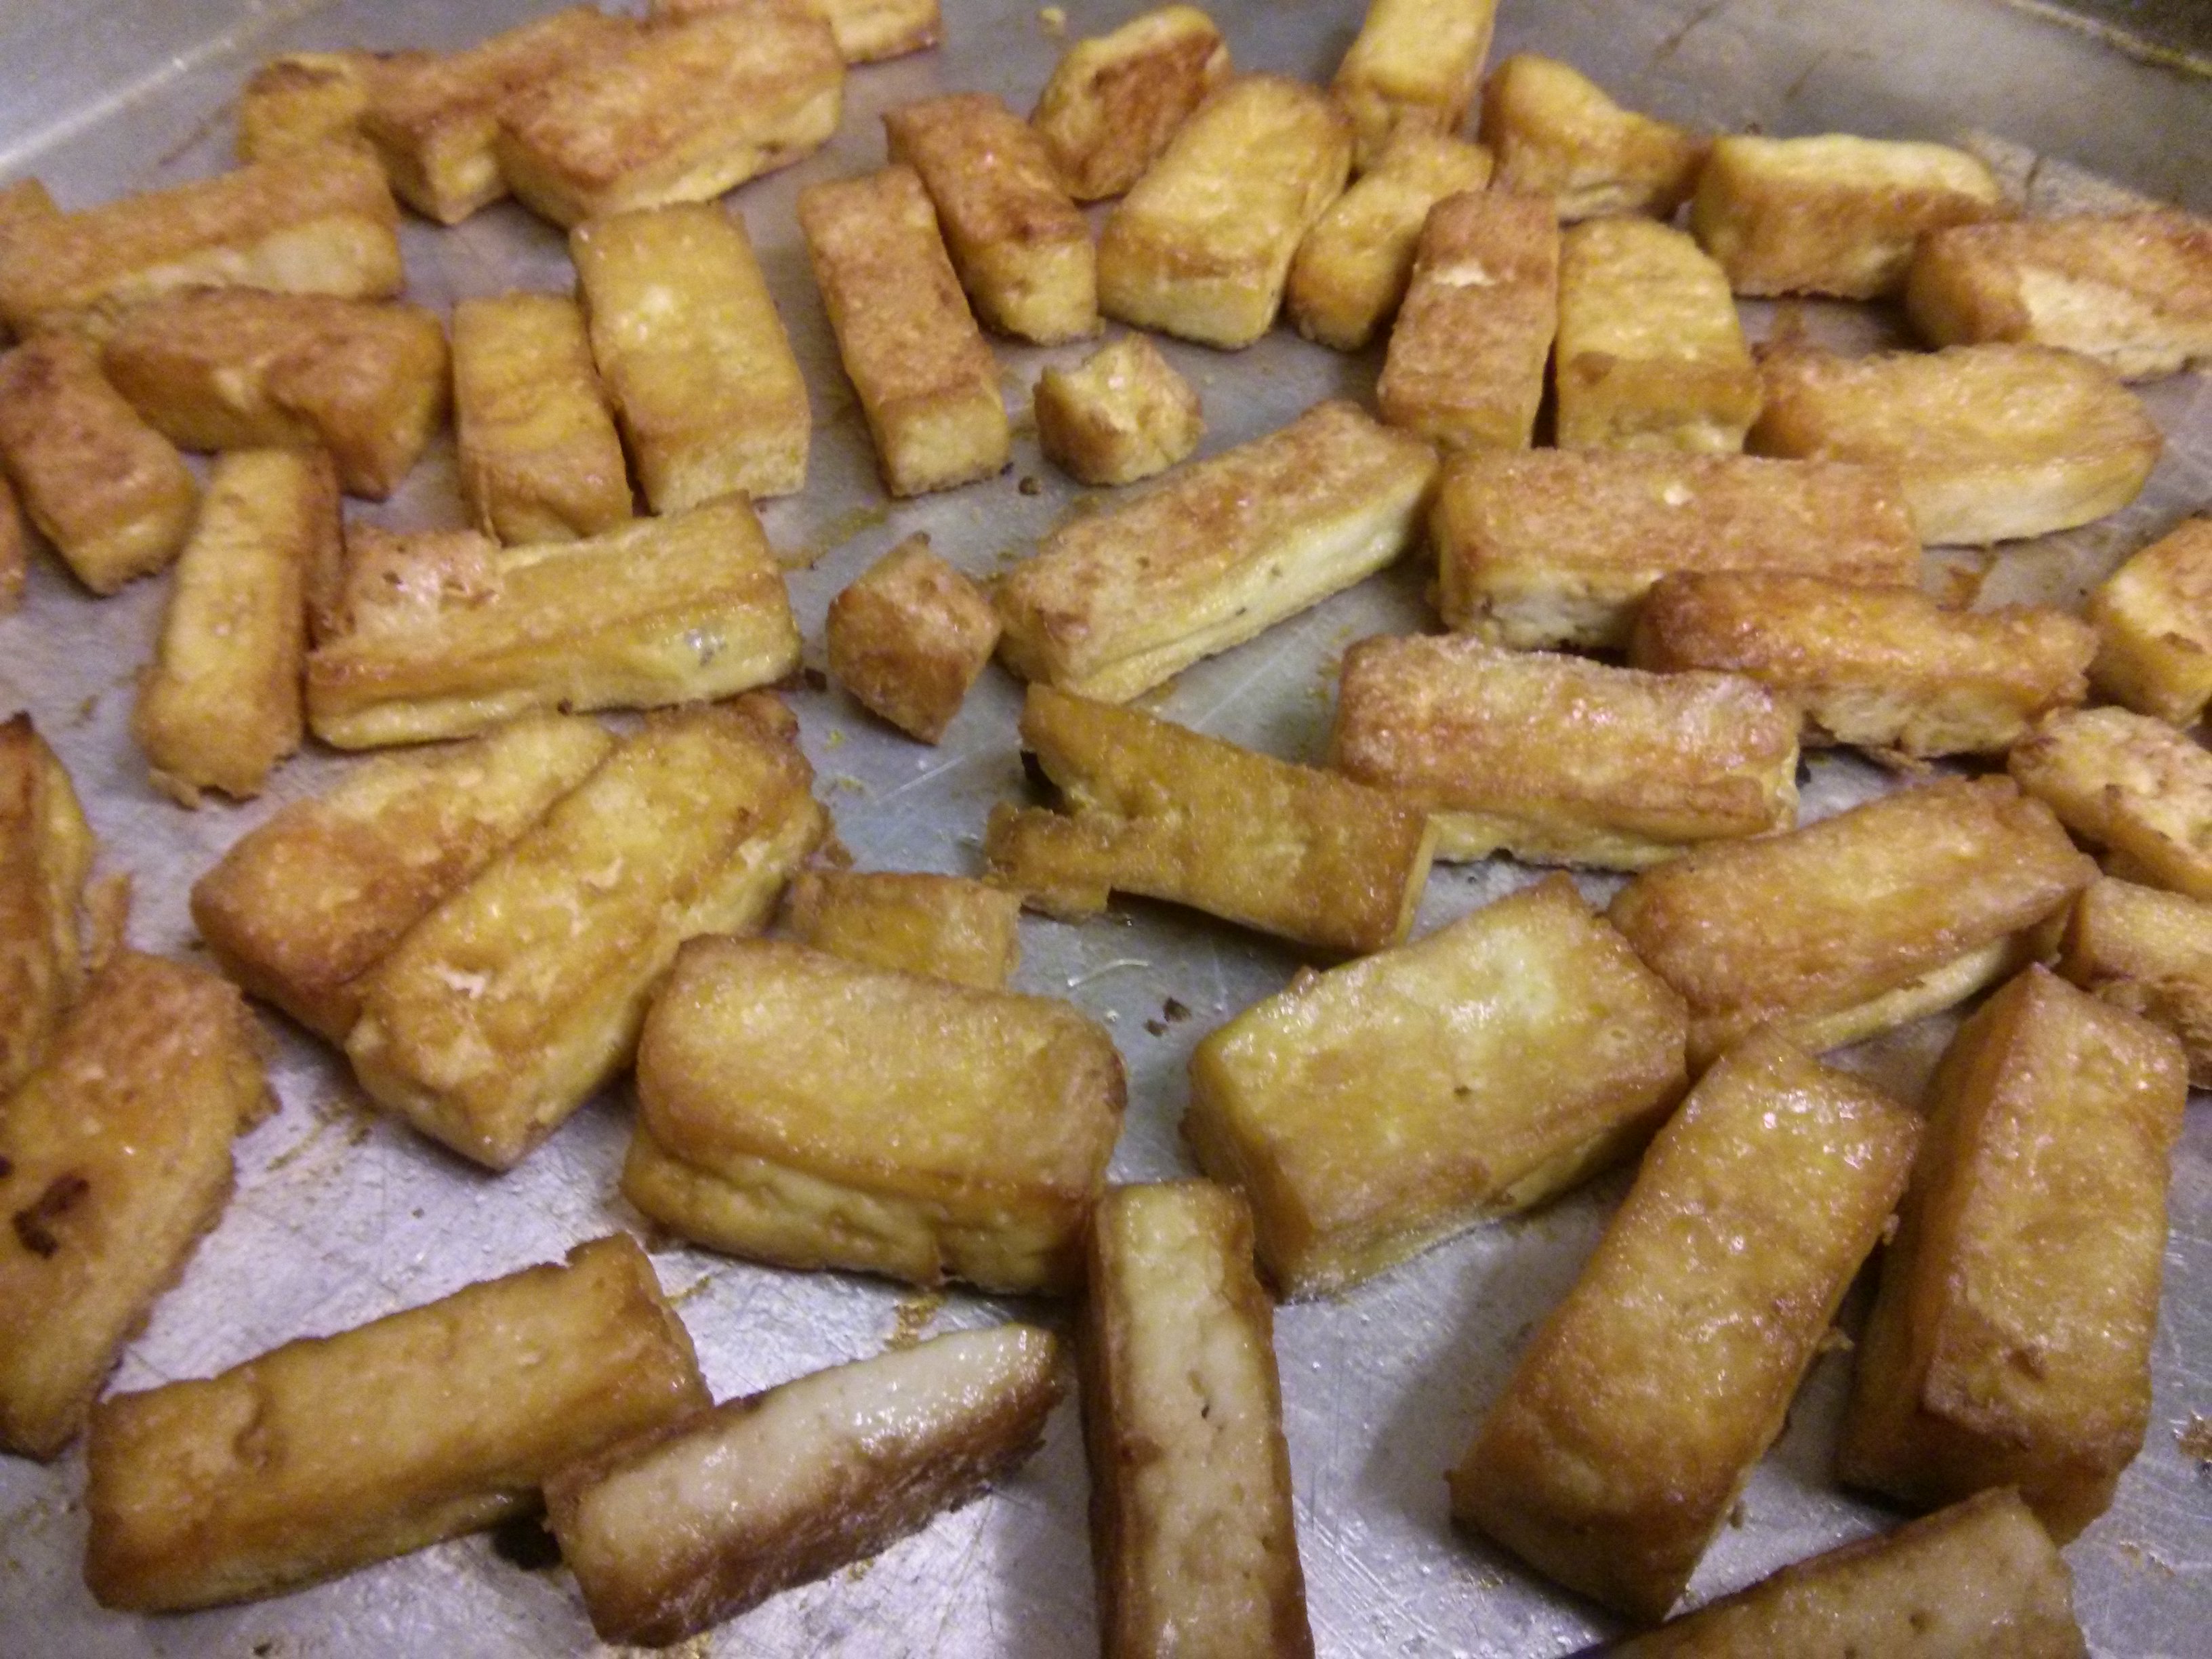
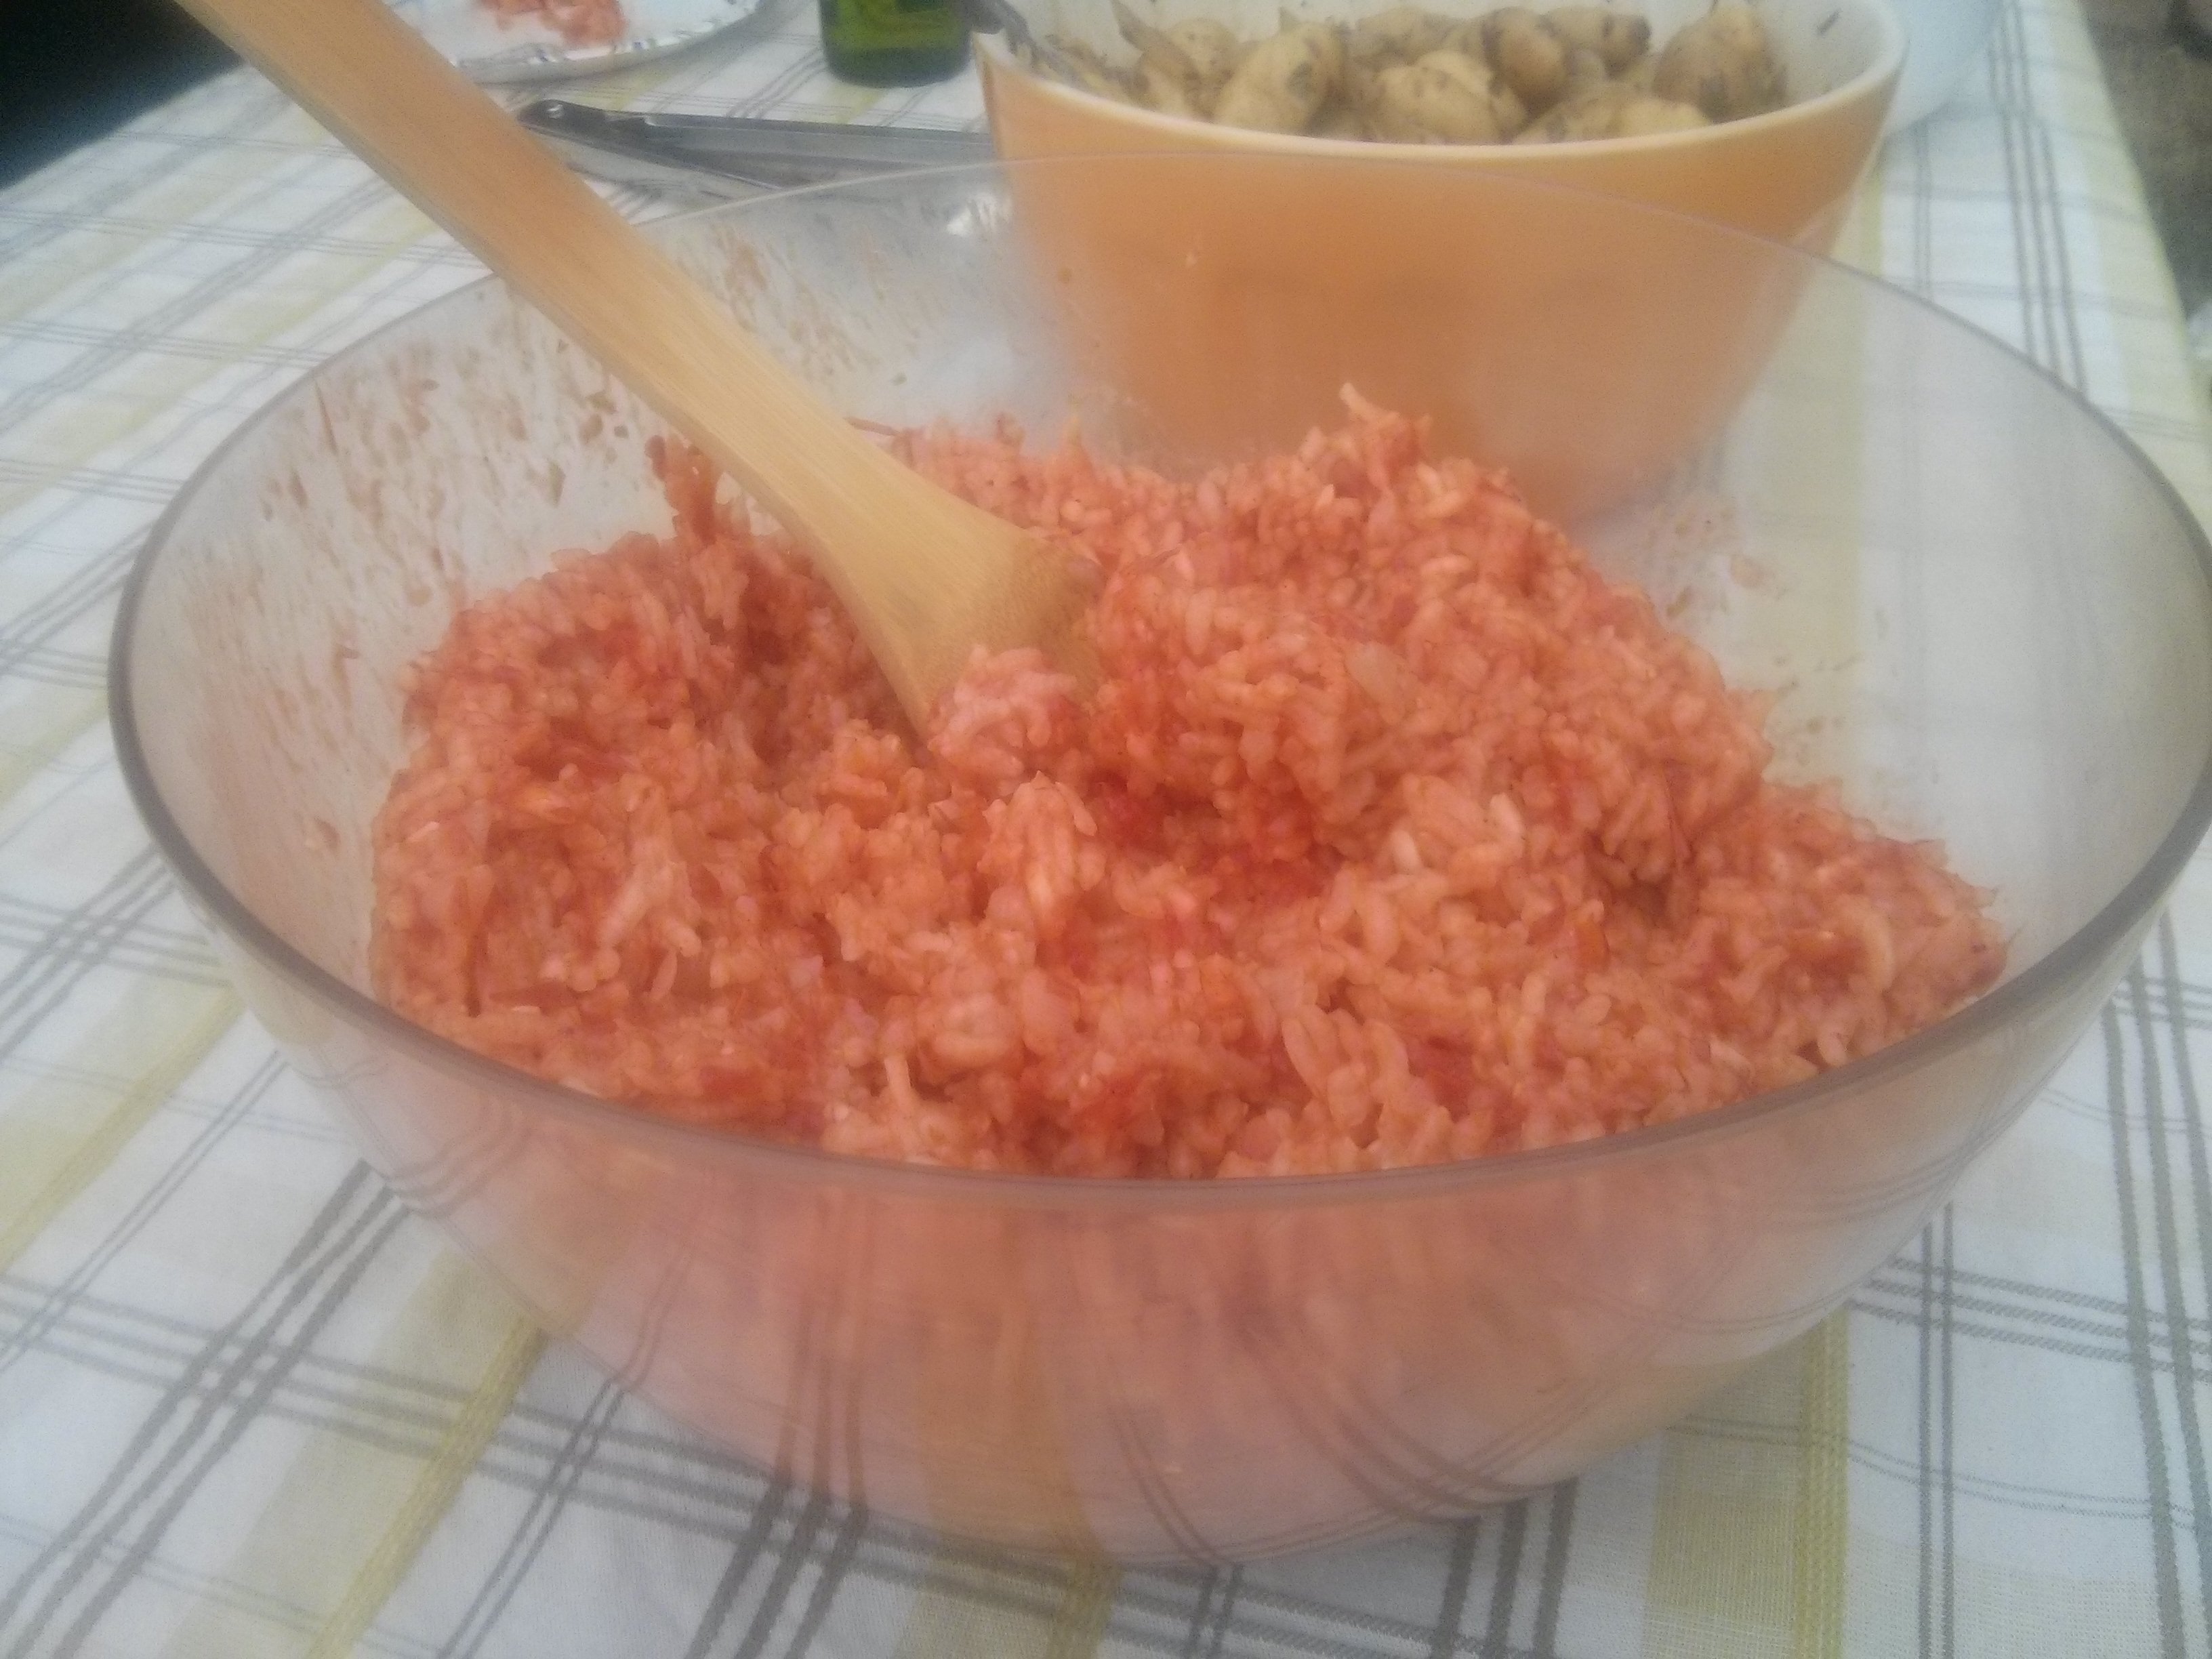
Injera, the Ethiopian spongy flatbread, was on the menu Saturday night, as was Ye Atakilt Alicha (Green beans and carrots), Misr Wat (Red lentil stew), and Ayib (Cottage cheese). That’s four items, so yes, actually it was an Ethiopian quadruple, but it’ll be a double here for recipe-writing purposes. I shared the cottage cheese recipe last month, and I’ll do a write-up the red lentils later after I make it again.
Like the cottage cheese recipe, I got the other recipes from the Ethiopian cooking class I took in December and January. I made them all during a 3-4 hour window on Saturday afternoon (except for the first part of the injera, which you have to start earlier), and it turned out pretty good. I also got two good reviews.

This is how everything looked on my plate right before I ate it. The injera was actually lighter in color (more pictures below), and yes, the shiny metal thing at the top left corner was a fork. Whoops! I played with cropping out the fork, but then the rest of the picture didn’t look balanced. We actually didn’t use forks – gotta use just your fingers and the injera! – but the forks were there on the table, at least for a minute anyway at the beginning before I remembered to put them away. The place-settings were the product of my pace-setting, that is, of my efforts to finish and bring the final few things together at the same time, and timely. Coming up after dinner was Café Improv at the Arts Council.
I wouldn’t call the injera recipe complicated, but it was a two-pager – page 1 was how to make the irsho (sourdough starter), and page 2 was how to make the injera once the starter was ready. Here are the recipes and how it all worked out.
Irsho (Sourdough starter)
- 2 cups teff flour
- 2 cups warm water
- Mix the teff flour and water in a large bowl
- Cover the bowl with cheesecloth, and store in a warm place with good circulation
- Stir the batter well at least once a day
- The starter will be ready in a few days (depends on environmental factors). When you see tiny bubbles forming at the surface, it’s good to go.
Injera
- Sourdough starter (the mixture from above)
- 5 cups warm water
- 2 cups teff flour (plus 1 Tbsp more)
- 2 cups buckwheat flour (if you want gluten free) or barley flour
- 1 tsp salt
- 1 tsp baking soda
- 1 Tbsp teff flour
- Oil for coating the frying pan (I used a 12″ non-stick pan)
- Mix the starter, water (5 cups), teff flour (2 cups) and buckwheat flour (2 cups). It should have the consistency of thin pancake batter.
- Cover the bowl with cheesecloth, and store in a warm place to ferment for at least a day.
- During this time, stir the batter a few times.
- Then, once you’re ready to cook the injera, add the salt (1 tsp), baking soda (1 tsp), and extra teff flour (1 Tbsp). Mix together, and then let the batter sit for five minutes.
- Heat the frying pan over medium heat, and lightly coat with oil.
- Pour the batter (about 1/2 cup at a time) into the pan, and quickly turn the pan around as if making a crepe (so the batter is spread as thinly as possible and covering most of the pan).
- Cover the pan with a lid as the injera cooks.
- Cook until holes appear all over the injera. Around the same time, you’ll notice the outer edge of the injera also beginning to curl up from the pan. Together, these mean the injera is done (you only cook the injera on one side – no flipping).
- Remove the injera, and place on a clean cloth to cool (I stacked them on a single plate, with paper towels between each one).
As I keep trying this and make injera again in the future, I have a feeling I may tweak or combine the two recipes in some way. Some of the injera recipes I’ve seen online seem to omit the starter step, so that’s one thing I want to ask our instructor about. I also forget why we included some buckwheat/barley flour rather than using all teff flour – another question to follow up on with her. On the flip side (remember, no flipping the injera when you cook it), you know what making more injera means, right? That’s right! It means also making more Ethiopian dishes to go with it! And sharing them with friends and family. The recipe handout from the class was 17 pages long.

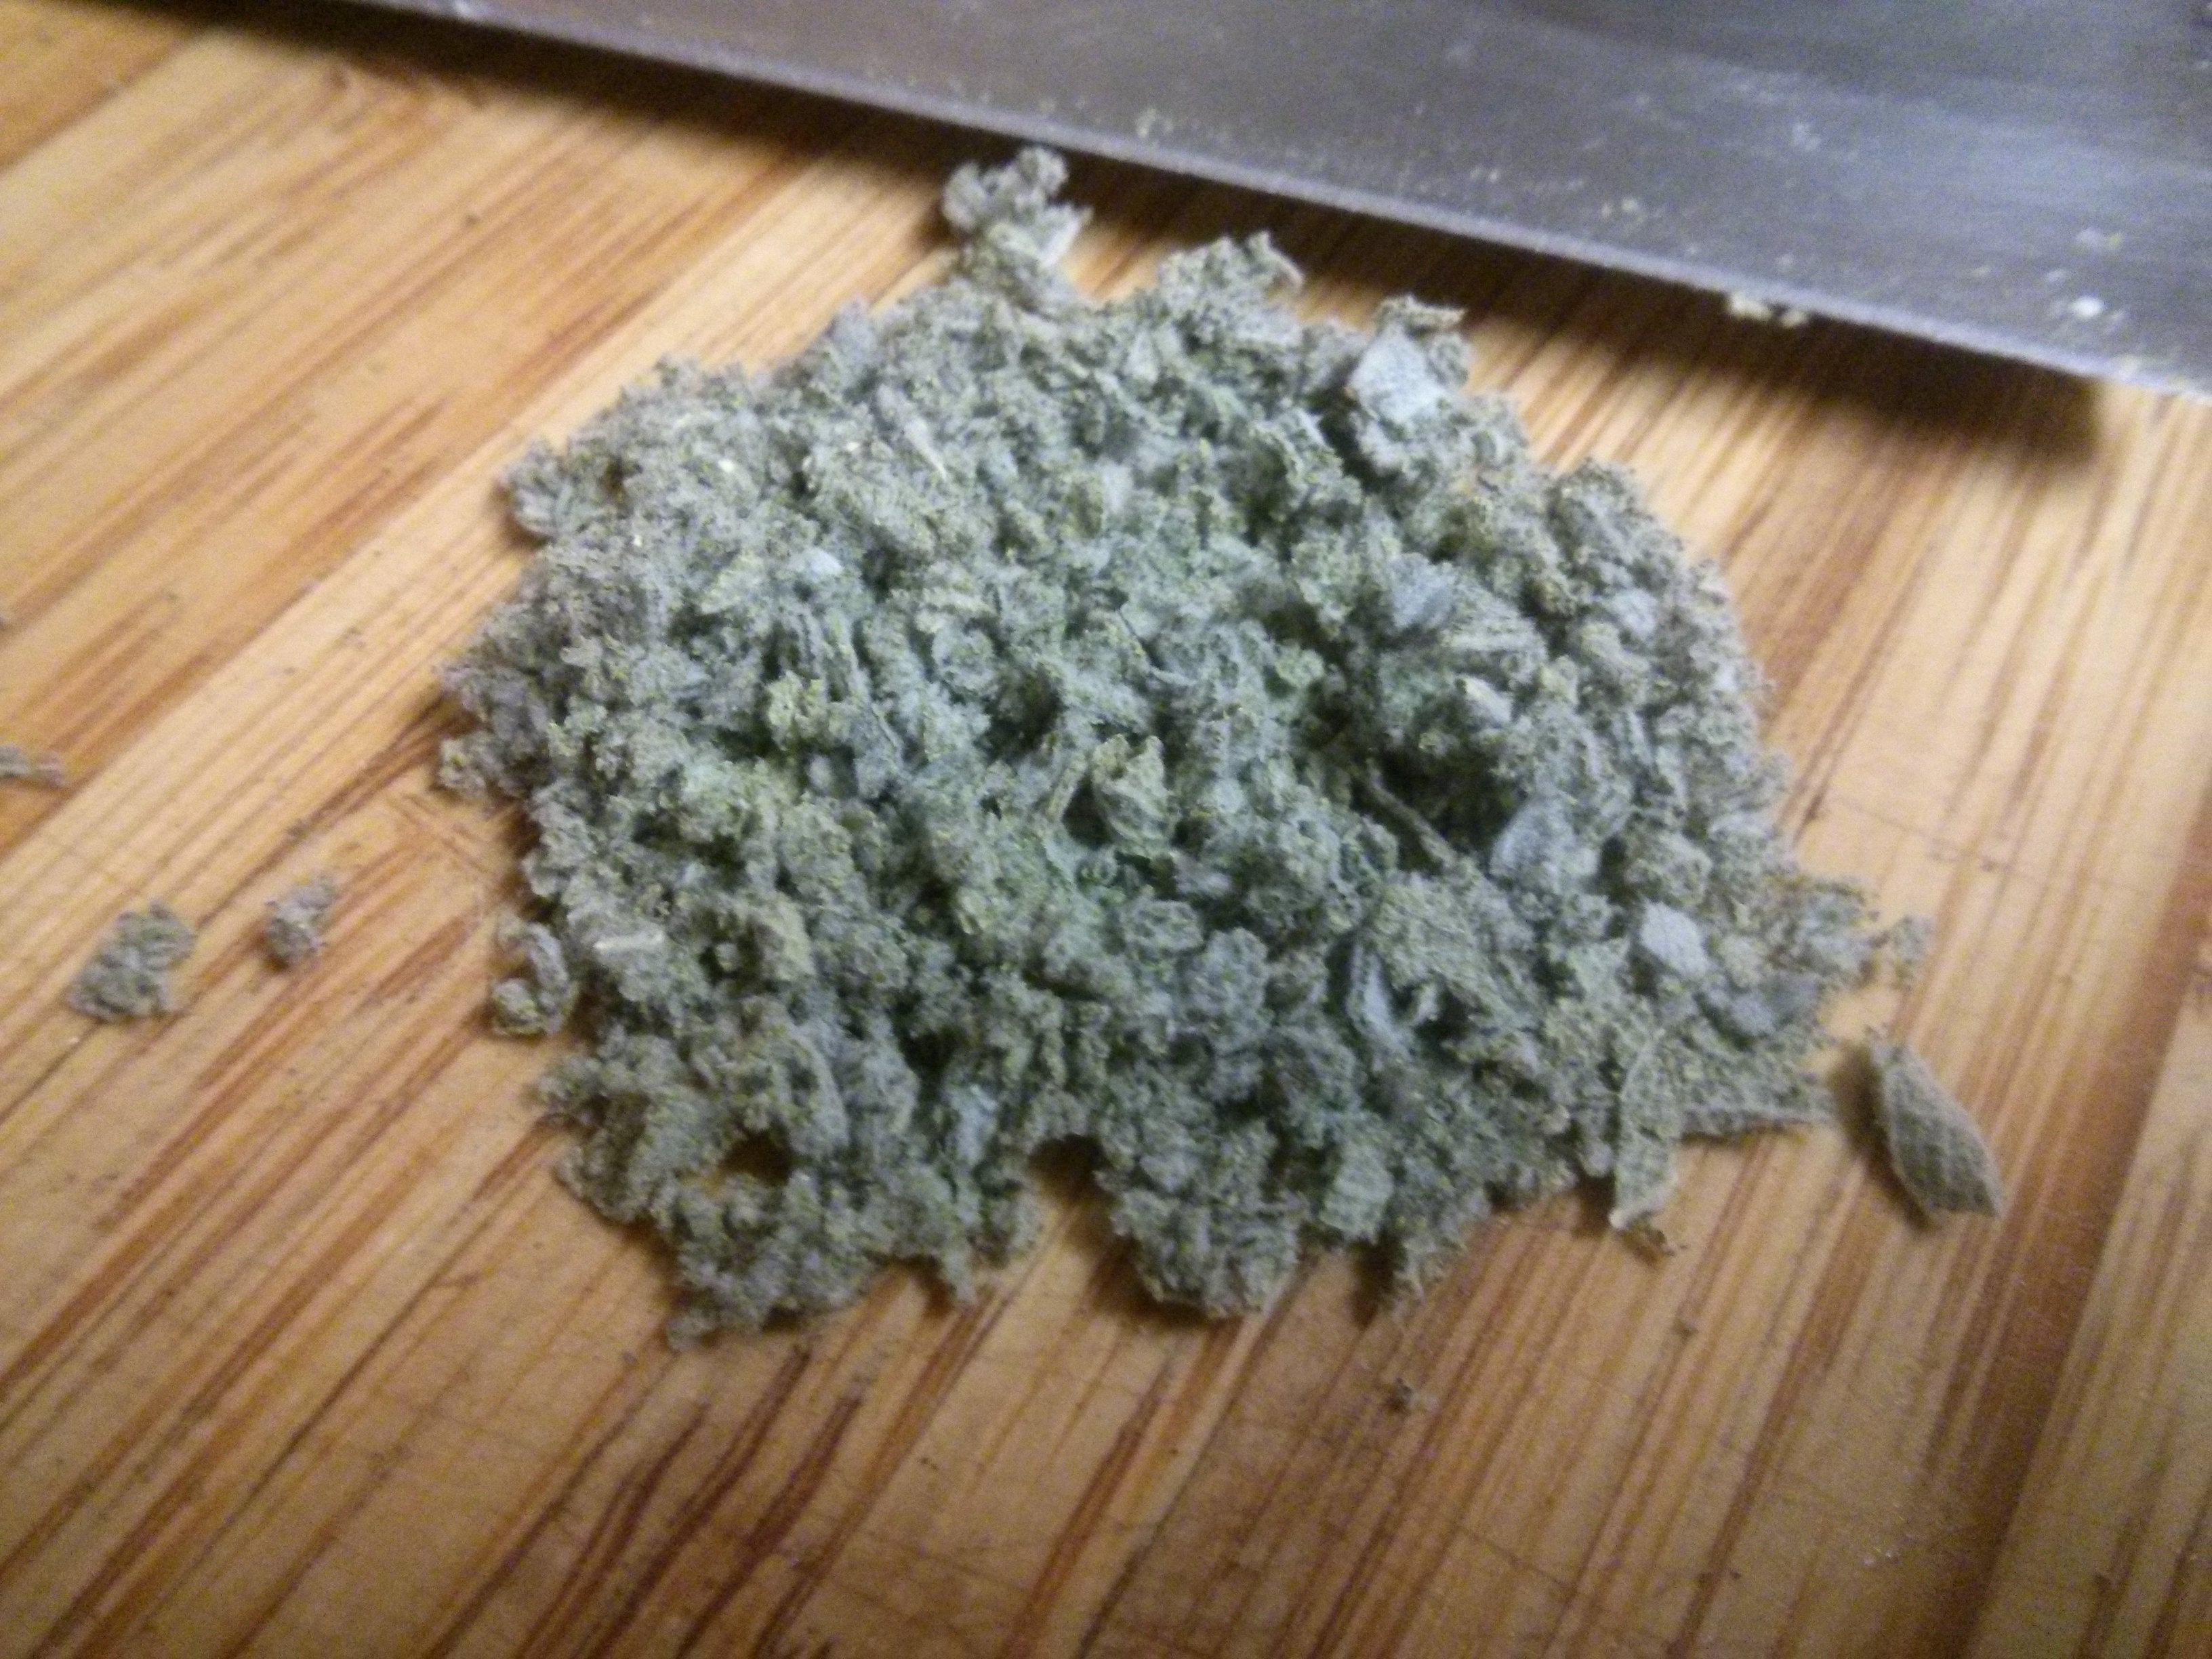
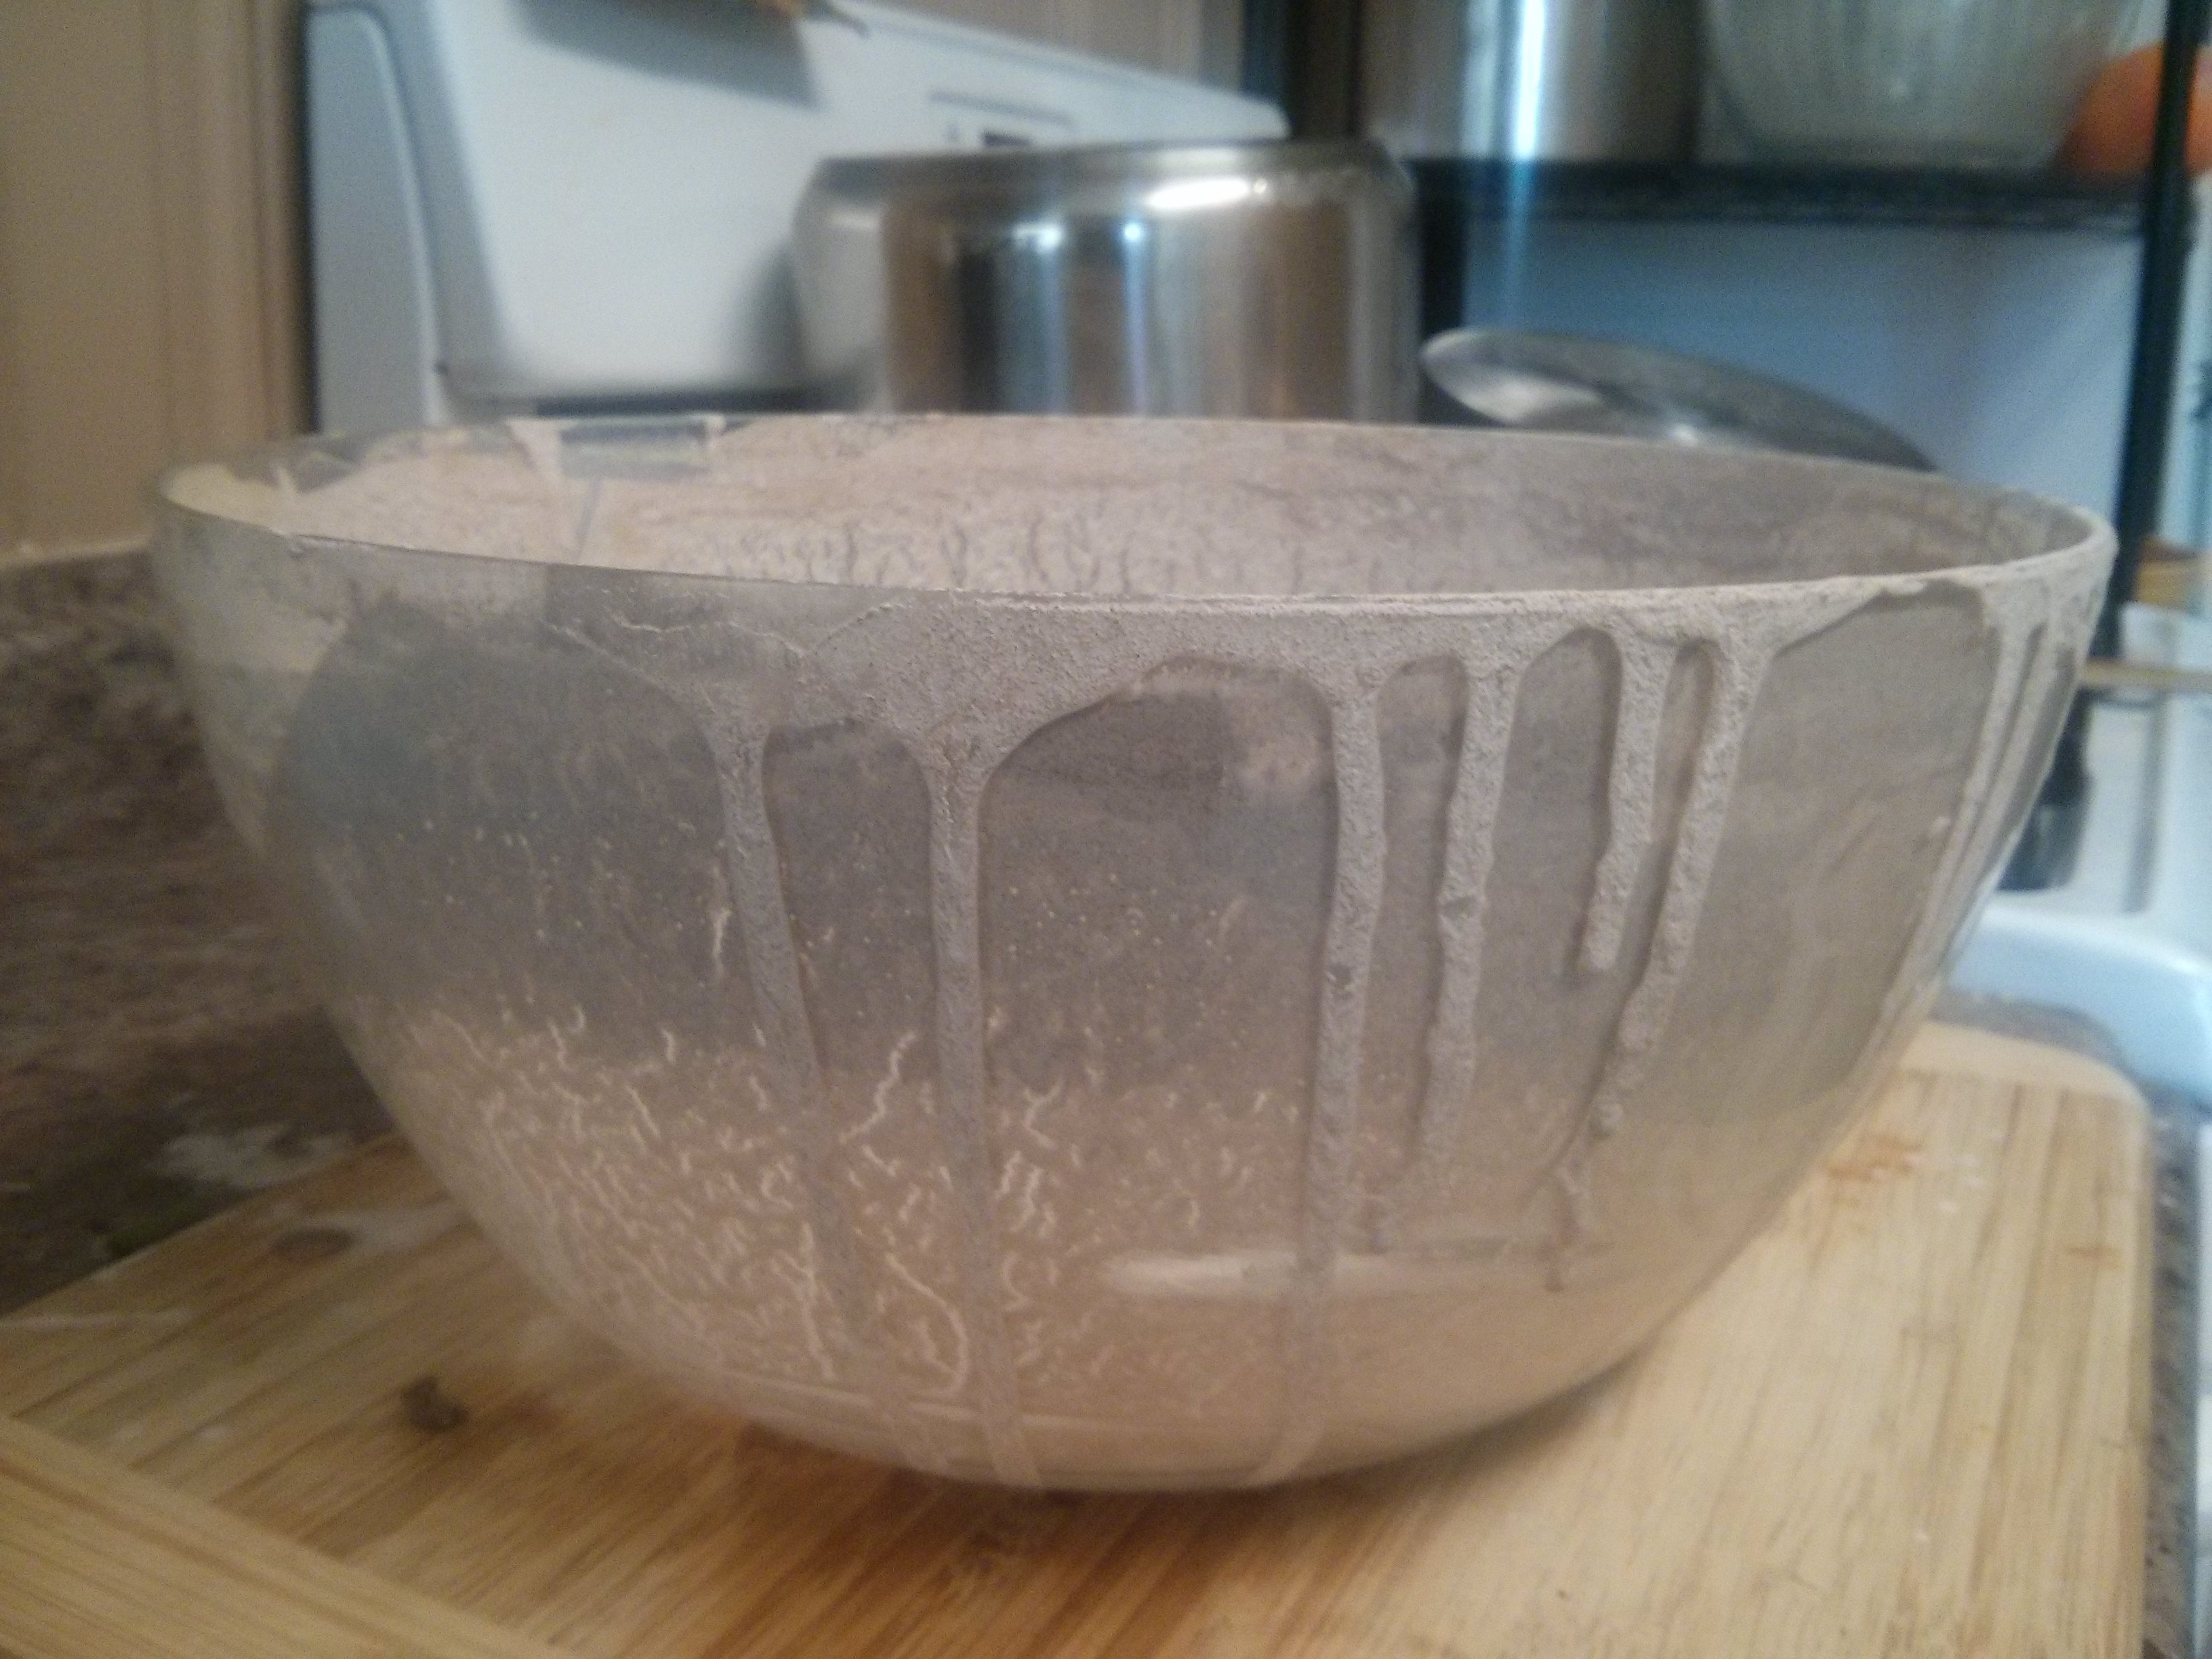
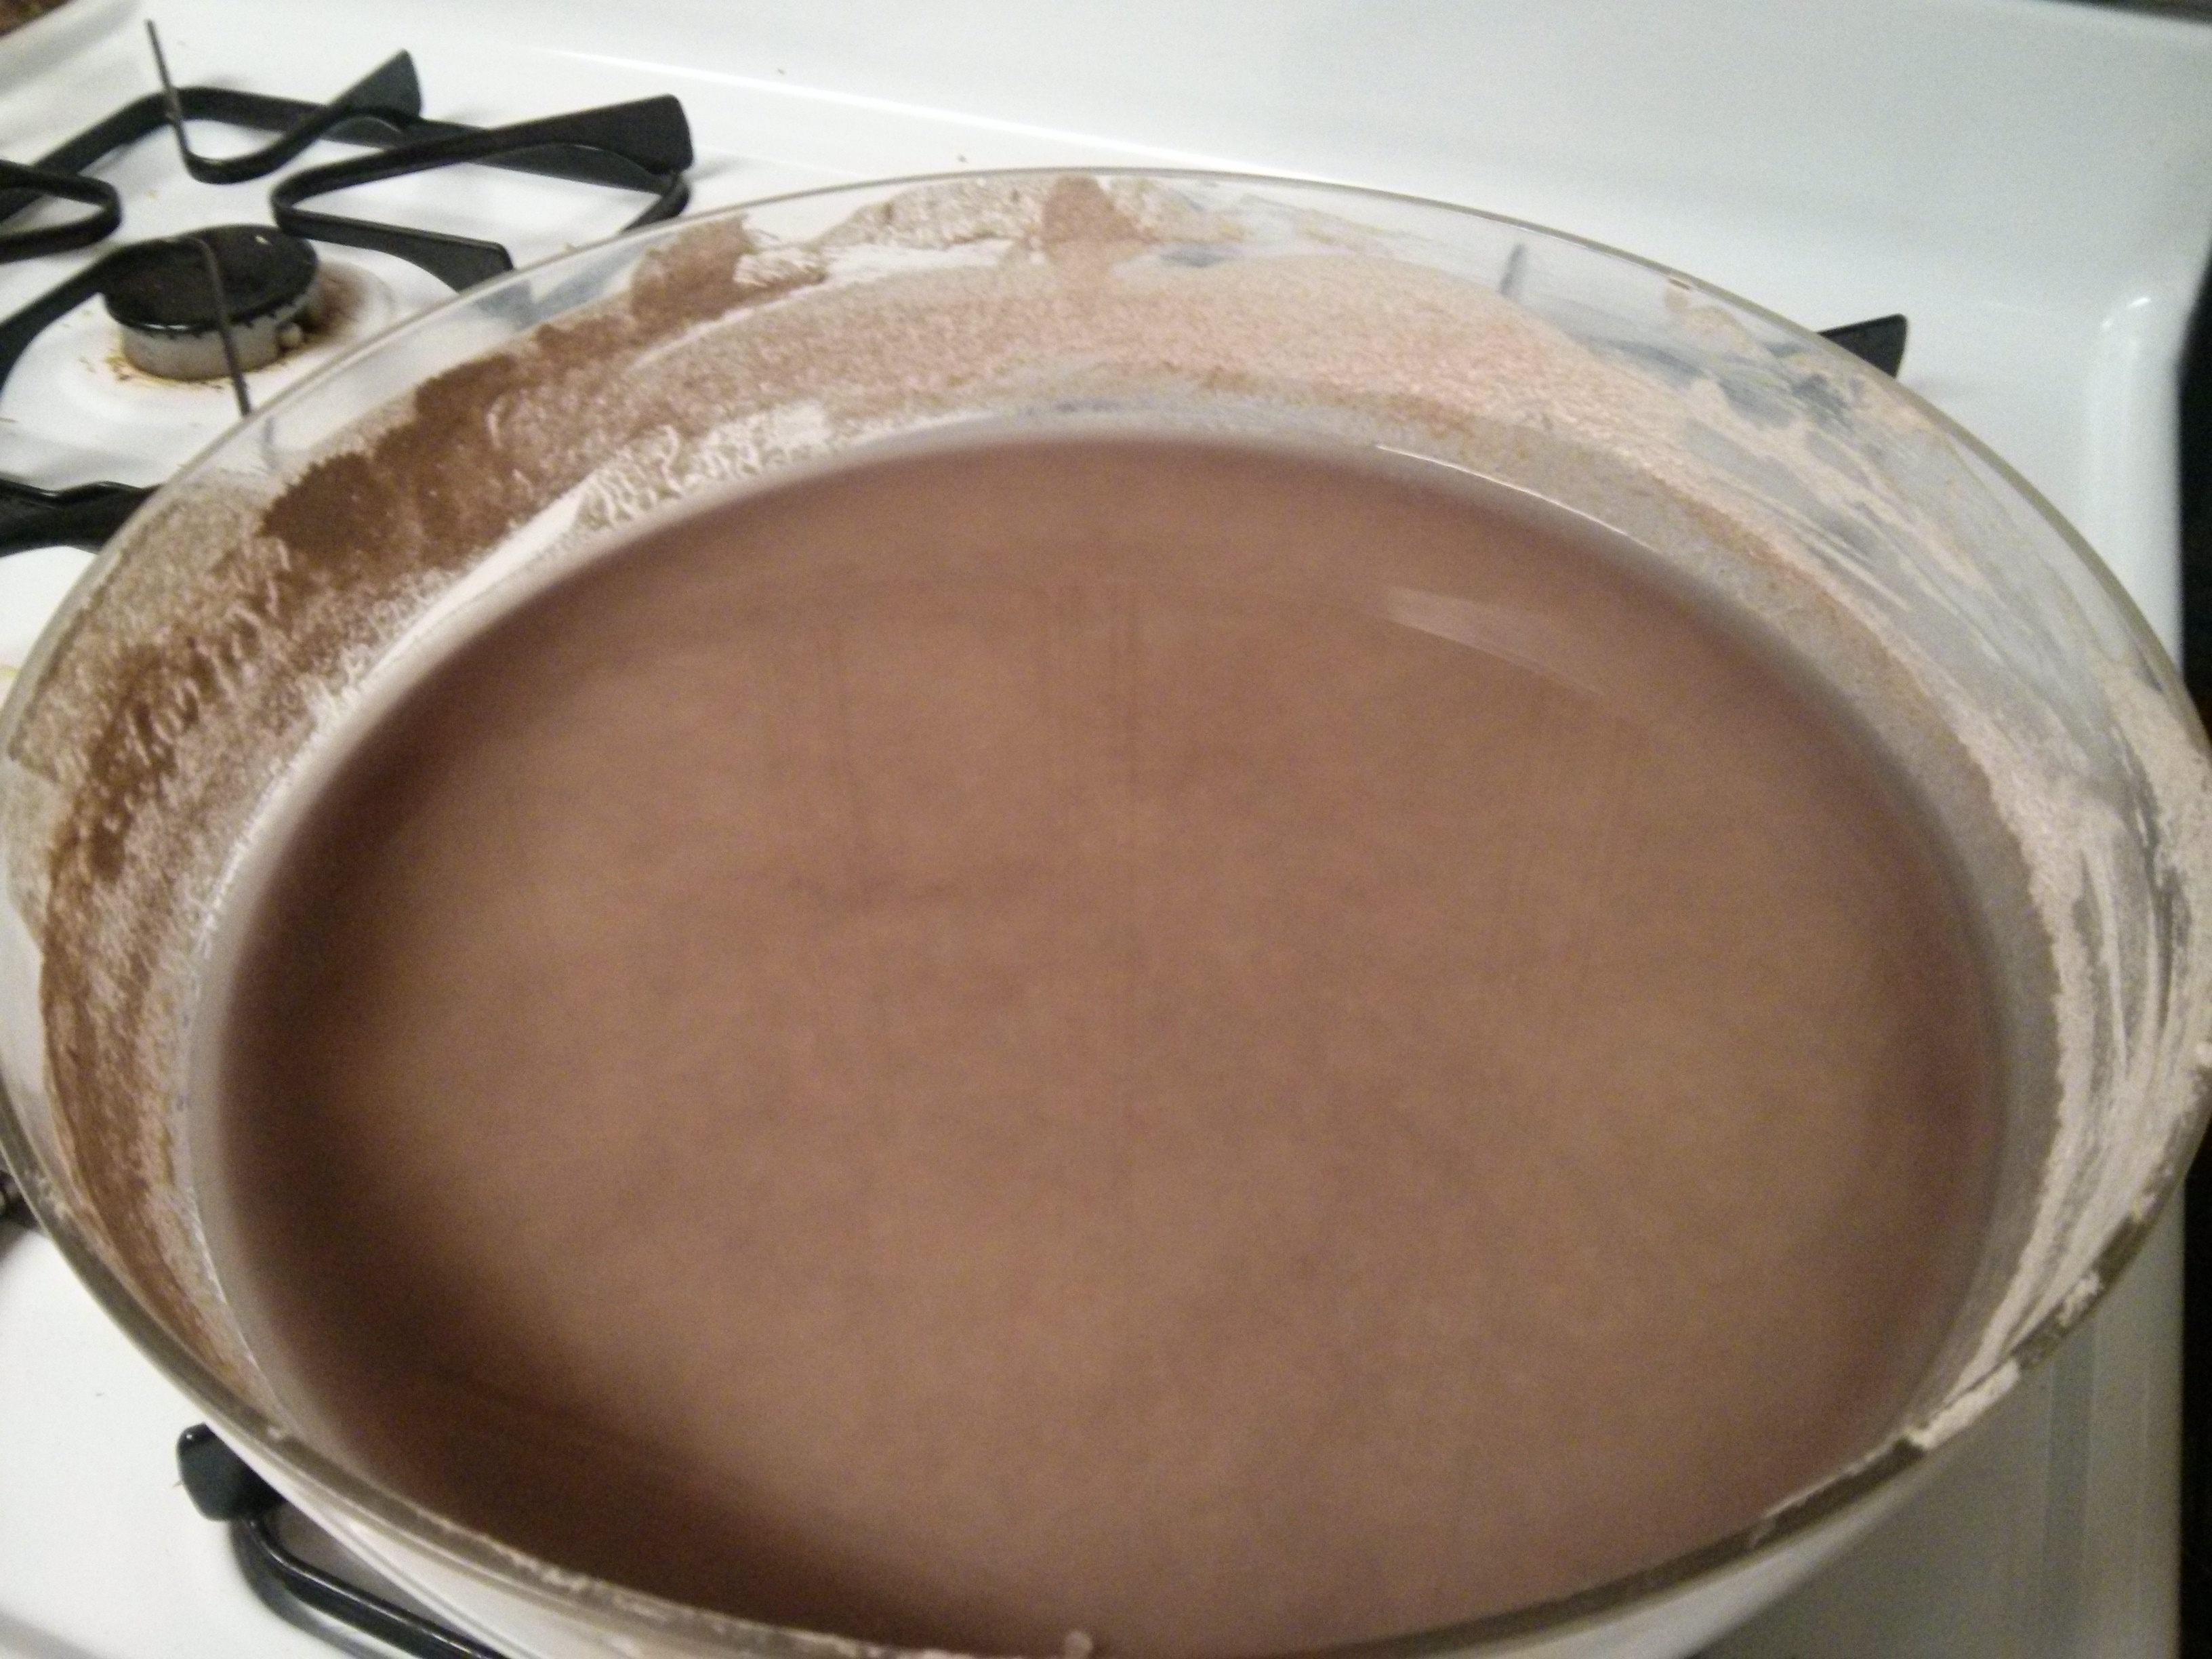
The starter at step 1 – the teff flour and water, doing a good imitation of chocolate pudding mix.

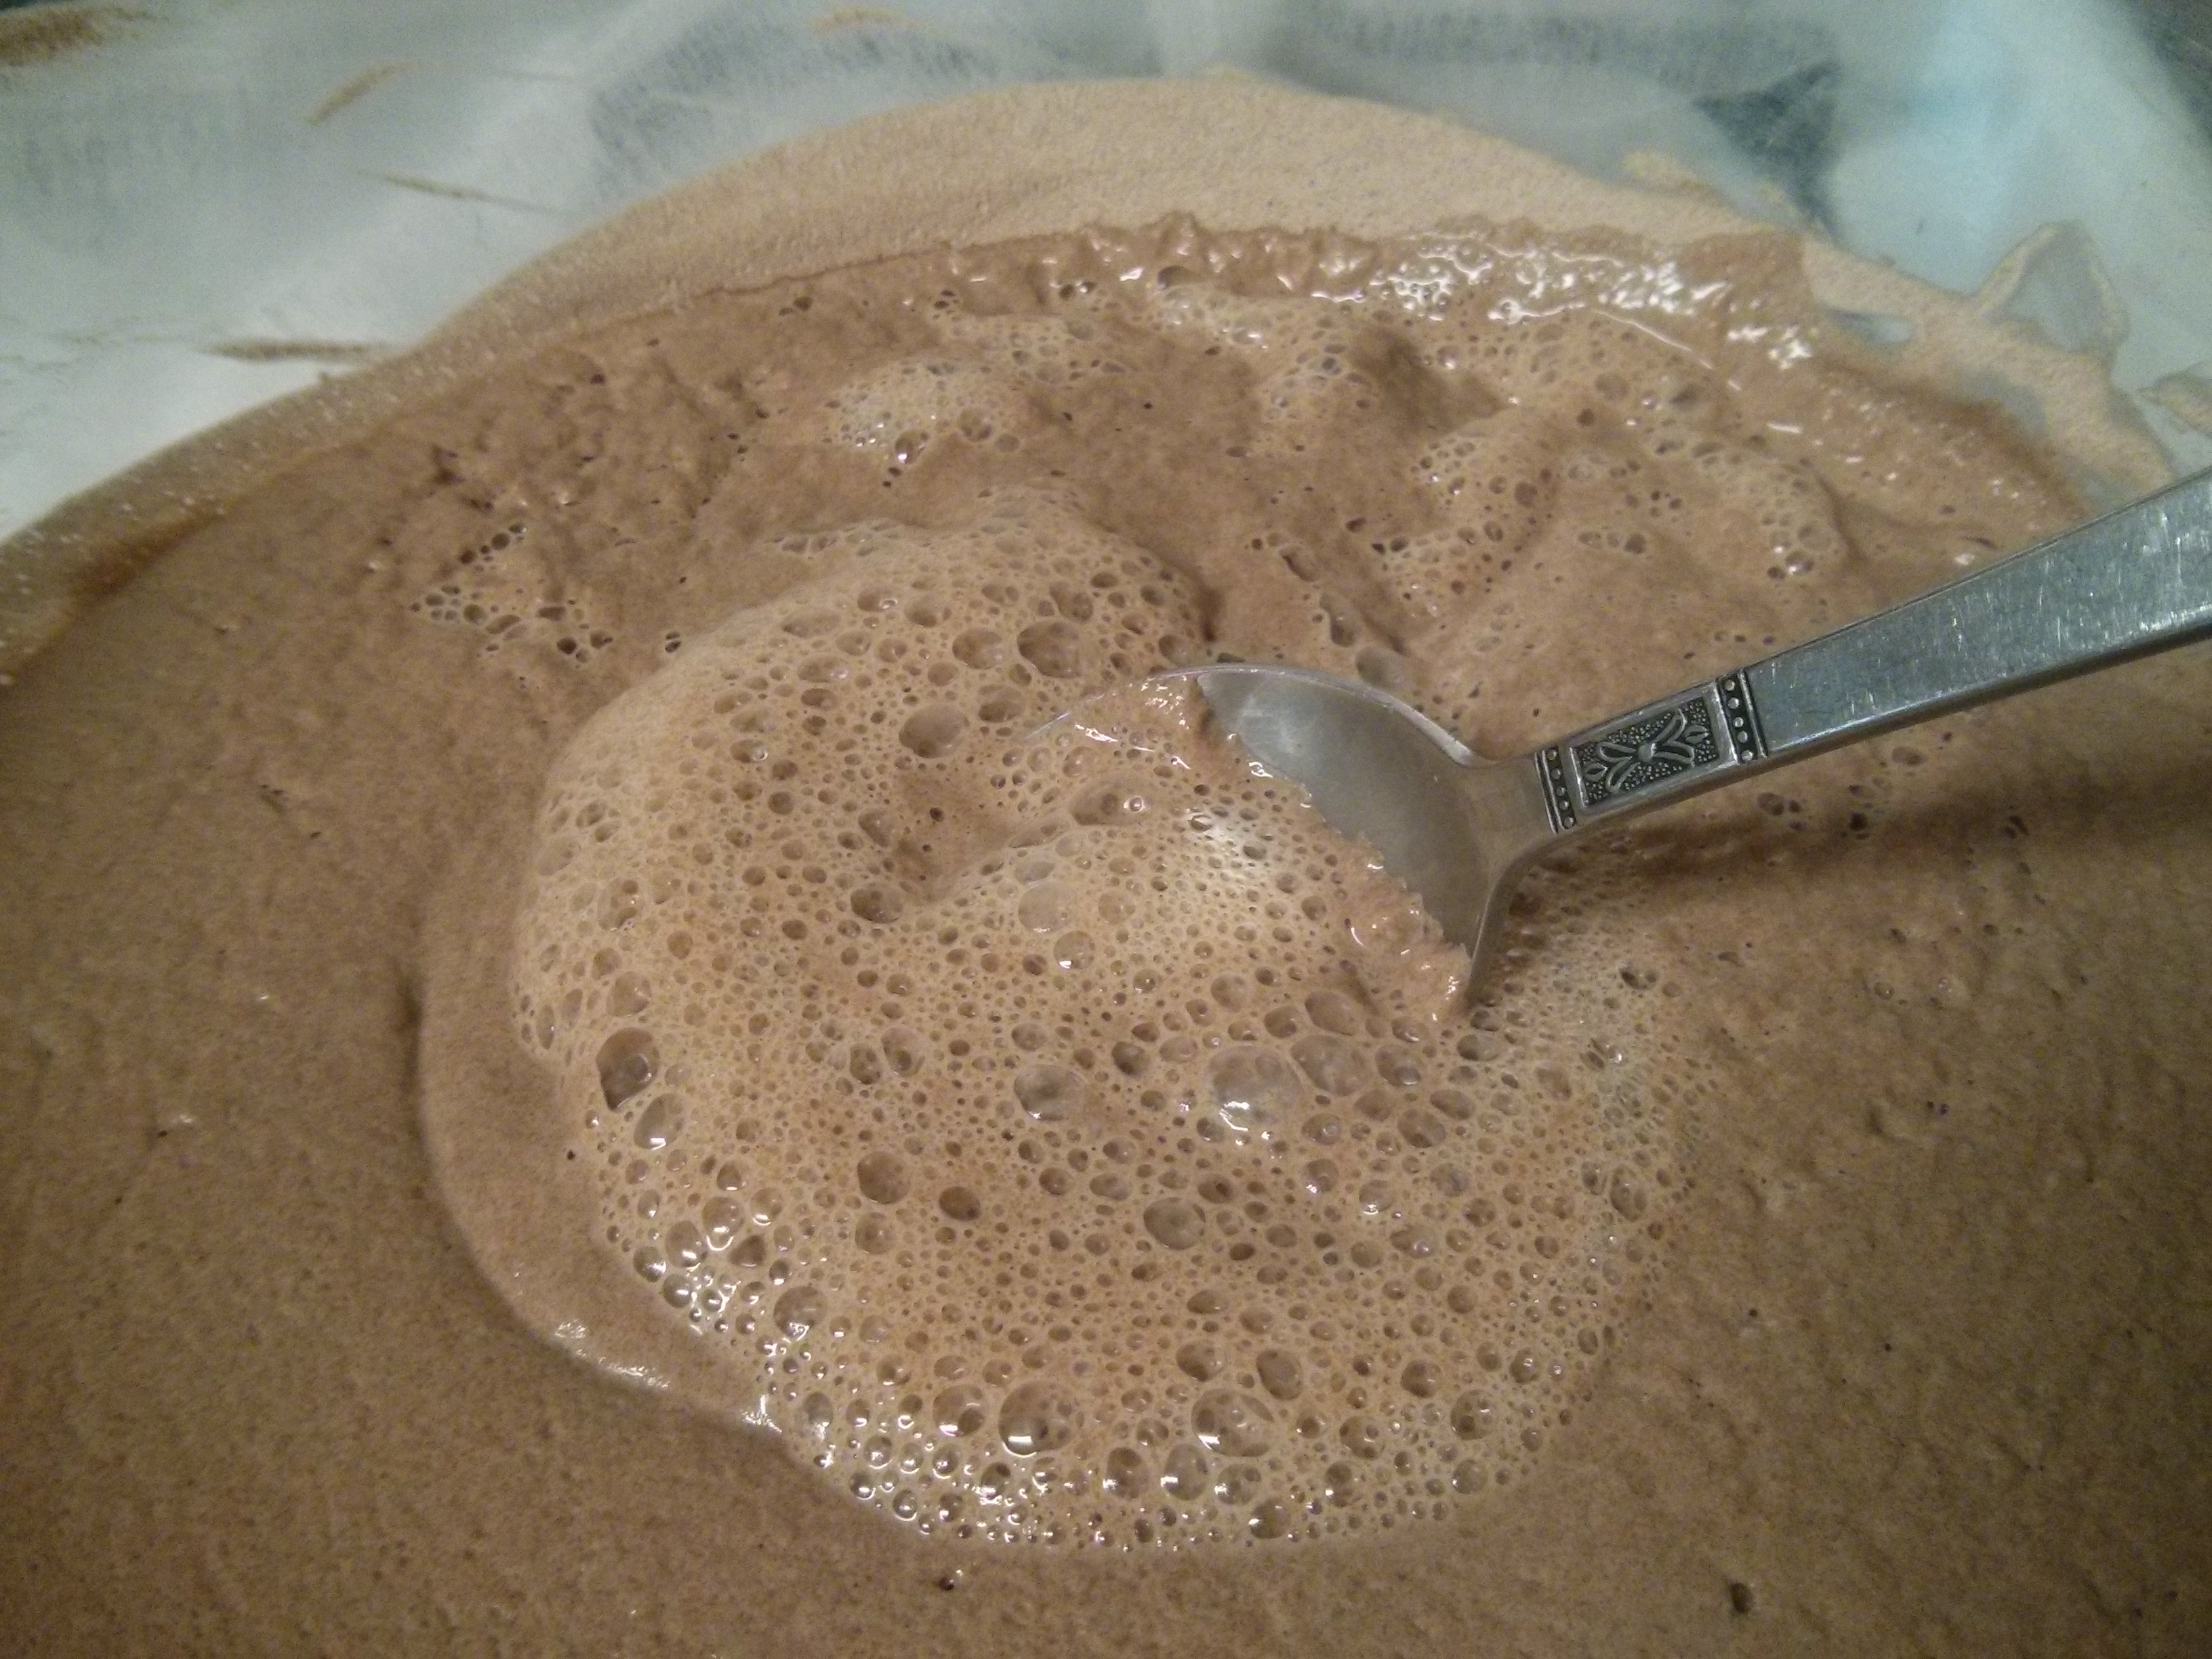
The starter after two days (also after having sat unmixed for 8 hours overnight) – a frothy top, plus bubbles bubbling up when mixed.

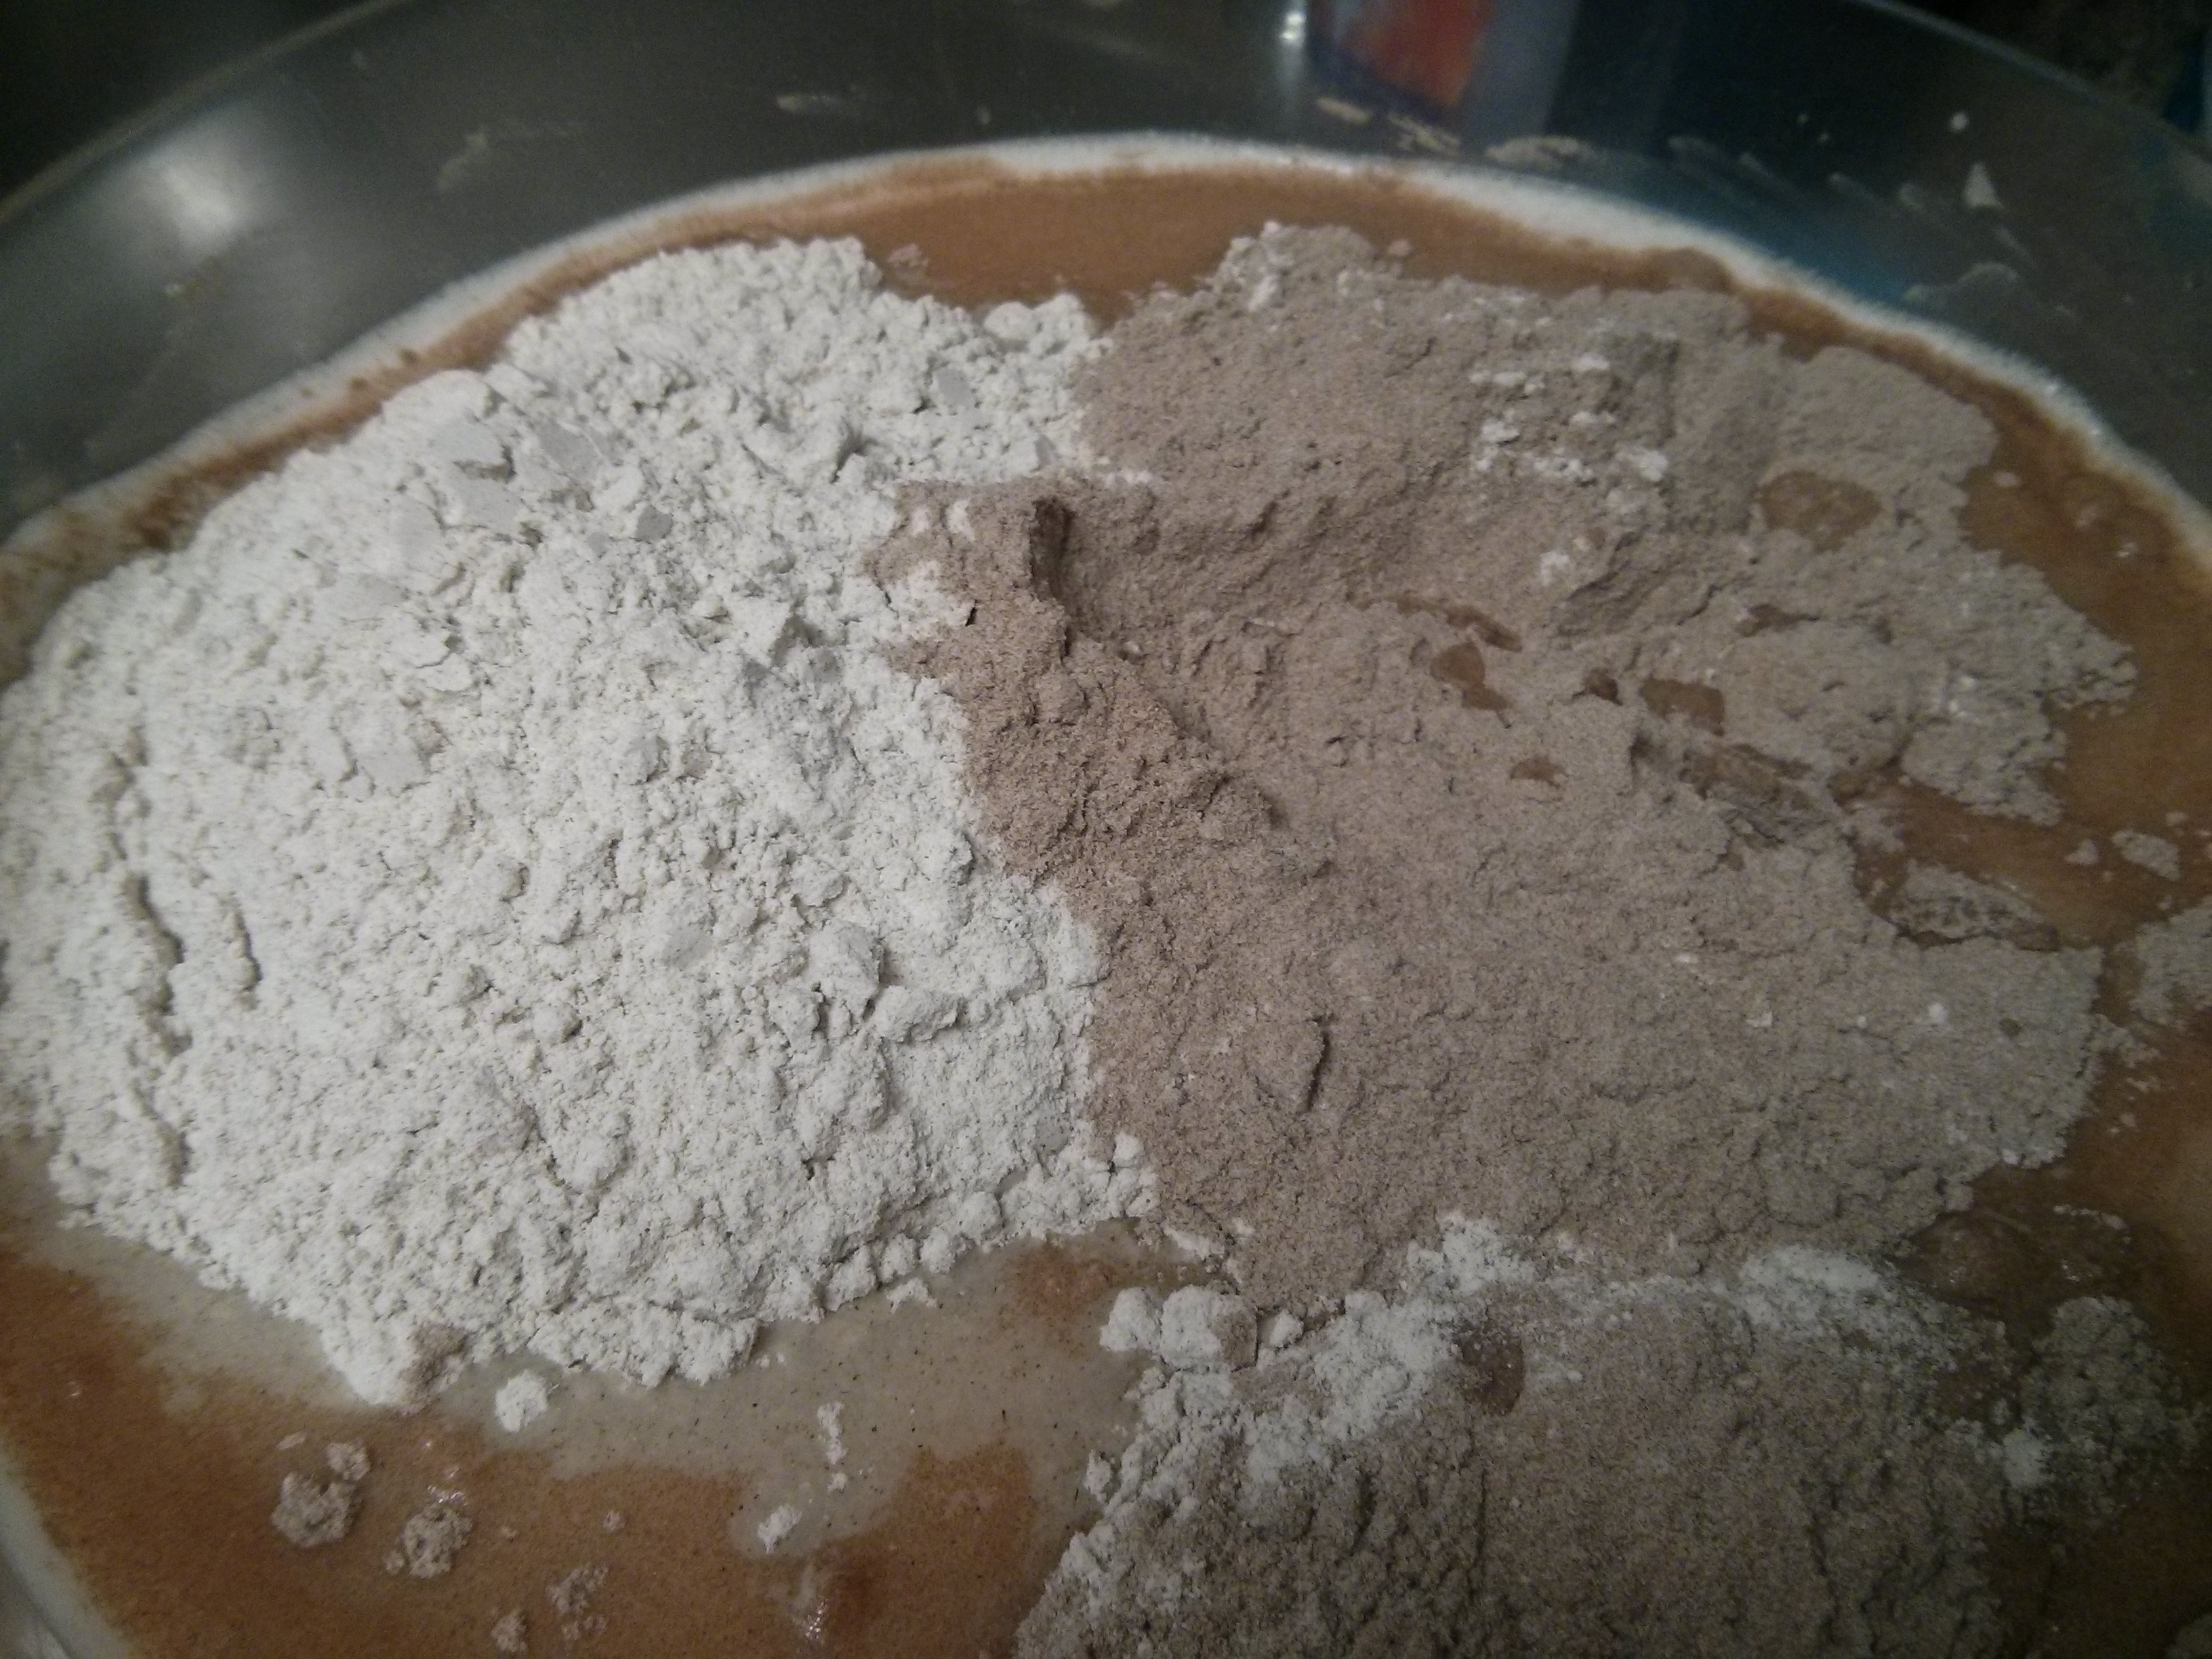
The starter ready, so now time to add the (additional) teff flour and buckwheat flour and to make the batter bigger.

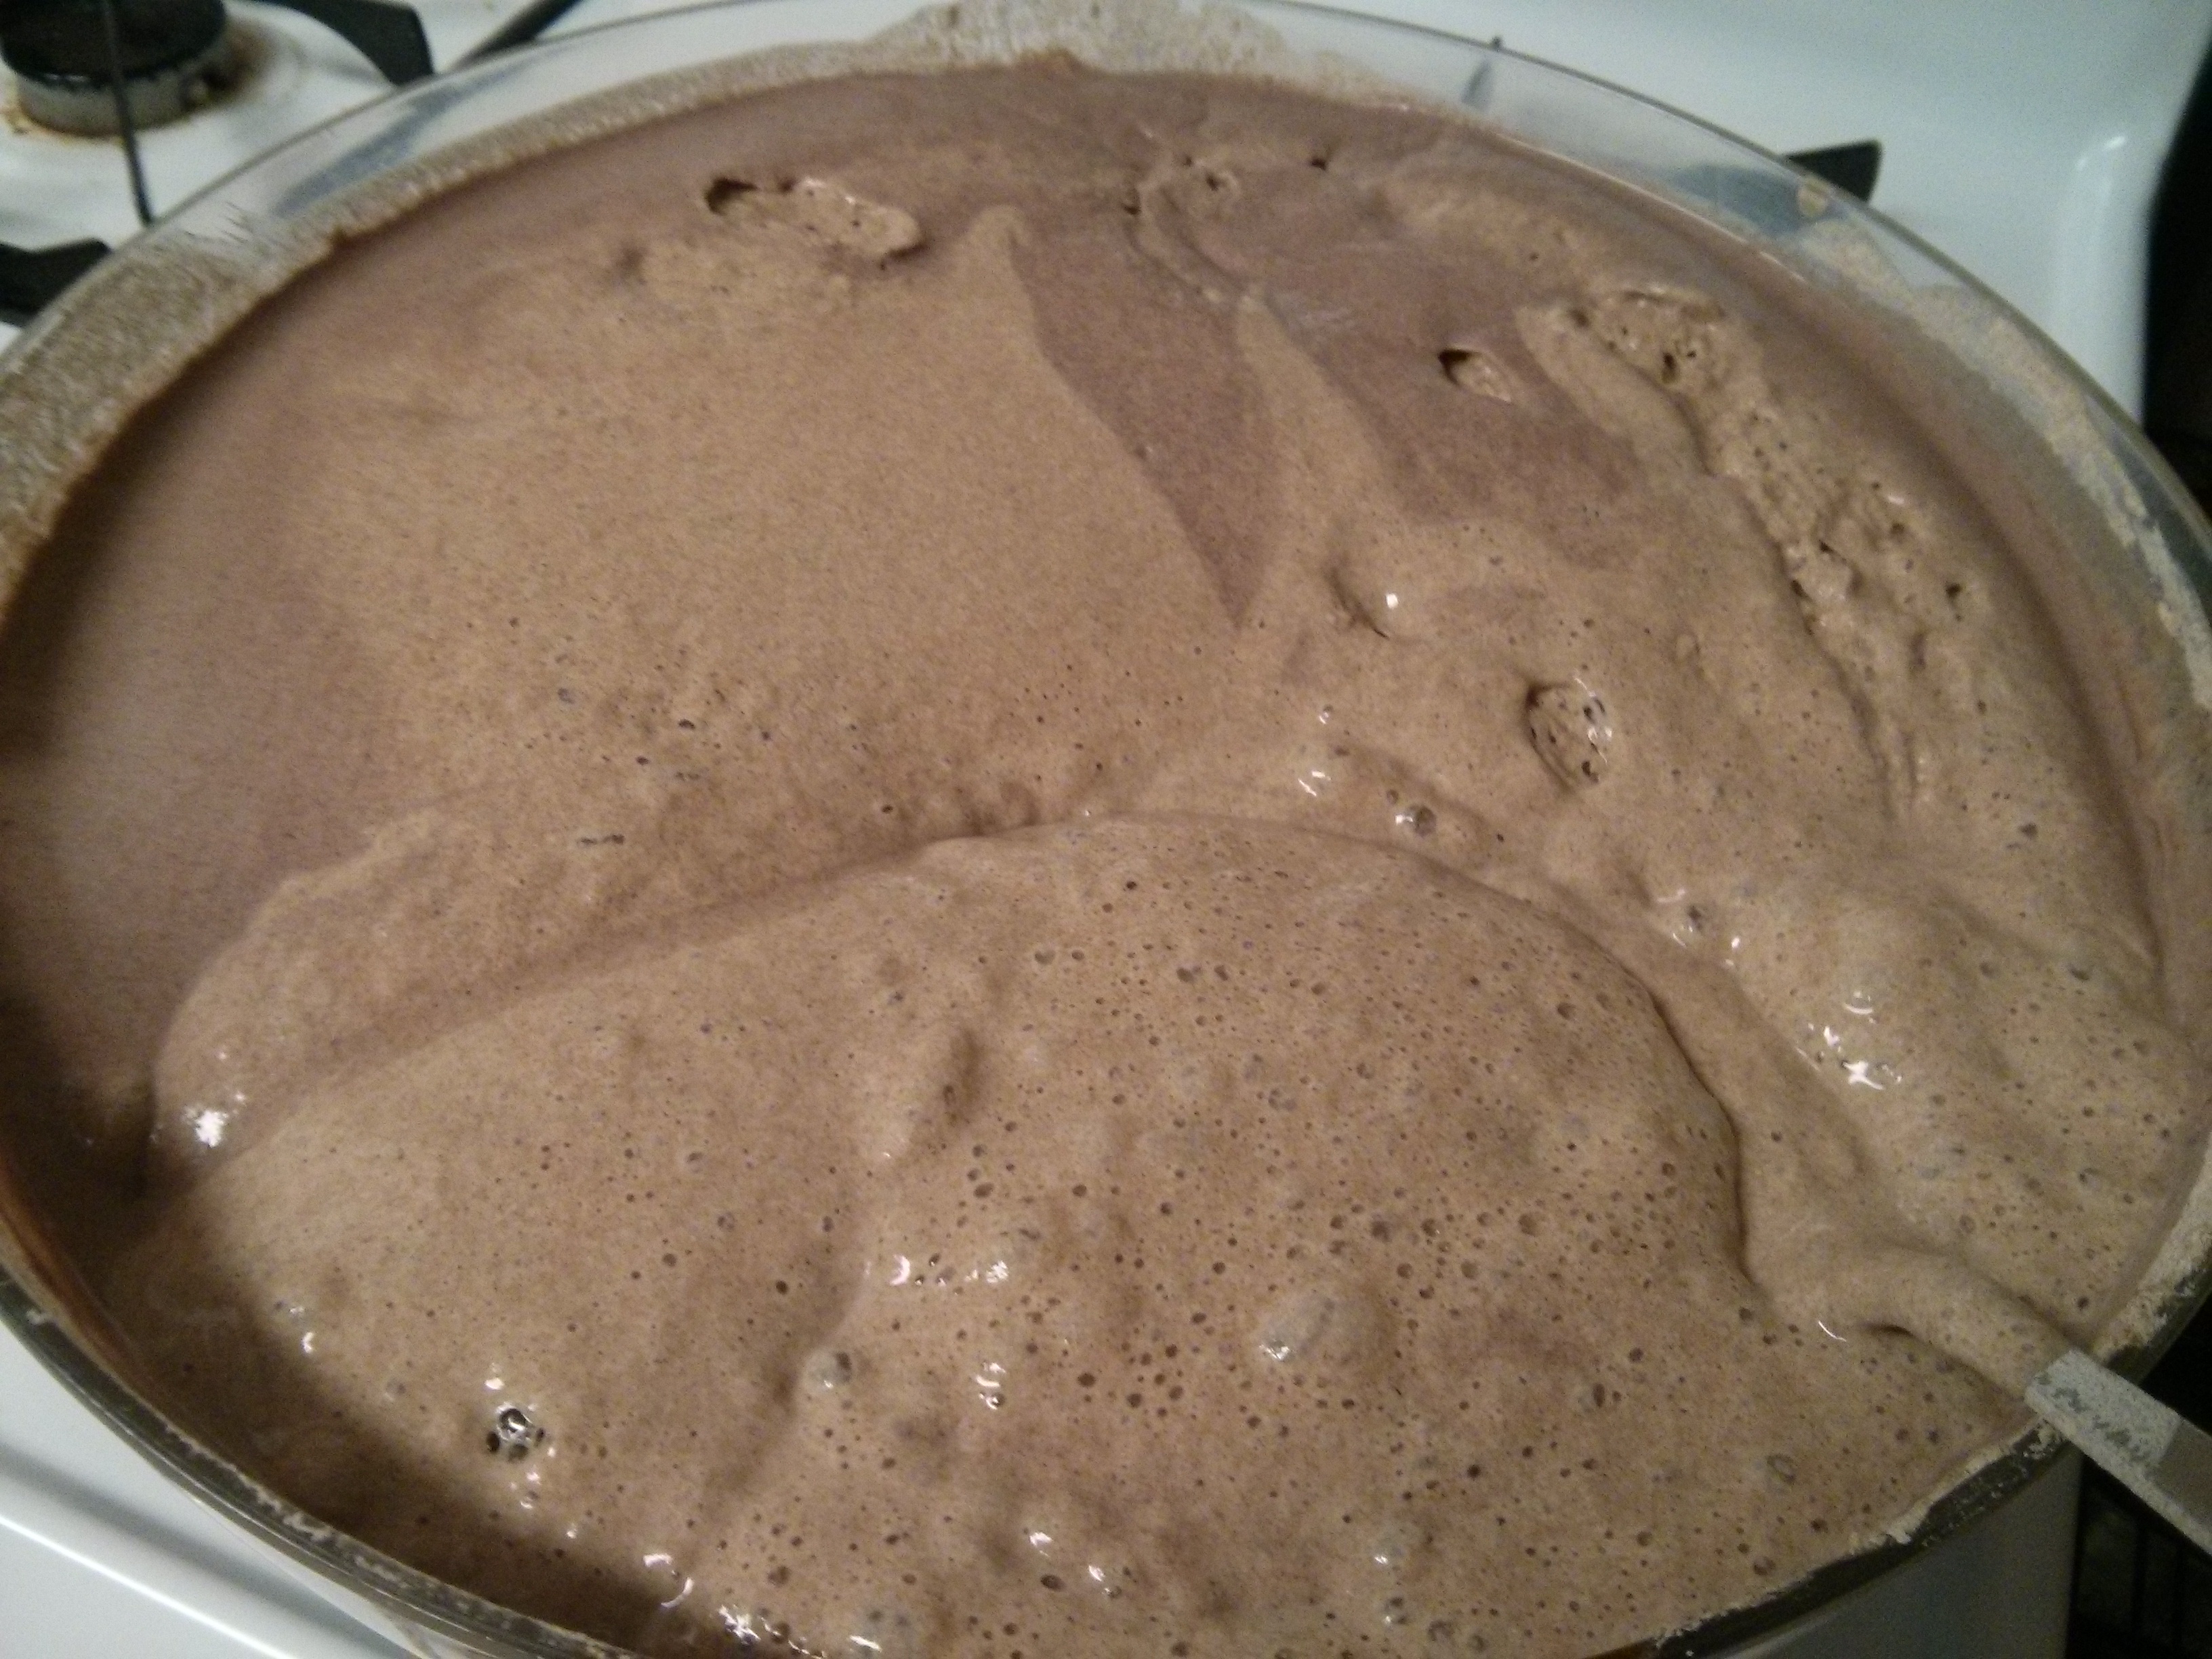
The injera batter, half a day later – with a thick, chocolate mousse-like consistency (until I mixed it).

And the injera batter a day after the initial mixing – temporarily settled in anticipation of the cooking step.

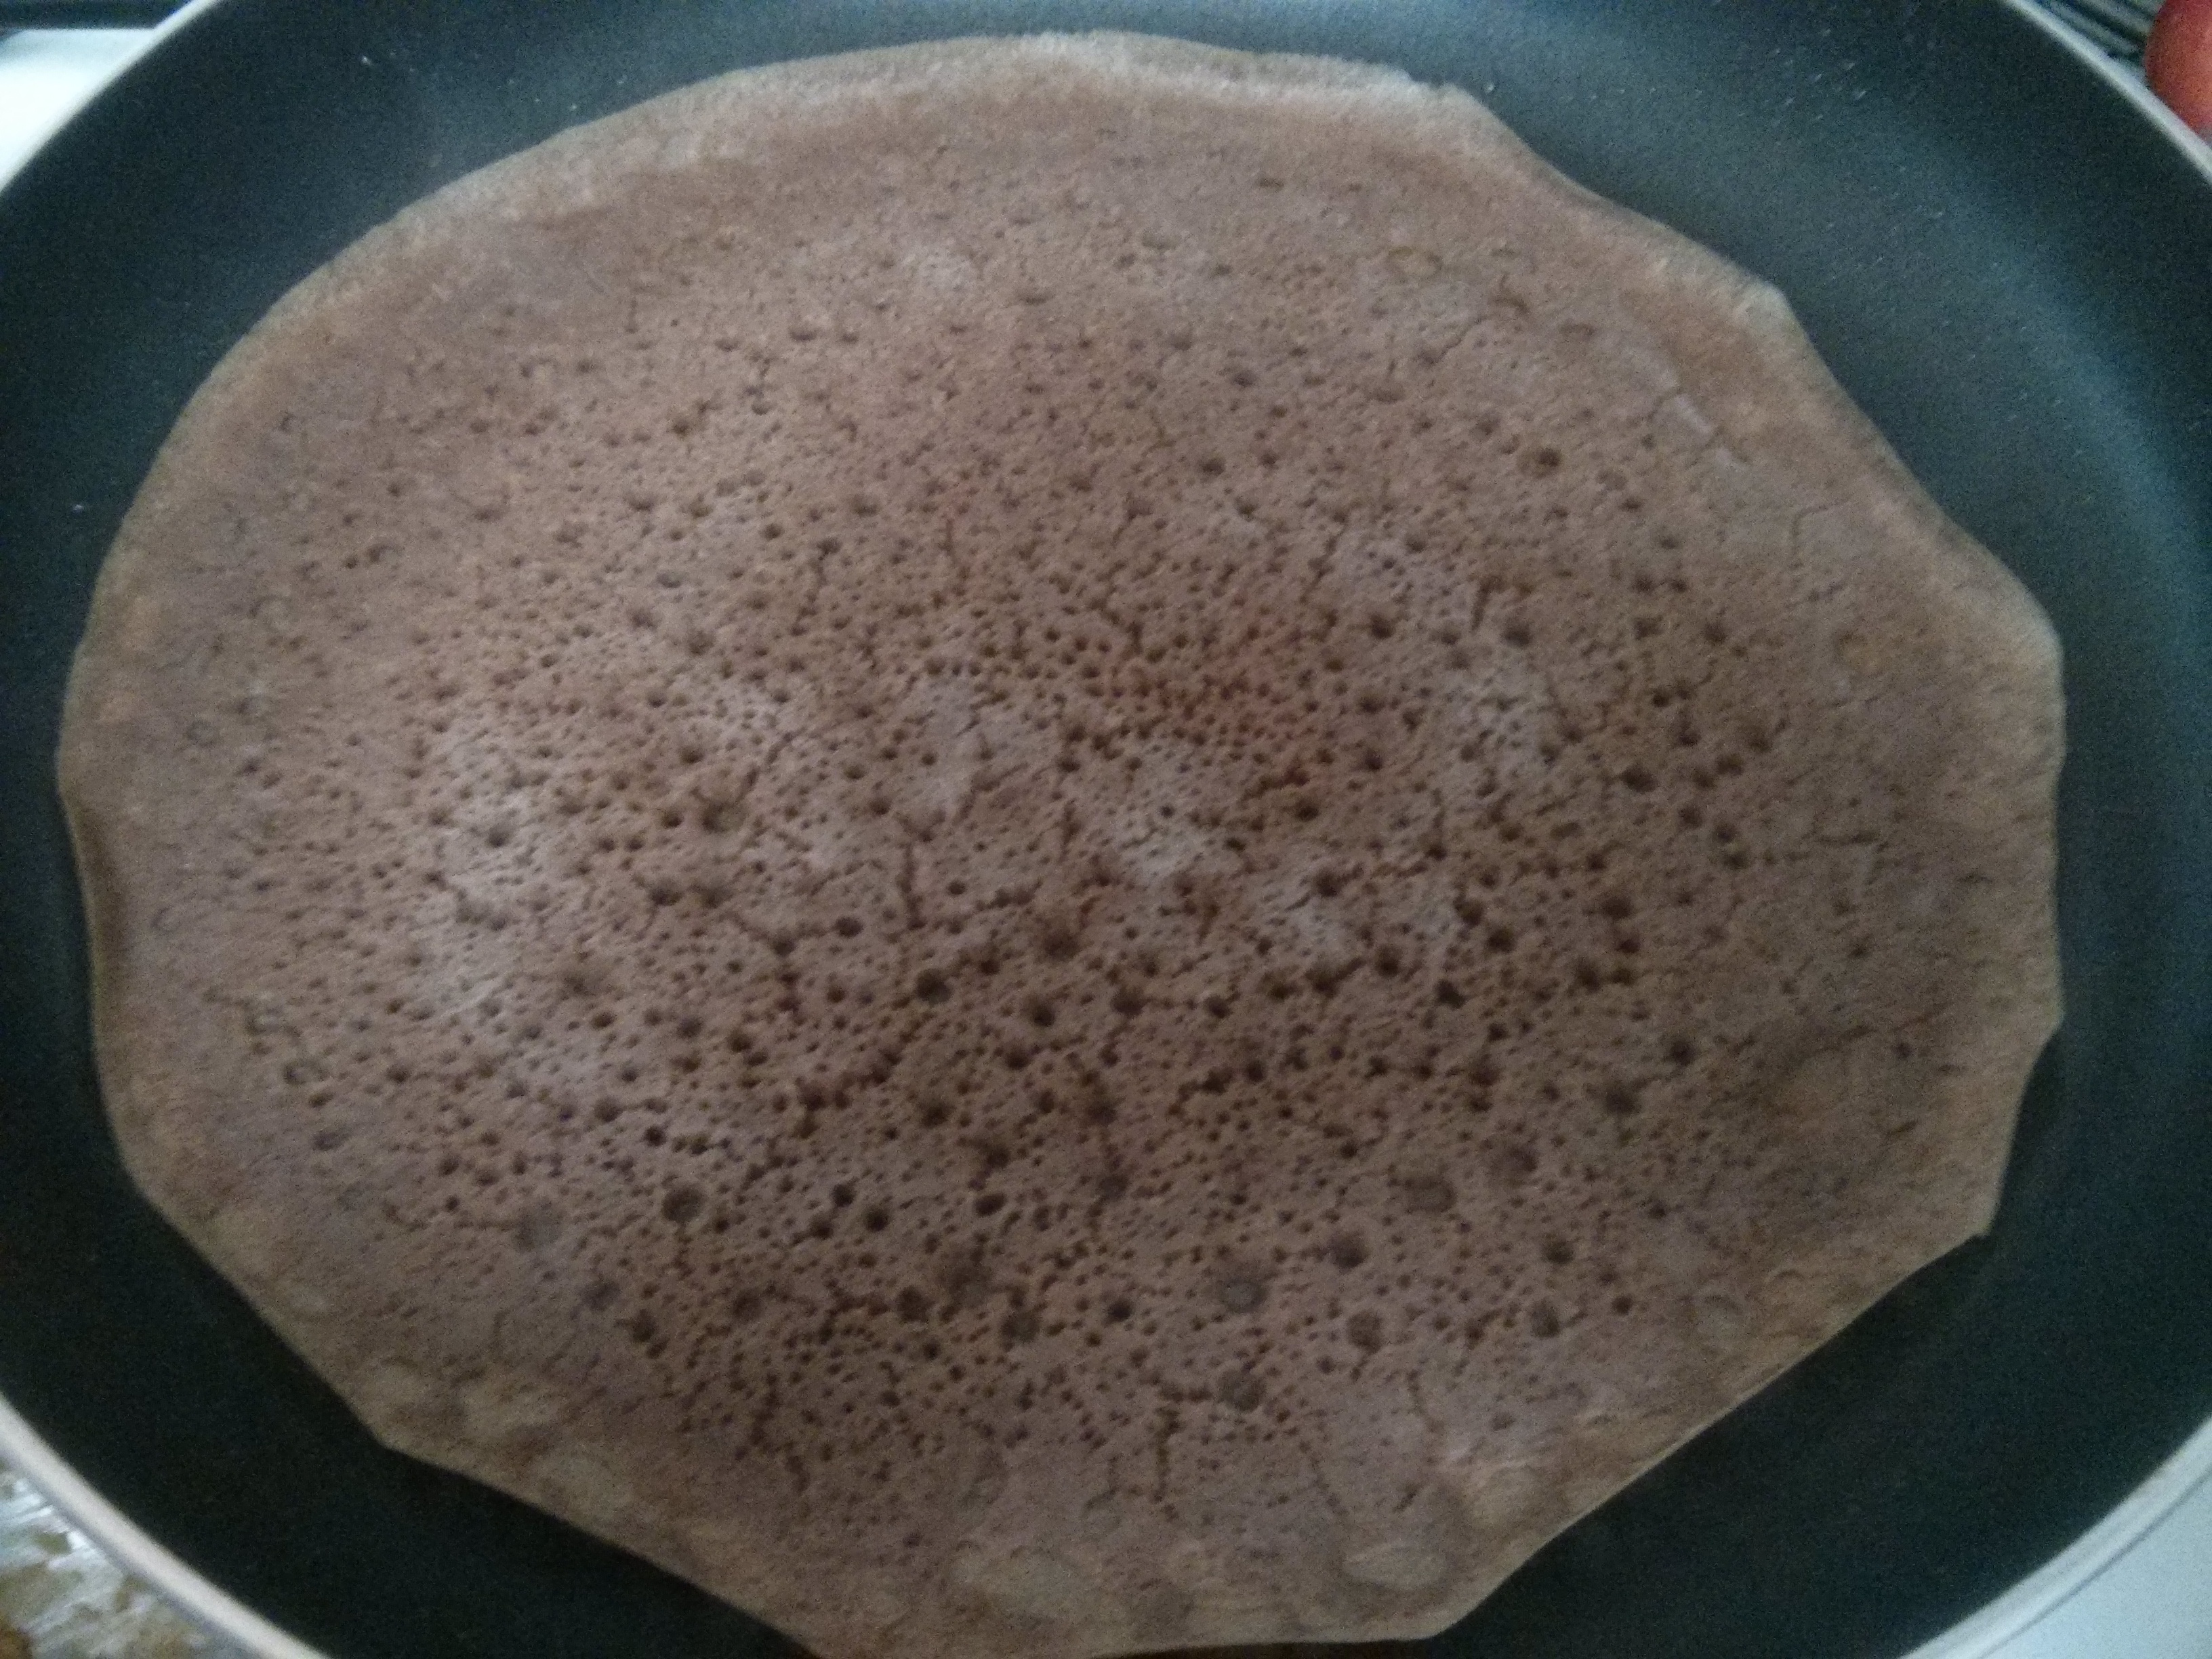
It was the best of injera times

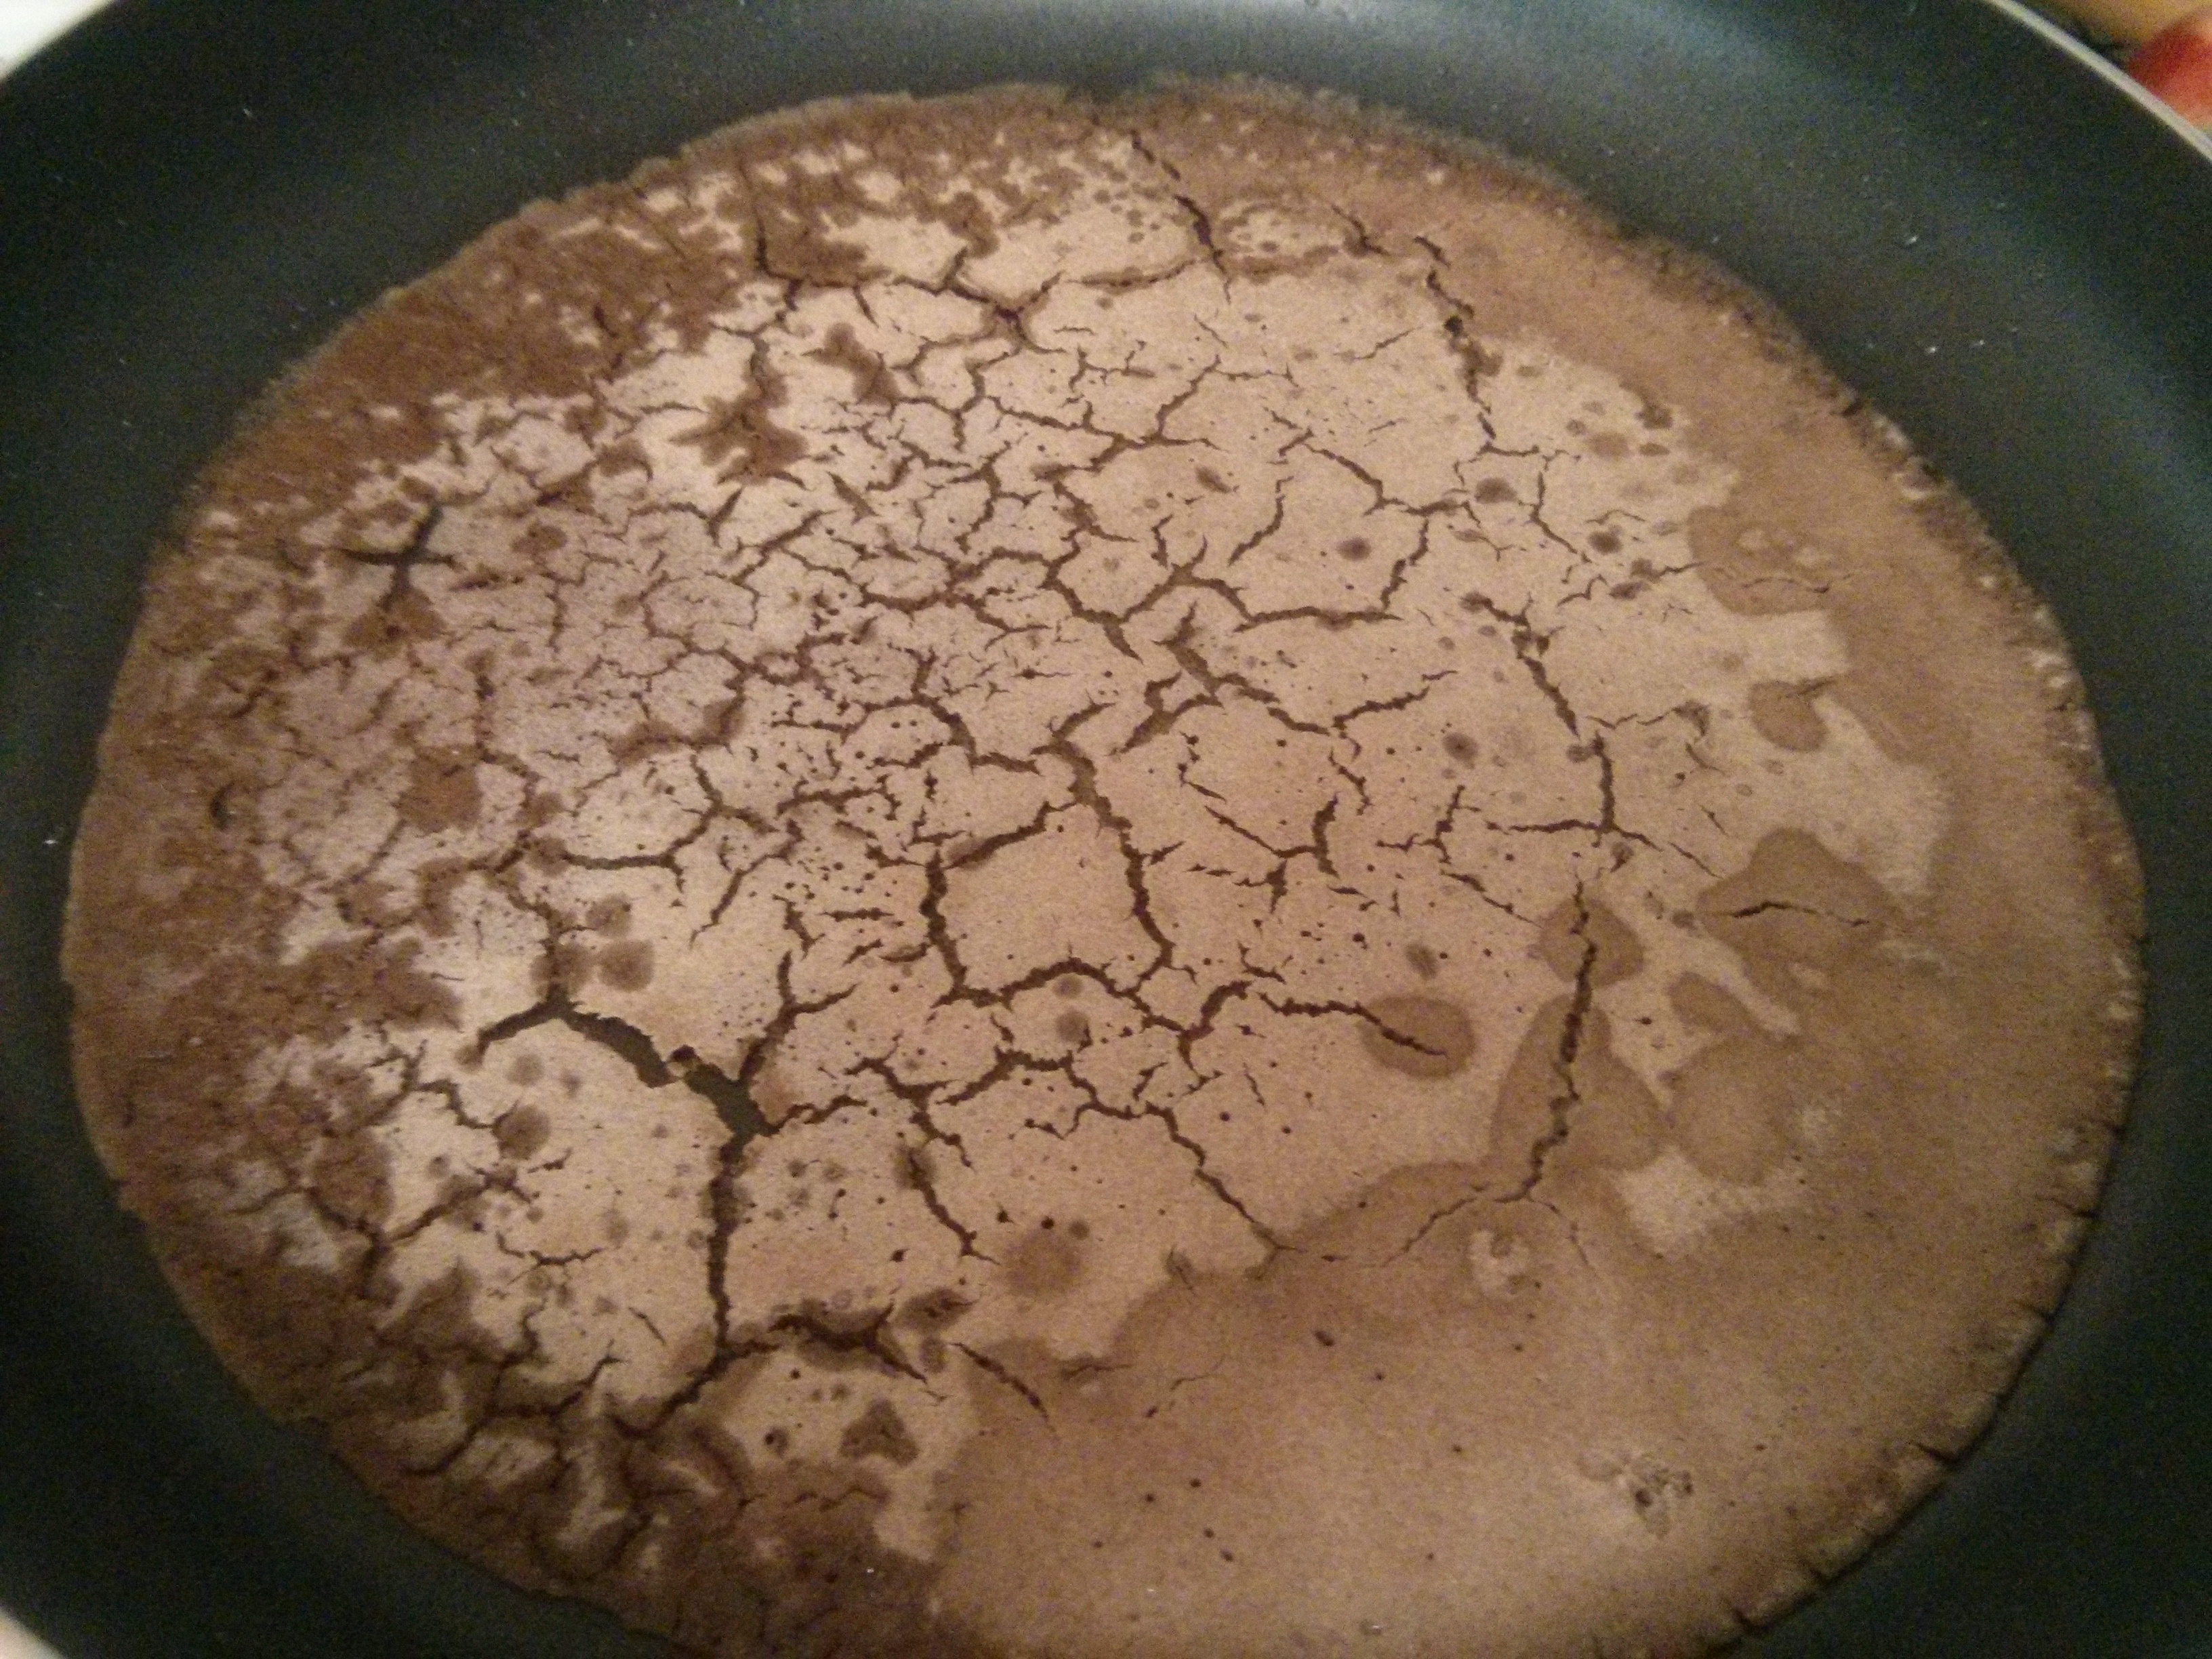
And not the best of injera times
But overall it was a good time. One note to self for the next time: Remember to cover the frying pan when cooking the injera. My mom and I were trying to figure out why the injera wasn’t cooking evenly, and one by one and by trial and error, we settled on the following as the optimal system: use about a 1/2 cup to 5/8 cup of batter at a time, do a quick swirl-turn of the pan to spread the batter out (and do the swirl-turn fast so as to not have the pan off the burner for too long), and also move the pan around as needed to give more heat to certain parts. But the cover! I forgot about that. That may have been the single key to the question of ‘how to cook the injera evenly, and easily.’ The recipe above made about 15 pieces of injera. Together I think we ate 5. Good, spongy, slighty tangy: injera.
At this point, I know there might be another question out there: “Yes, there’s been a lot of talk about injera, and those bowls of brown liquid look lovely, but how hard is it to find flour?”
To this question, I will say, It’s not as teff as you think.
If you live in the greater Princeton area, you barley have to go far at all.
You could even ride your bike to the store, if you’re a young buckwheat like me.
Okay, maybe that last one wasn’t the best, but you gotta admit, the first one’s a good starter.
Pero en serio, we have some options. Store-wise, the best one-stop options for flour are the Whole Earth Center and Whole Foods. Both have teff, buckwheat, and barley. The rest that I checked out were kind of hit and miss, yes-this and no-that. Wegmans has teff and buckwheat, McCaffrey’s has buckwheat, and Shoprite has barley. Wegmans had the lowest-priced teff, but otherwise the prices were about the same – a little more here, a little less there. So unless you really like food-shopping and driving around (or perhaps biking or walking, if you’re buck-wheating the trend), hitting up one of the W stores should work fine for all your injera needs.

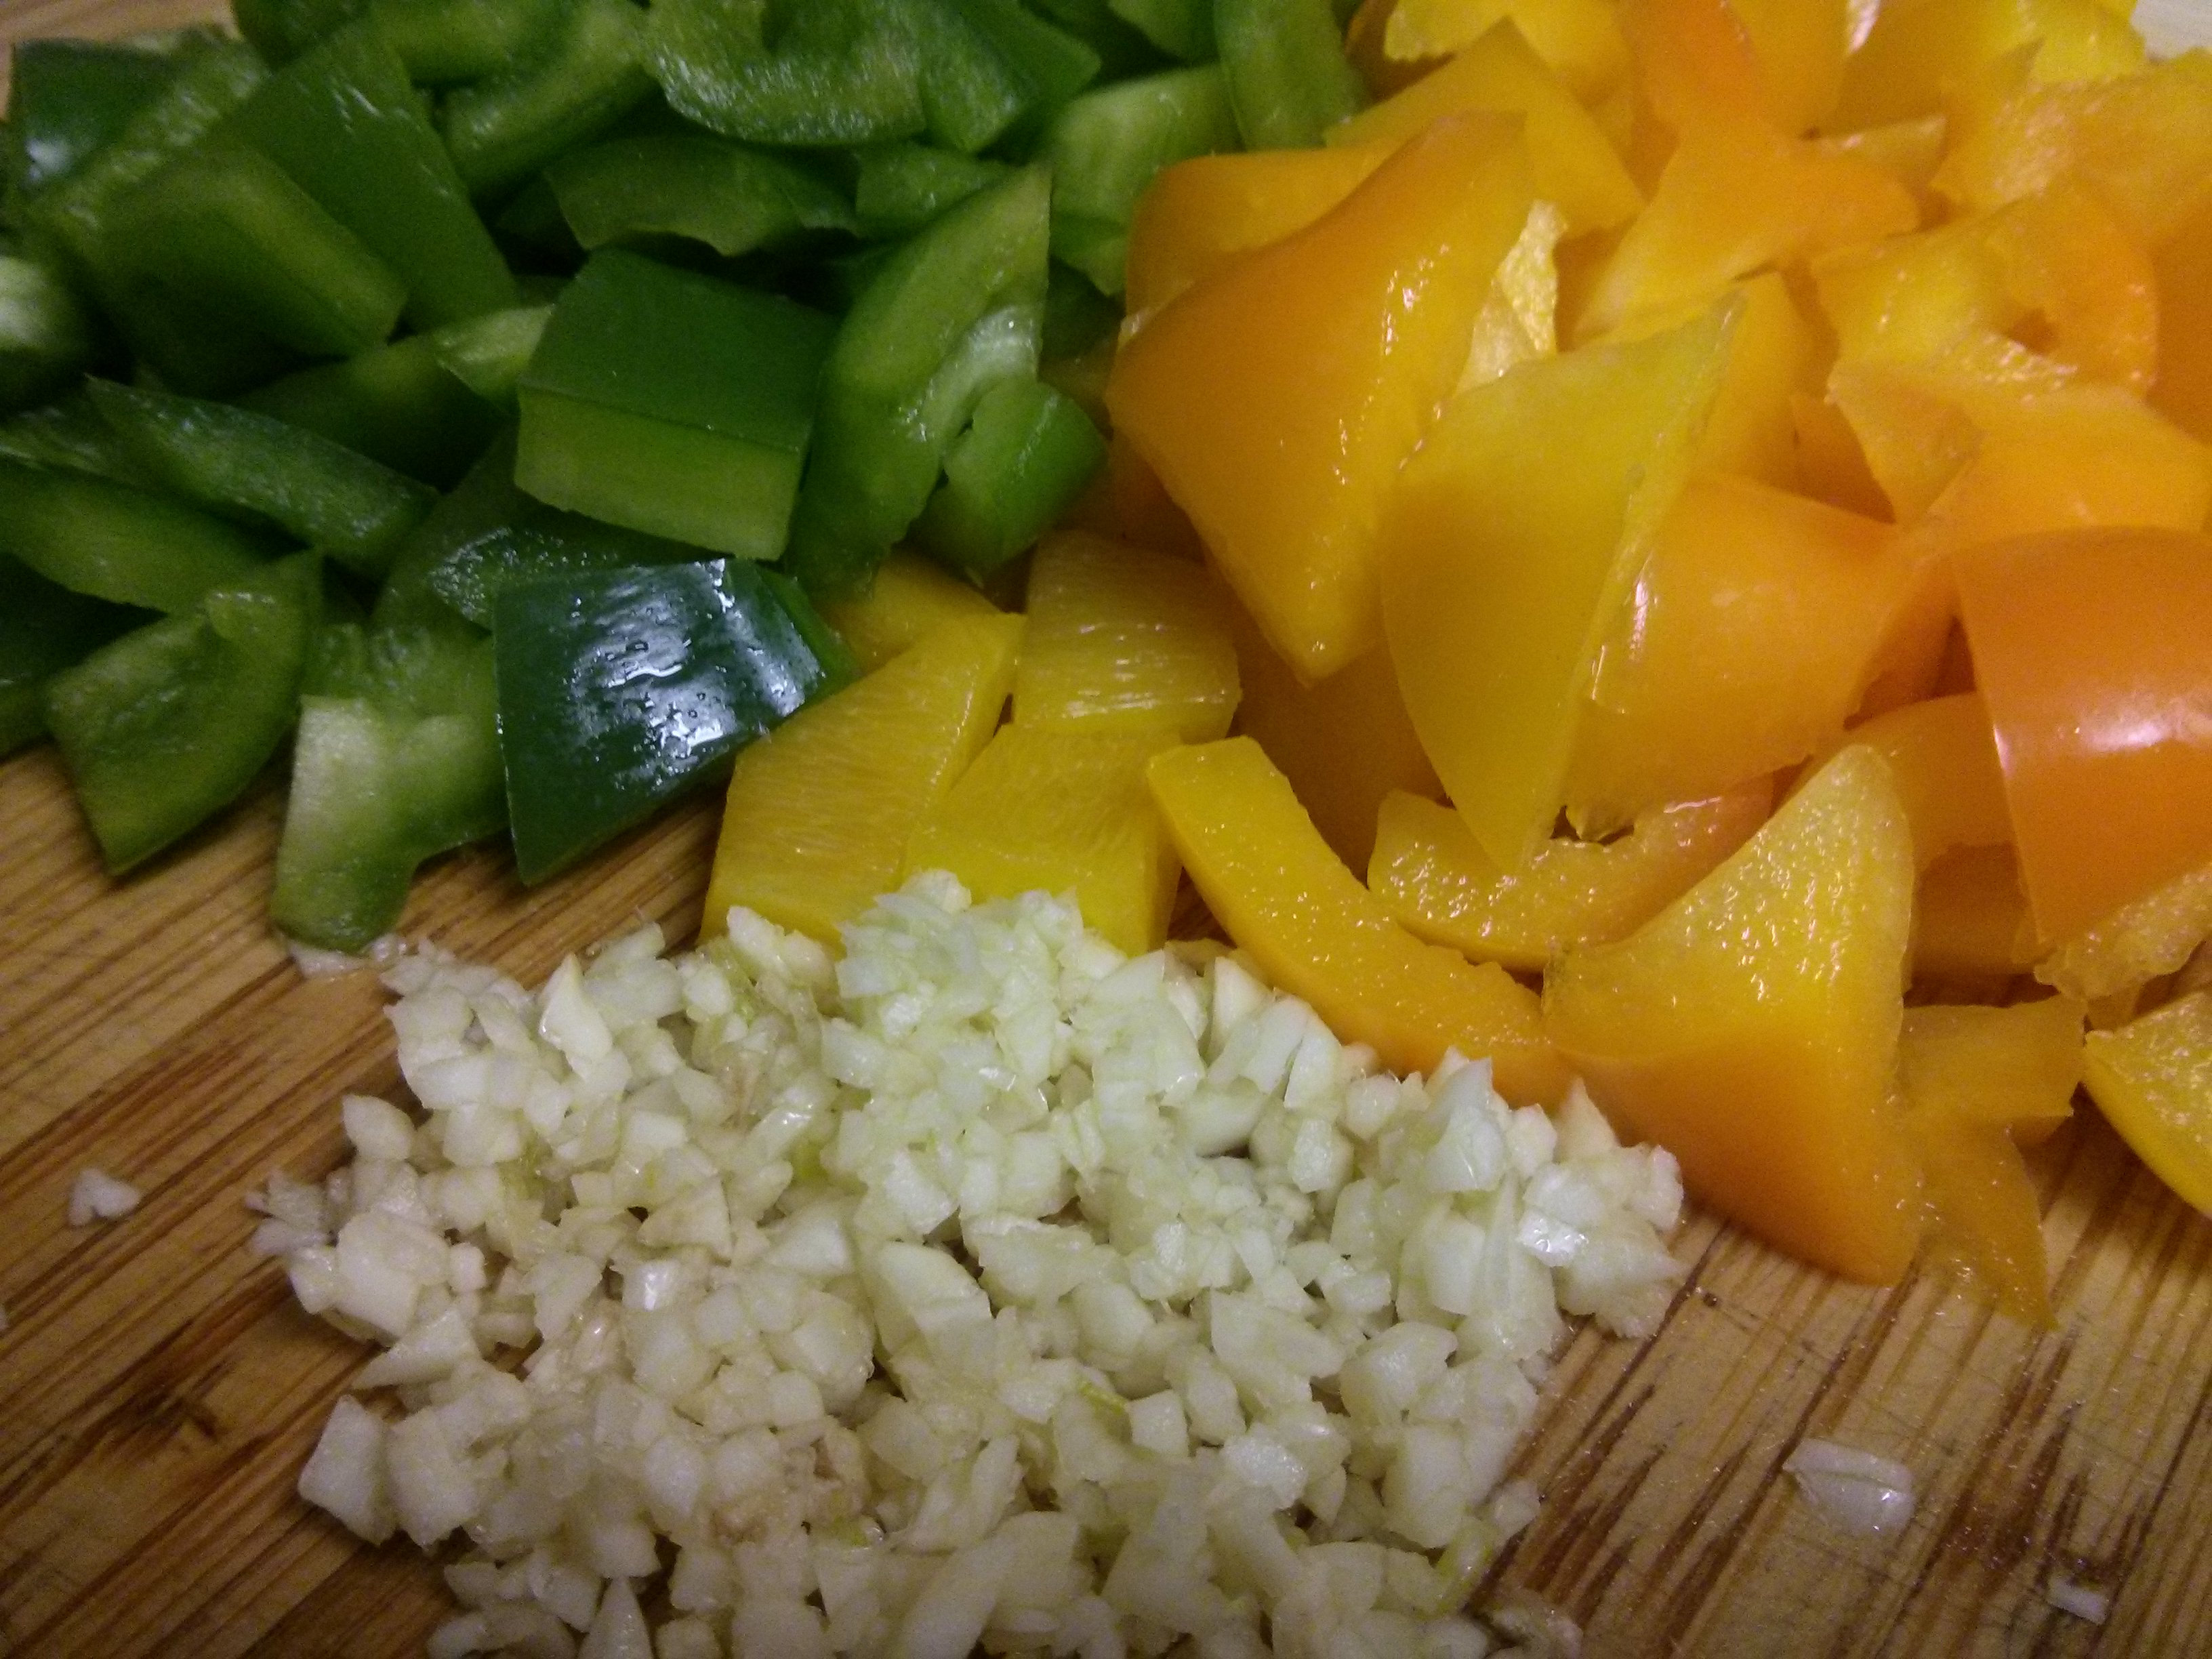
Ye Atakilt Alicha (Green beans and carrots)
- 3 red onions, sliced
- 1/2 cup olive oil
- 1/2 tsp salt
- 6 oz tomato paste
- 2 Tbsp ginger, minced
- 2 Tbsp garlic, minced
- 2 pounds green beans, ends trimmed and cut into two pieces
(or 1 small cabbage, chopped into pieces)
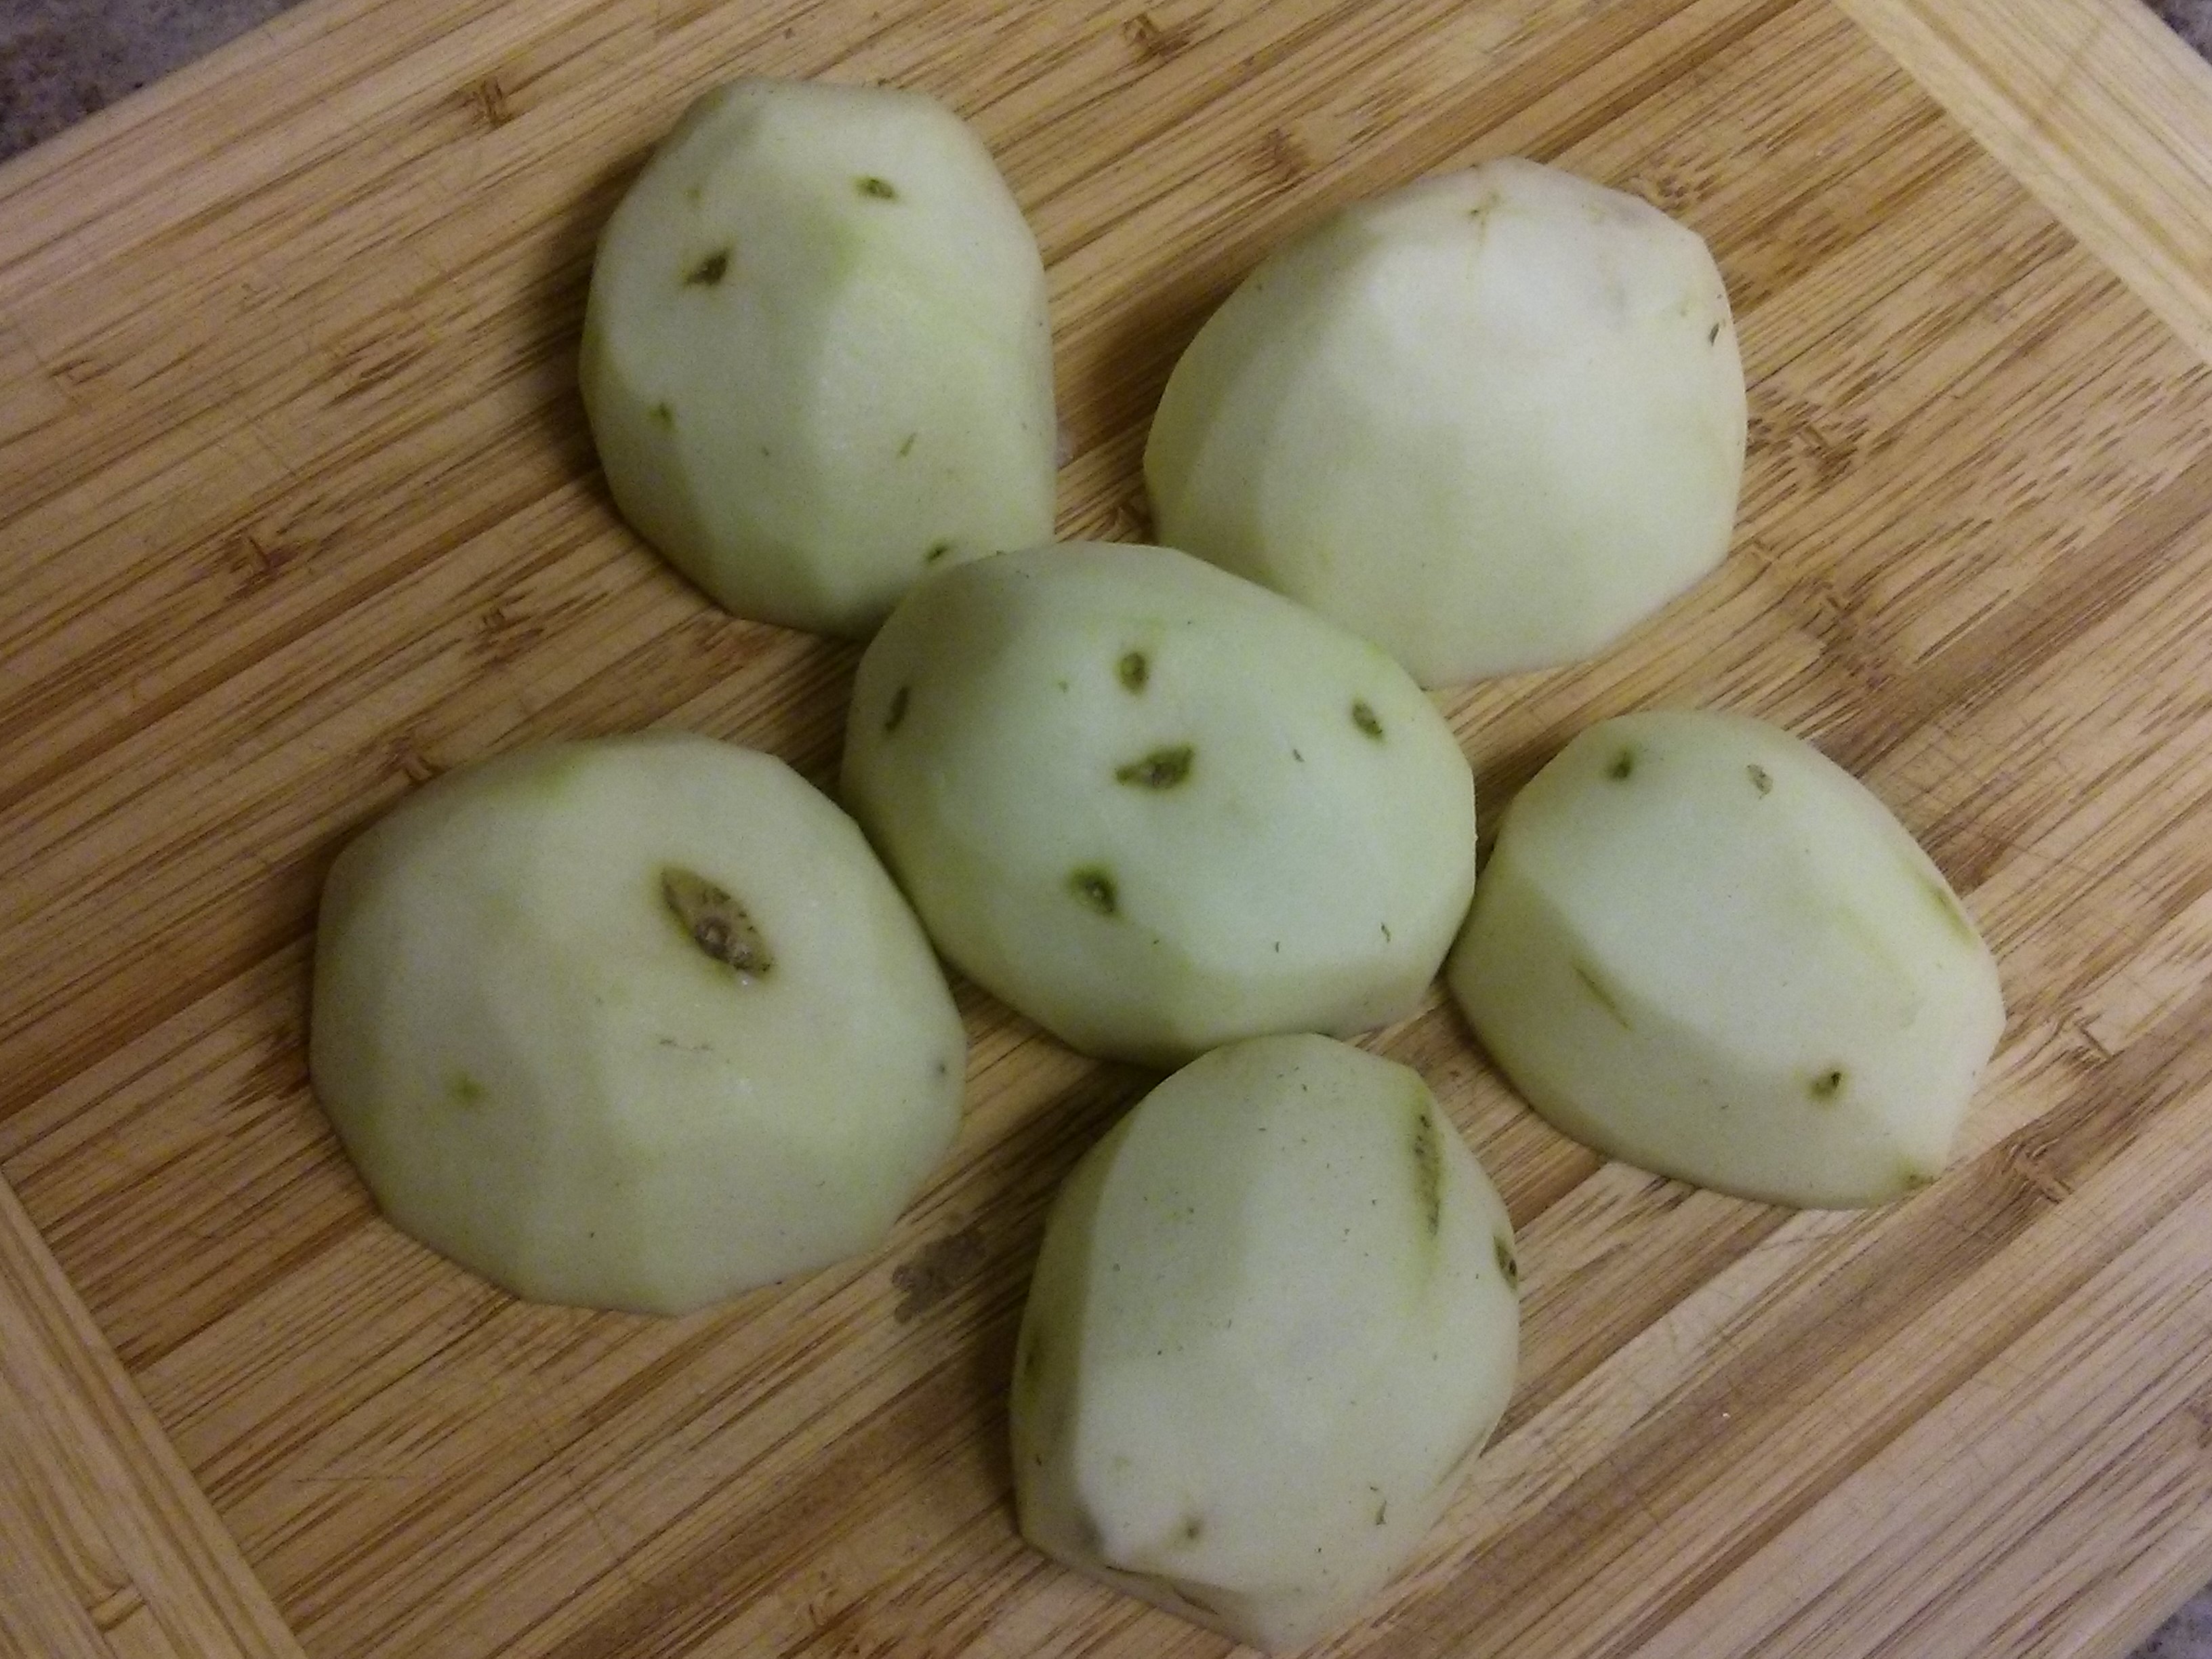
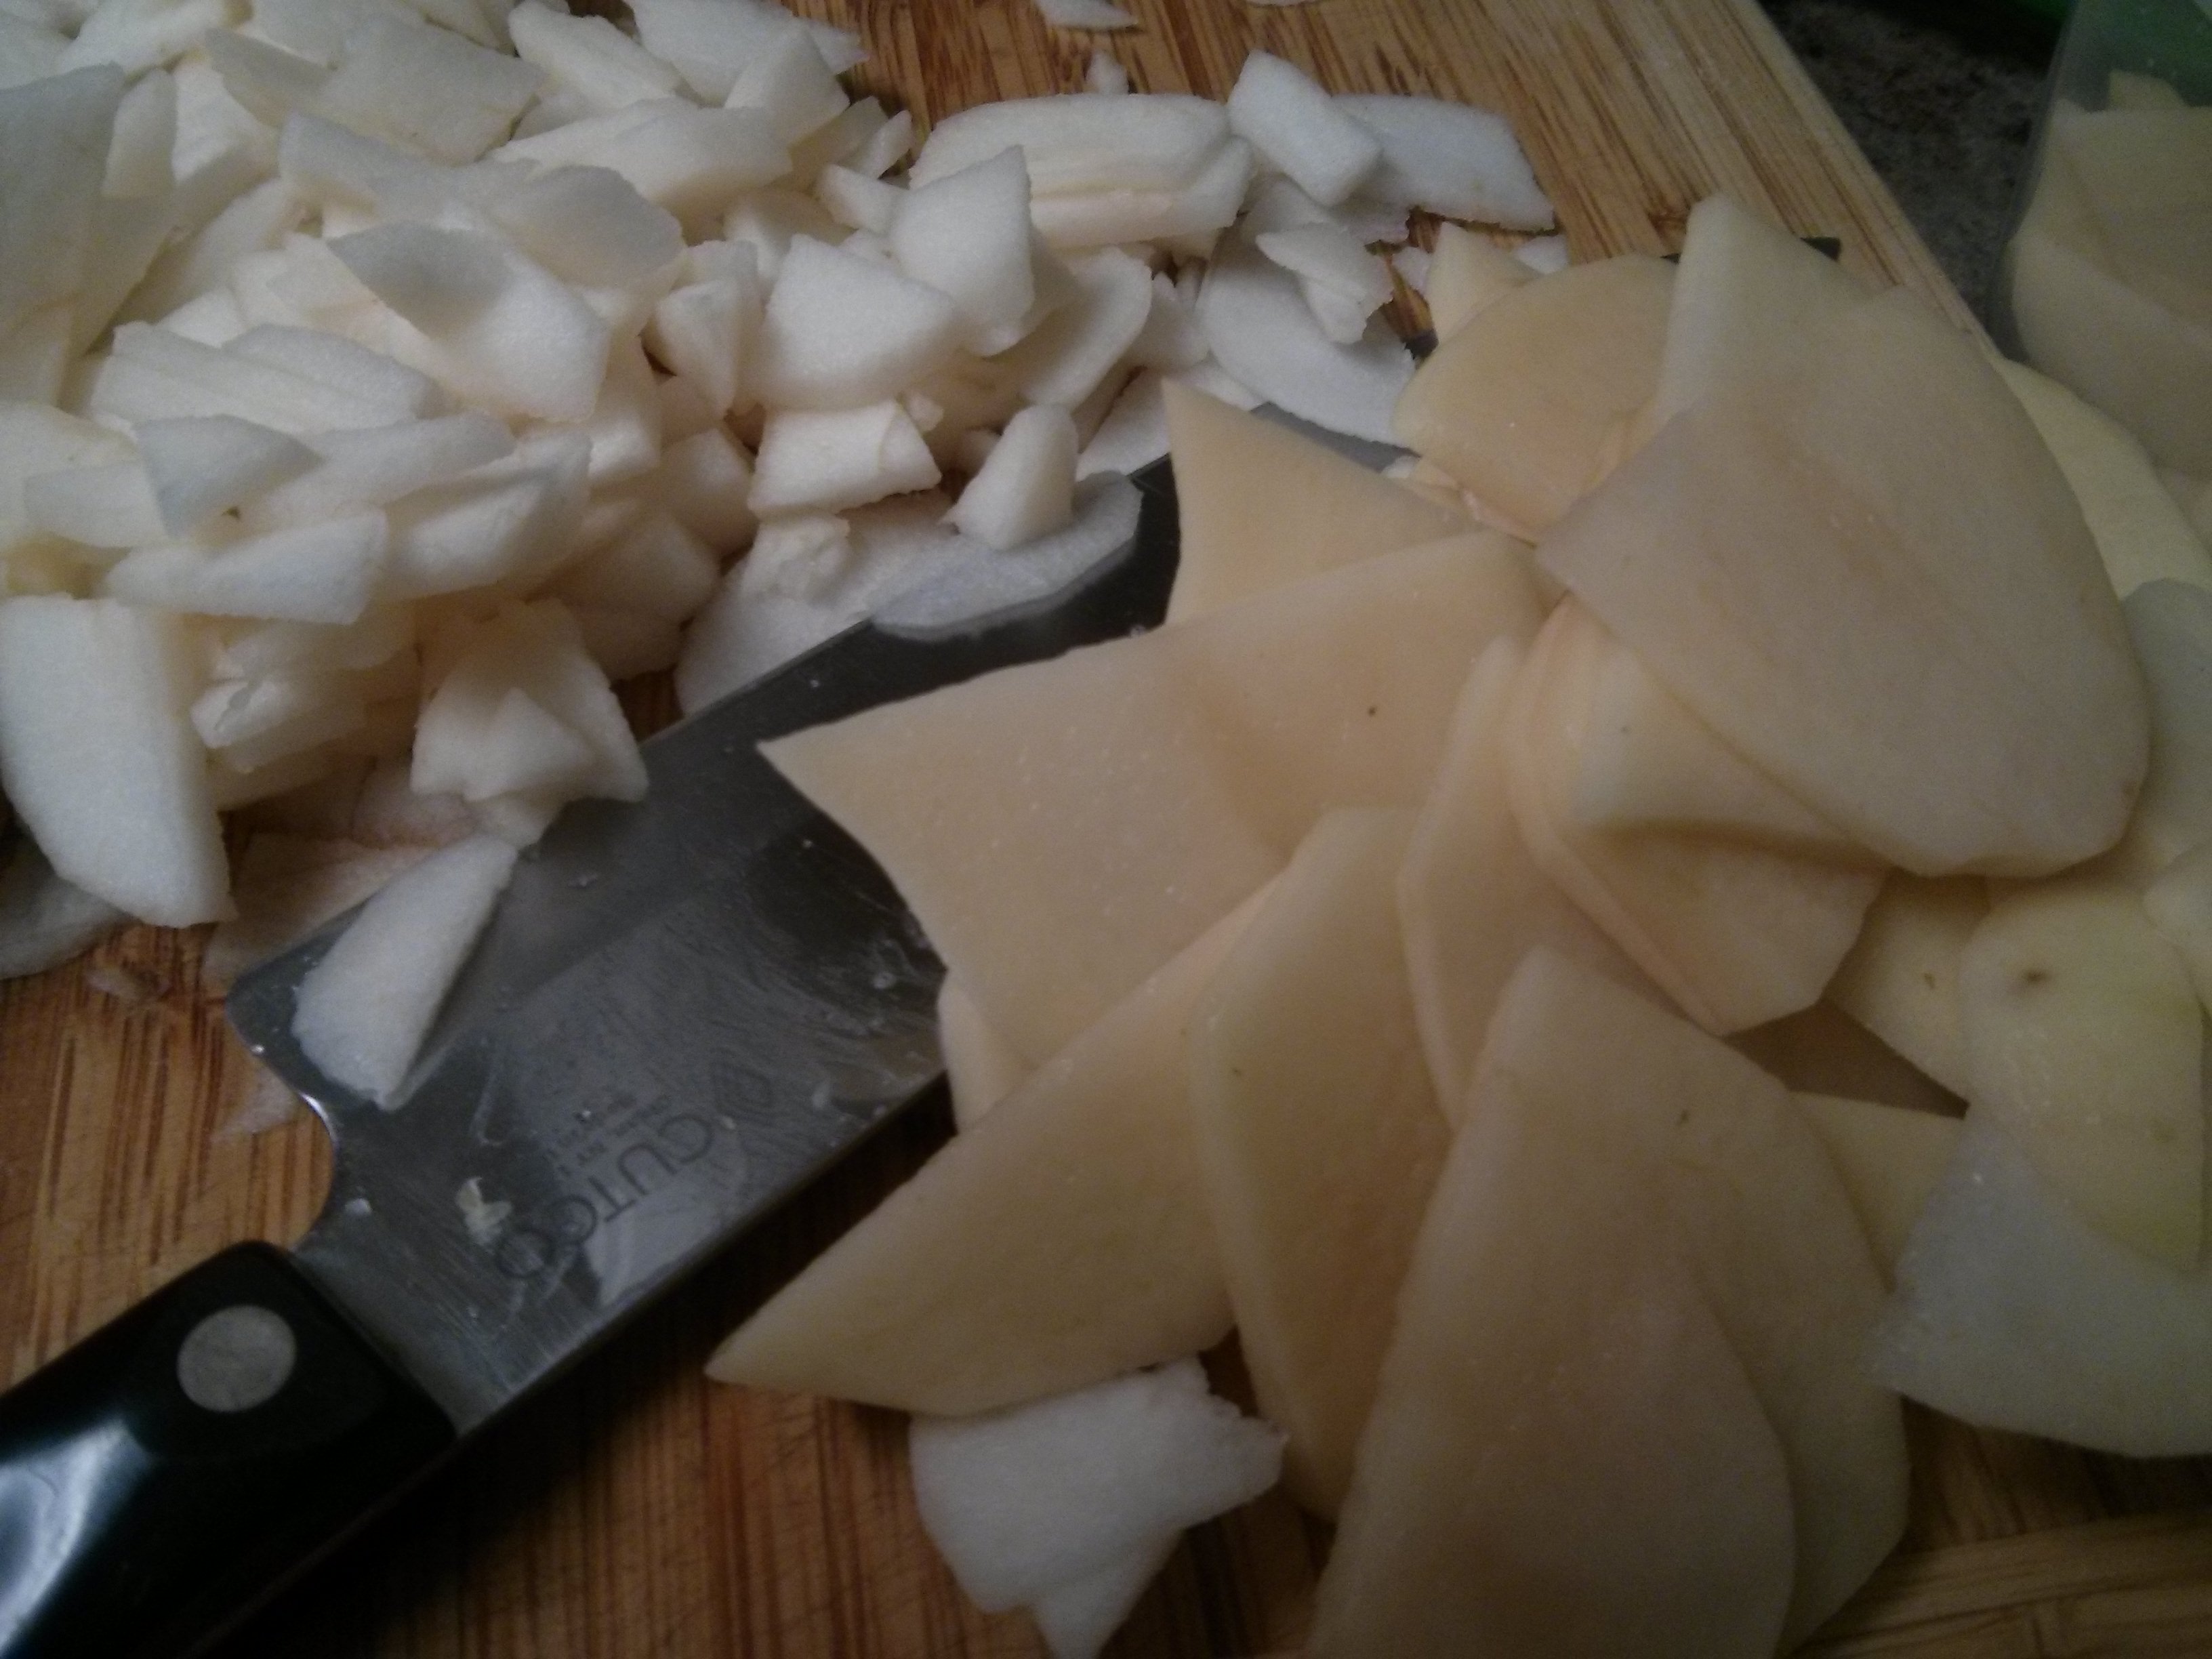
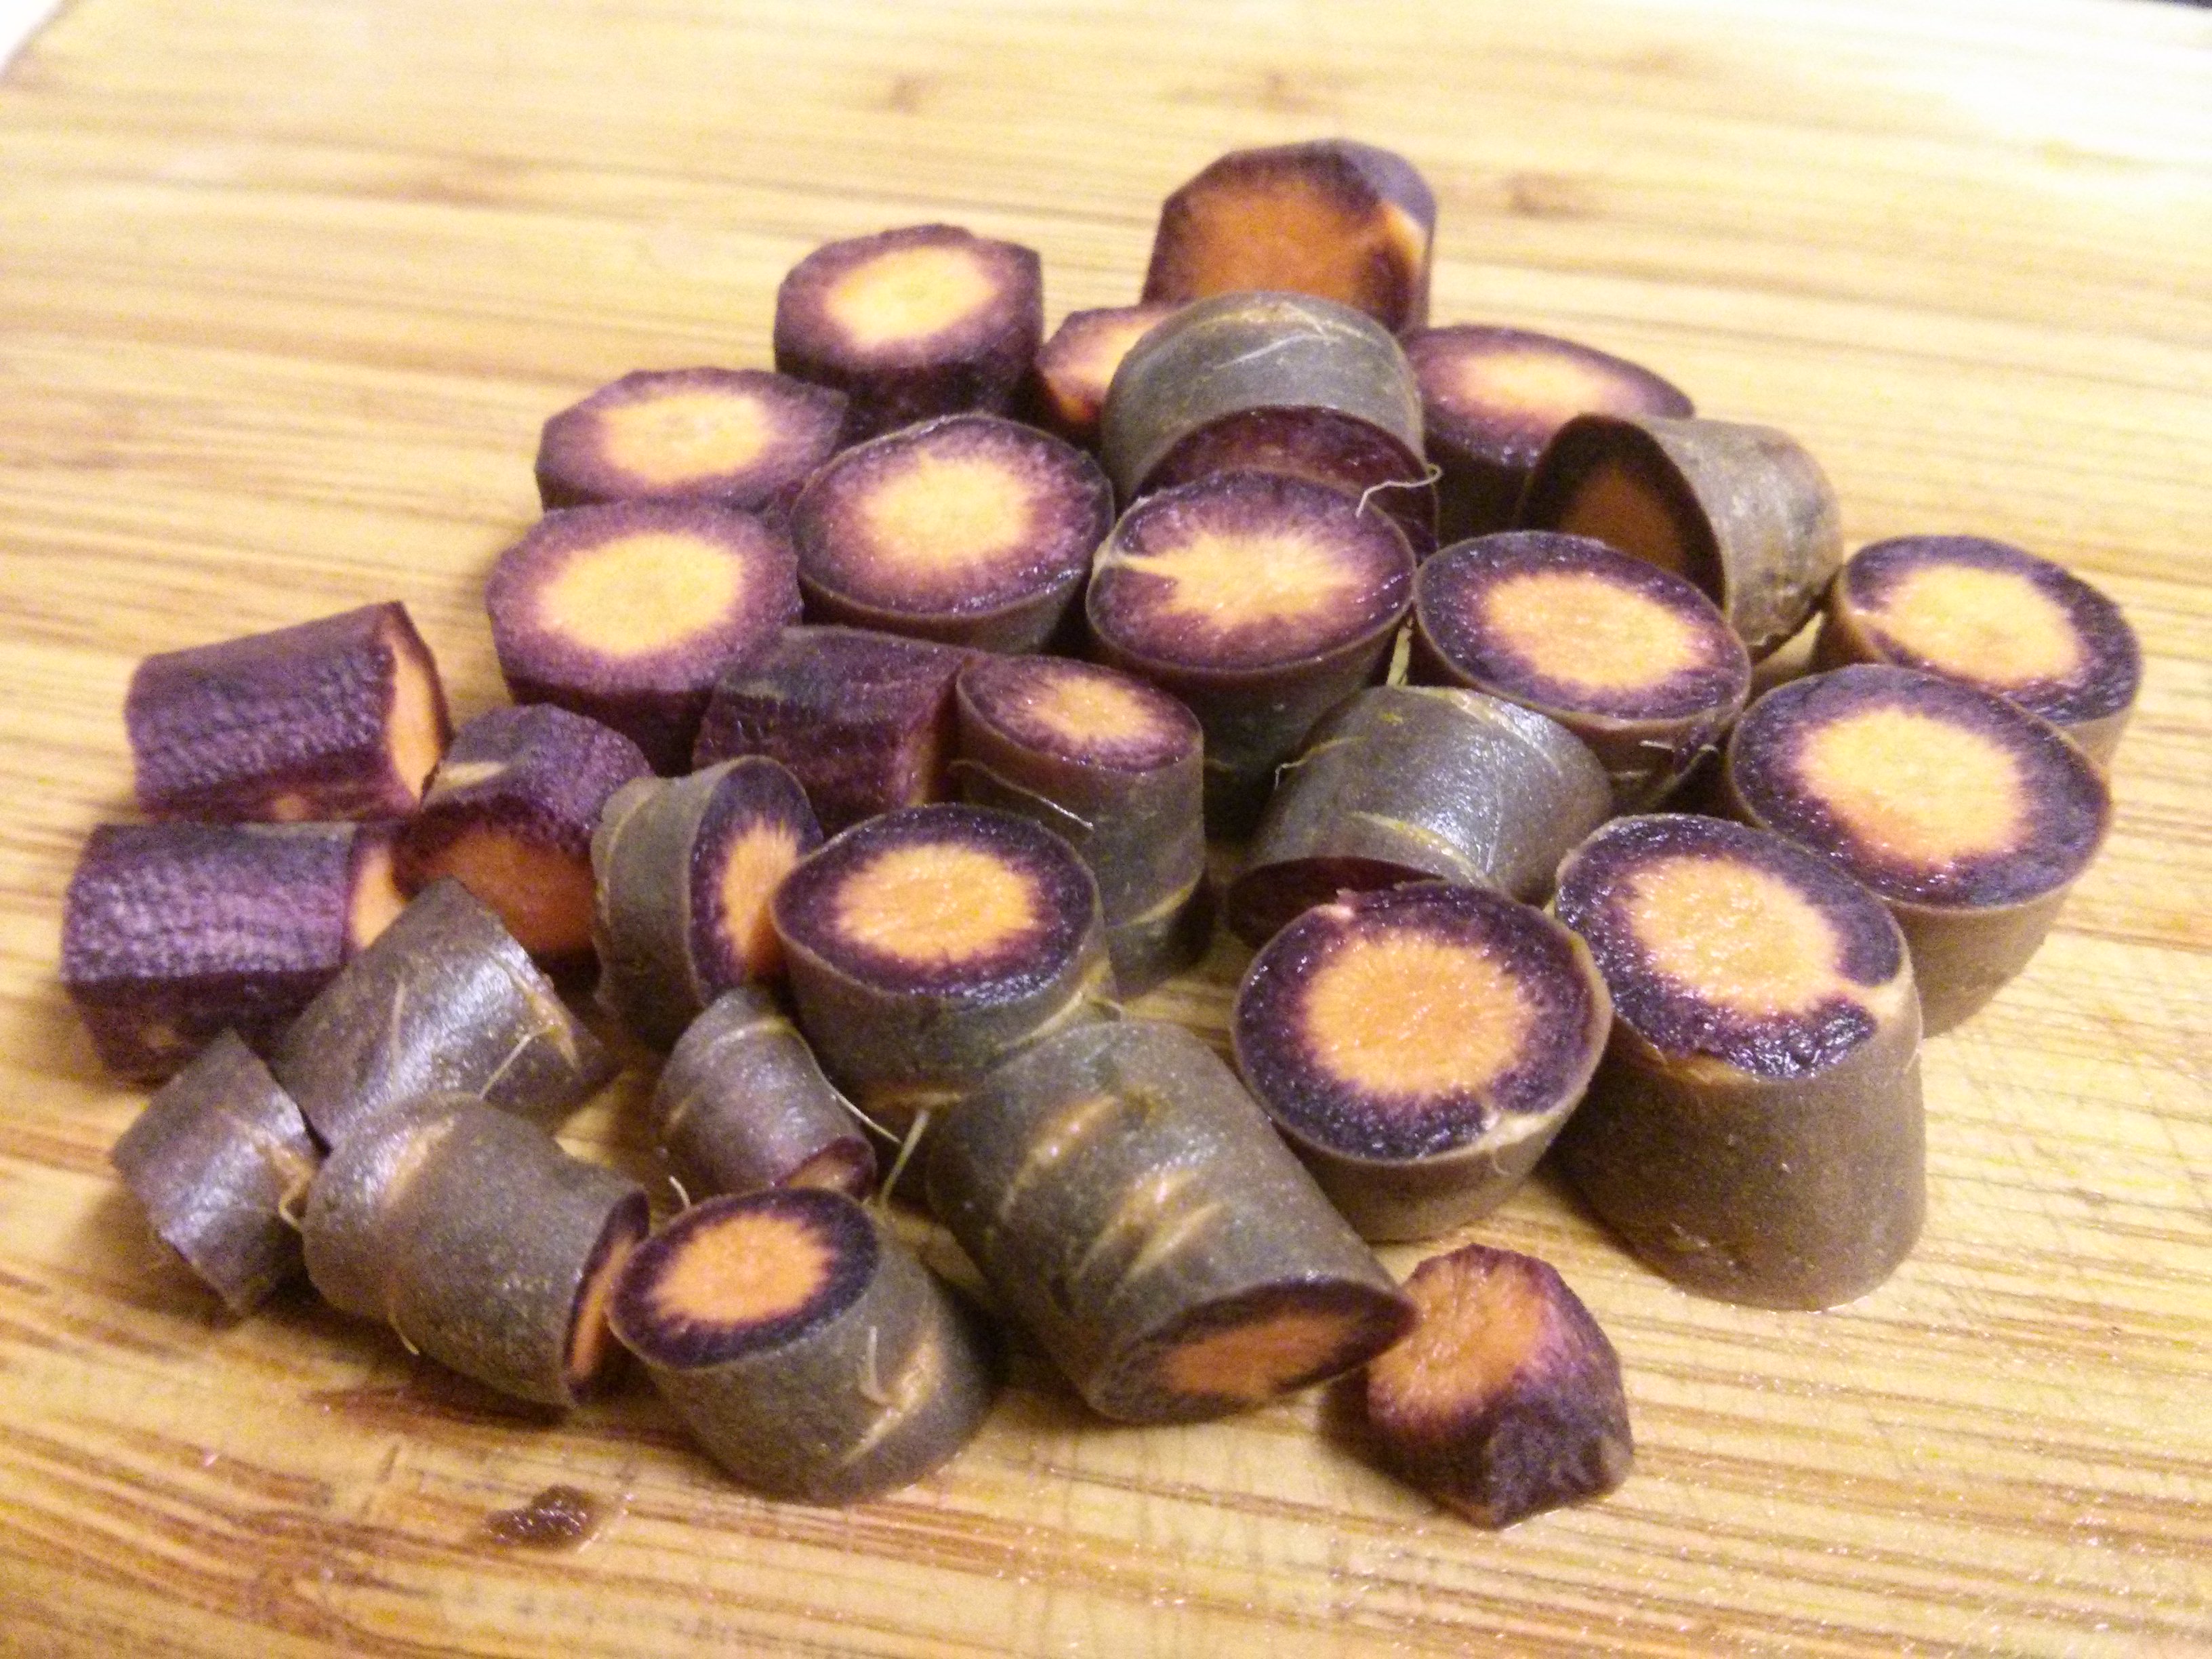
- 1 pound carrots, peeled and cut into 2″ long pieces
- 4 jalapeños, seeded and sliced
- Water, added as needed to prevent sticking
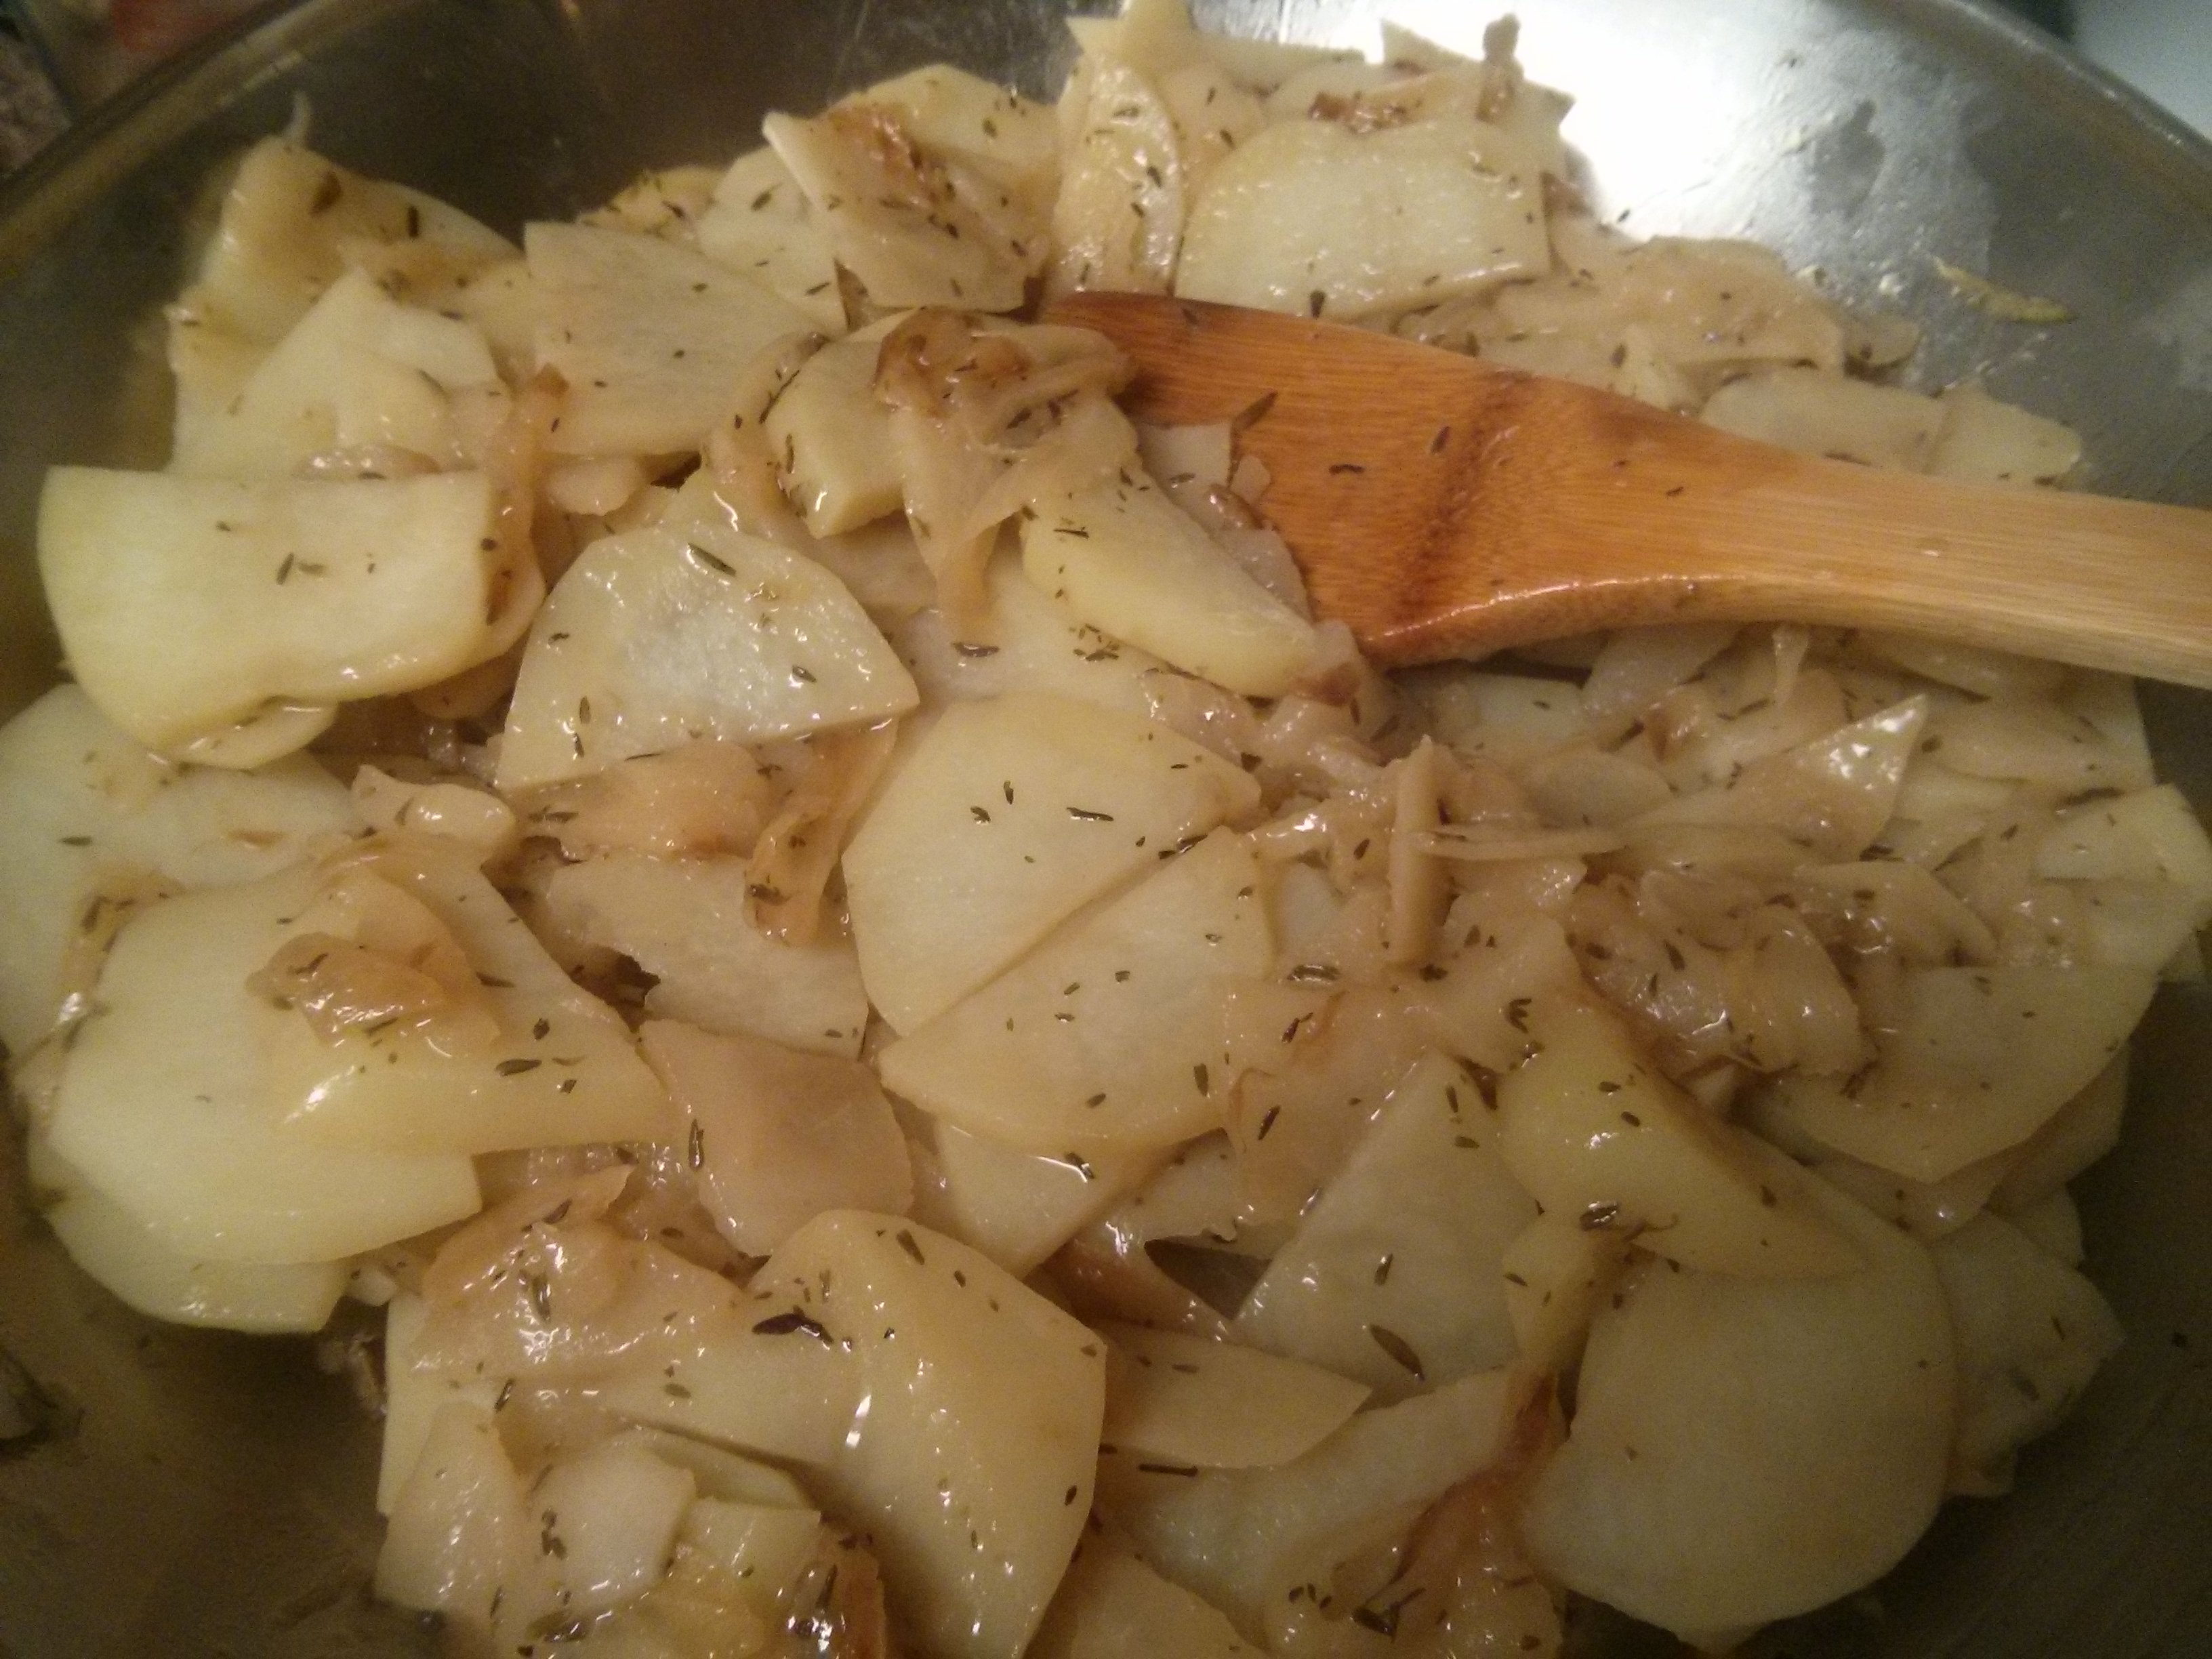
- Heat the oil a in pan over low heat.
- Add the onions and salt, and cook until soft or browned.
- Add the tomato paste, ginger, and garlic, and cook for about 10 minutes.
- Add the carrots, and cook for about 10 minutes.
- Add the green beans, and cook until the carrots and green beans are mostly tender.
- Add the jalapeños, and cook for 5 minutes.
Note: if the mixture is sticking to the pan along the way, add a little water. You can also cover the pan to have the carrots and green beans cook more quickly.
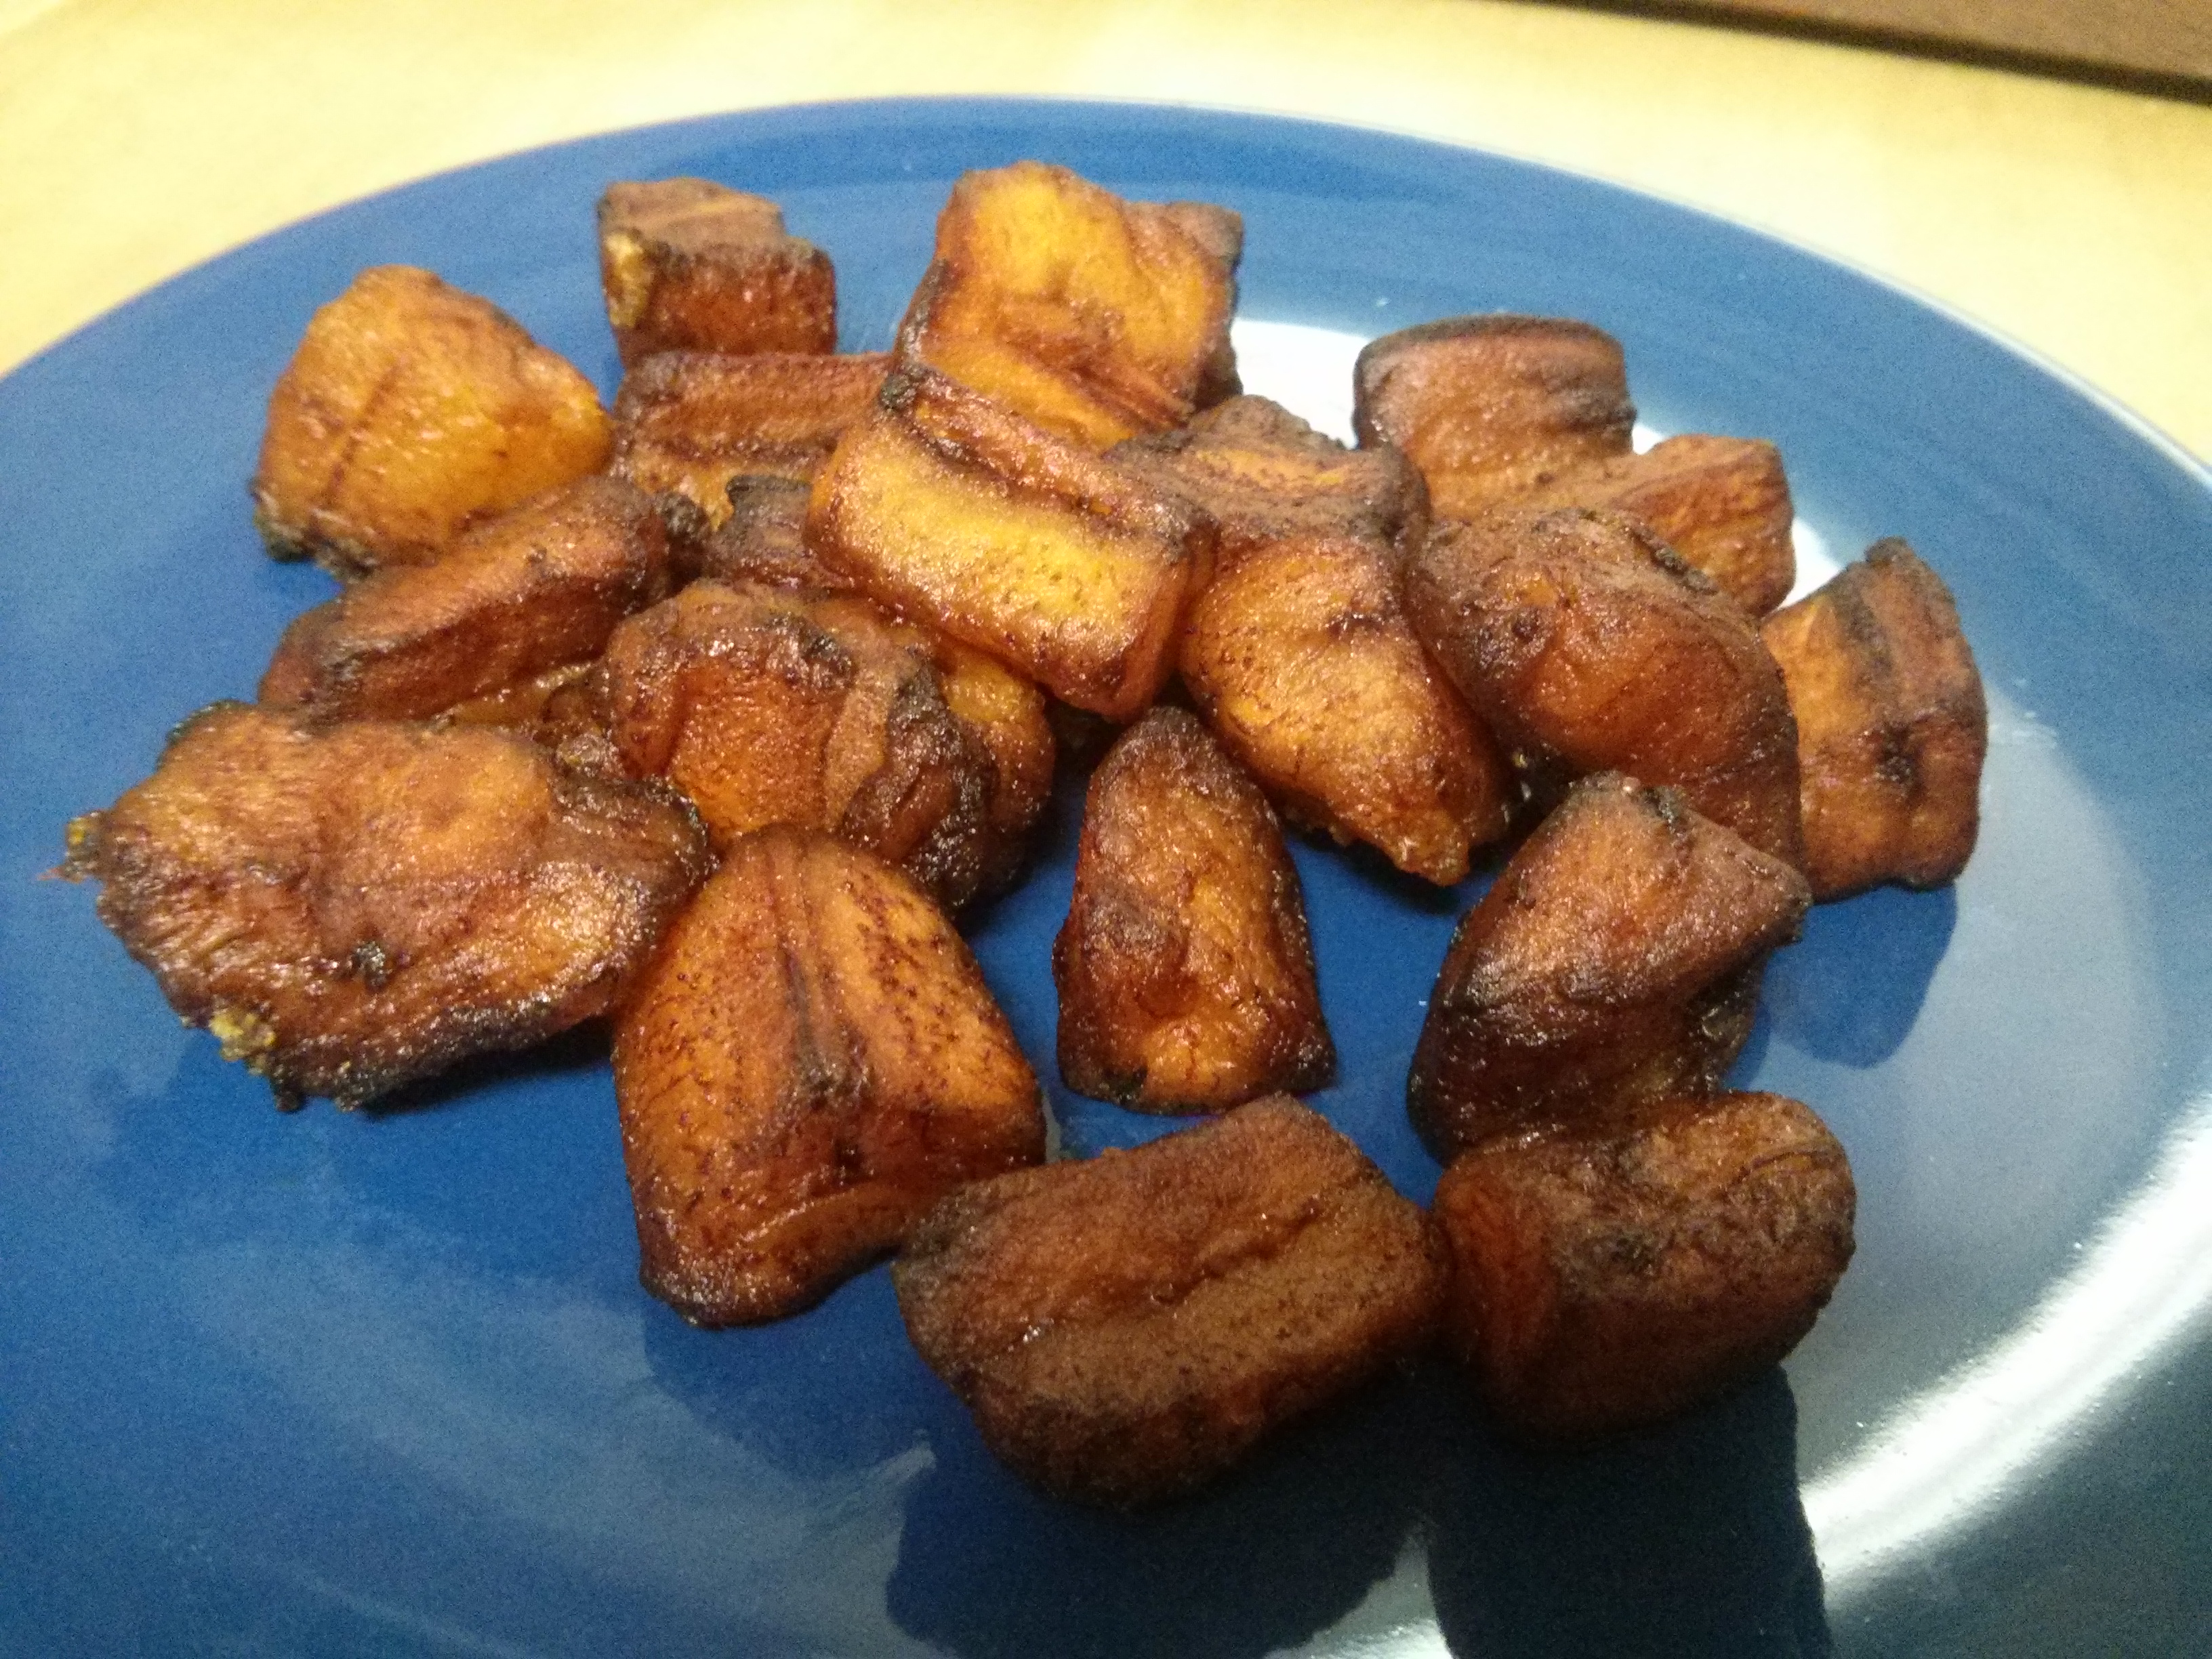
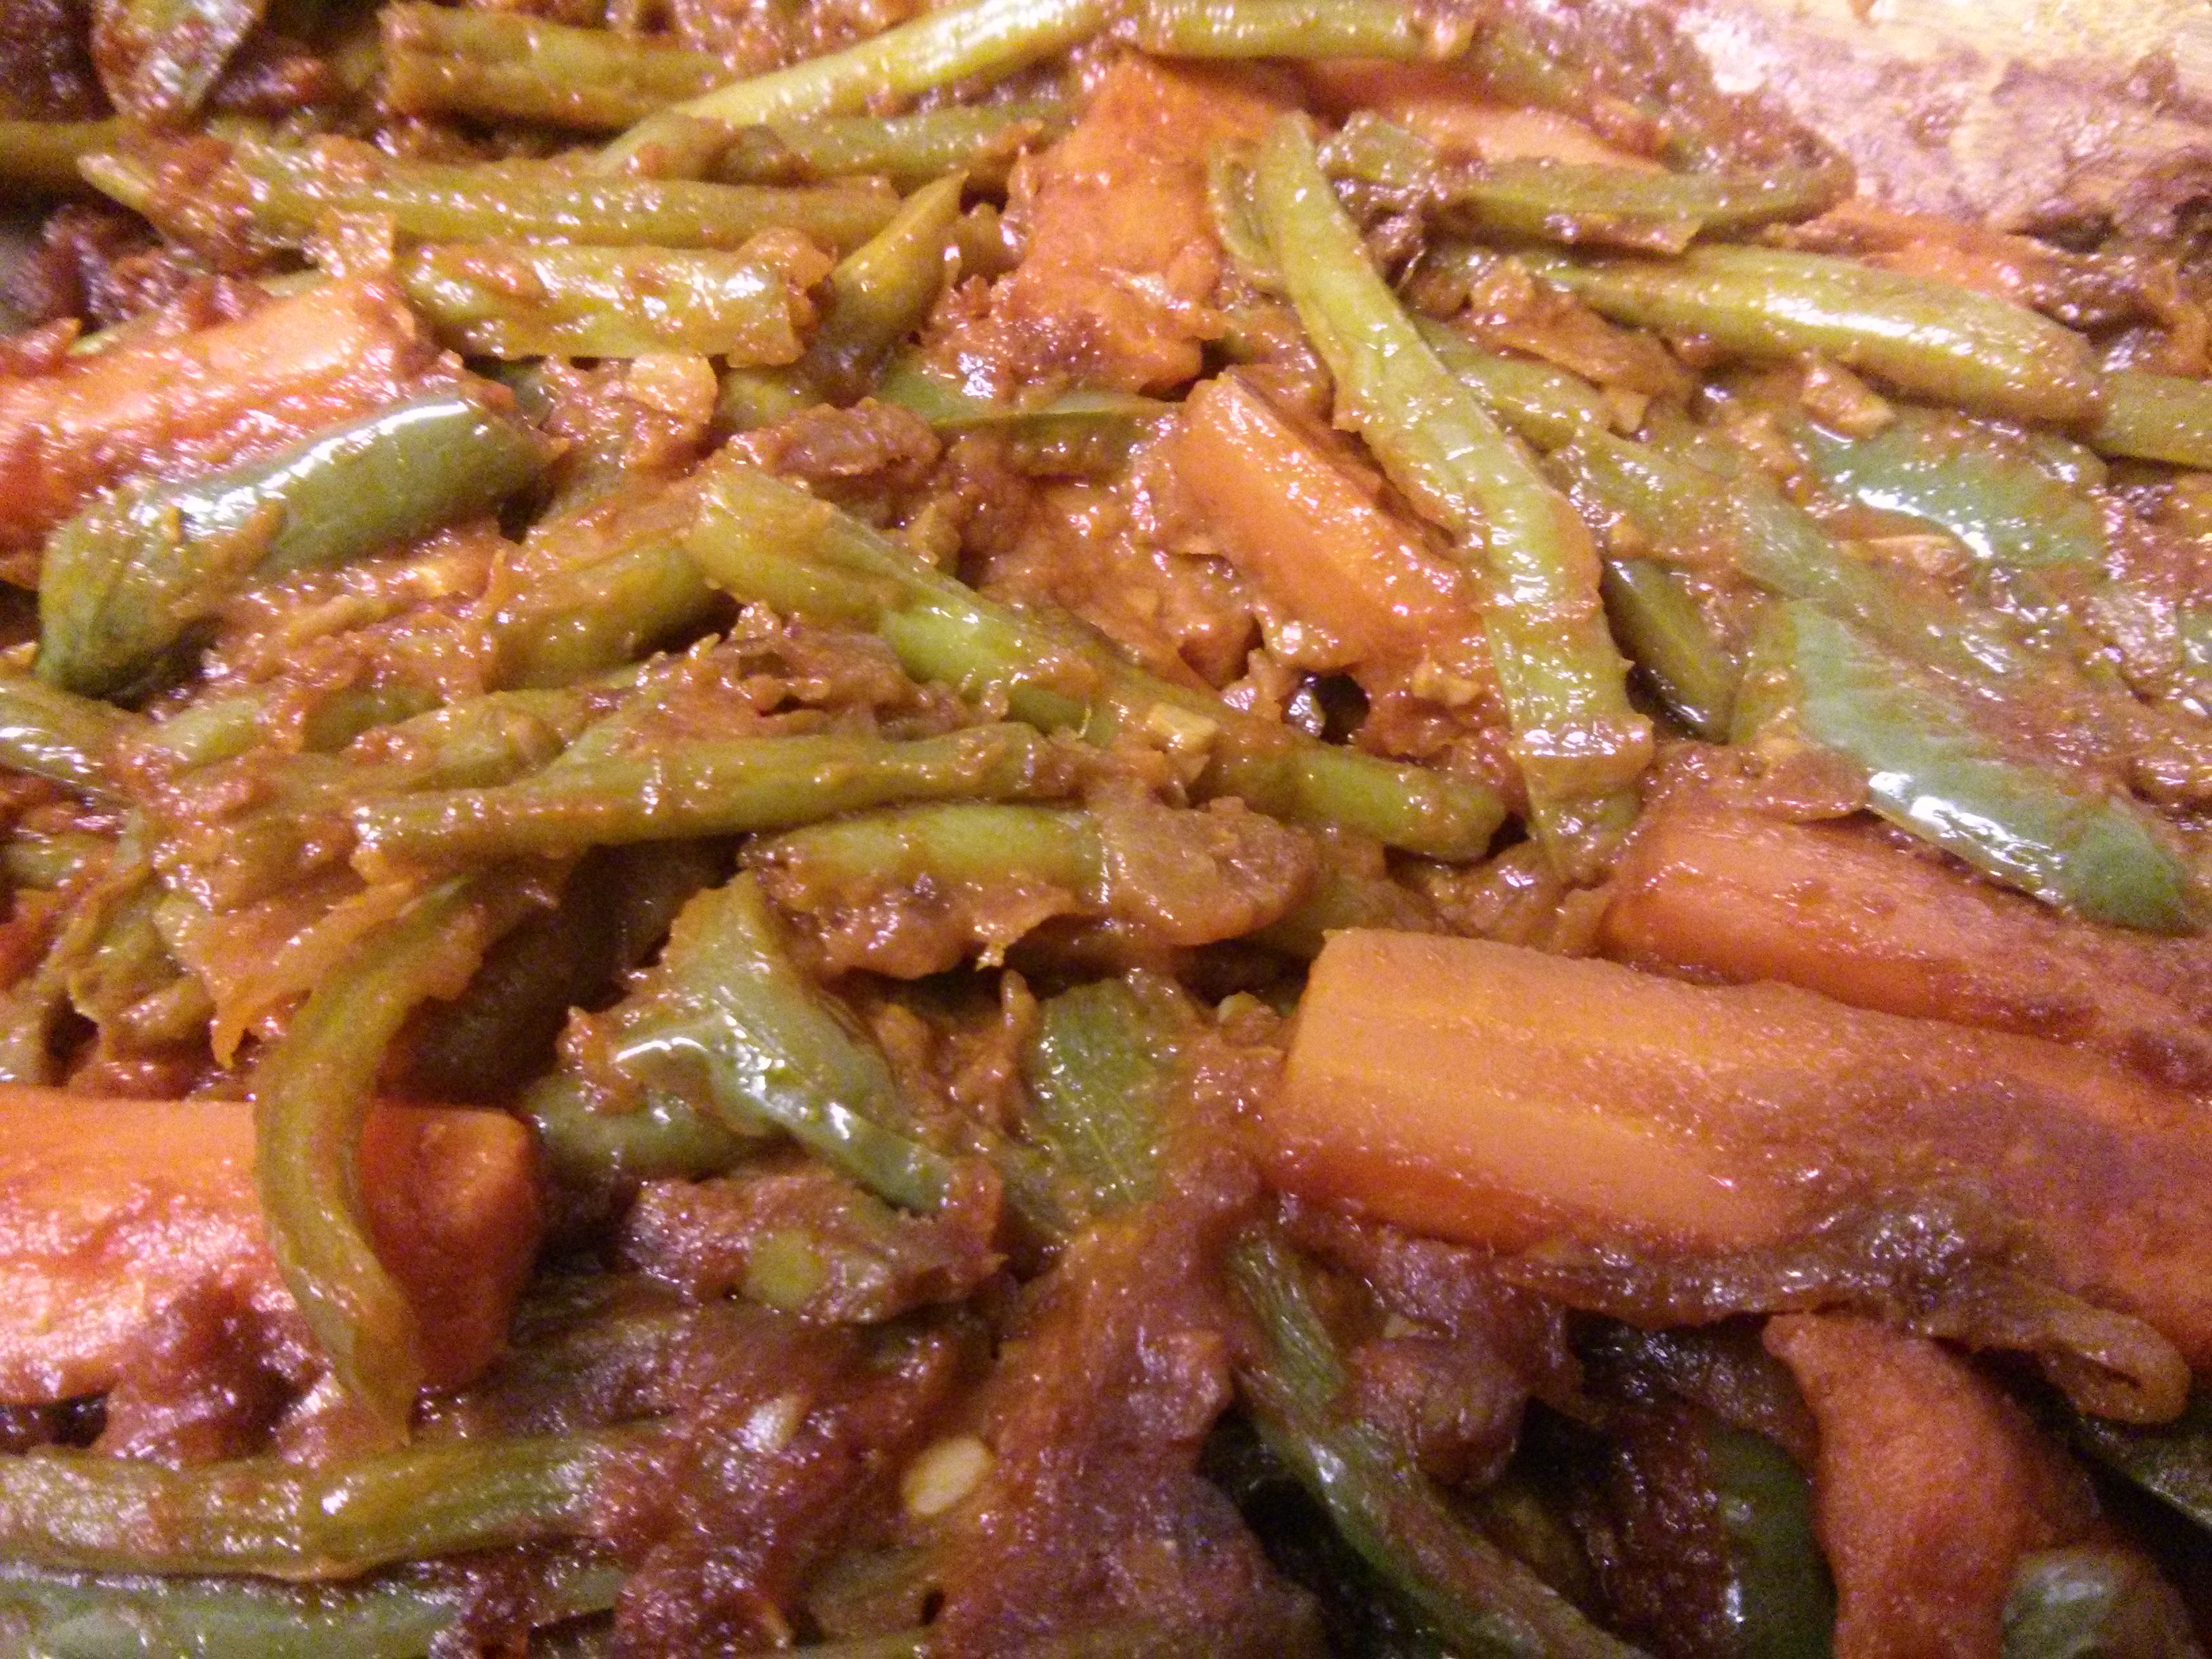
This is one of those recipes that is simple, easy to make, and tastes great. I’ve made it twice now with green beans (pictured below) and also twice with cabbage.

Even when I played around with the recipe – like by cooking the onions without the oil (just with a little water) and adding the oil later, or by cooking the onions in half the oil, or by cooking the whole recipe over medium heat and adding more water as needed along the way – it always turned out good.
When we made it during the class, I also realized the following: you don’t need to chop off the bottom ends of the garlic – you can mince everything and then toss it all in! I’m not sure why I had never thought of that before, but doing that is awesome – several seconds saved, and my sense of conservation satisfied. In the class, we also sometimes used a grater/shredder for the ginger and garlic. So that’s an option too if one day, you know, you find yourself in an extra grate mood.
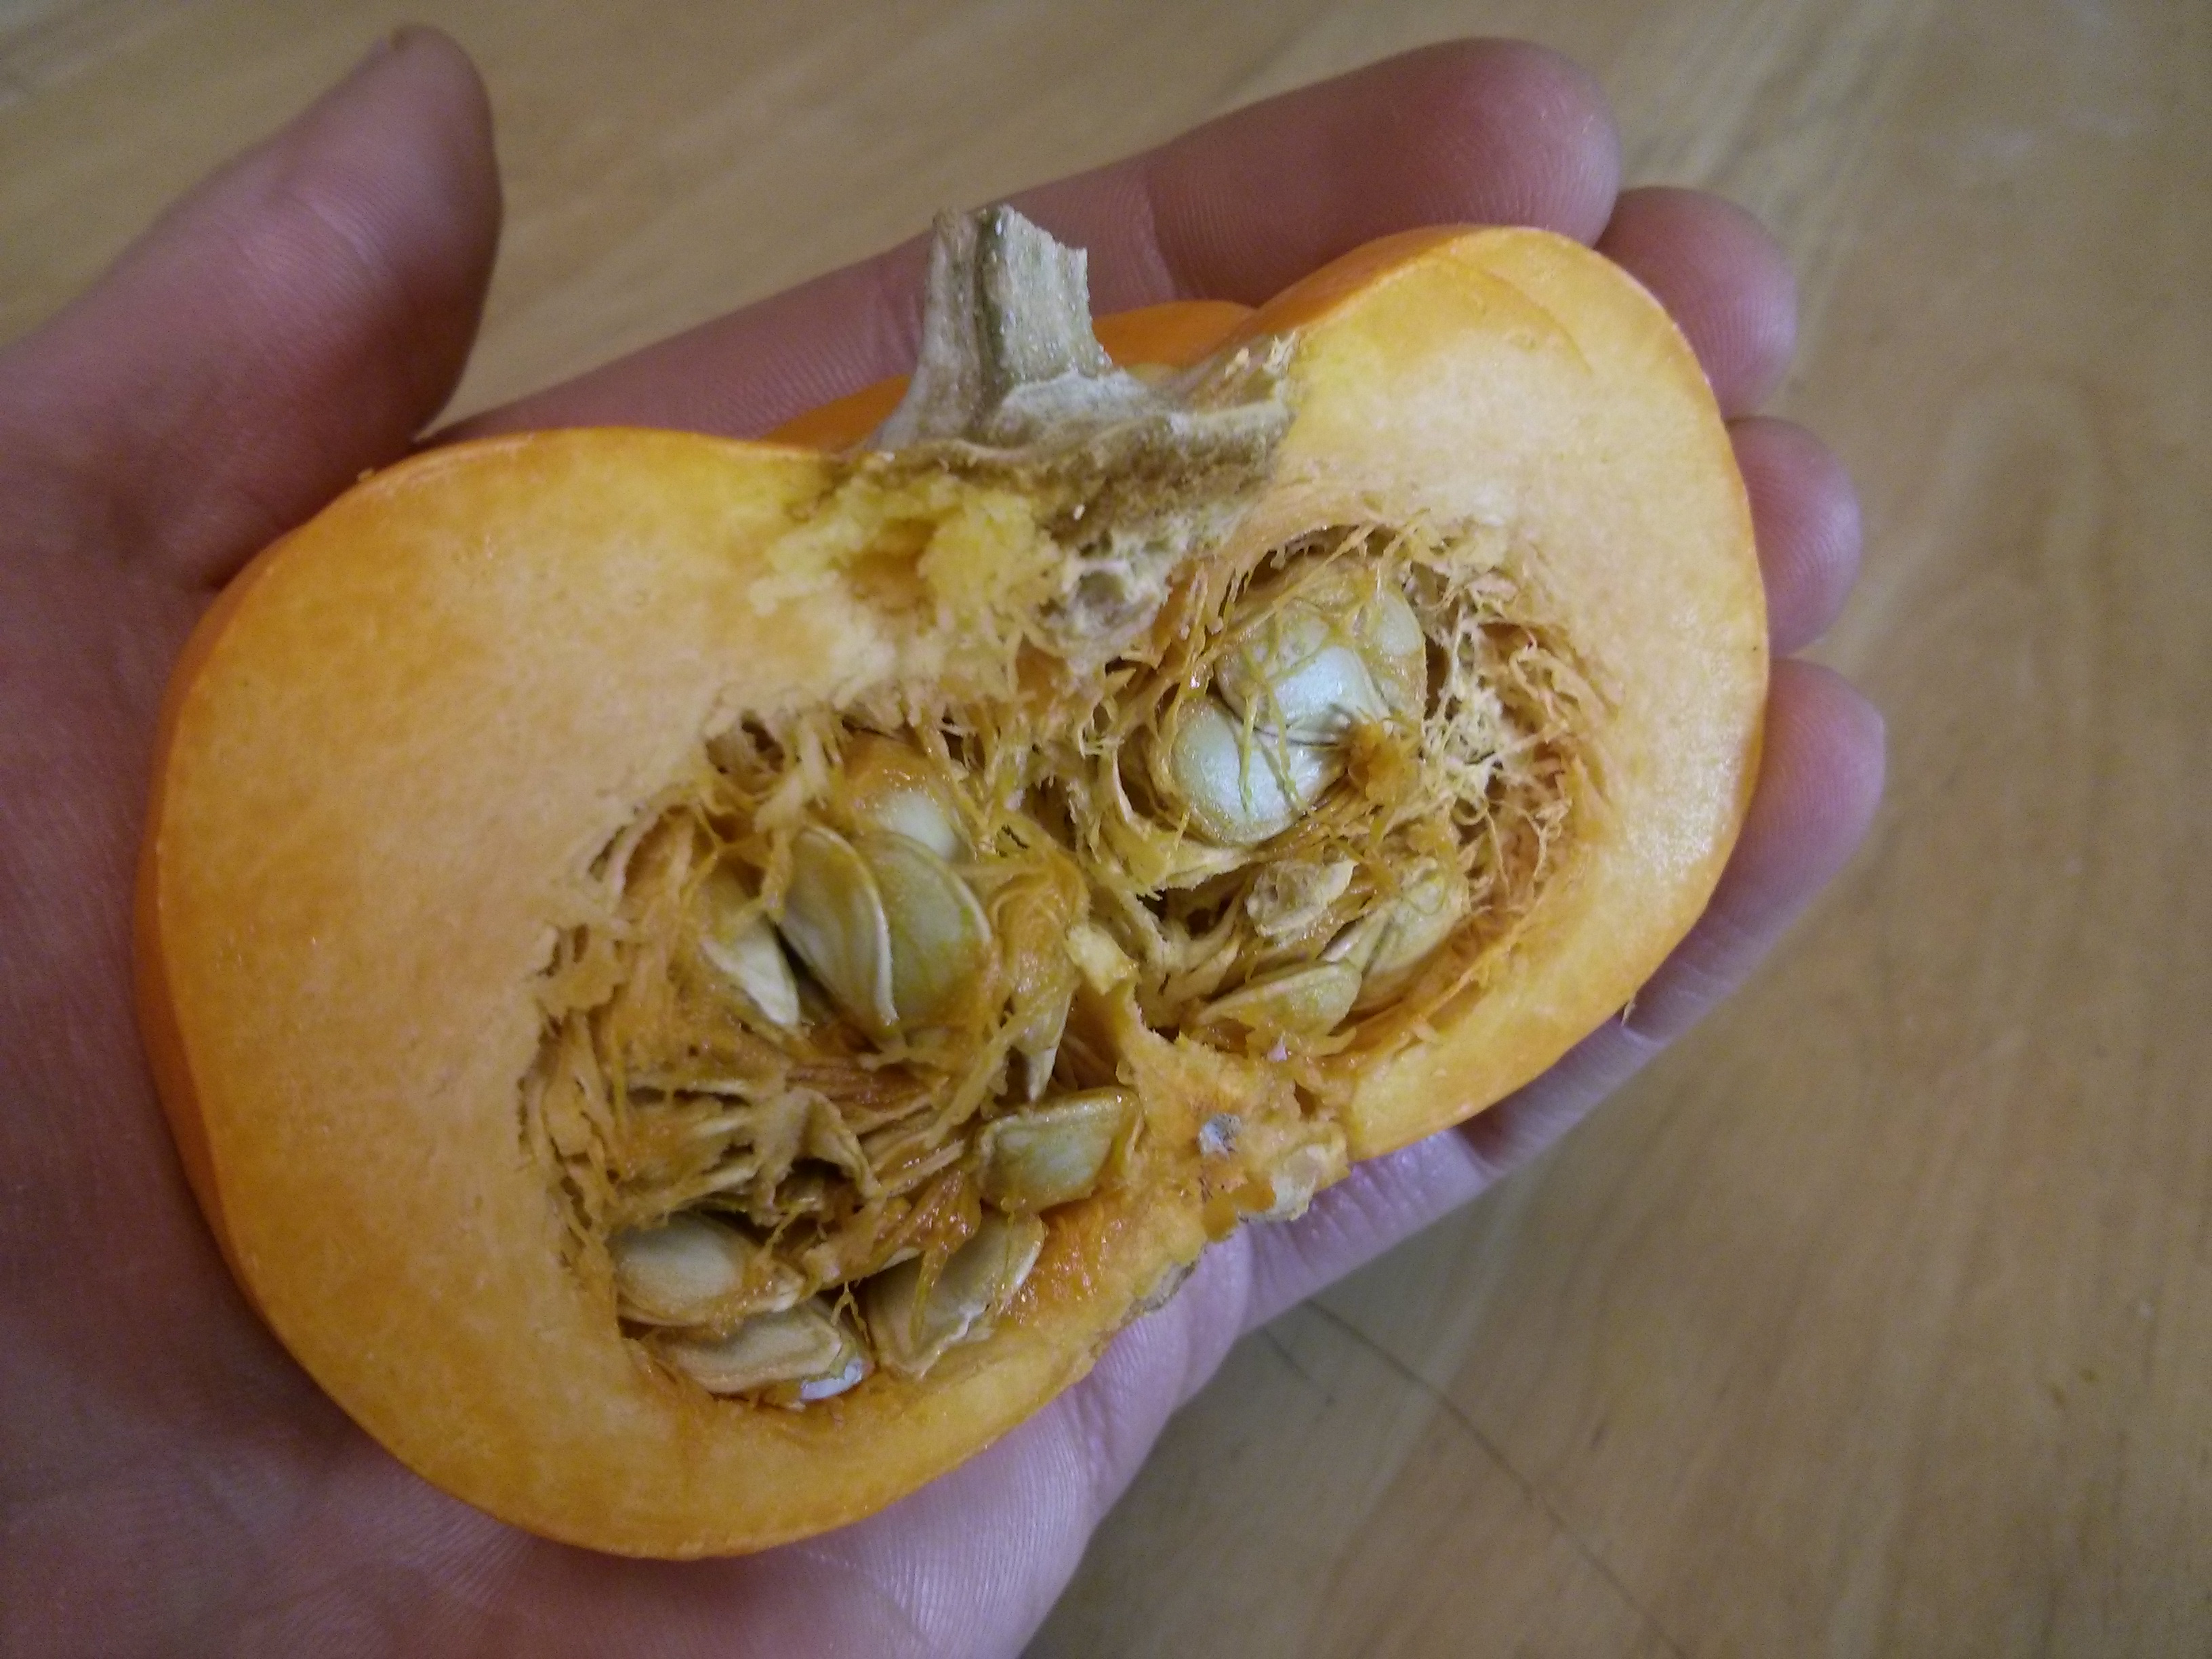
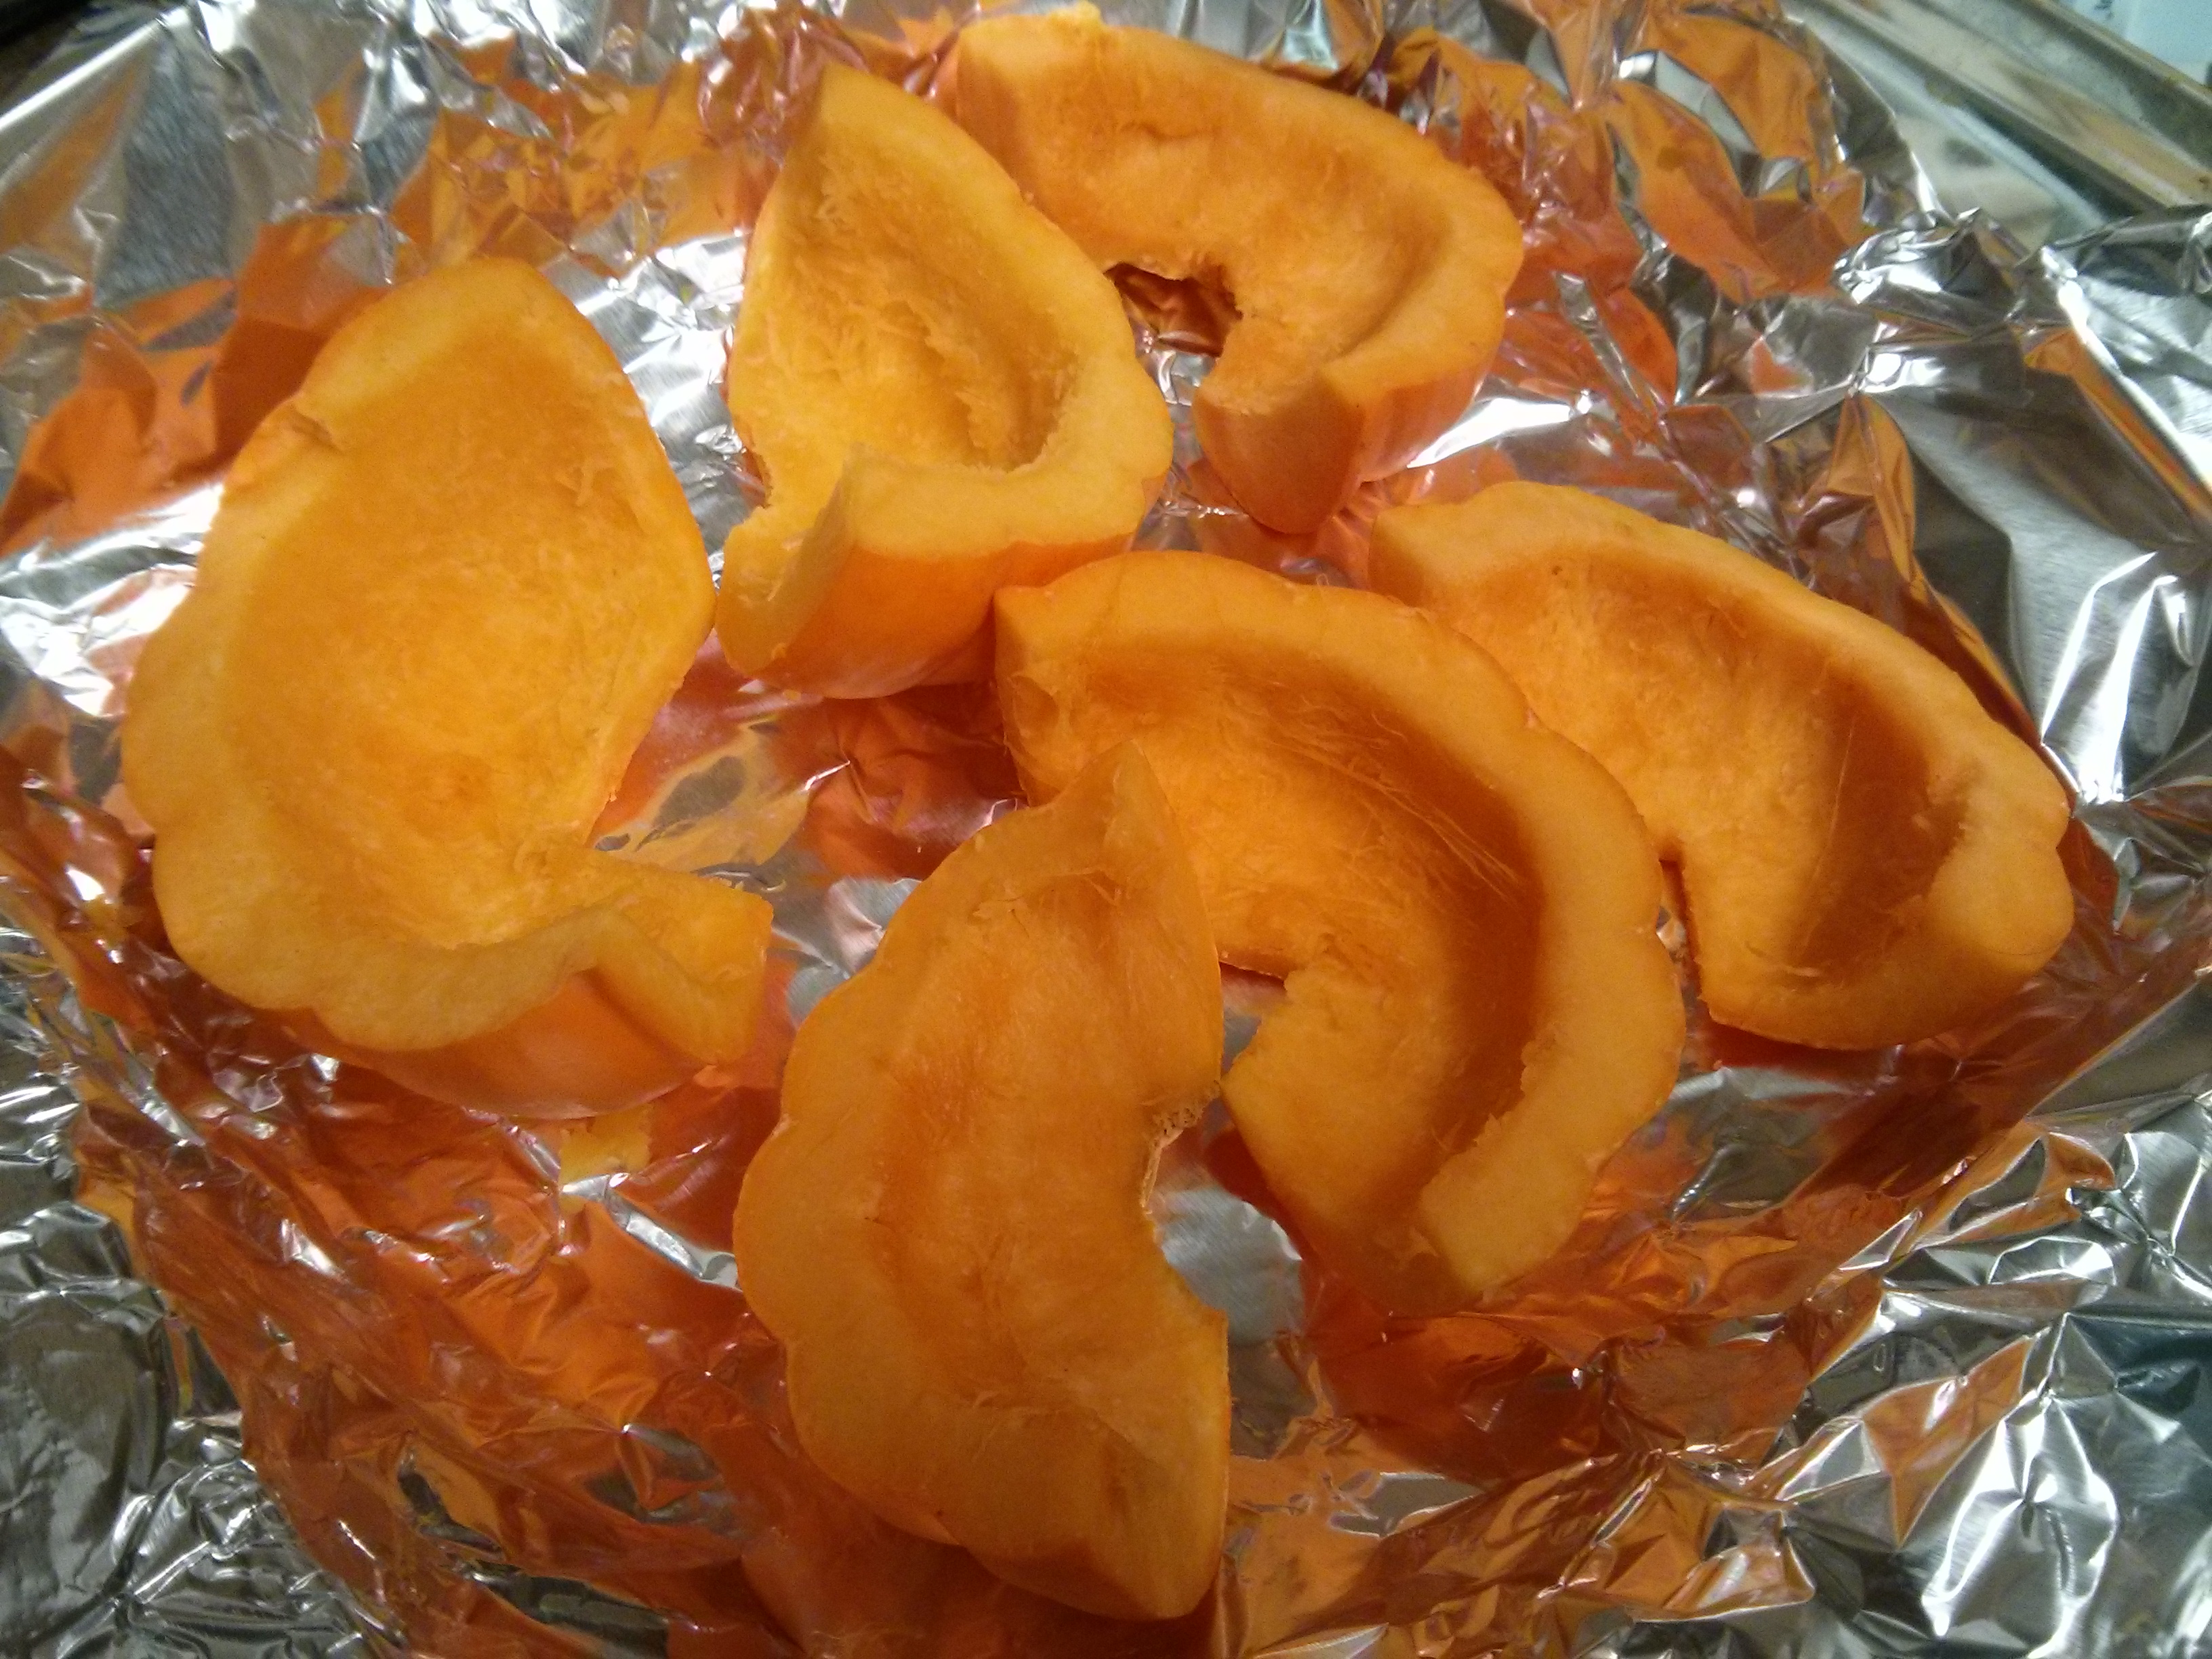
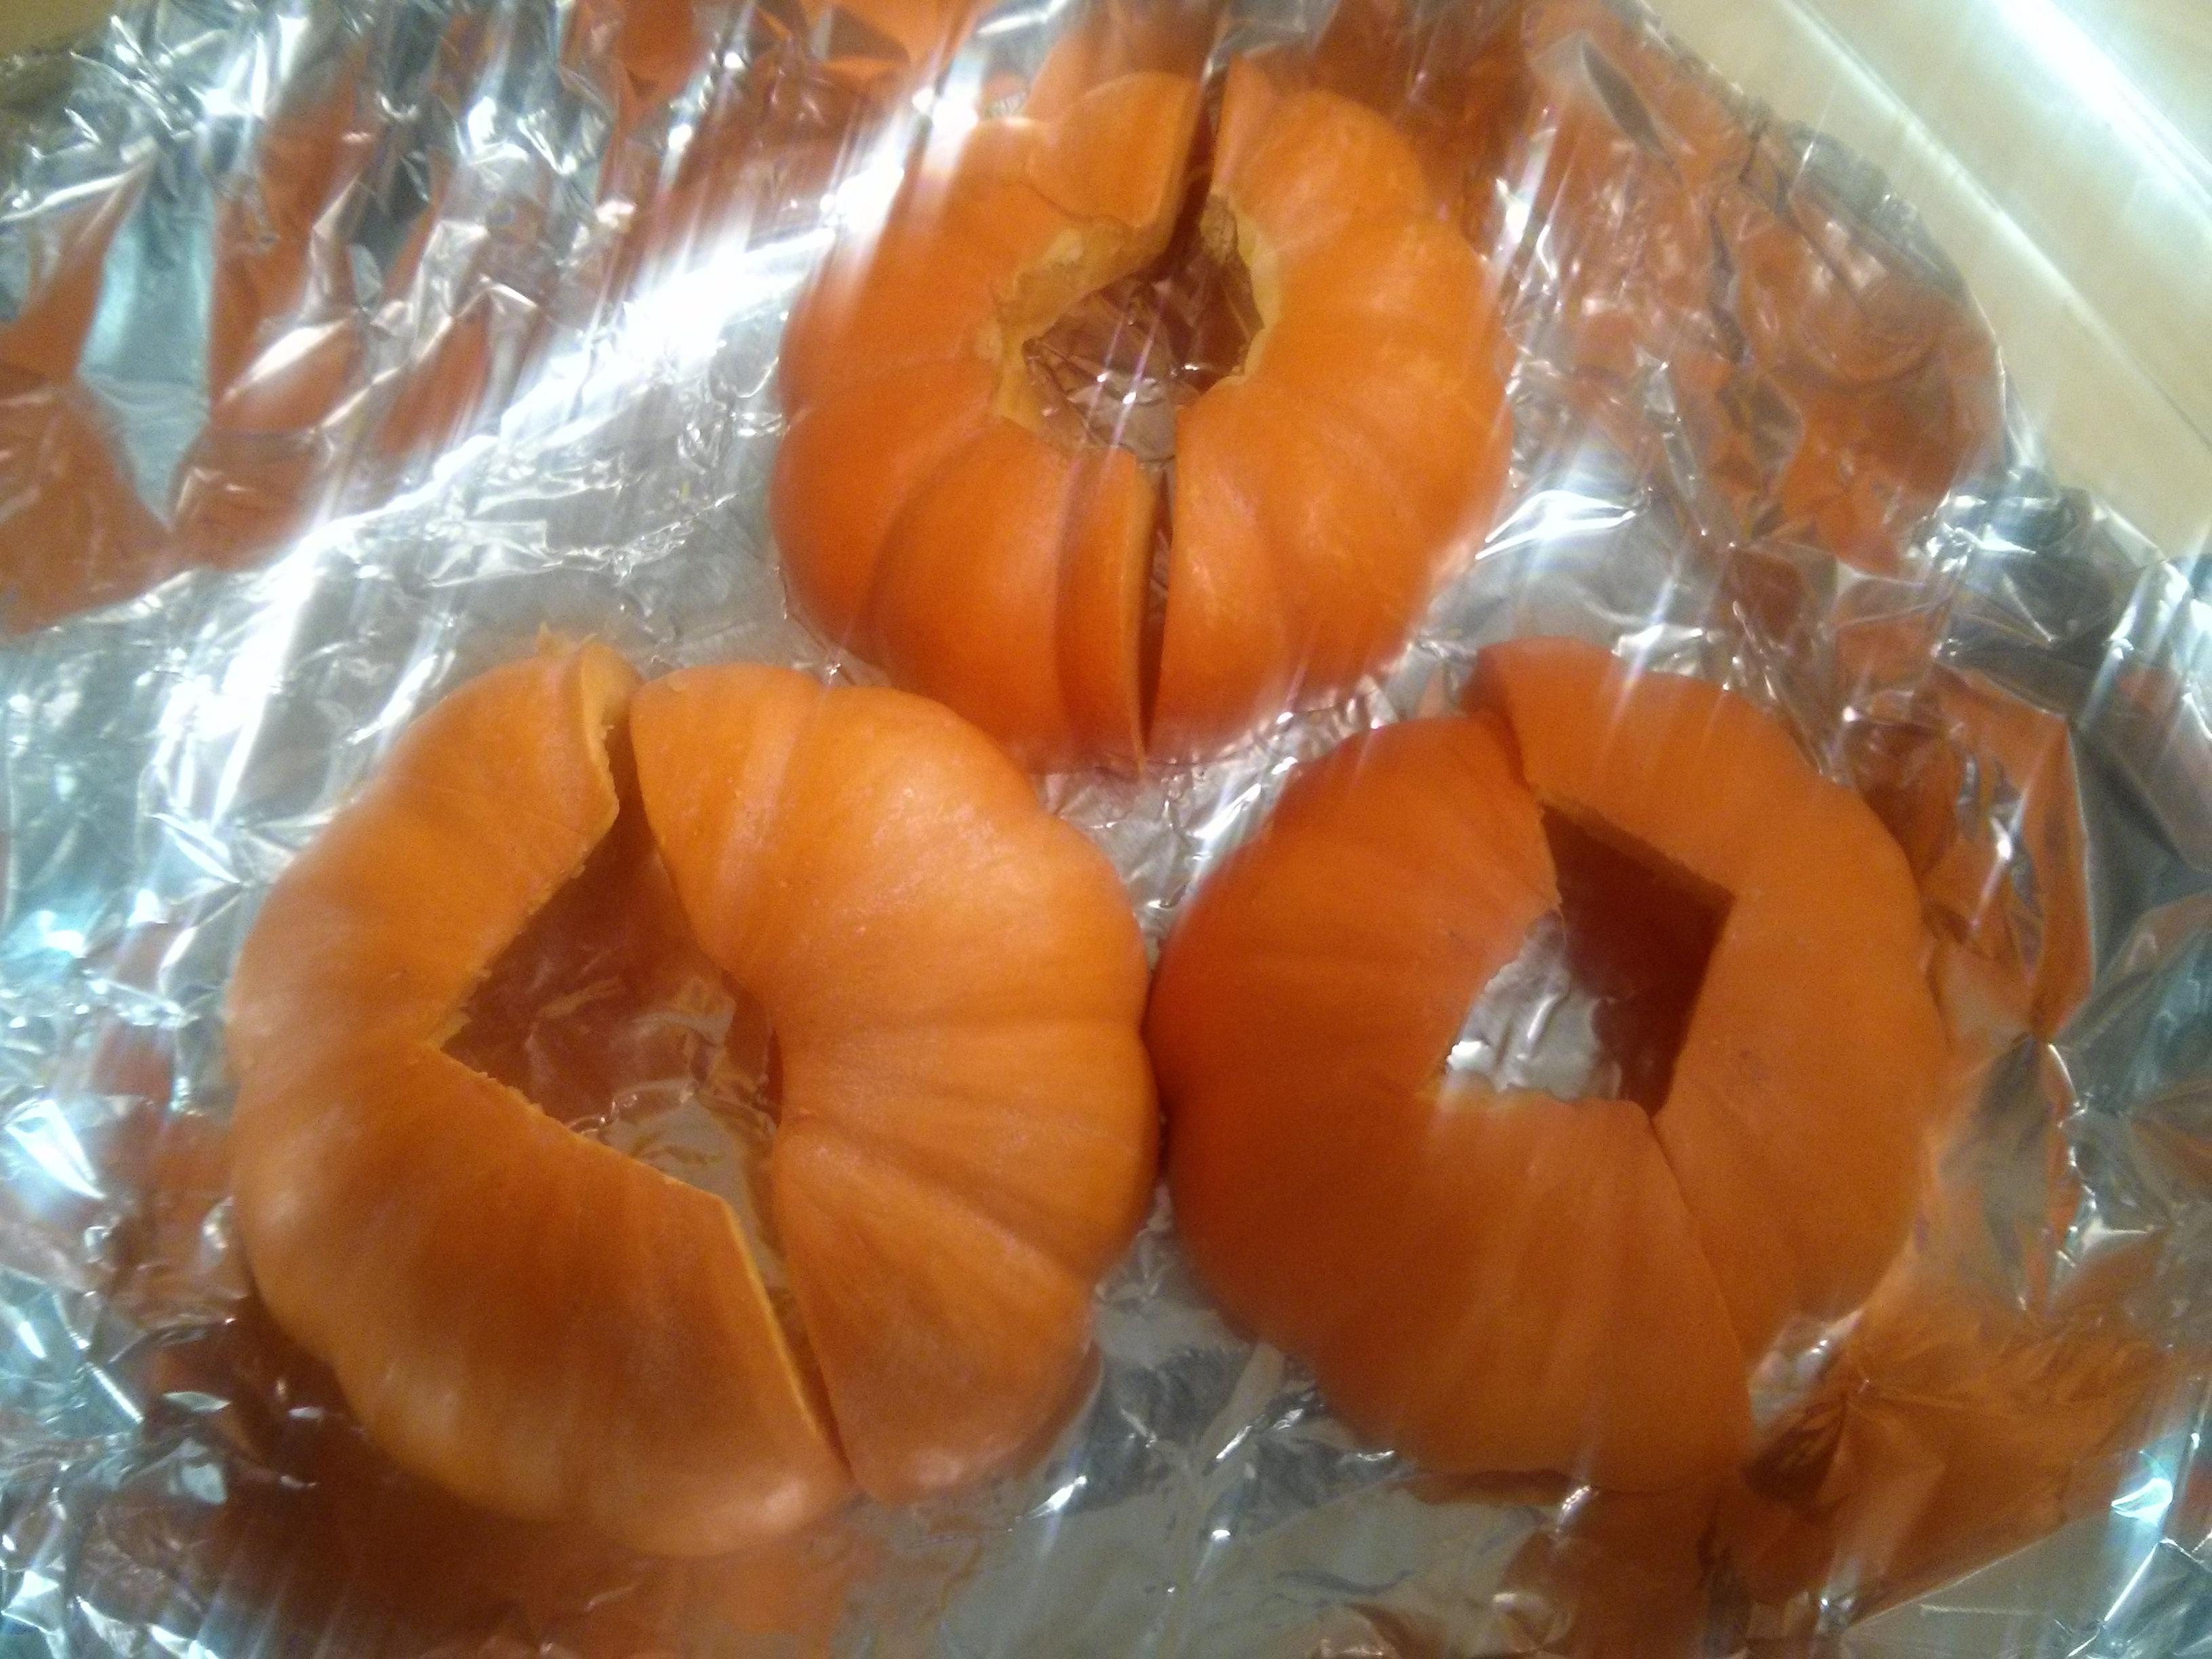
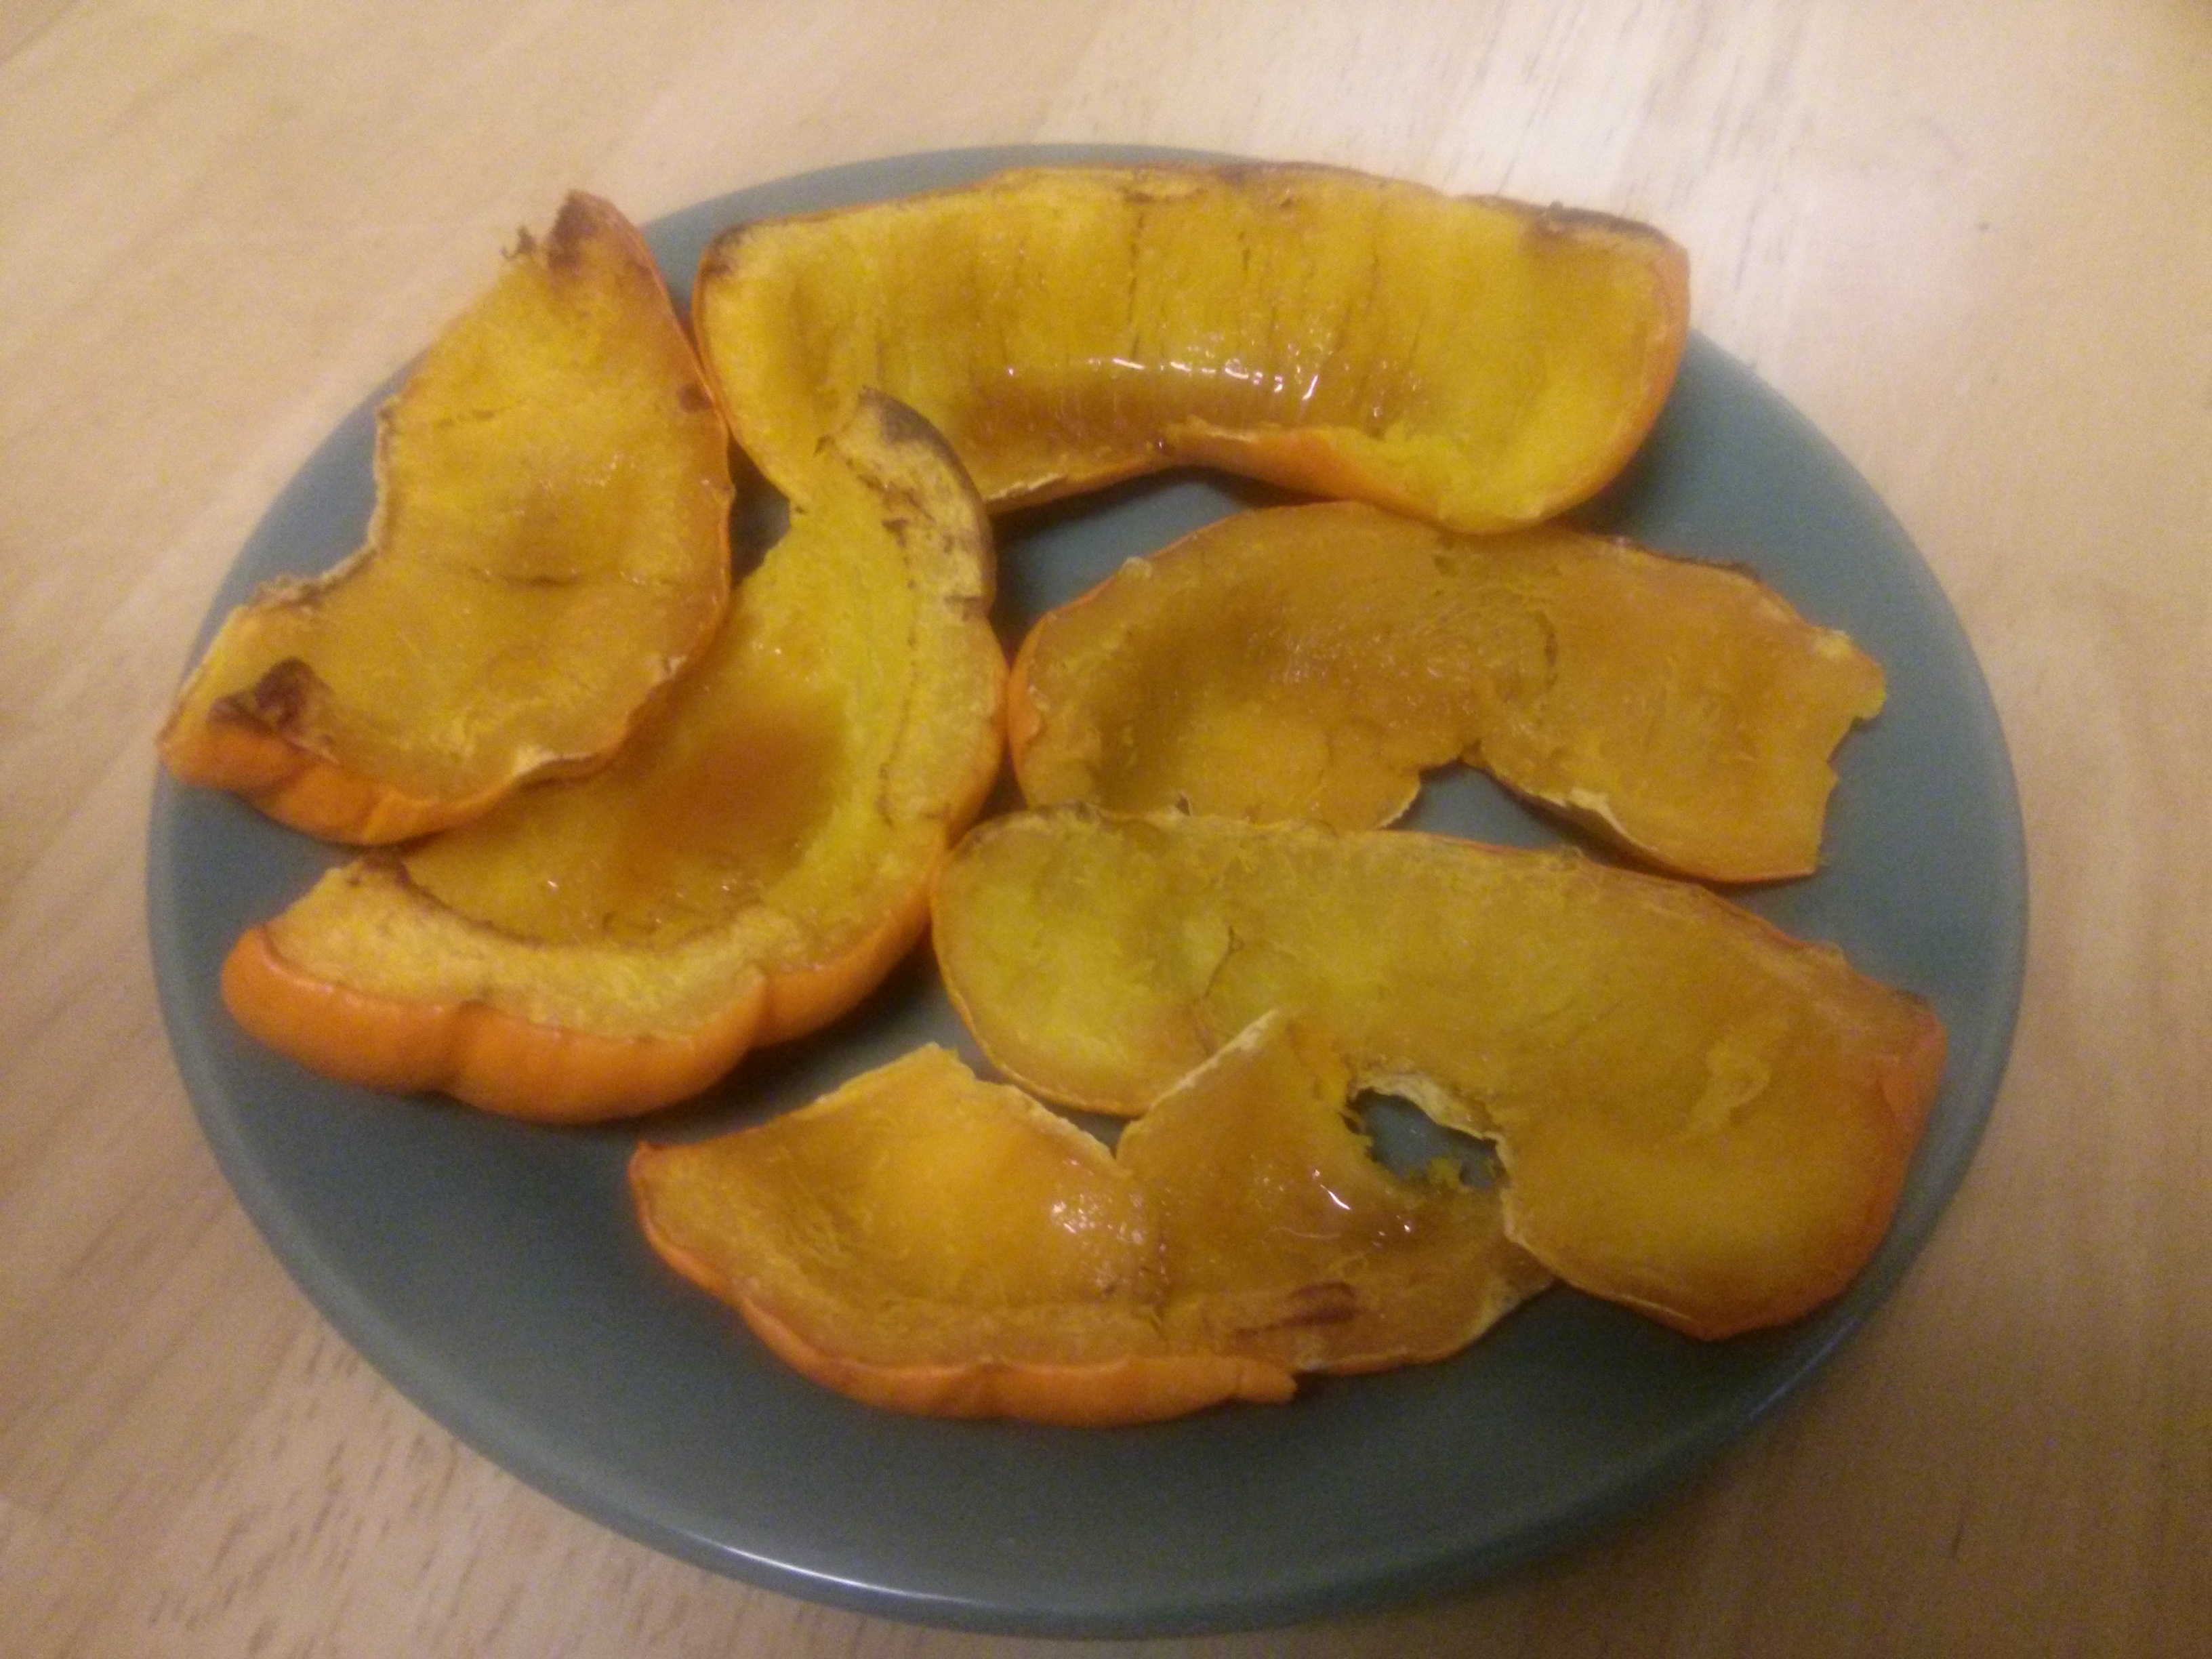
In any case…here a few final notes and pictures on the alicha. For the carrots, first I cut them into pieces about 2″ long. Then I took the fatter pieces (the ones that had come from the big ends of the carrots), and I split them in half the long way to make them closer in size to the rest. They don’t have to be perfect – any size is fine – but this made the pieces about the same size.

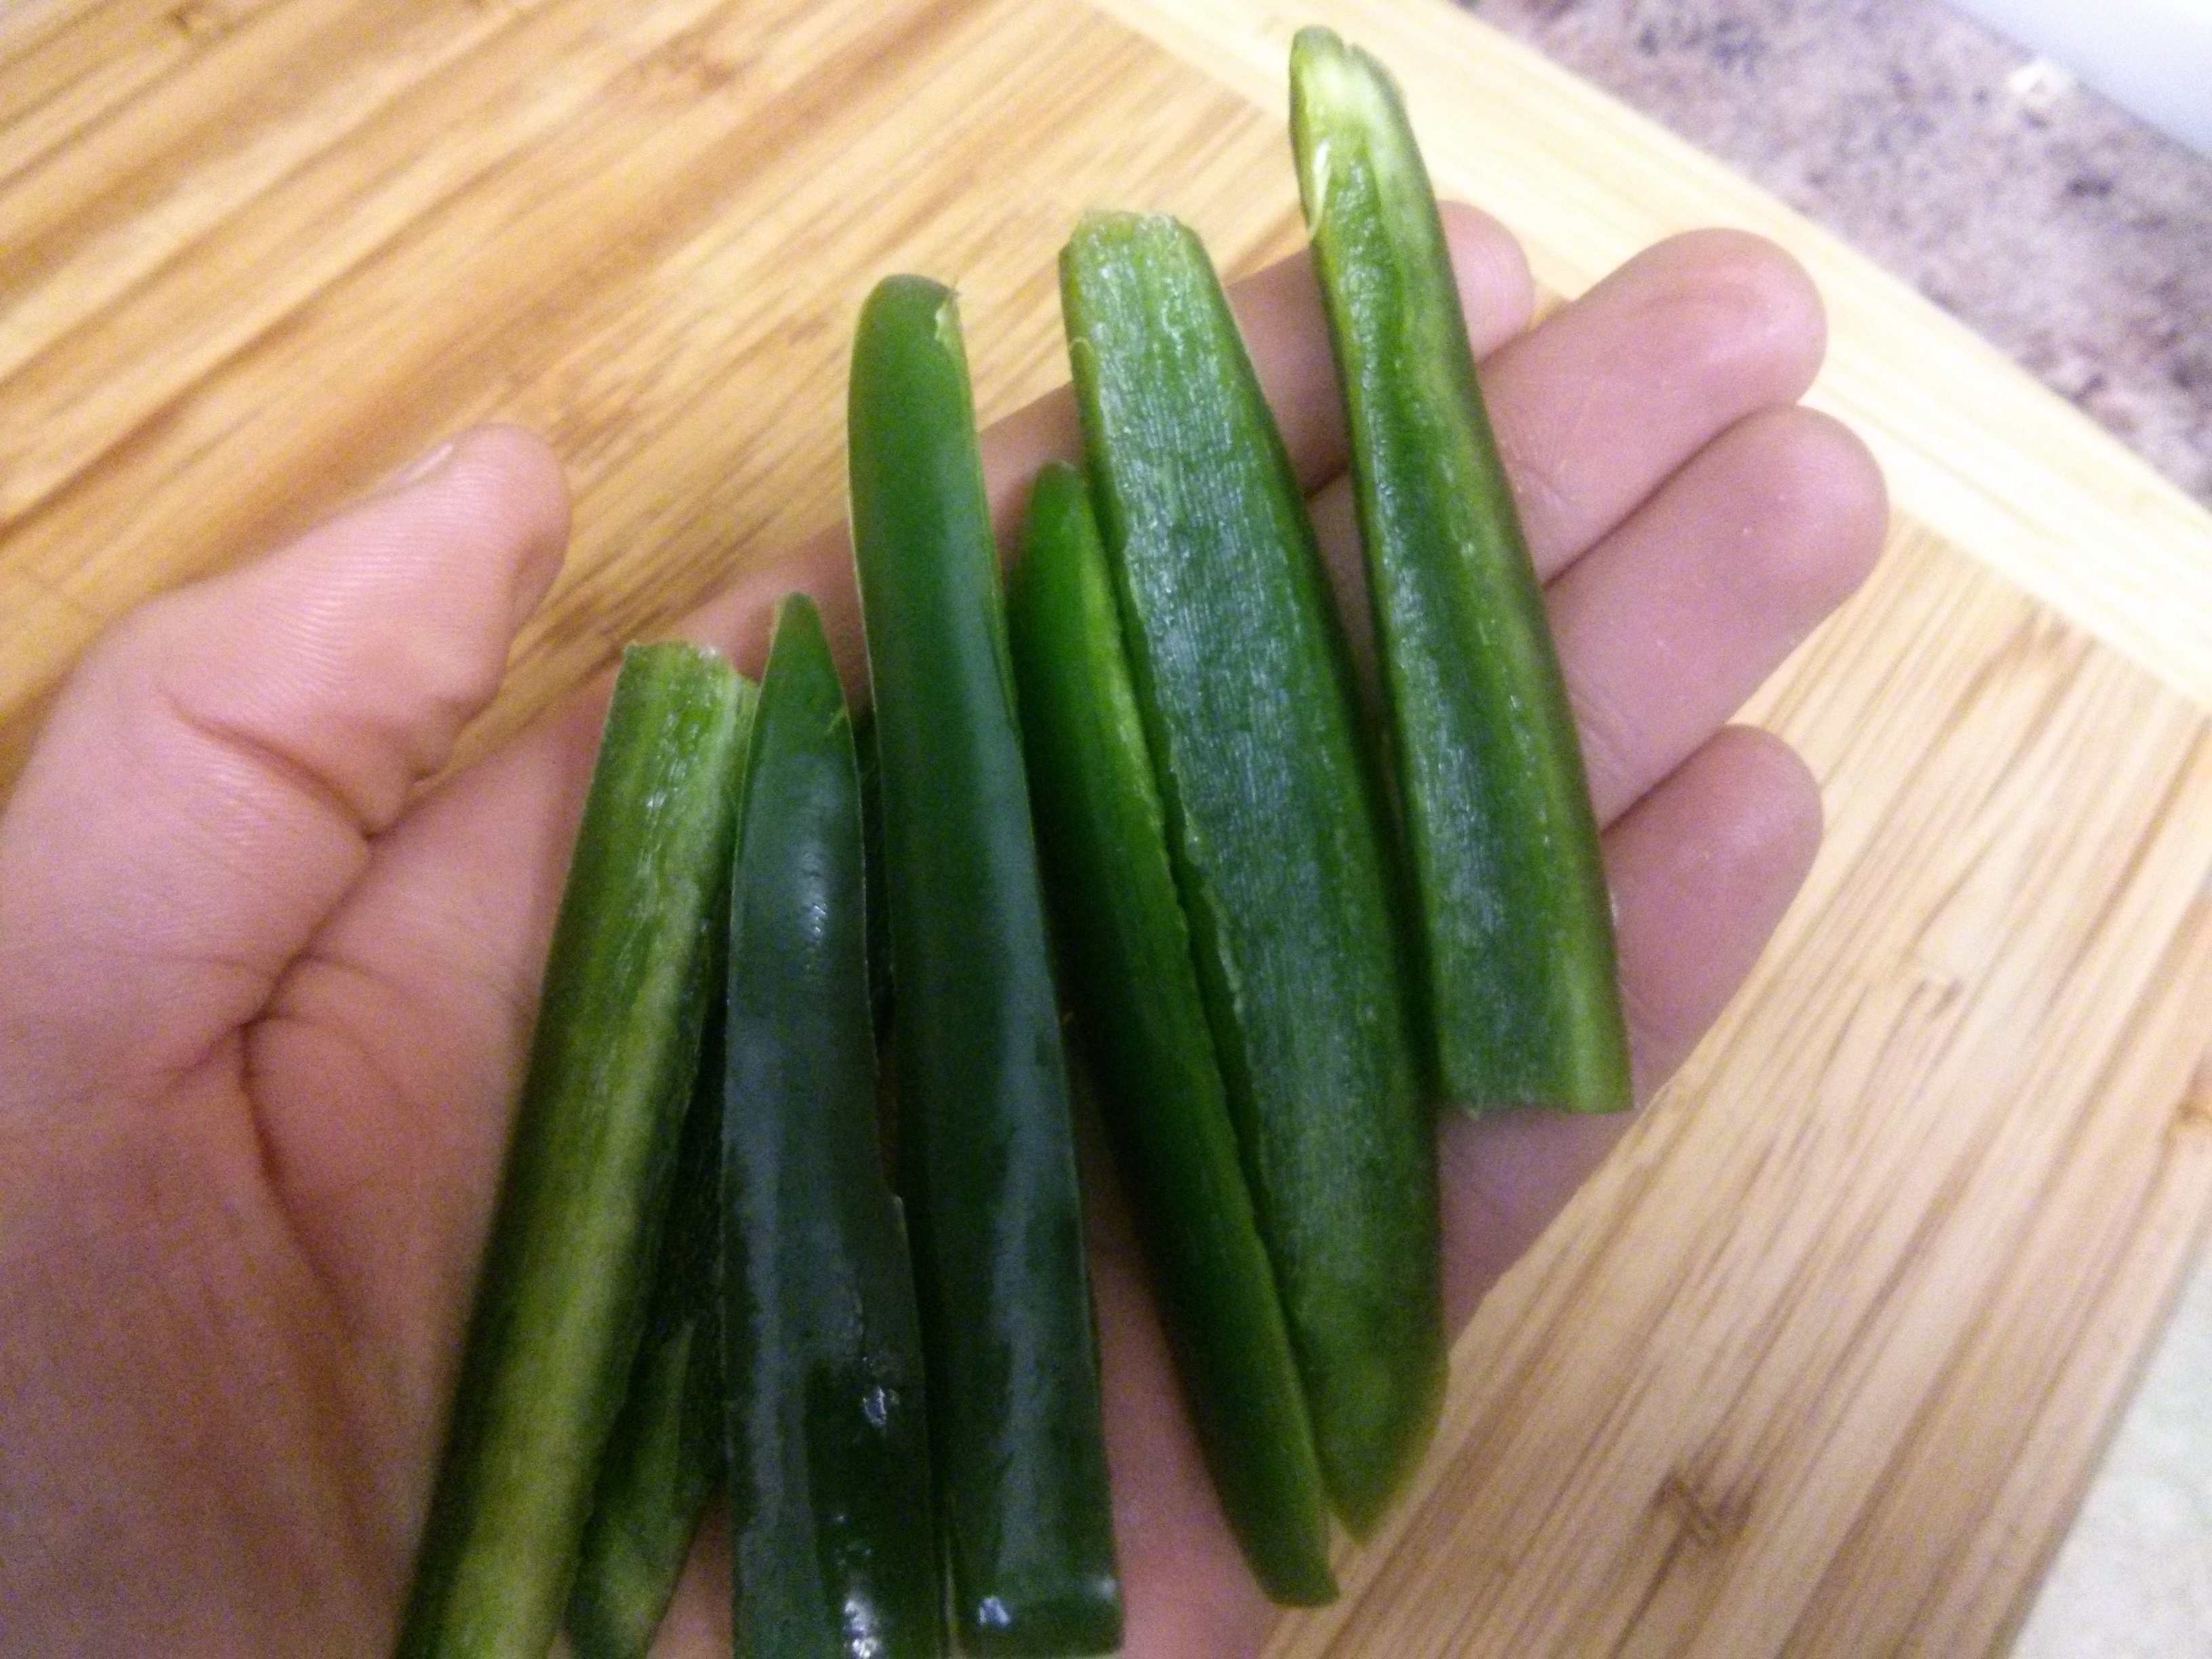
The green beans don’t have to be perfectly uniform, either. And in fact you (or perhaps some helpful friends or kids) can do this step with just your (or their) hands – no knife necessary. That’s how we did it in the class – we snapped the ends off and then snapped the beans in half.

With the jalapeños, if you like things a little hotter, you probably know what to do. I didn’t add any seeds to the alicha, but they’re there if you want them, and the jalapeños can also cook for more or less time at the end.

And that’s it! An Ethiopian Quadruple Double. Give them a try, and see what you think. It’s no mystery I think they’re pretty good 🙂