It took me three months, but I’ve done it! I’ve determined the cost of breakfast.
I don’t remember when exactly it became my breakfast – two pieces of toast, one with jam and the other with peanut butter and honey – but I know it was at least three and a half years ago.

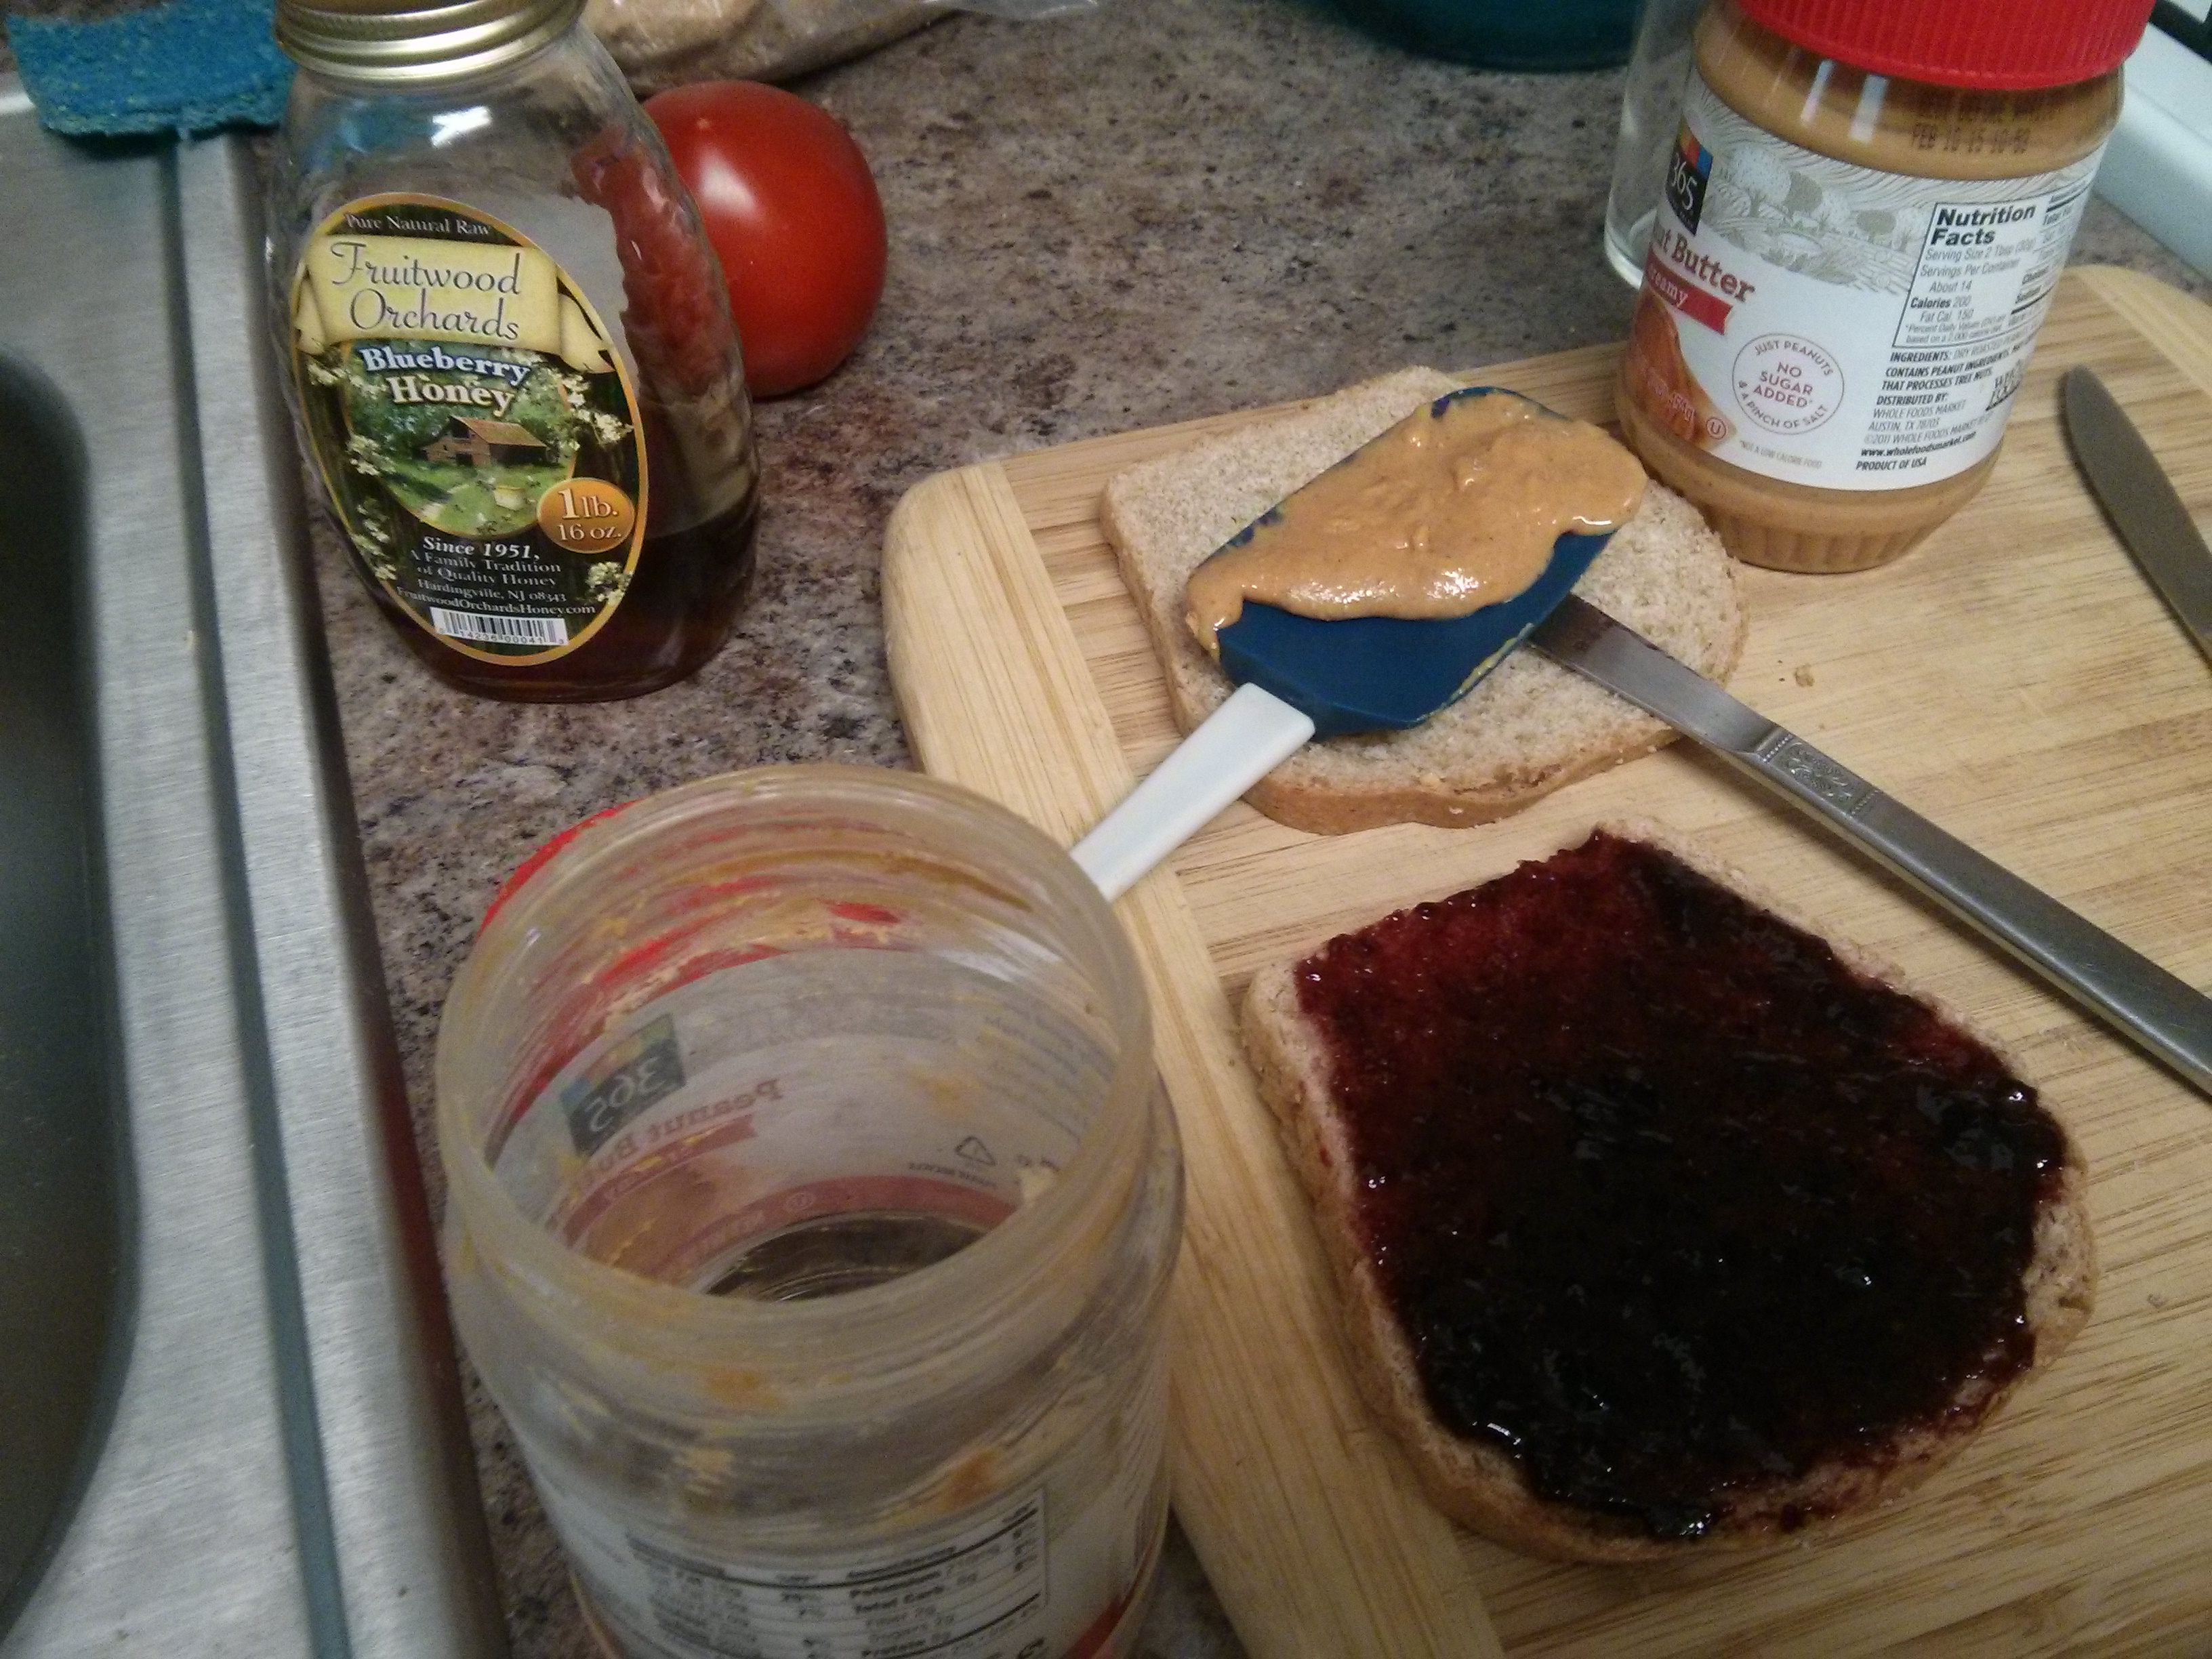
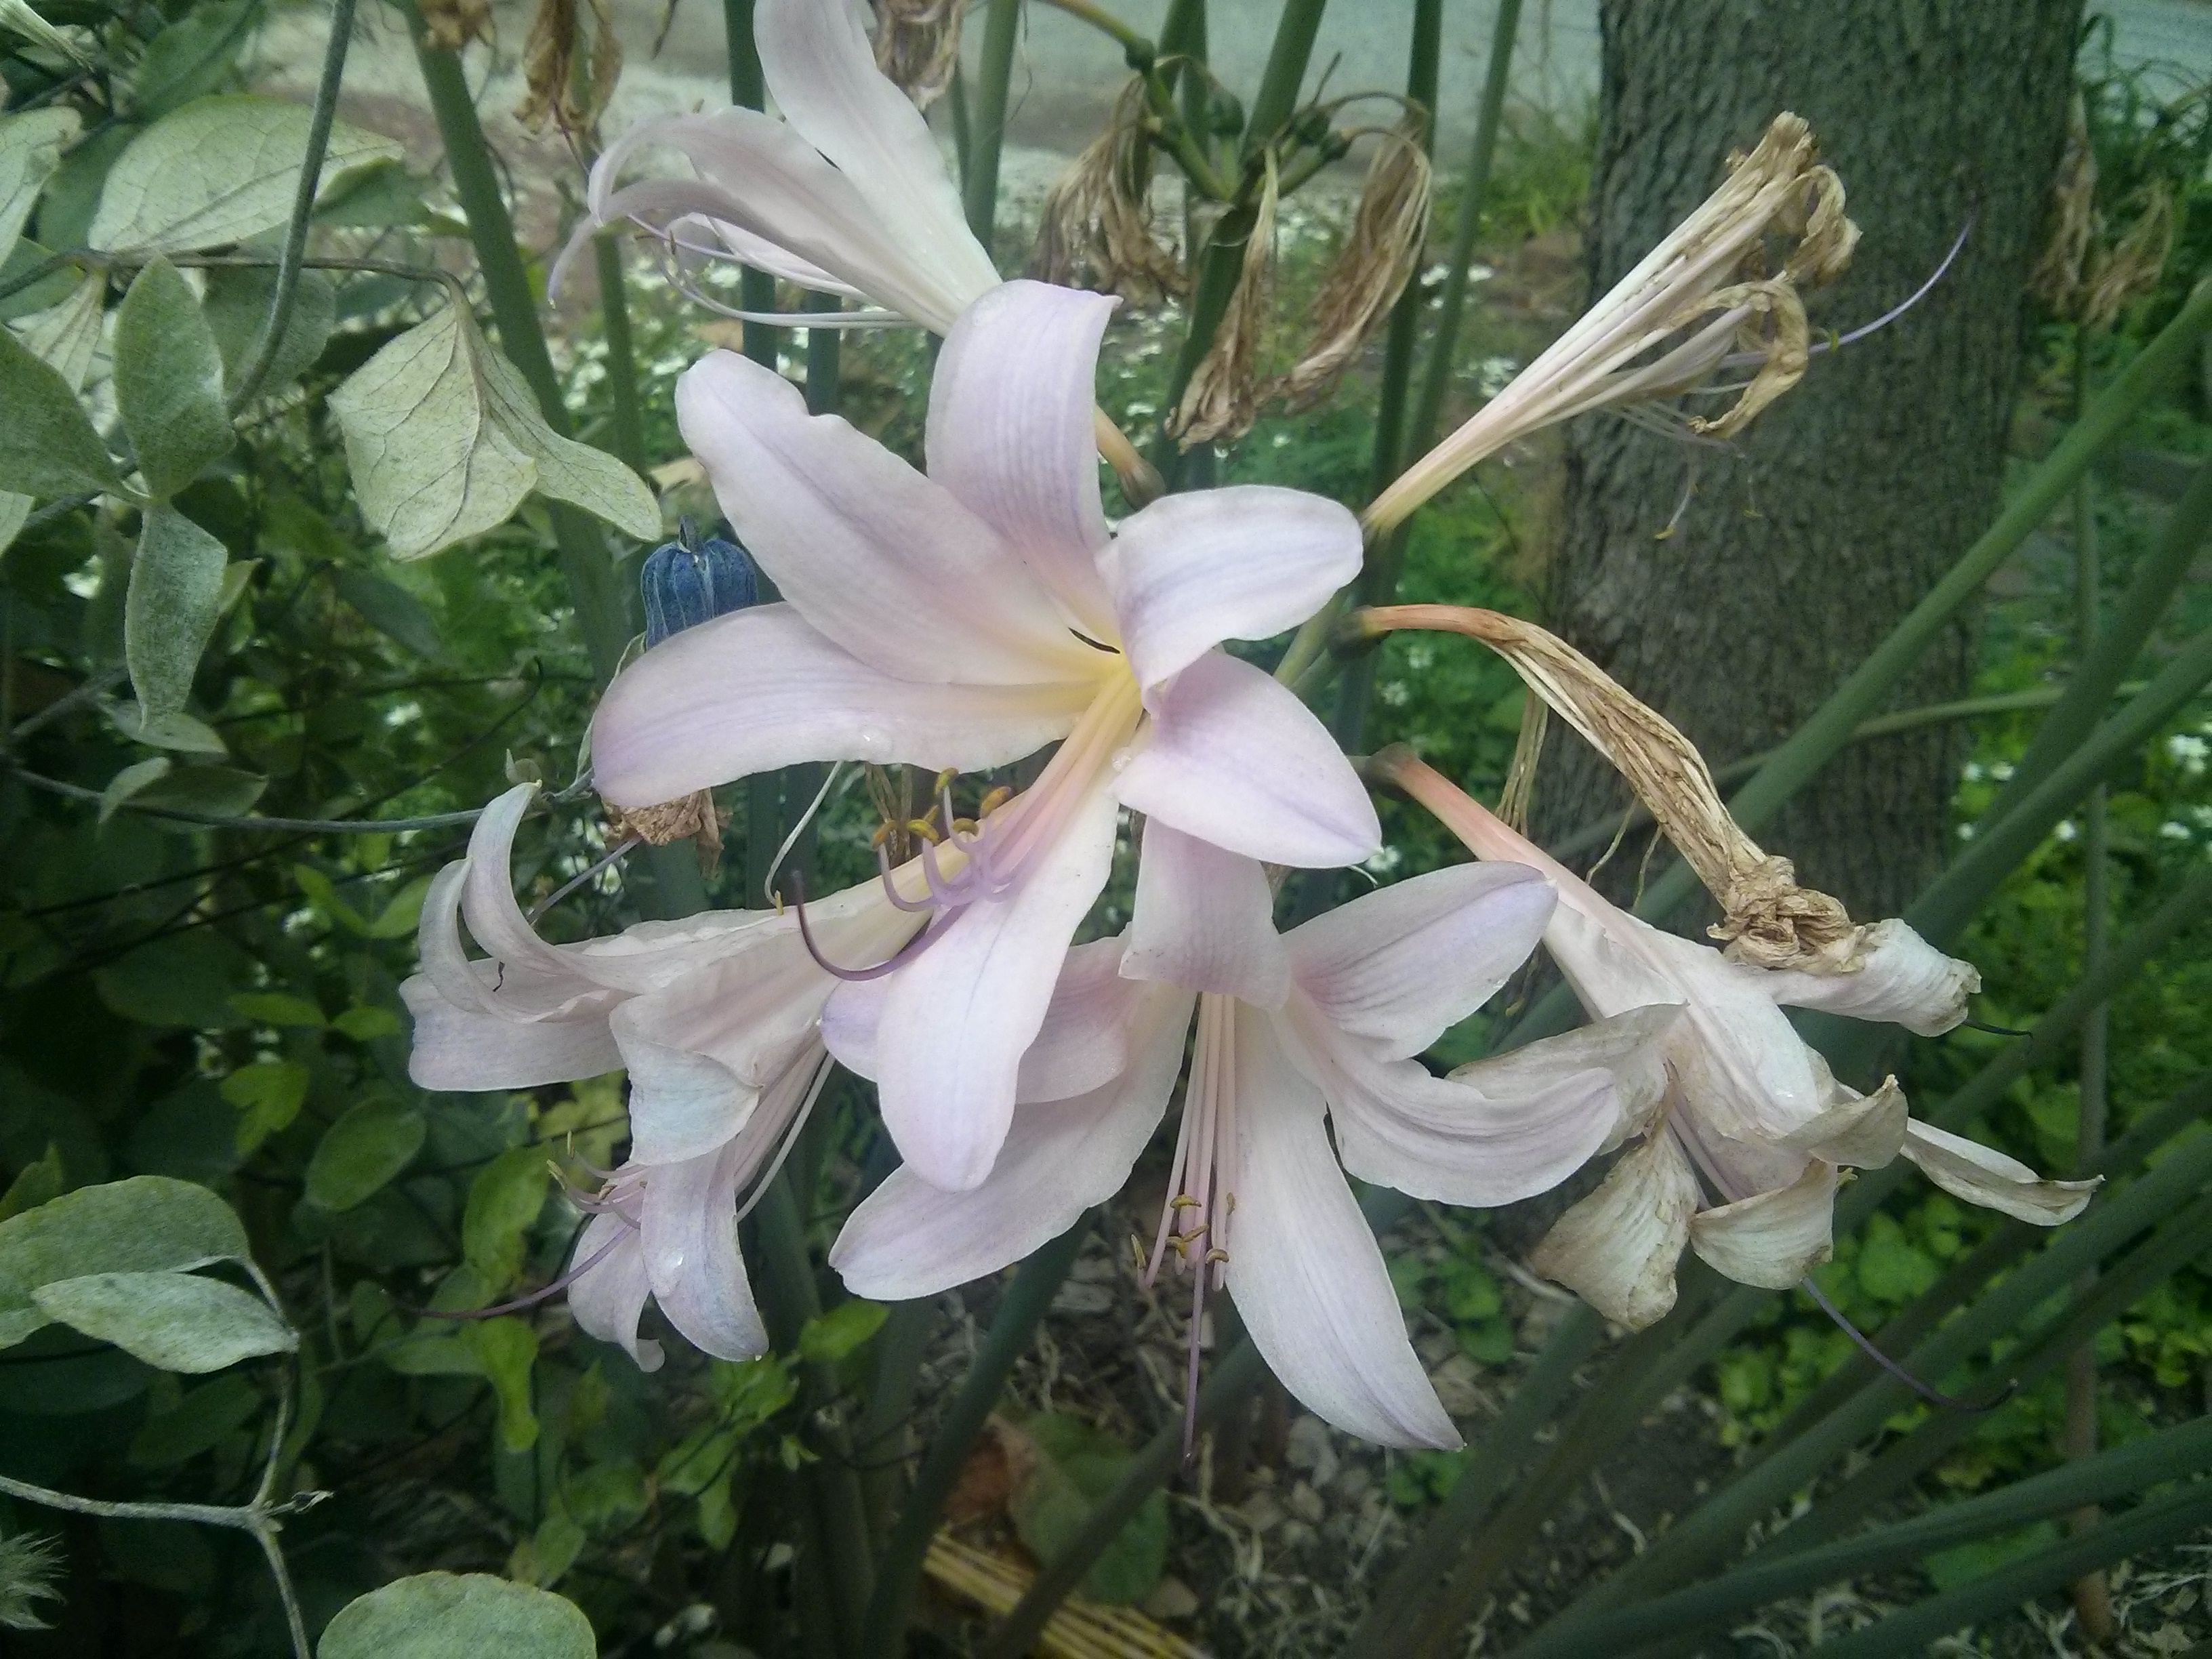
This is how breakfast looked in May 2014. It would have looked pretty similar in May 2011.
I can date it to at least then because I remember remarking to a few friends around that time how I’d stopped eating peanut butter and jelly sandwiches – but not my regular breakfast. I’d needed a (temporary) sandwich siesta, on account of a Latin American trip during which a relationship ended and during which, at the expense of more local food exploration and adventure, I’d acquiescingly eaten more PB&J than I’d wanted. I needed a PB&J break, but that didn’t mean I had to forgo my regular PB toast & jam toast breakfast. A sample friend exchange at the time went:
Him/her: But they’re practically the same thing.
Me: Nah, they’re not the same. They might get mixed around once they’re inside, but they start off separate.
Back then, honey also wasn’t involved everyday yet, but over time it has become a standard PB toast companion (jam meanwhile has continued to go solo). (Side note: if you want to increase the PB toast breakfast-decadence, try adding squares of butter to the toast first, then peanut butter, and then the honey on top of that.) (Second side note: if you want to experience the grounded sensation of anticipation, peace, hope, joy, and more, all at the same time while having a great PB&J sandwich, do a siesta as noted above and then eat a PB&J sandwich for the first time a few months later when you’re ready.)
But back to 2014, breakfast, and determining the average daily cost of it. Here’s how everything looked three months ago on Day 1:
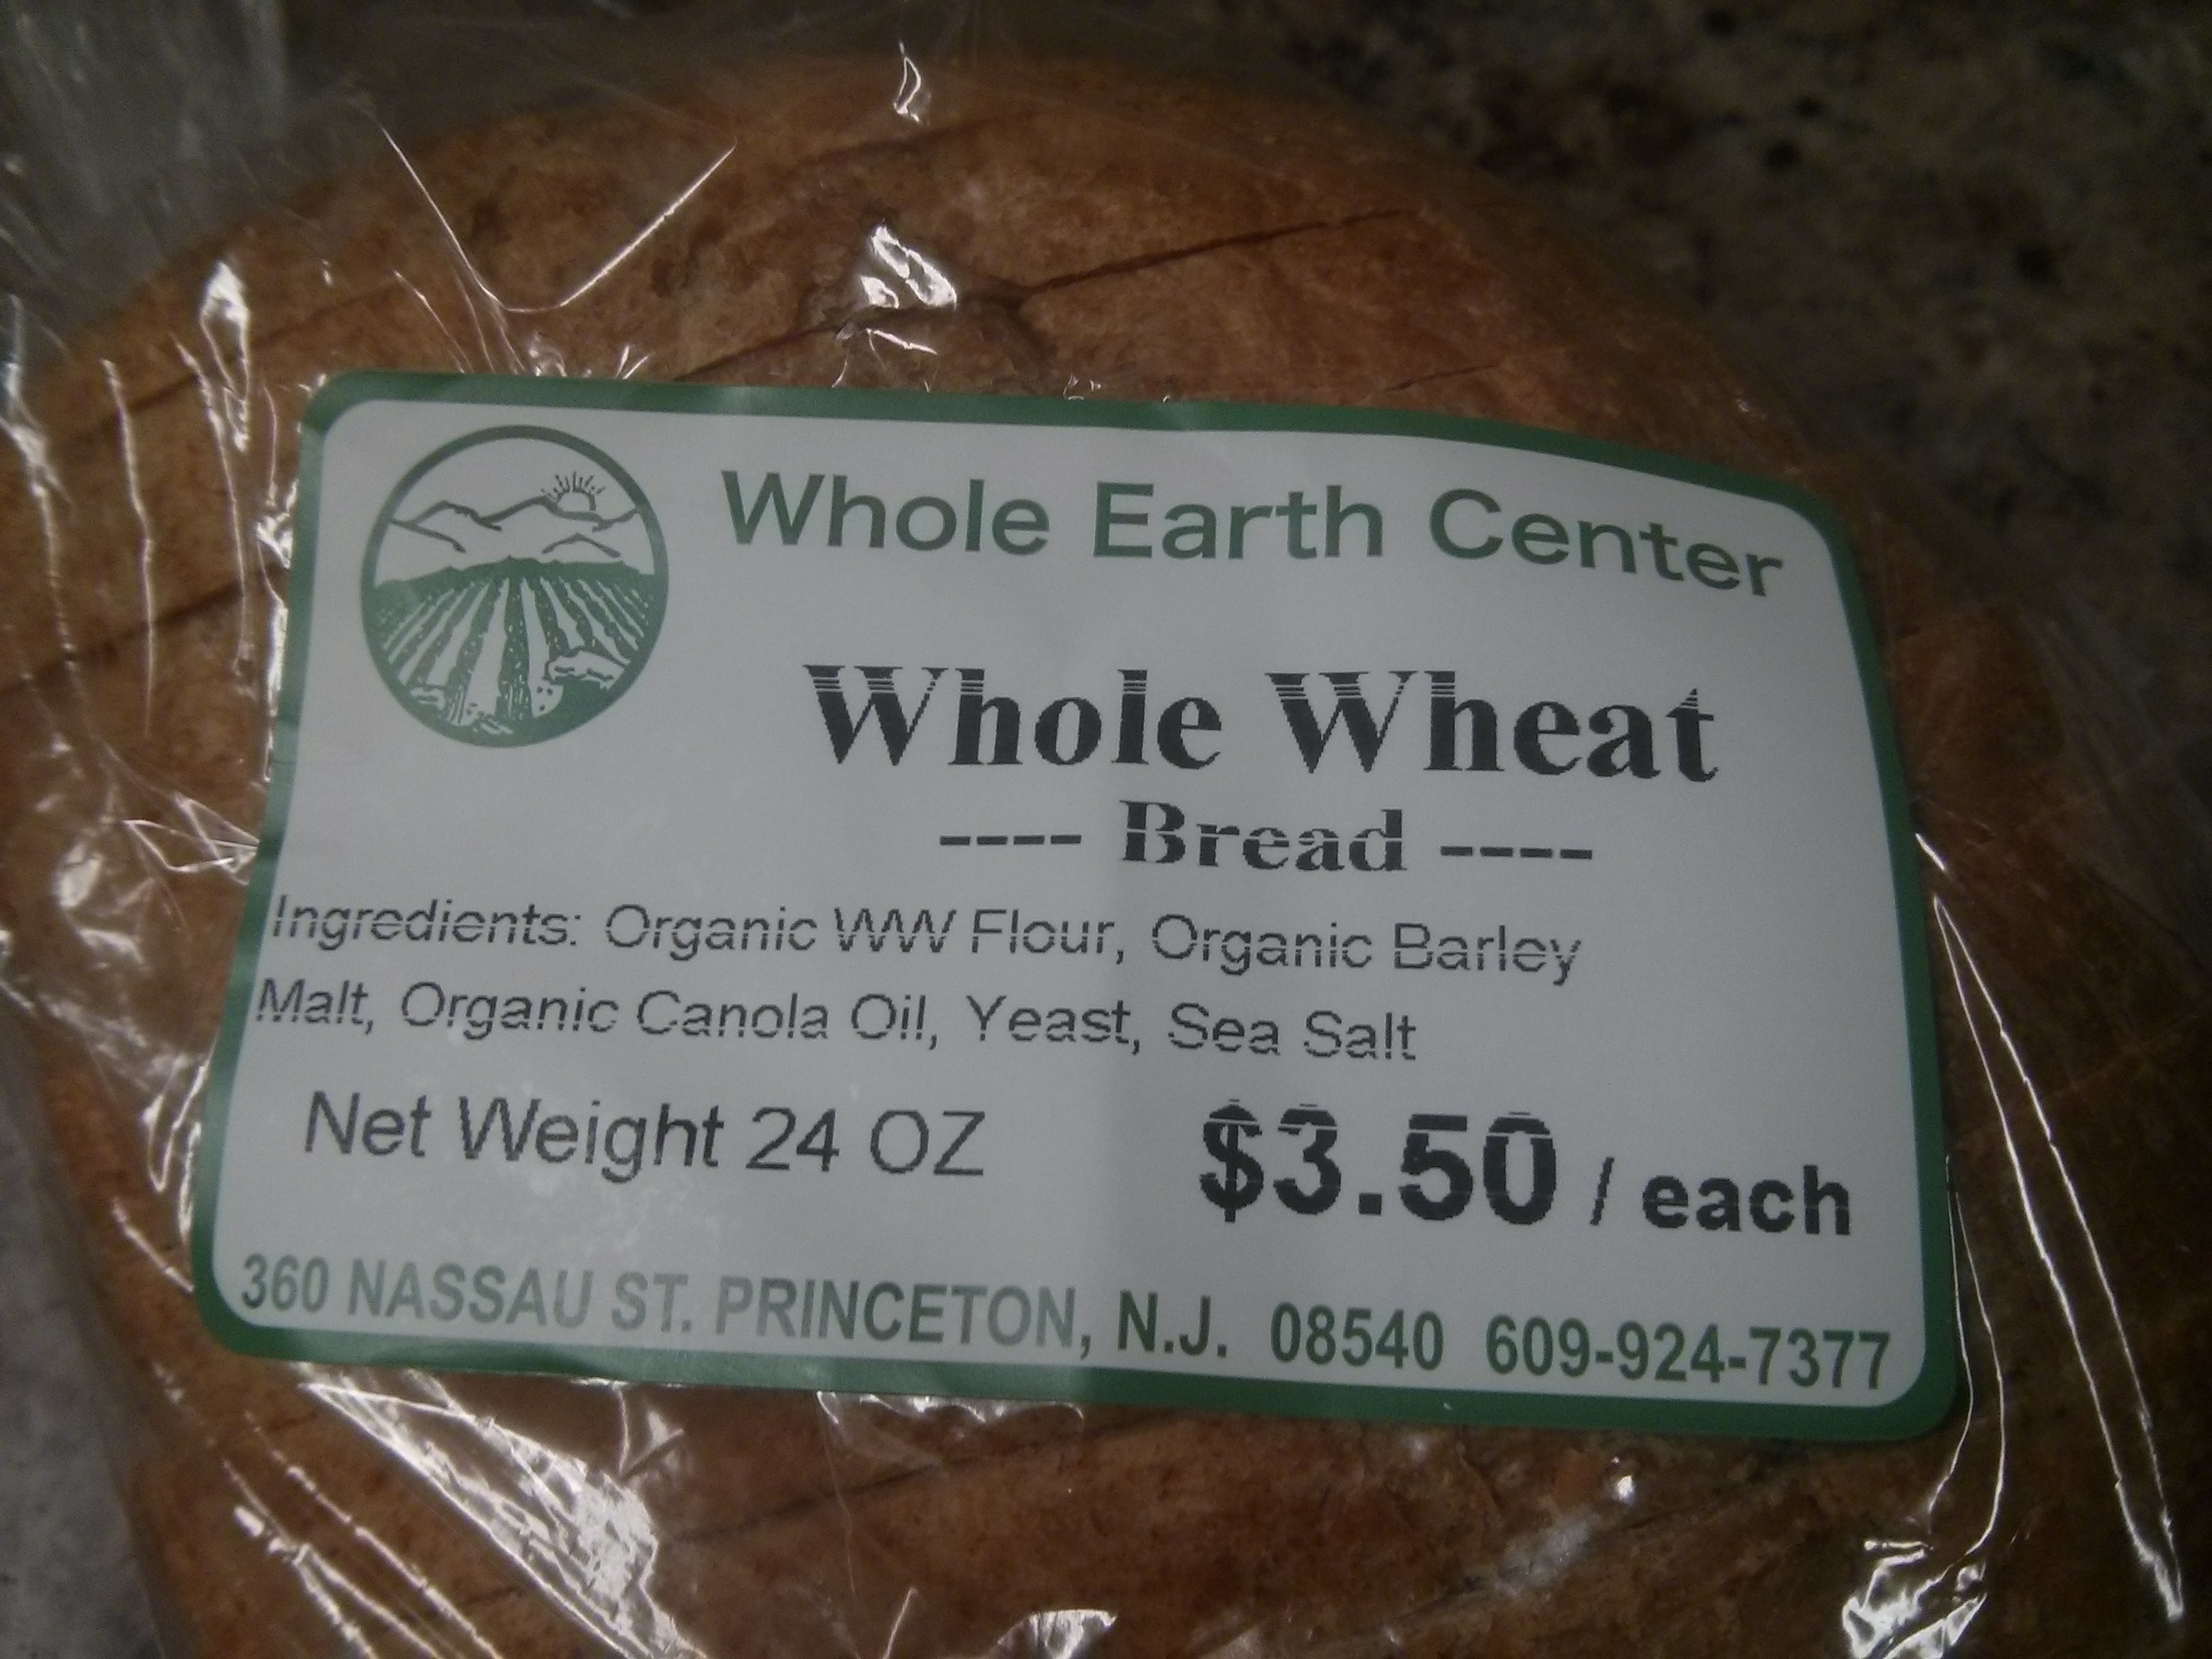
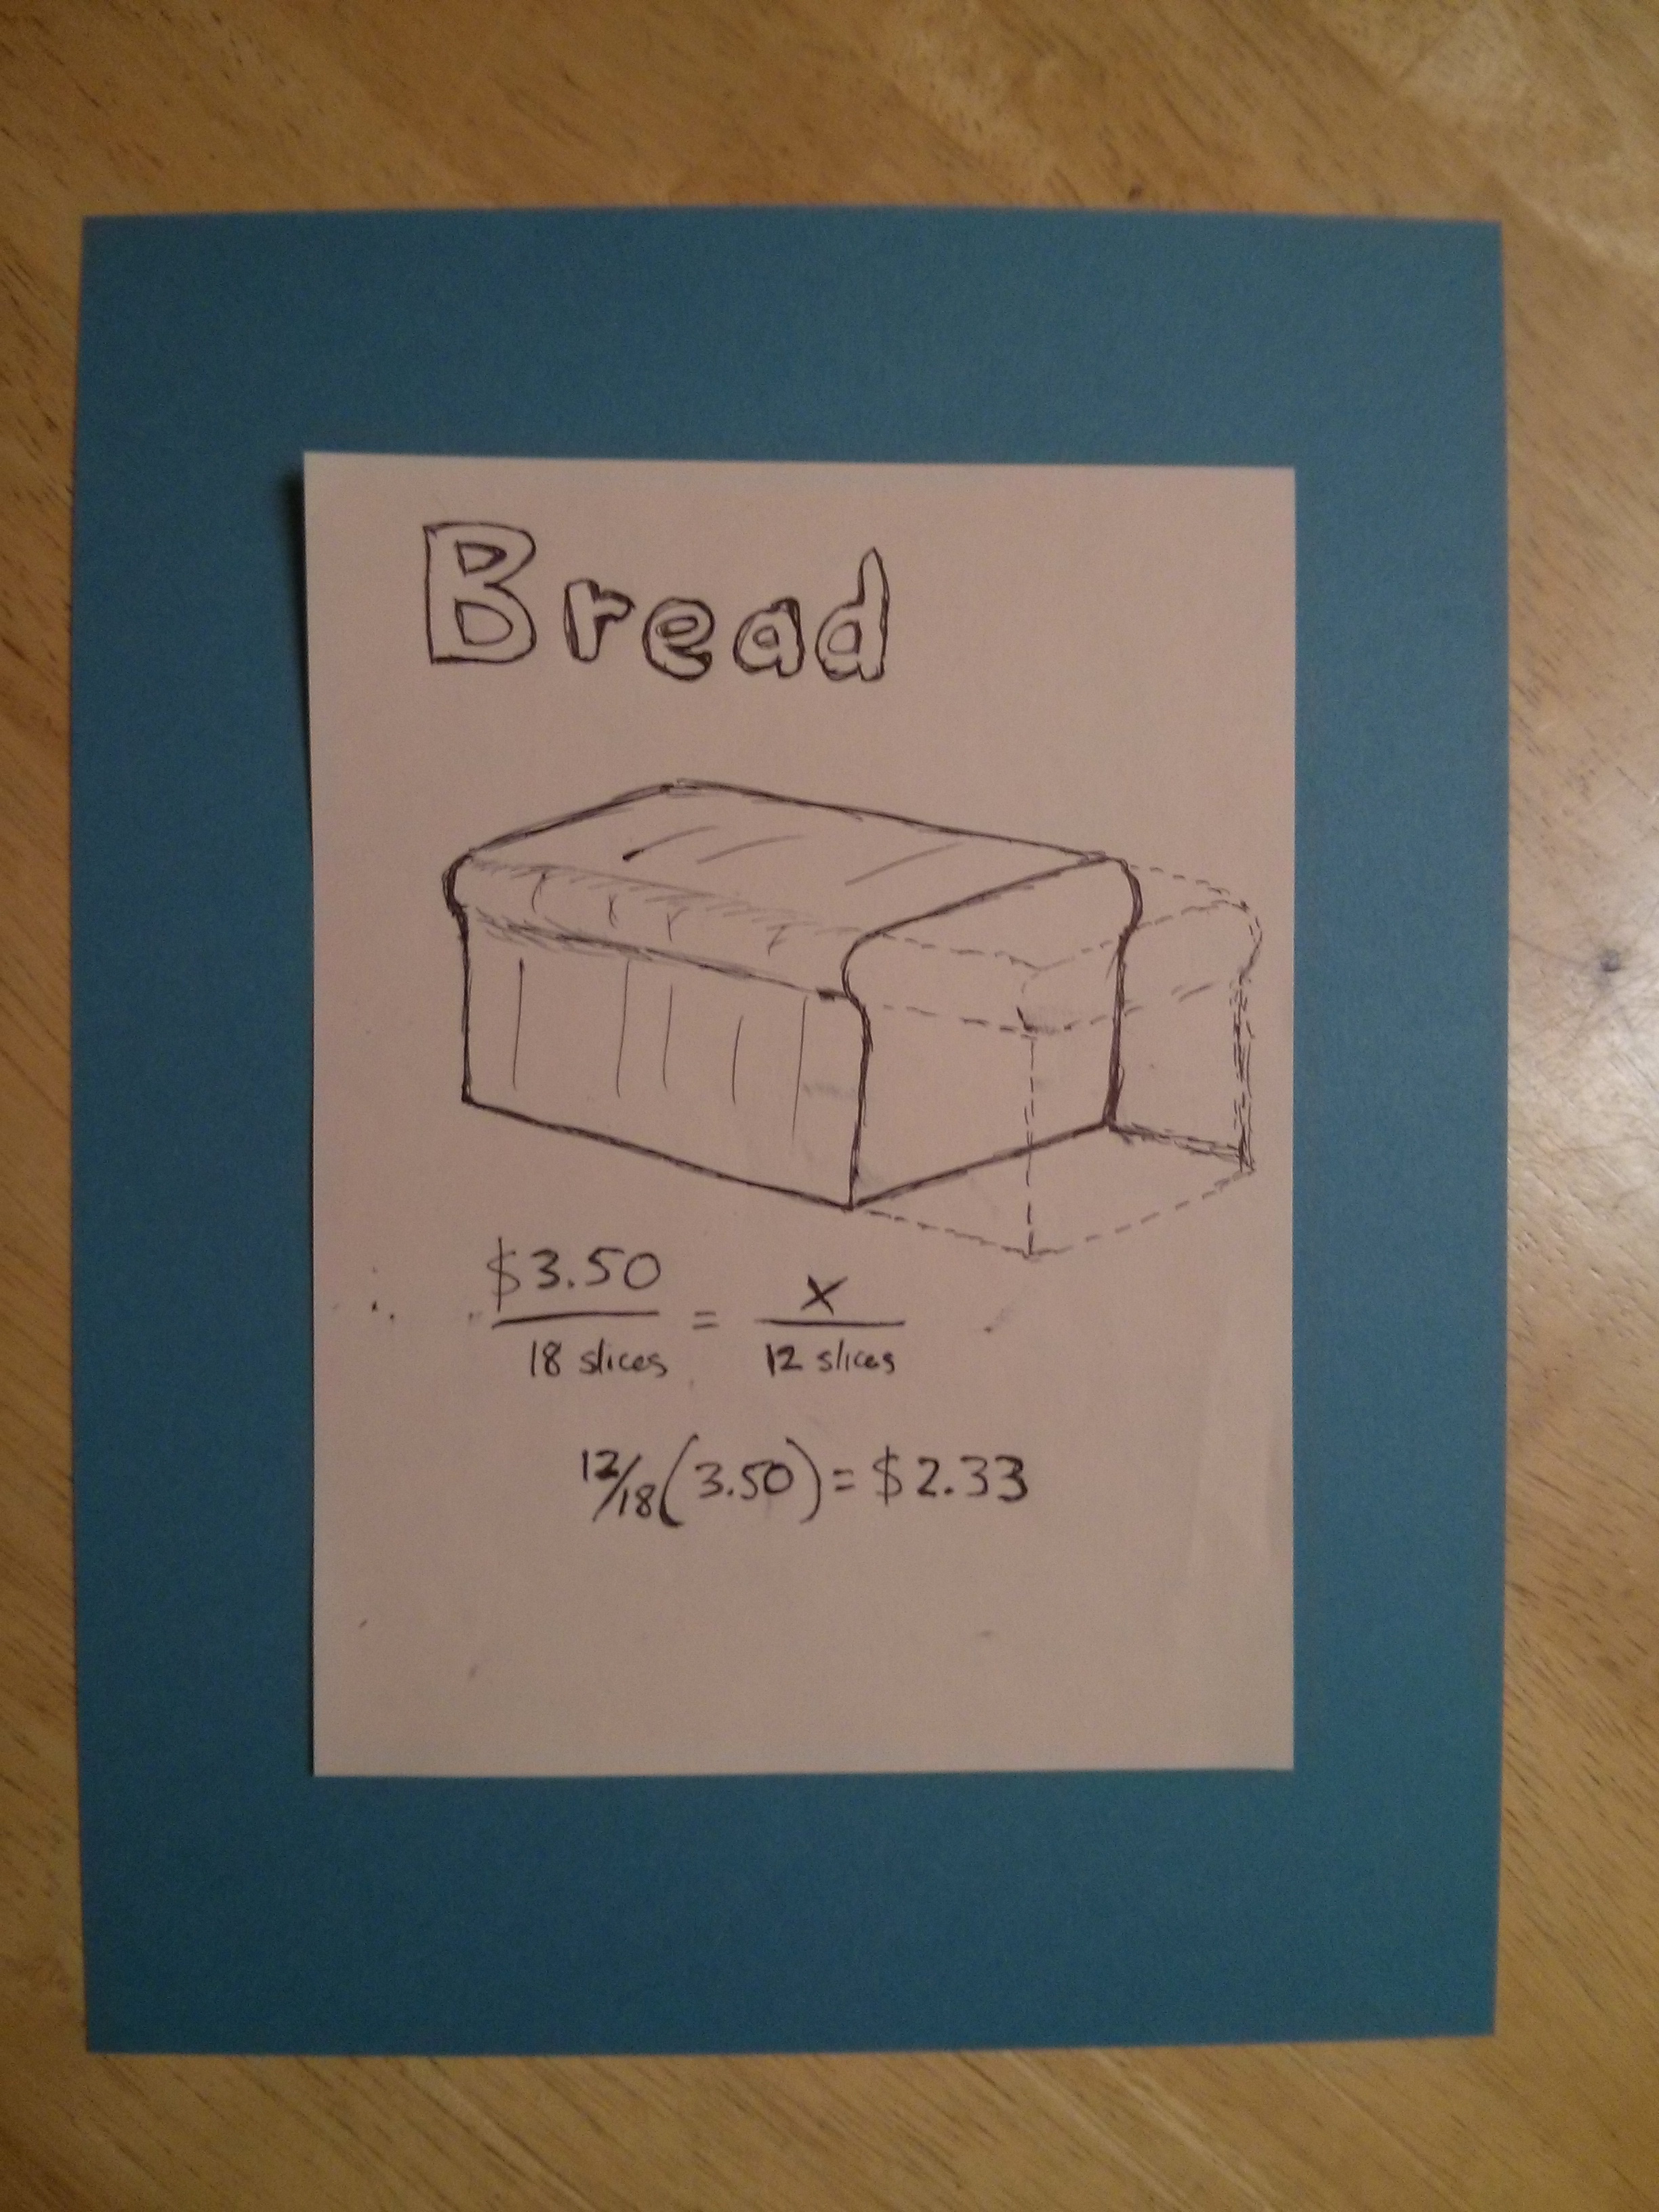
- Whole Wheat Bread, 18 slices (Whole Earth Center) – $3.50
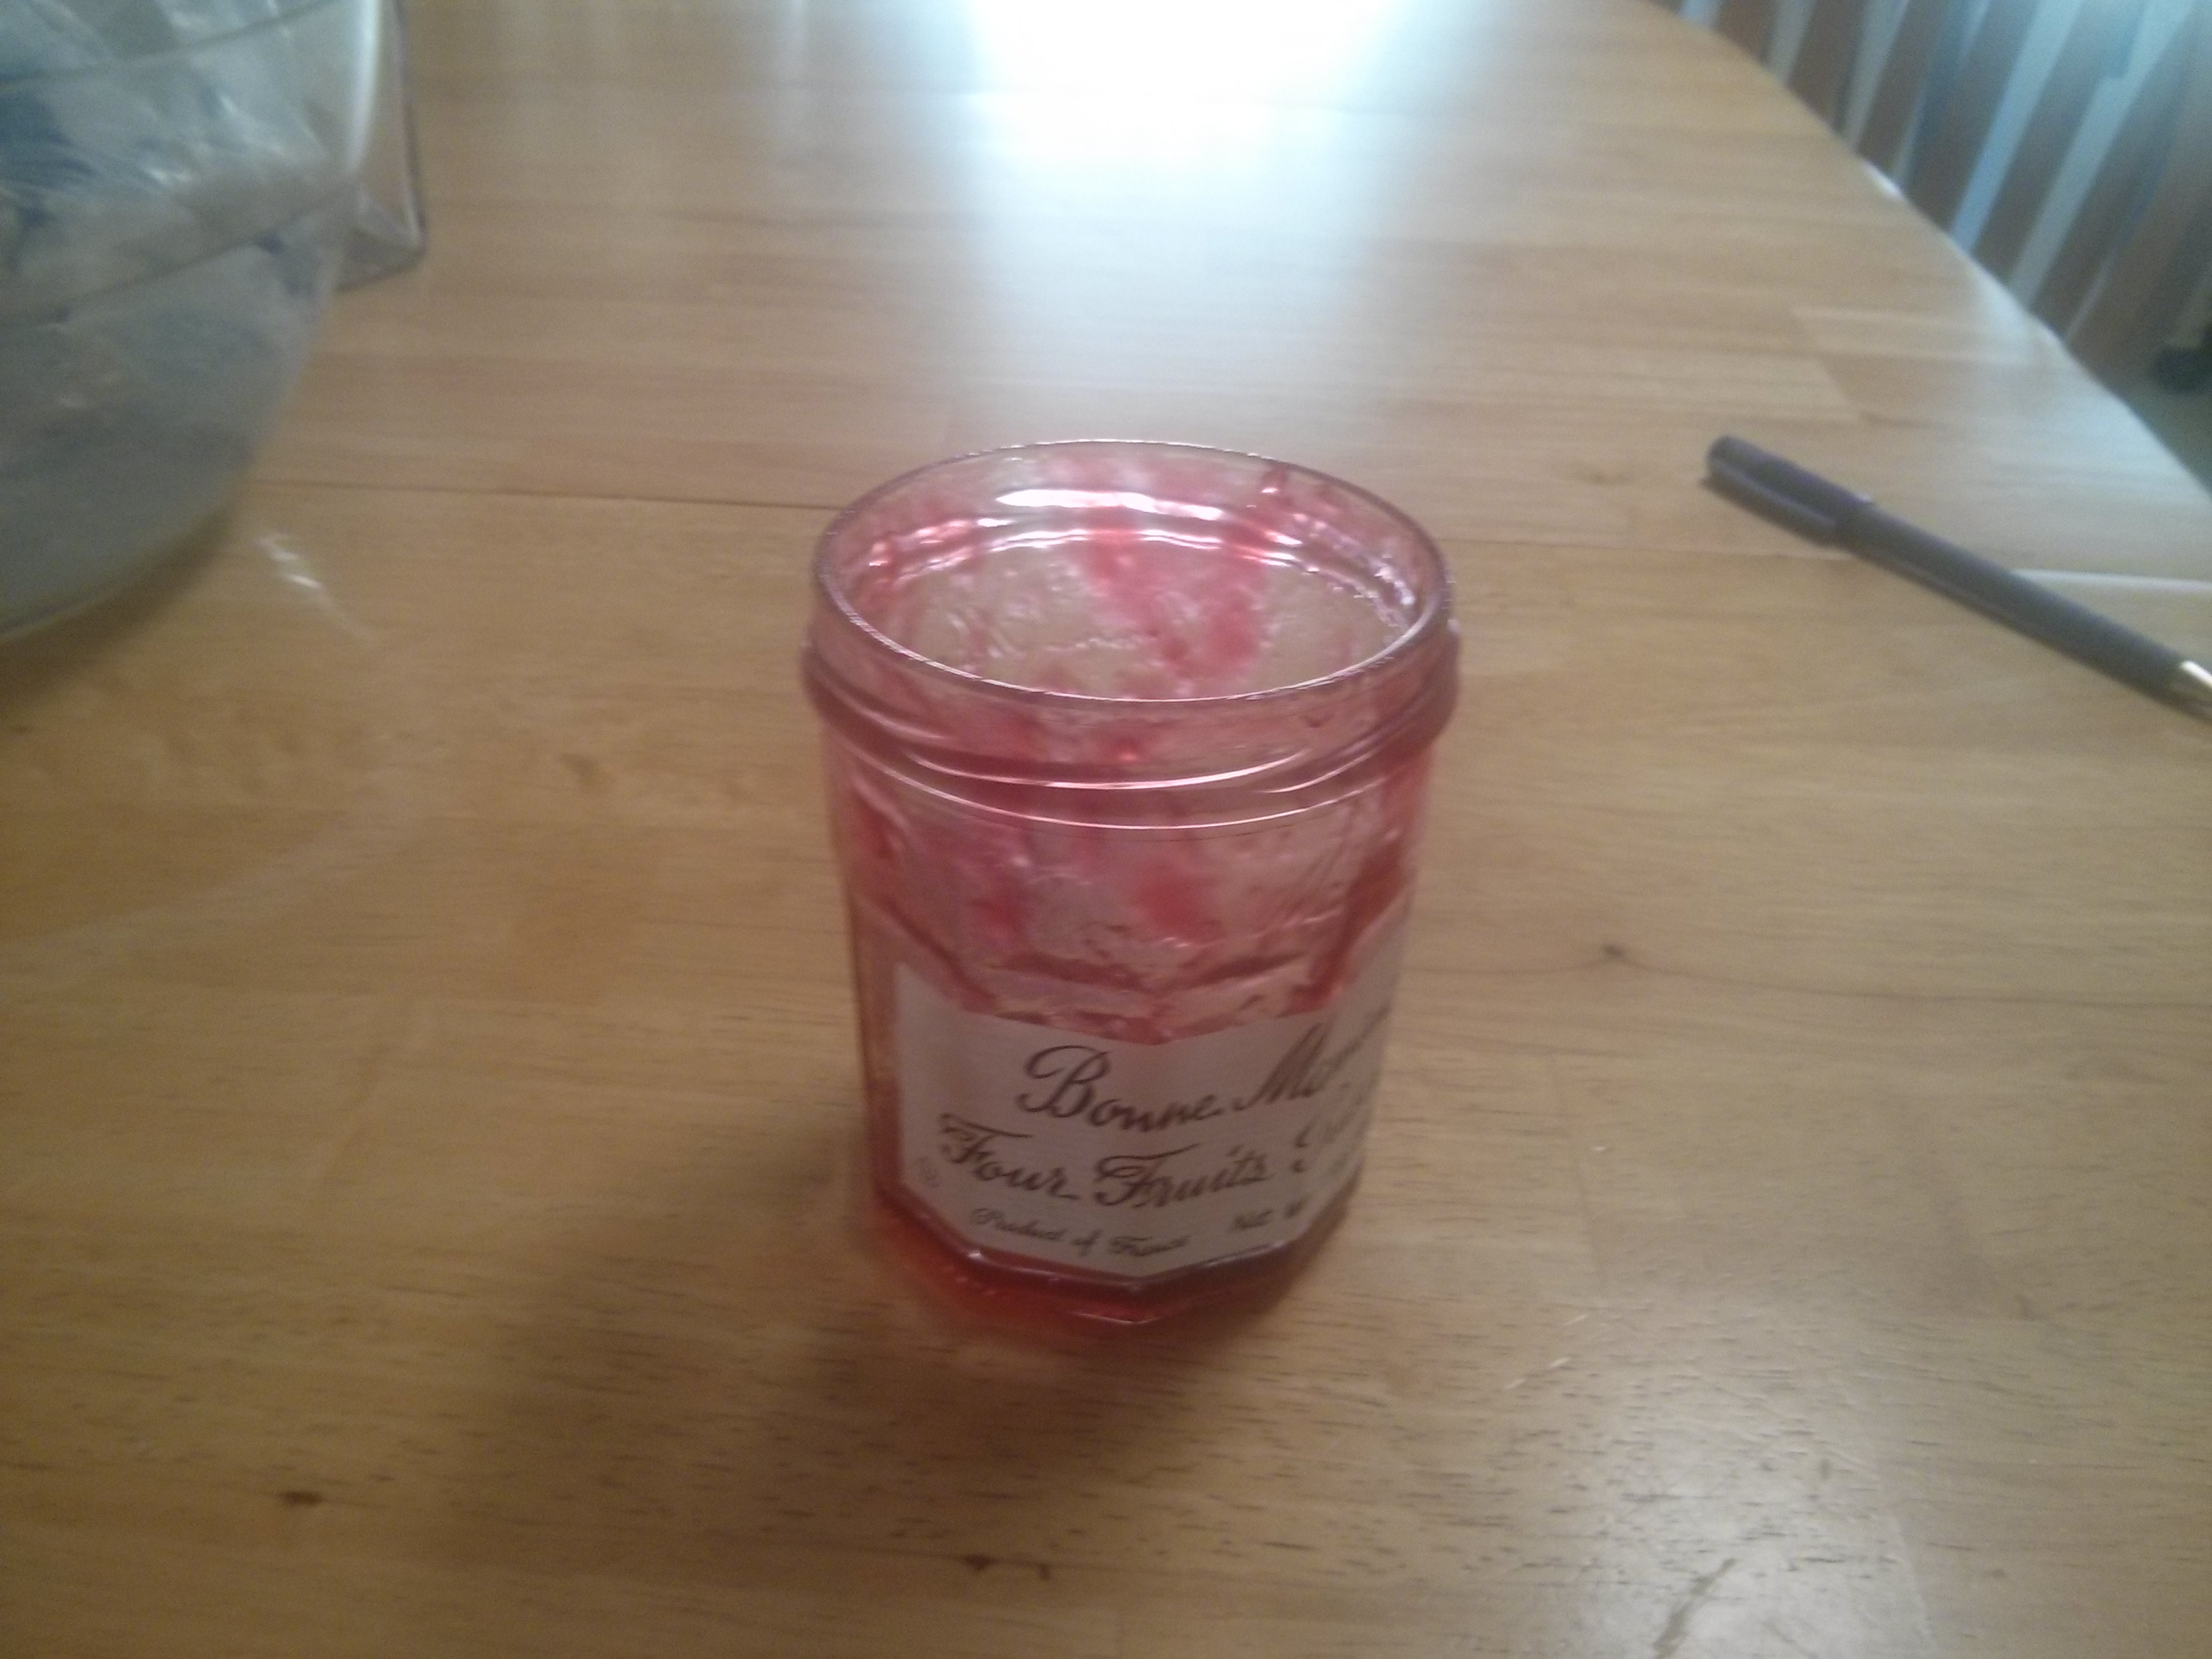
- Bonne Maman Peach Preserves, 13 oz (Whole Foods) – $3.99
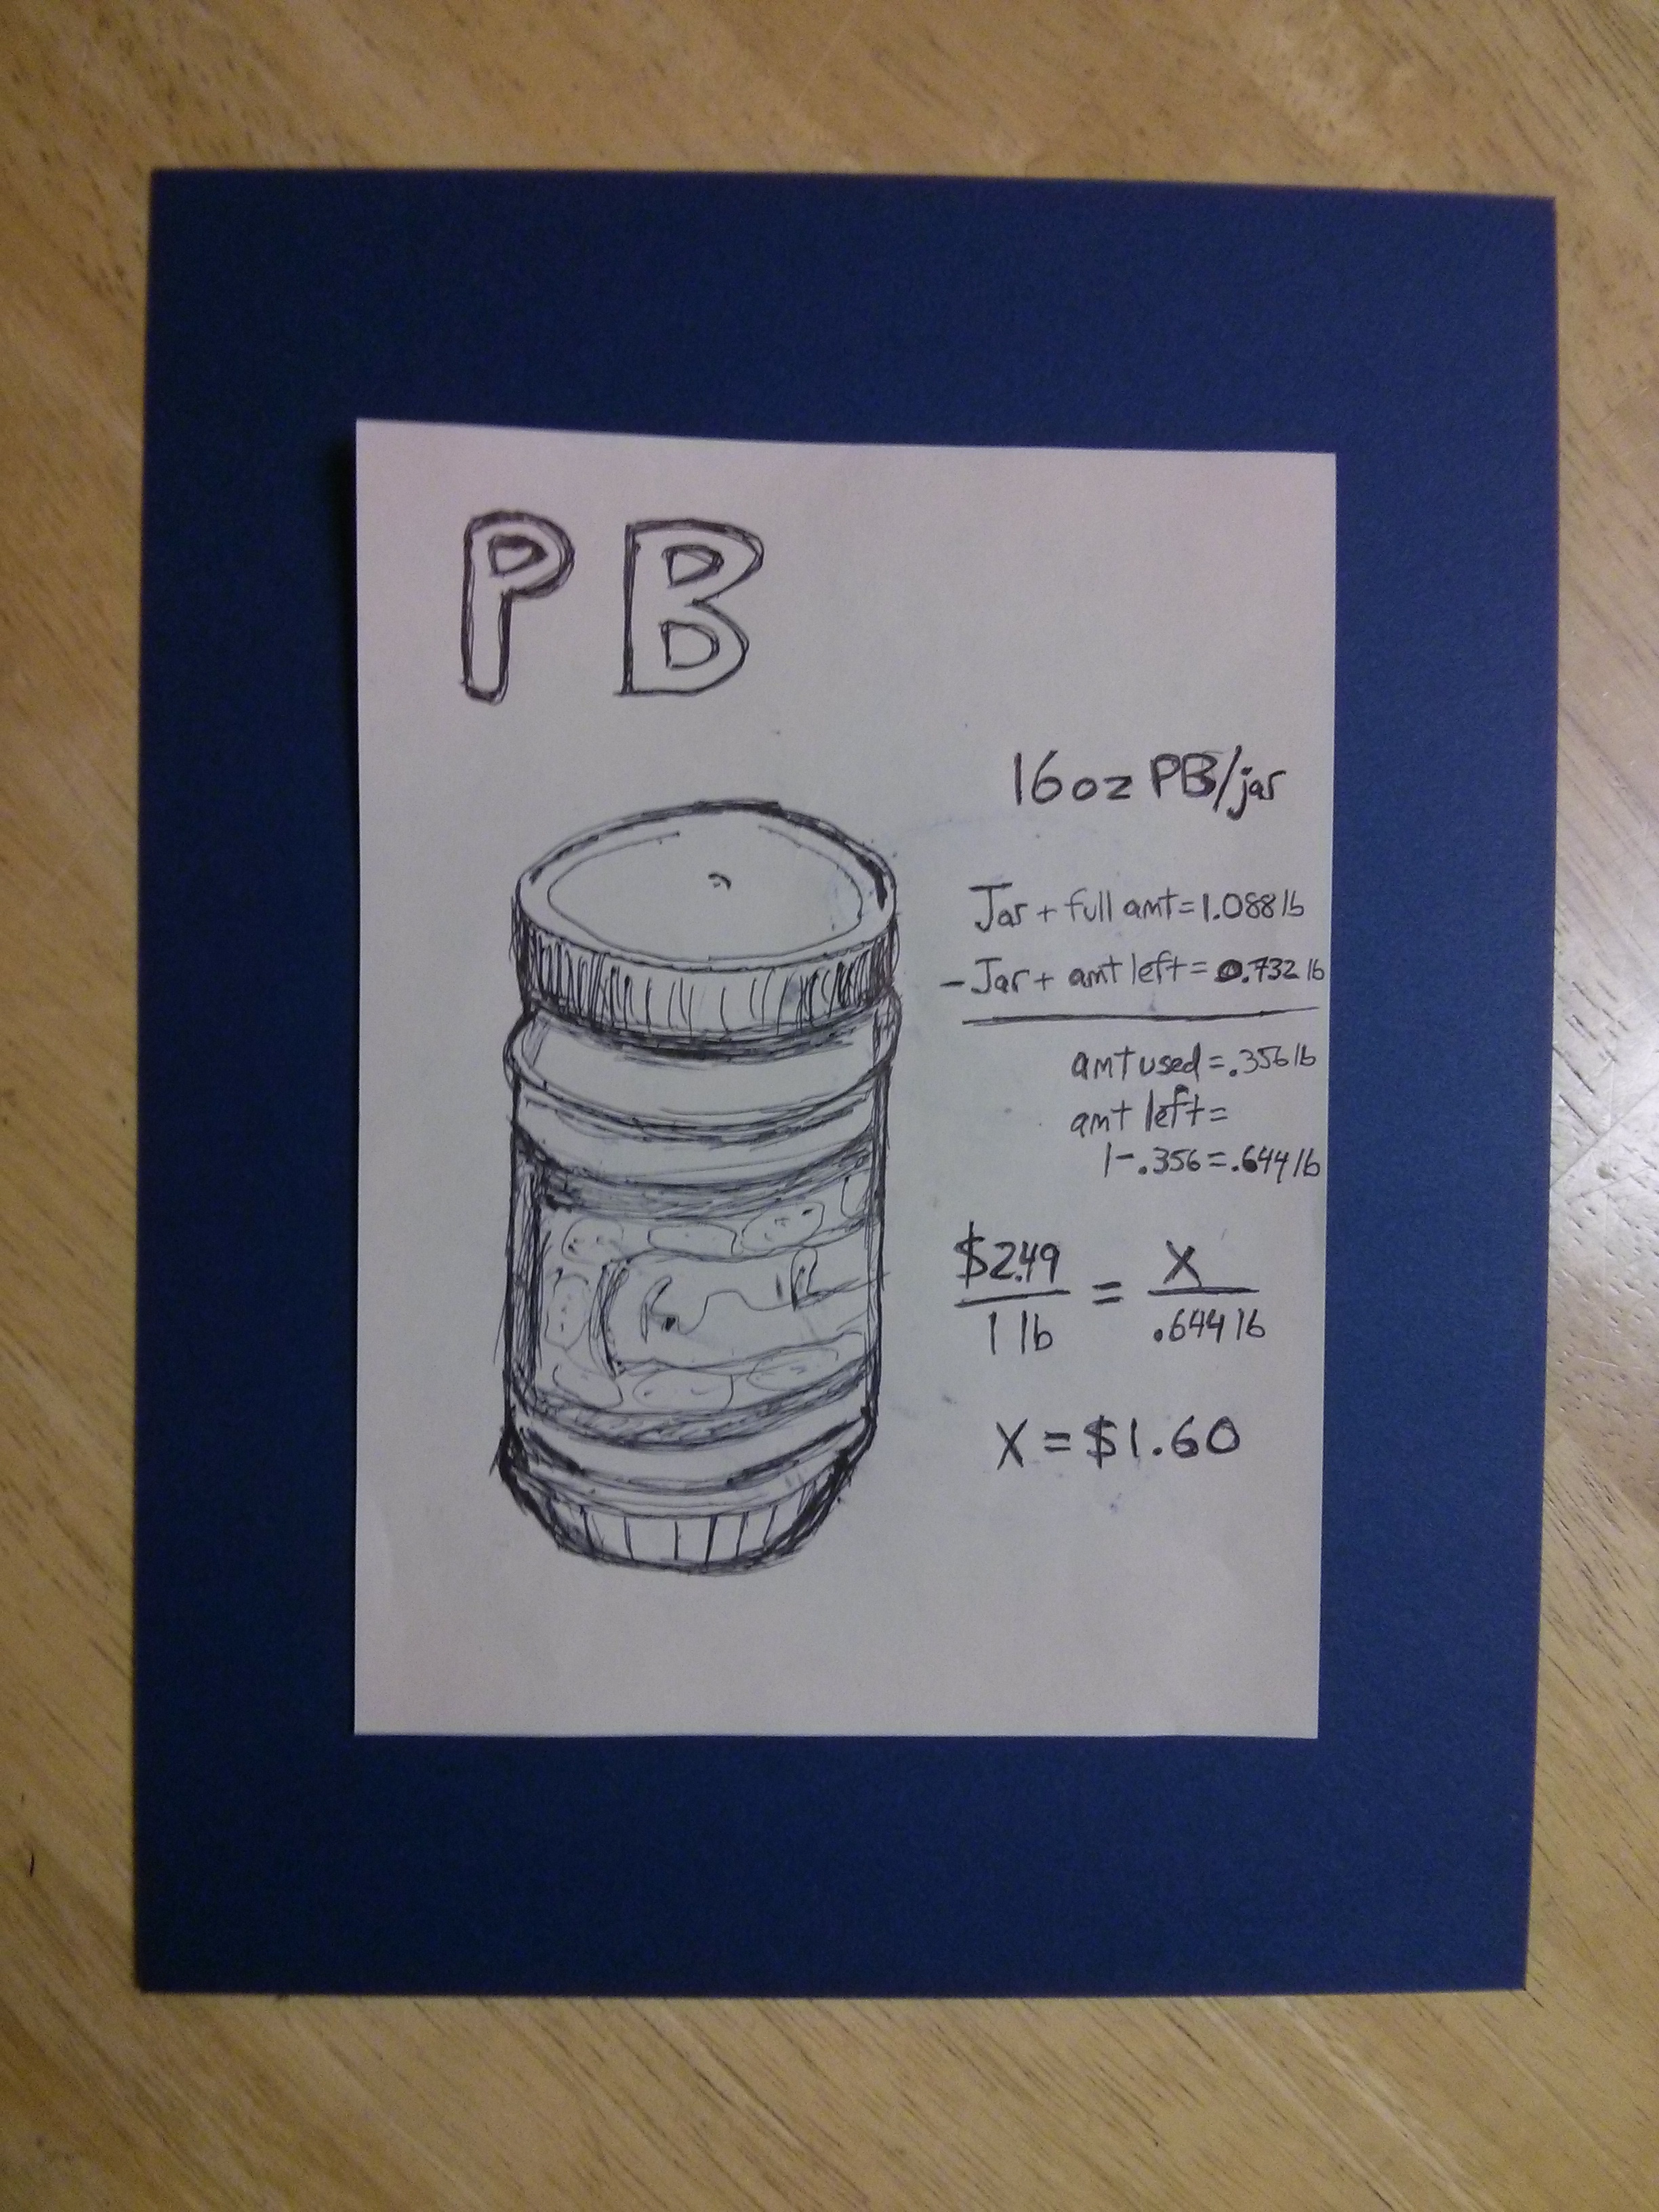
- 365 Peanut Butter, 16 oz (Whole Foods) – $1.69
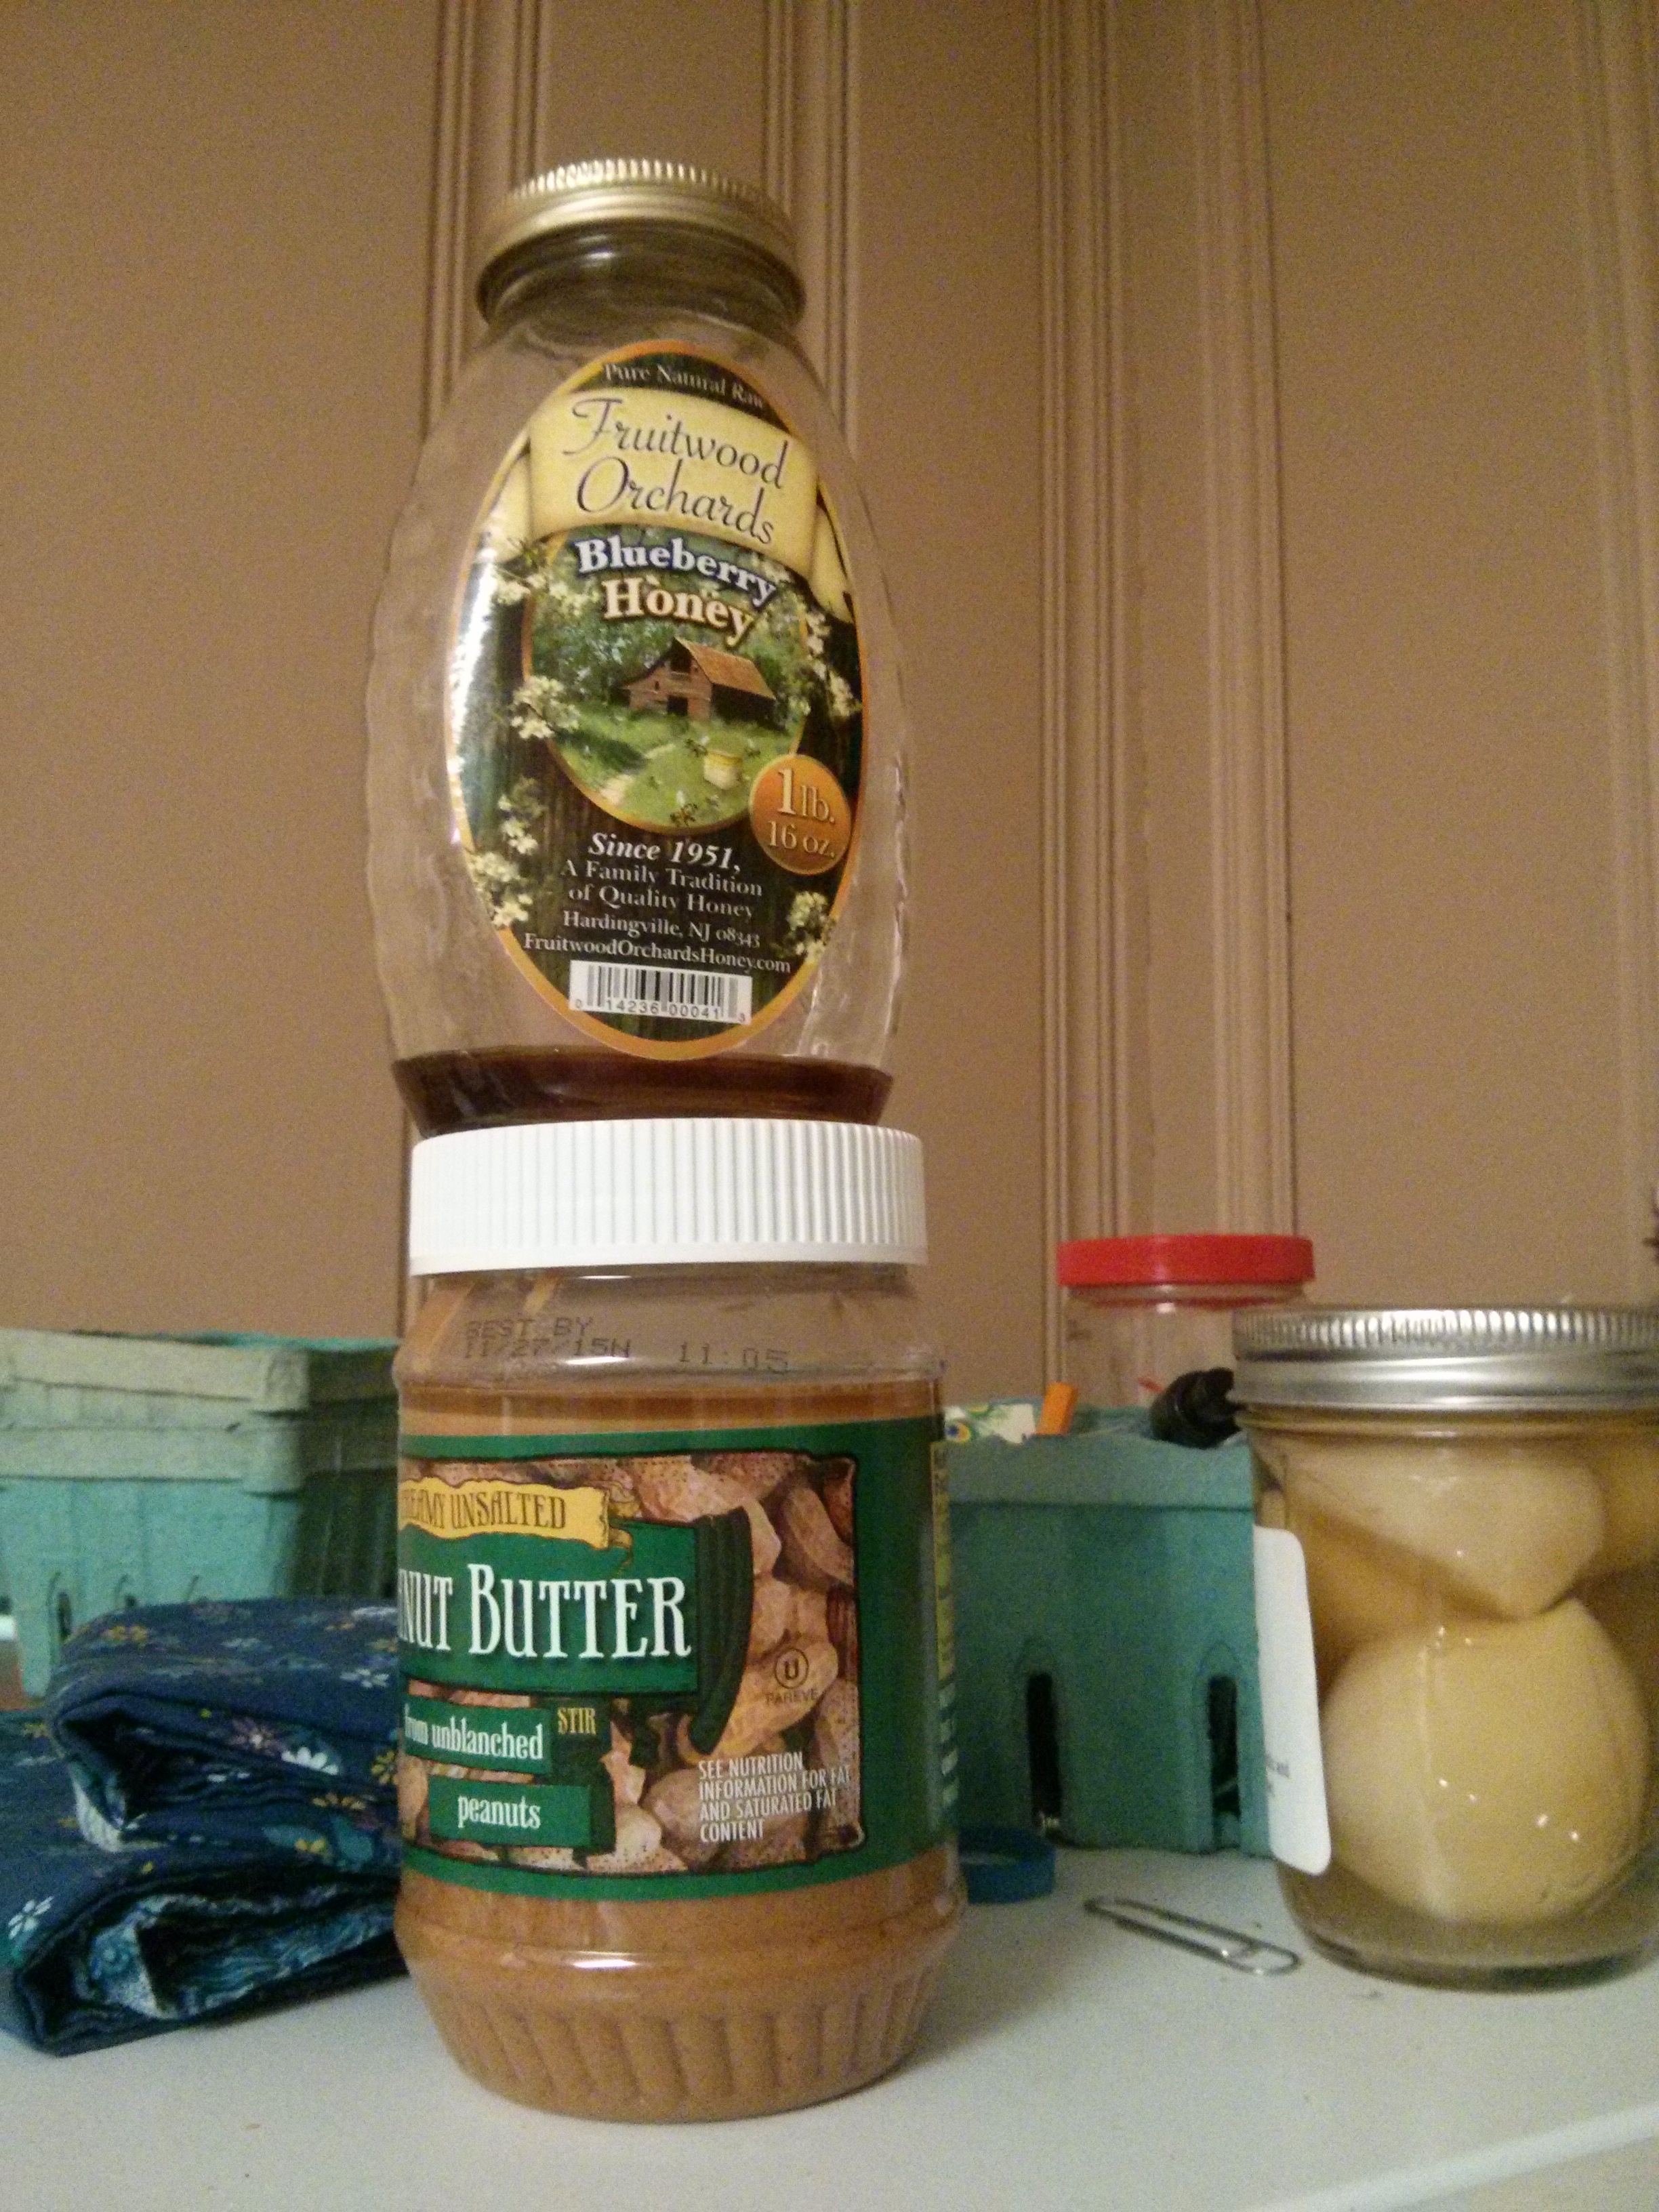
- Fruitwood Orchards Blueberry Honey, 16 oz (Whole Earth Center) – $5.89
- Glass of water, 8 oz (the tap) – Priceless
(free to me)
On the first day then, May 20, 2014, the cost of breakfast was $15.07. That’s a lot, but the plan of course wasn’t to determine the cost of breakfast in a single day. There was still food left to eat and average out. I was going to keep going, two pieces of toast at a time (breakfast everyday), until I’d used everything up. Whenever one ingredient would get finished, I’d buy another one, like for like. Only when I’d finished the last of the original ingredients (if you guessed it was the honey, you’re right!) would I be done.
And now, the rest of the story.
This includes not only pictures and words (always helpful), but also numbers and words (spreadsheet!) and pictures and numbers (art!). You might say the last two are complementary, supplementary, and…. alimentary.
May 20
All assembled, Day 1
May 29

First replacement today! New bread.
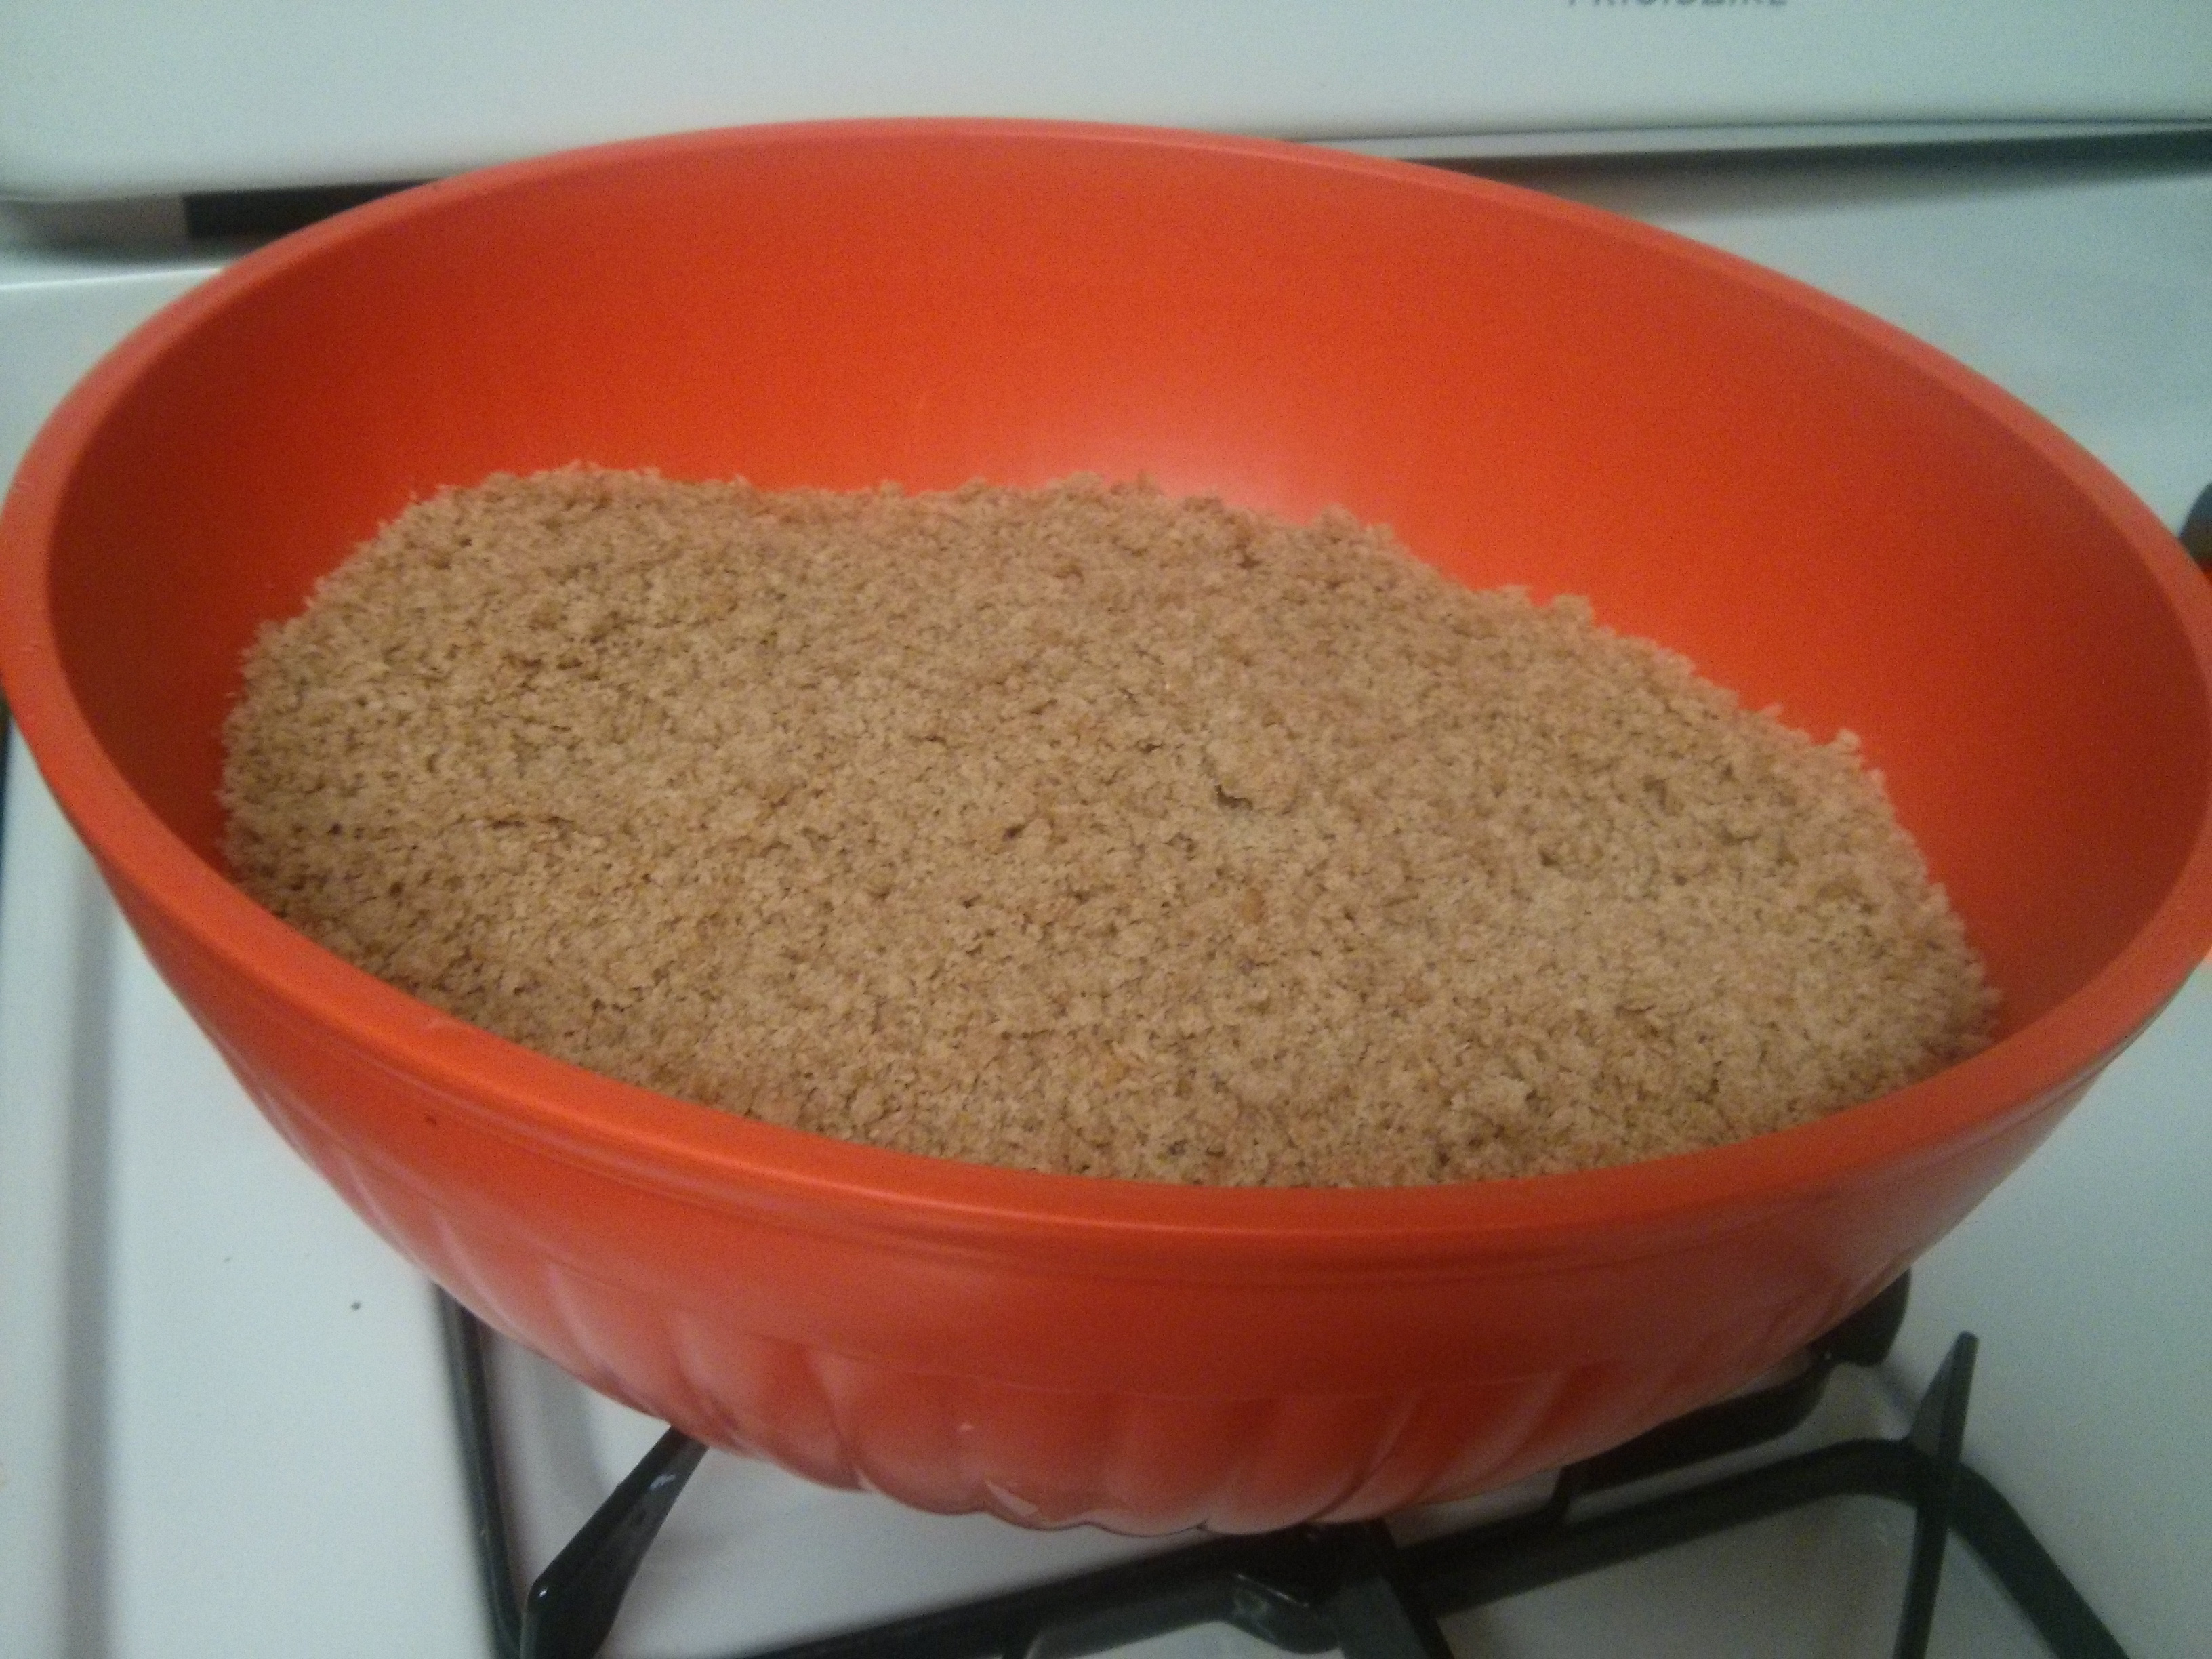
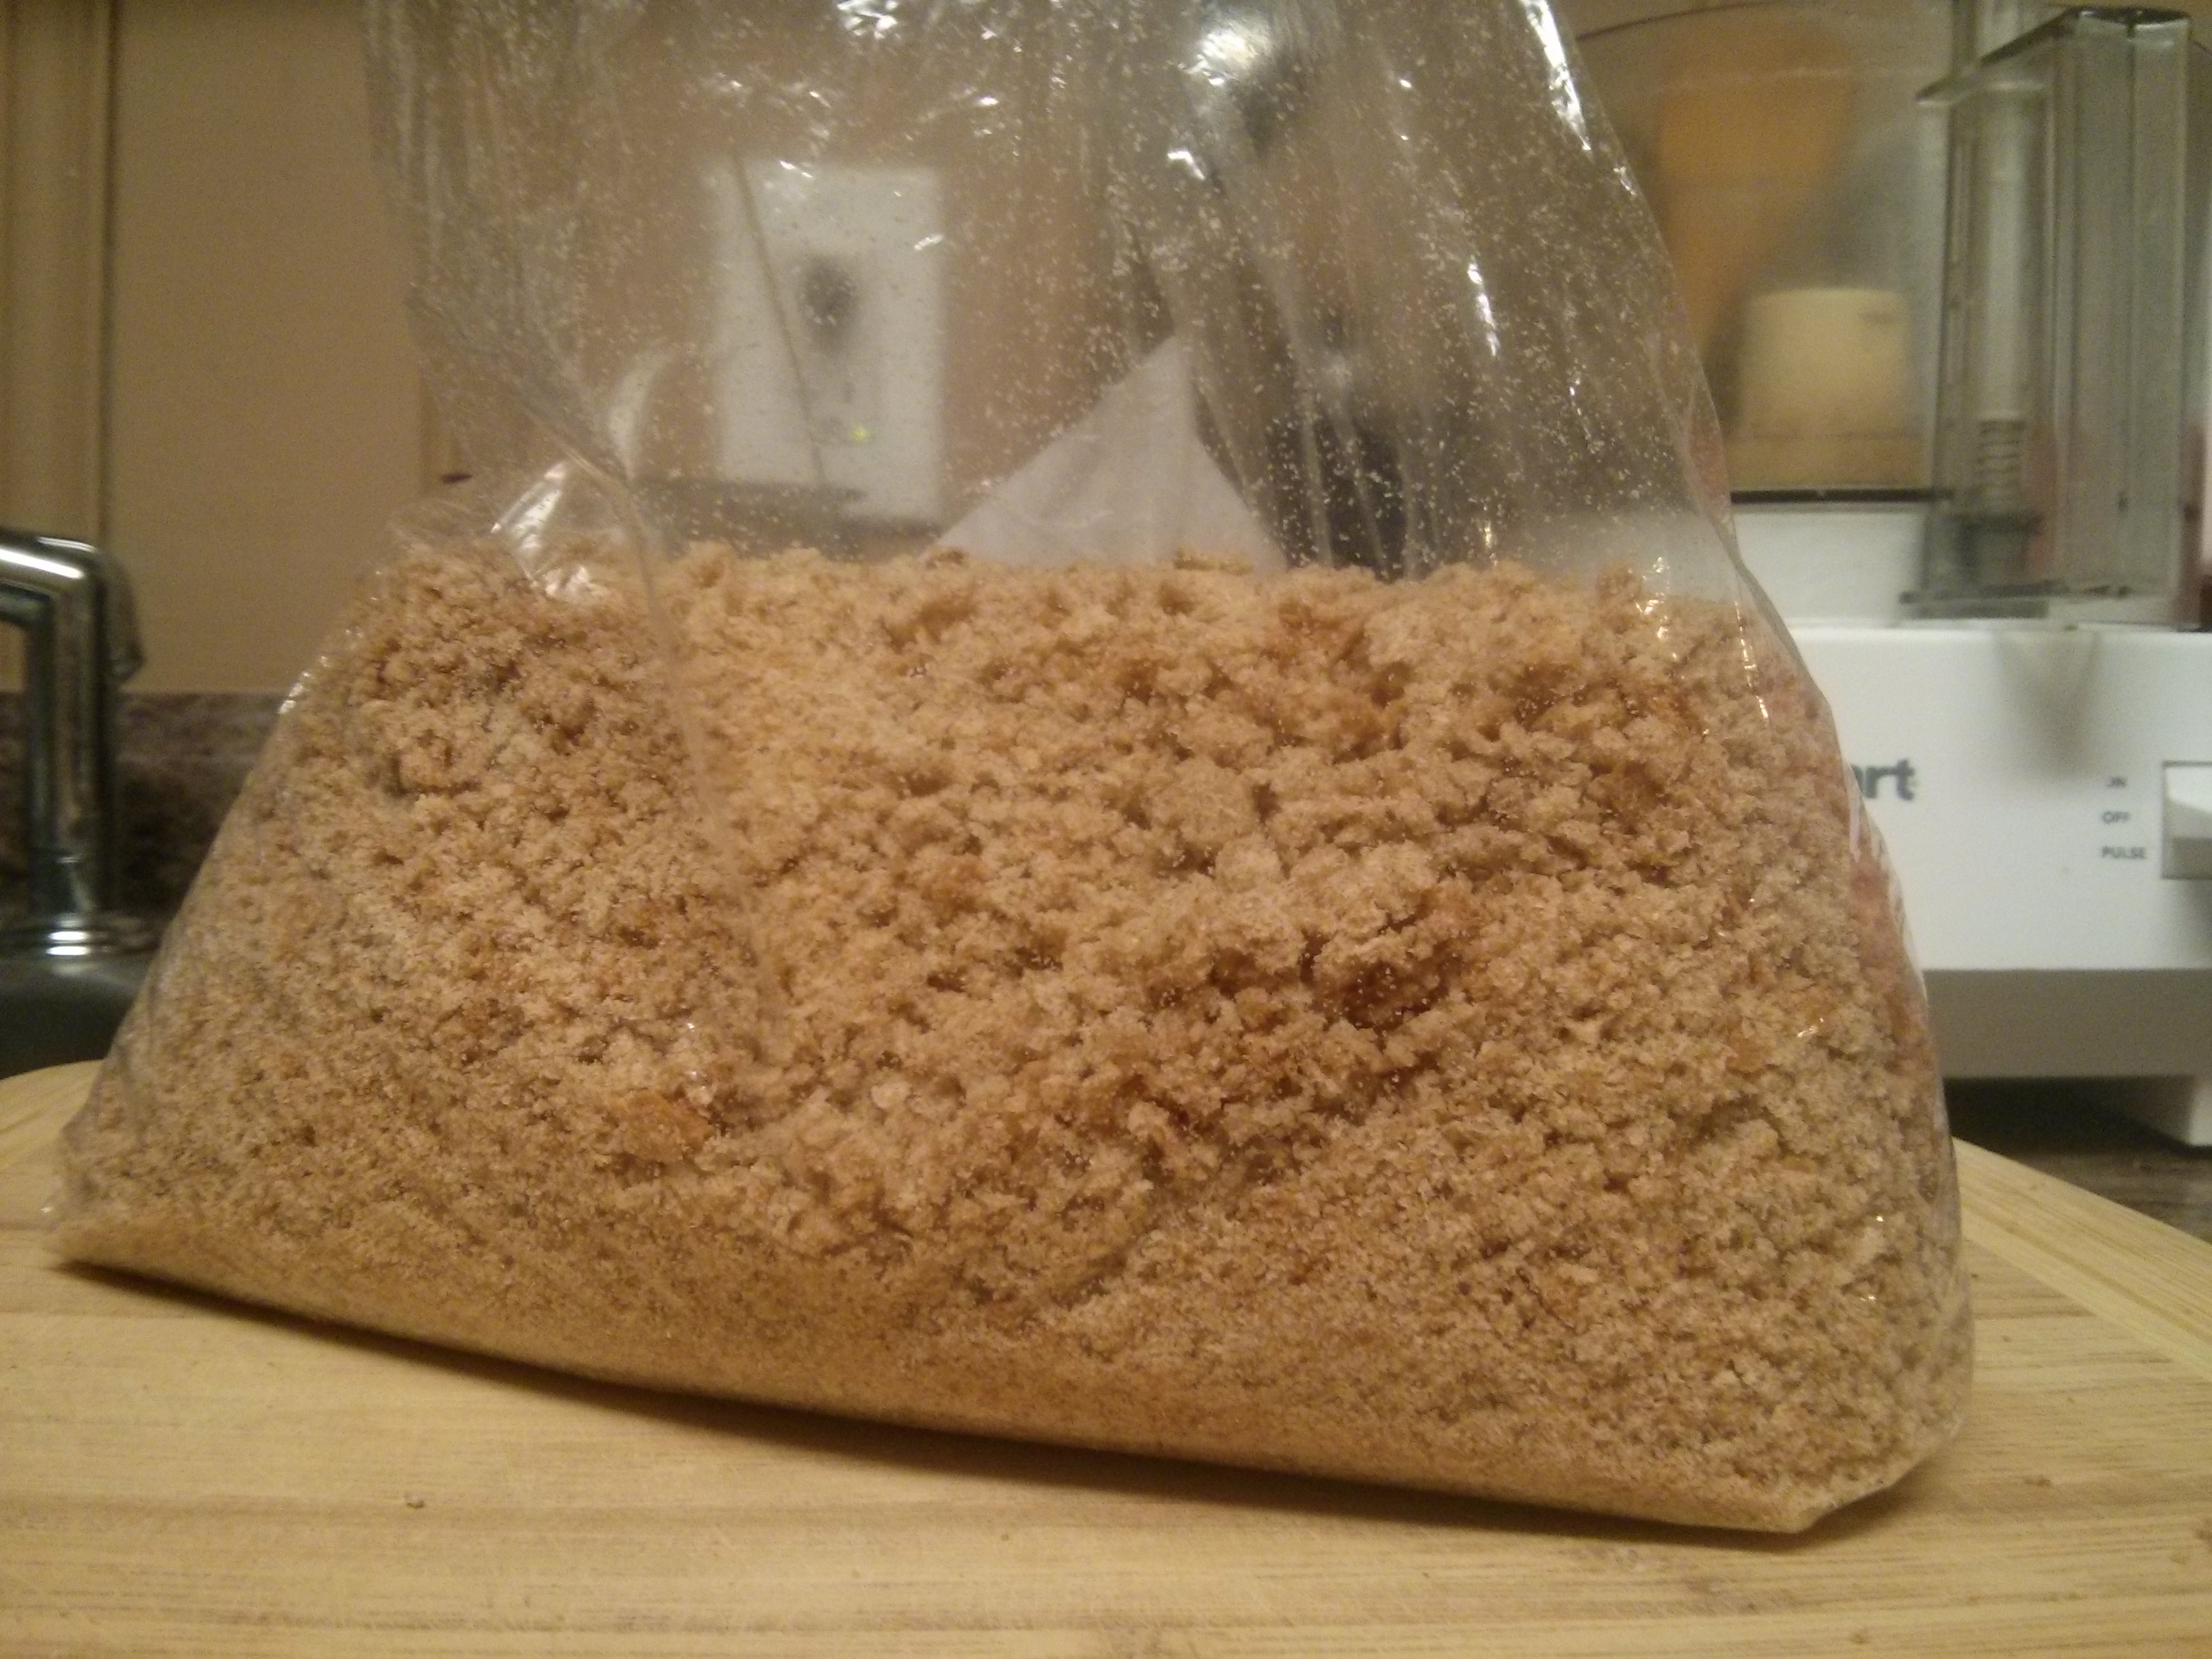
June 21 – Here, getting ready for a new jam (and getting in front any questions about the ‘science’ involved (I am a religious rubber spatula user))

Pre-spatula

Post-spatula

Next!
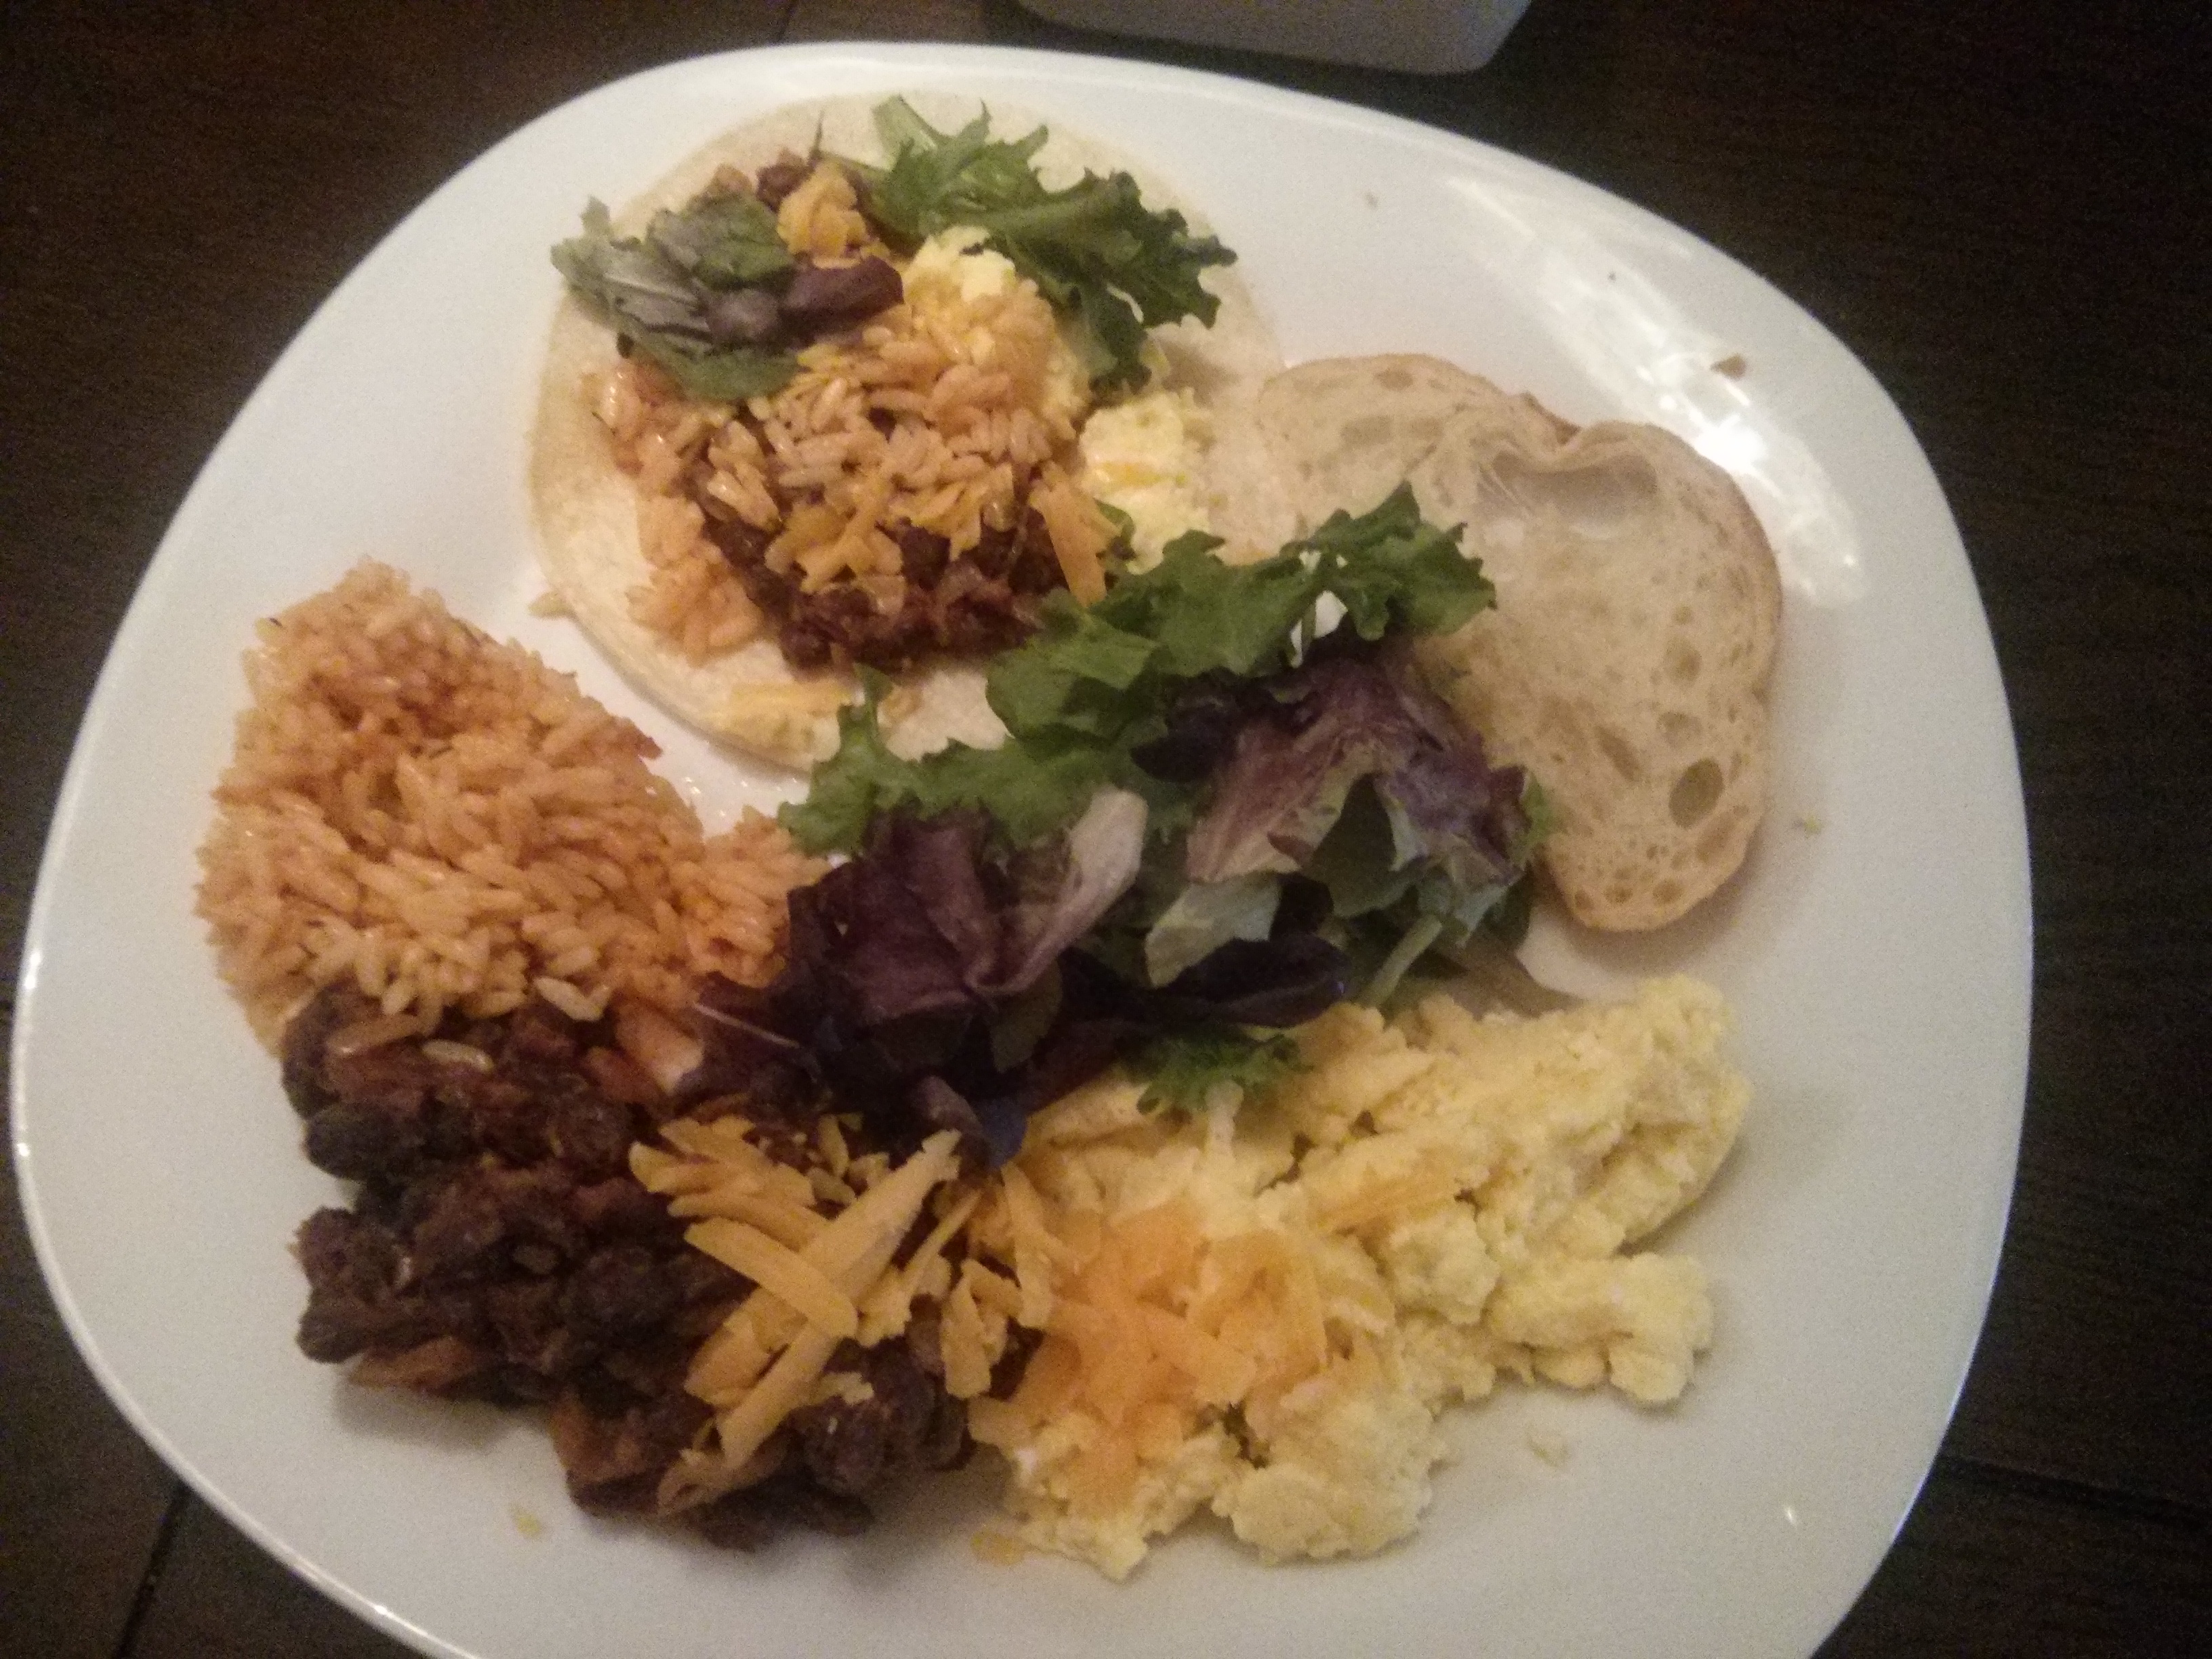
July 4

Homemade friend breakfast!
Okay, so there were a few days when I didn’t eat my regular breakfast. Sometimes, you know, you’re out visiting friends, on vacation, or doing a bike ride or something else. All such variations are noted and accounted for on the spreadsheet, however. On July 4, for the record too, I did eat my regular breakfast later on that day to keep pace.
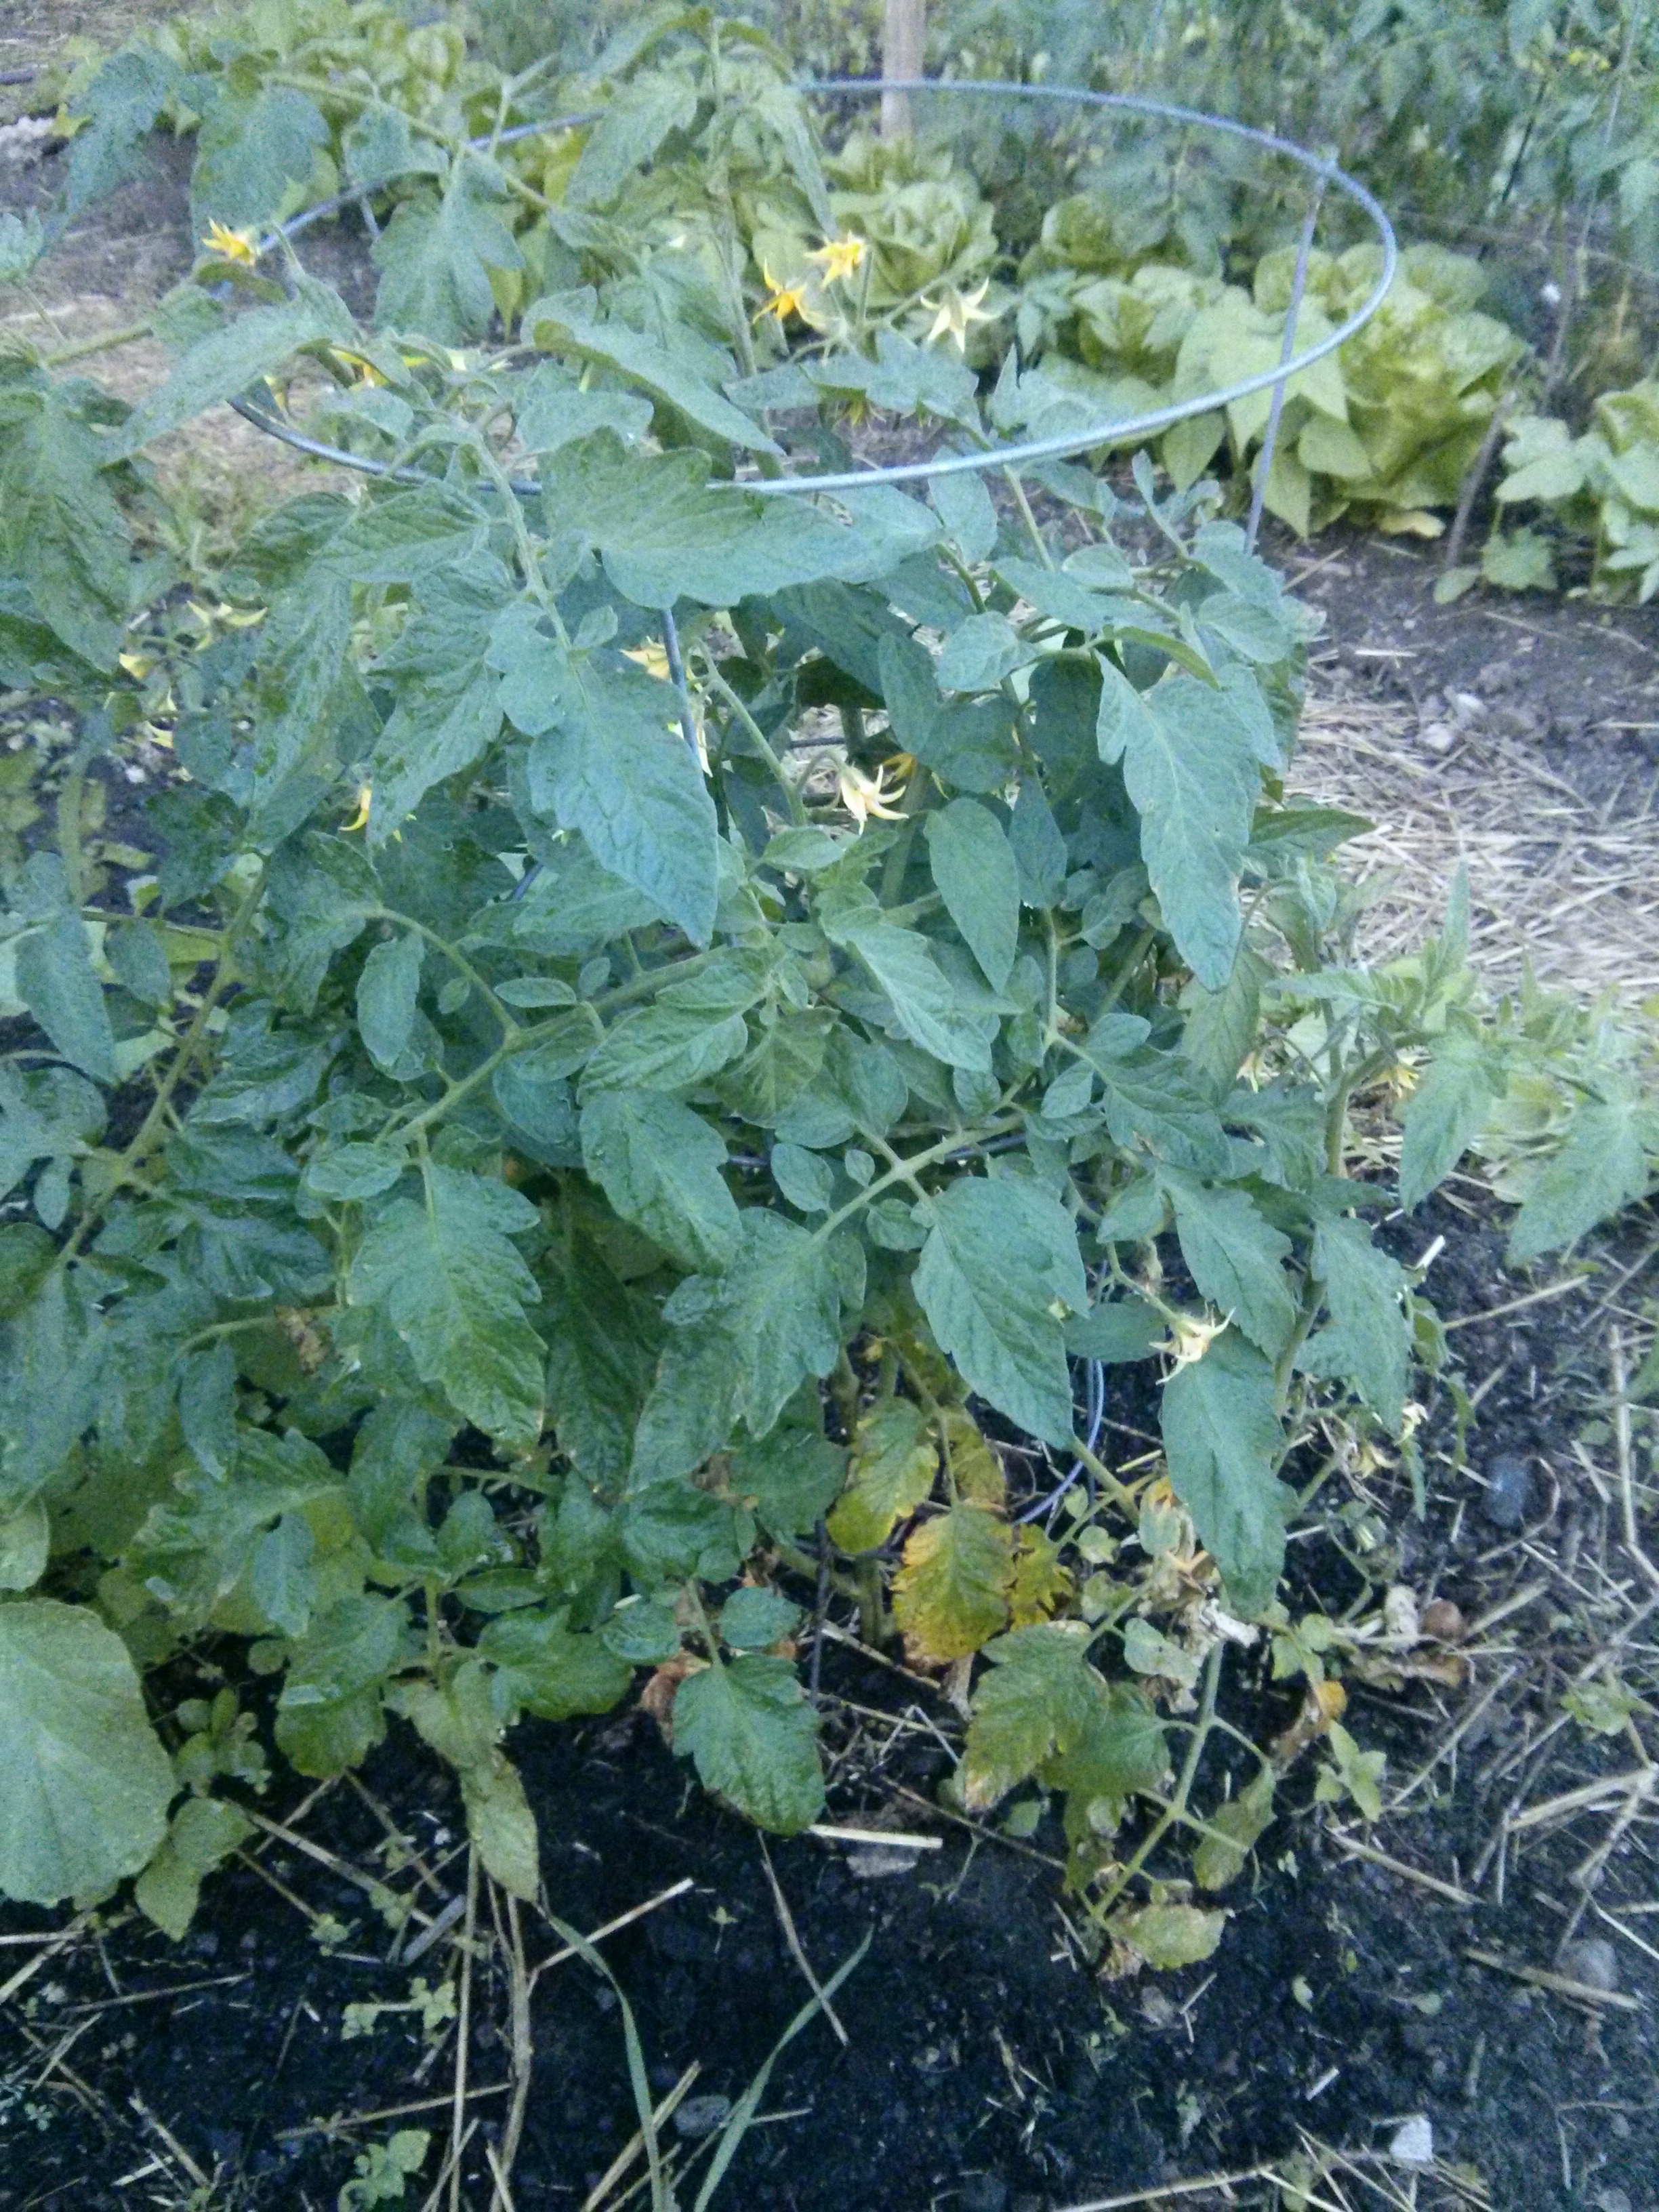
July 28

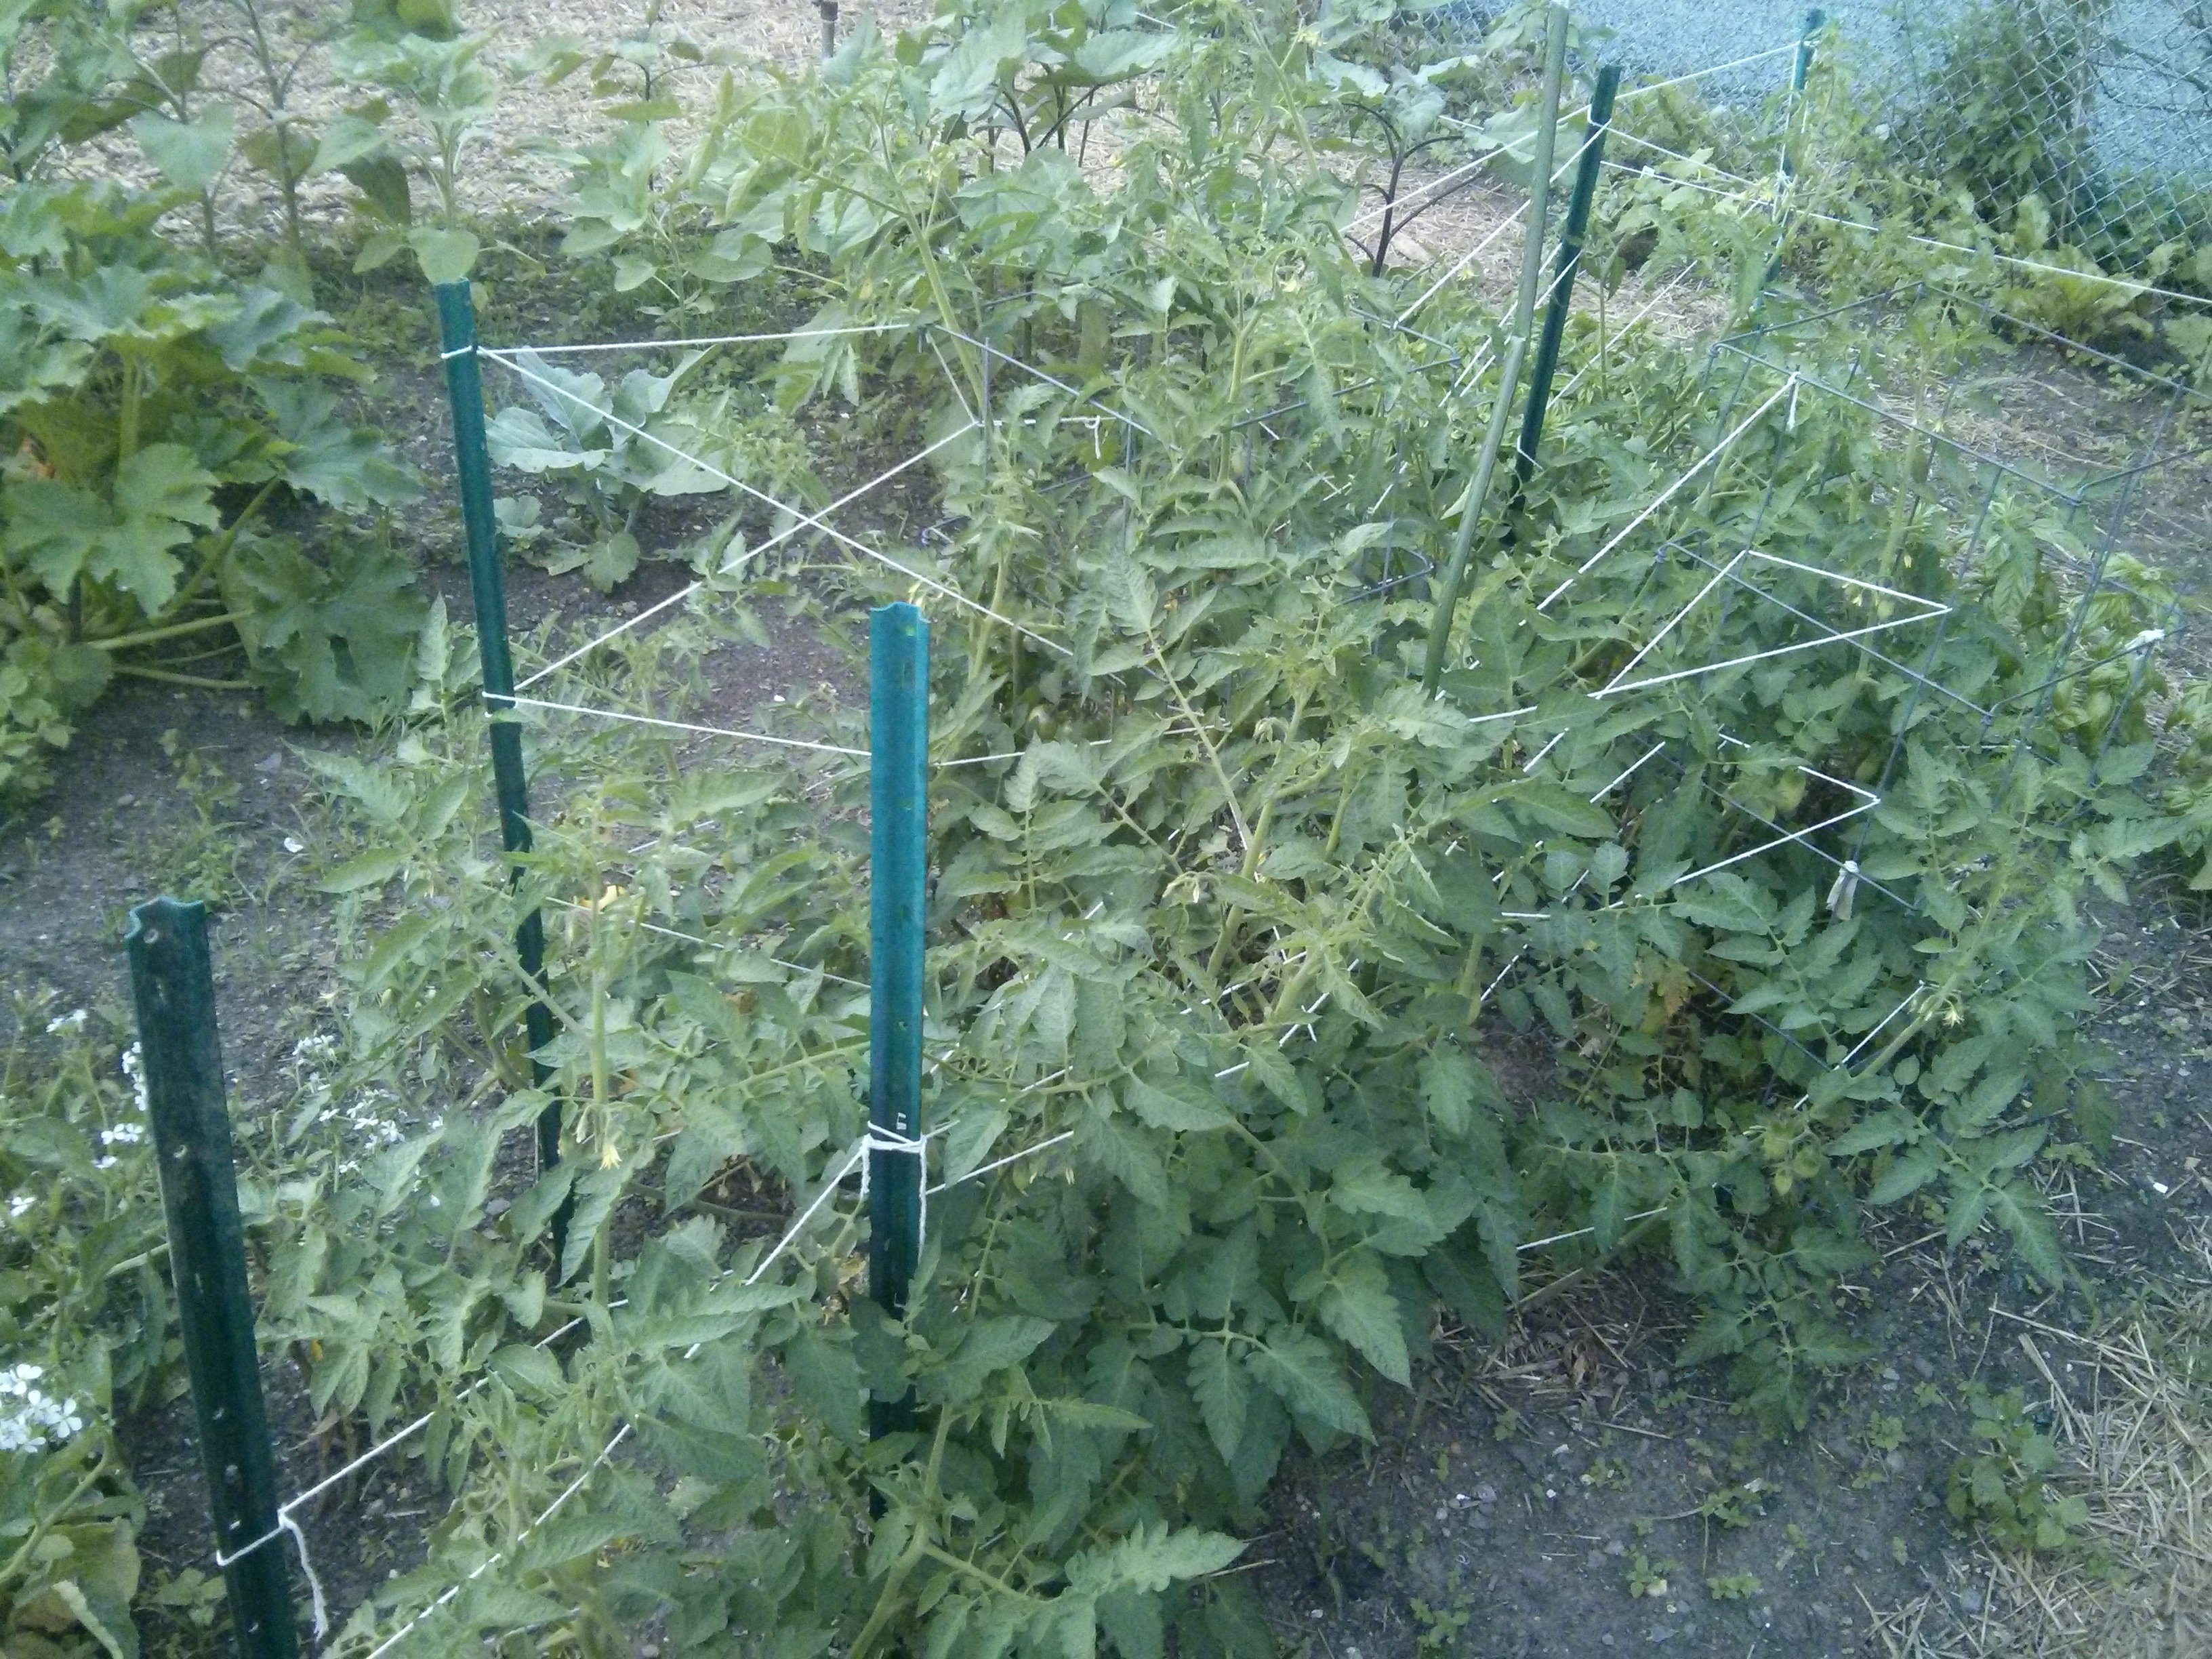
The changing of the peanut butter. Here also – the spatula again, and a tomato photo bomb.
August 20

Honey almost gone… happy face, sad face
When I took this picture of the honey and peanut butter, at first I was like, Finally, I’m almost done! And then I was like, Wait, but then I’ll be done! It reminded me of a time in middle school when I was reading a book that I liked so much that I didn’t want it to end. I tried to remember what book it was – I was recalling kids, a secret garden, and an element of mystery and magic, and possibly it being a Battle of the Books book (EB reference) – but in this case my insufficient memory trumped my internet skills. Any thoughts? It wasn’t The Secret Garden, as I learned later after taking that one out of the library and reading it for the first time, but as a bonus, at least now I know another kids book that I like.
August 27
I said goodbye to the last of the original 16 oz of honey on this day, and with my limiting reagent now gone, it was time for step two: mathematics. The interesting thing is, math can be creative too. This is not to say I made up the numbers, but rather that I enjoyed creating the requisite spreadsheet. What’s not to like about figuring out formulas and making accurate and interesting notes??? I’ve got columns for weekday, date, bread, jam, peanut butter, day, effective day, the cost of breakfast, food notes, and extra notes.
Check it all out here. (Xls available too.)
September
Before I could finish the spreadsheet and determine the cost of breakfast, I realized there was one more thing to do: determine and subtract out the value of the food amounts remaining at the end. The honey was done, so I was set there. And bread is bread, so I could easily determine the remaining bread value. But to make the final adjustments for the remaining jam and peanut butter, I needed to know or at least factor in the tare weights of the jars.
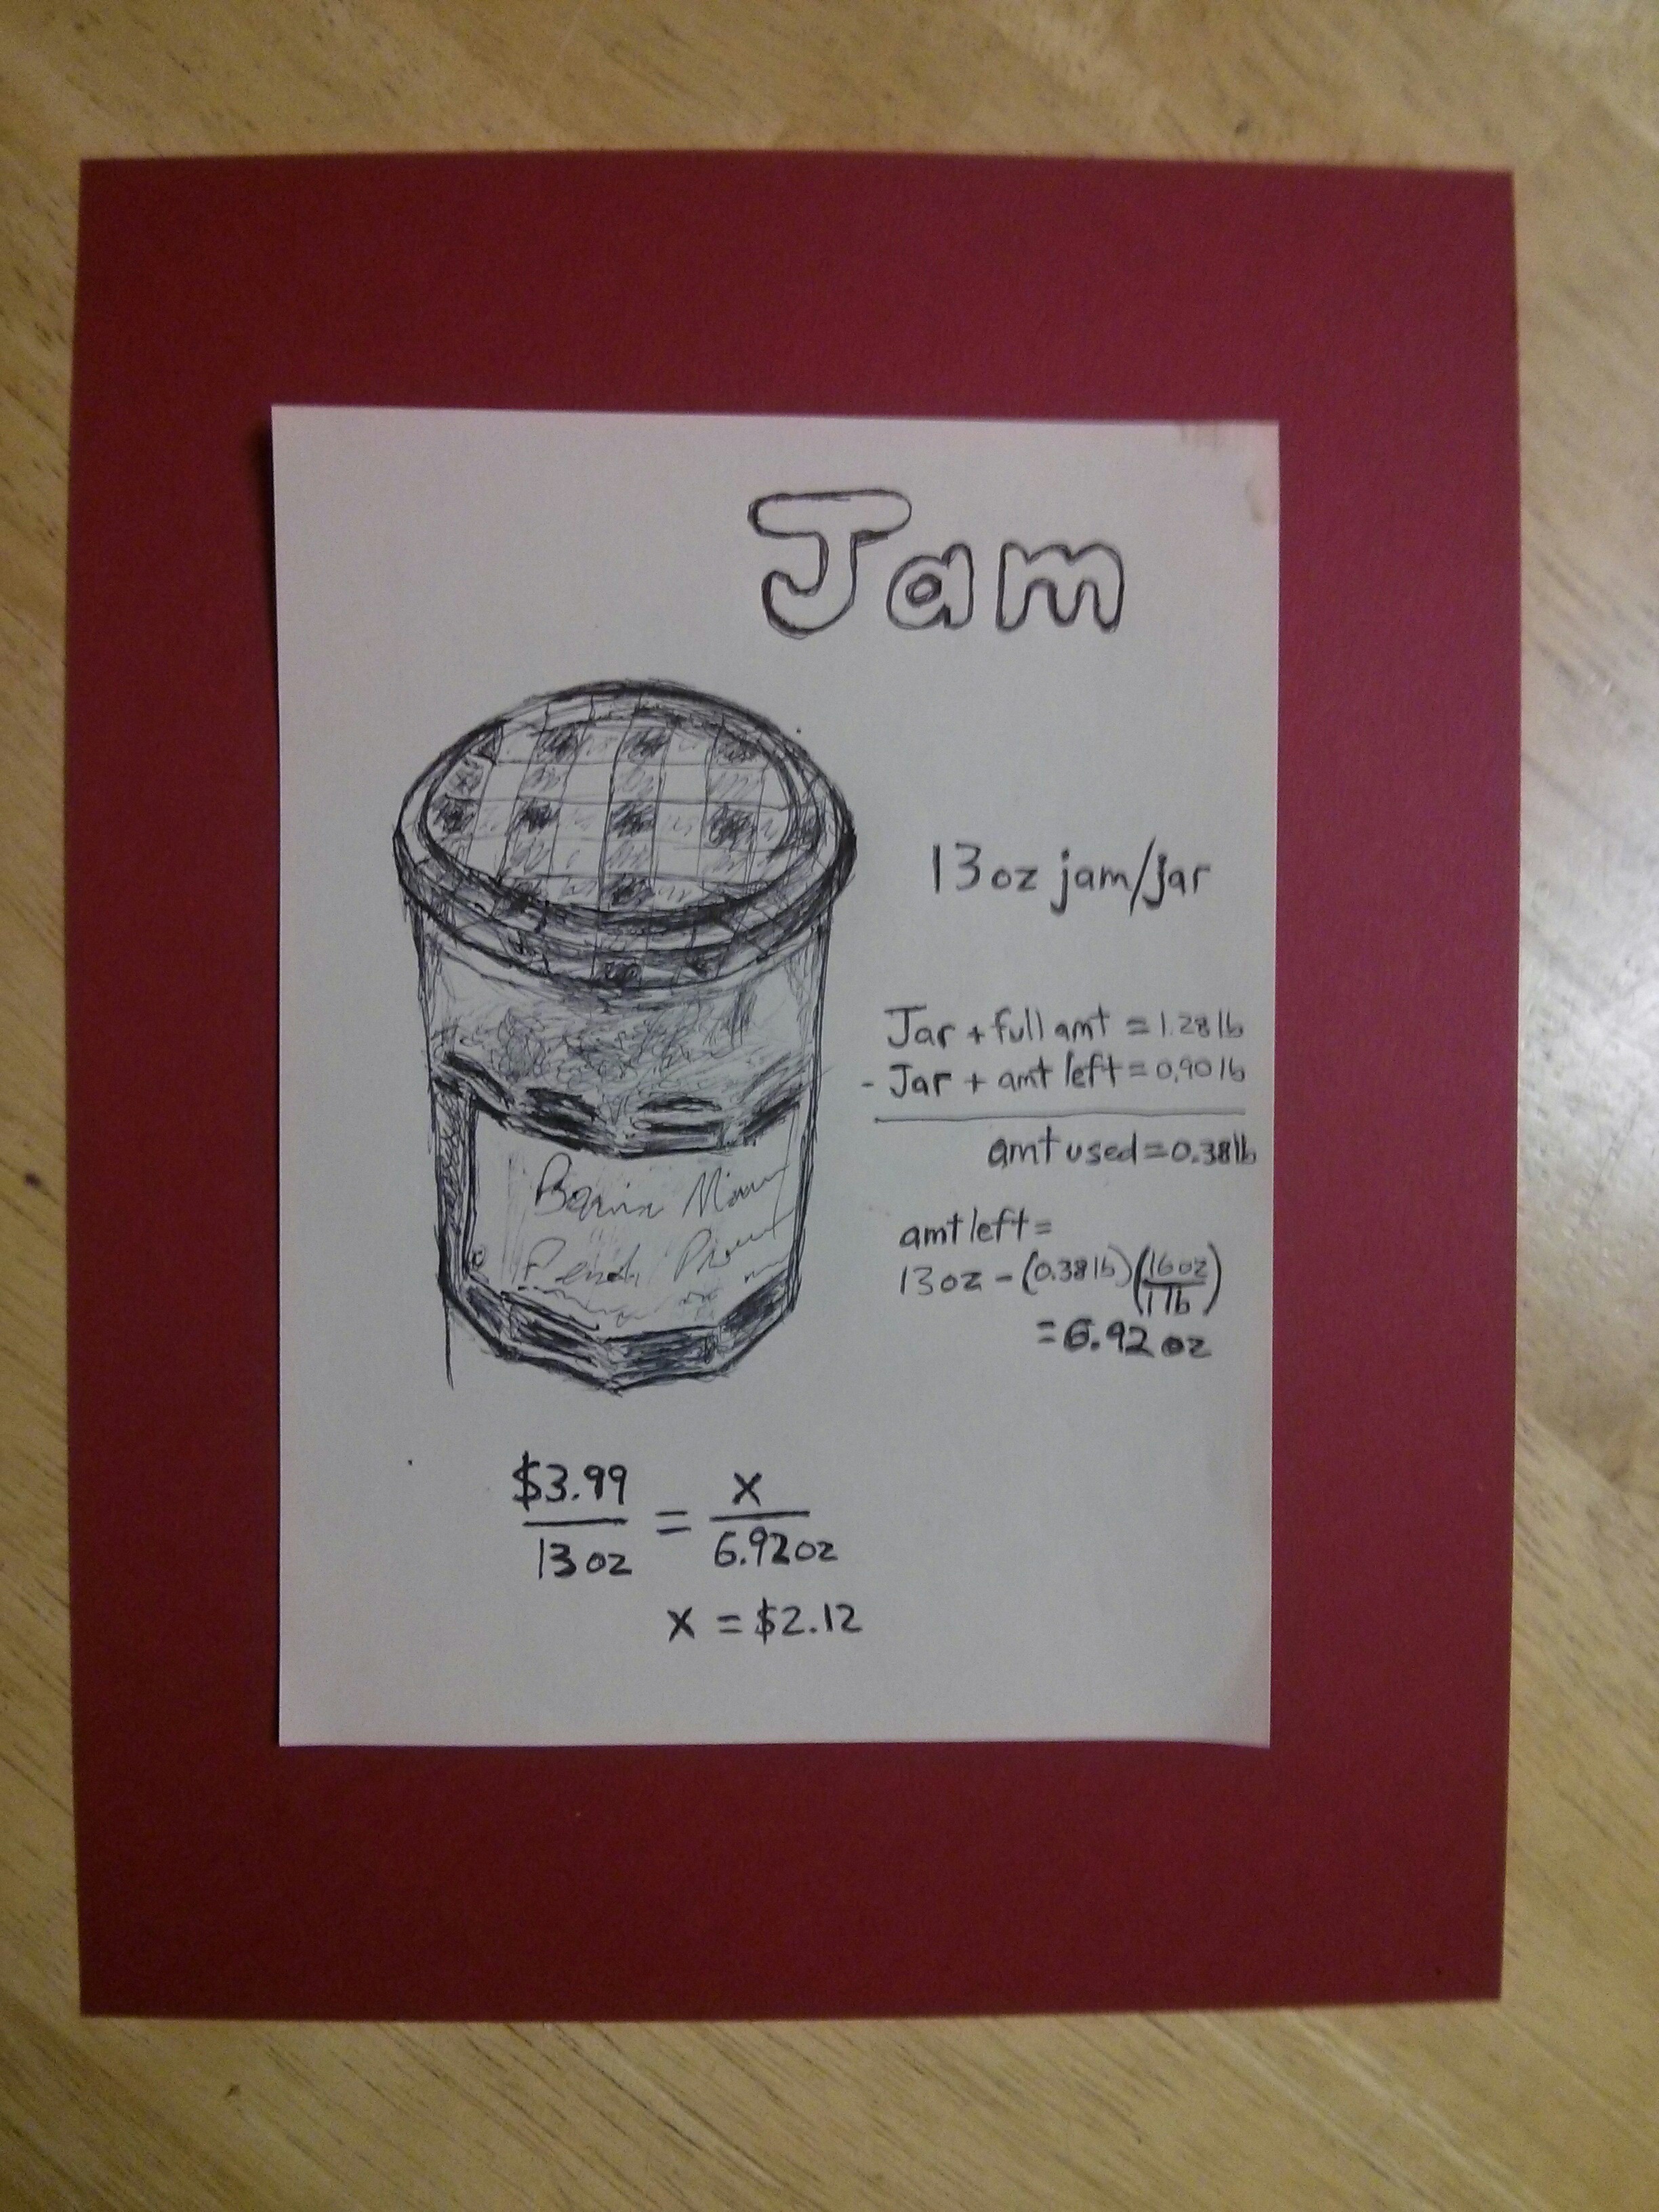
Not owning a scale myself, I made a special trip to the Whole Earth Center, where they have several scales to weigh the bulk items. I took my jam and peanut butter measurements – ‘jar + the amount left’ for each one – and then since I hadn’t weighed them ahead of time at the beginning, I brought with me unopened jars of the same jam and peanut butter and weighed those jars too. Then you subtract the partially-used jar number from the full jar number, and the tare is gone and you’re on your way.
If this sounds like a lot of words and you think seeing it more graphically would help, with the actual numbers, I agree. In part with this in mind, and in part because, well, I like to draw and I hadn’t done much drawing in a while, I made some art math. If it helps to get a sense of the progression of style, I’ll note too that the pictures appear below in the order in which they were created.


And all together now
Between the spreadsheet and the art math, I feel like there’s a lot to work with here. Math teachers, number lovers, and food and life blog readers of the world, there you are – enjoy and feel free to use as you see fit, responsibly and with attribution.
As for the ultimate numbers for breakfast, here are the main ones:
- The number of days it took to determine the cost of breakfast: 100
- The number of effective days it took (aka the number of days it took to eat 1 lb of honey): 83
- The total amount spent on bread, peanut butter, jam, and honey (after the final adjustments): $70.98
- The average amounts consumed daily for breakfast:
- 2 slices of bread
- 0.86 oz of jam
- 0.84 oz of peanut butter
- 0.19 oz of honey
And of course, the final number – now trimmed a bit from where it started on day one:
- The cost of breakfast, determined: $0.86


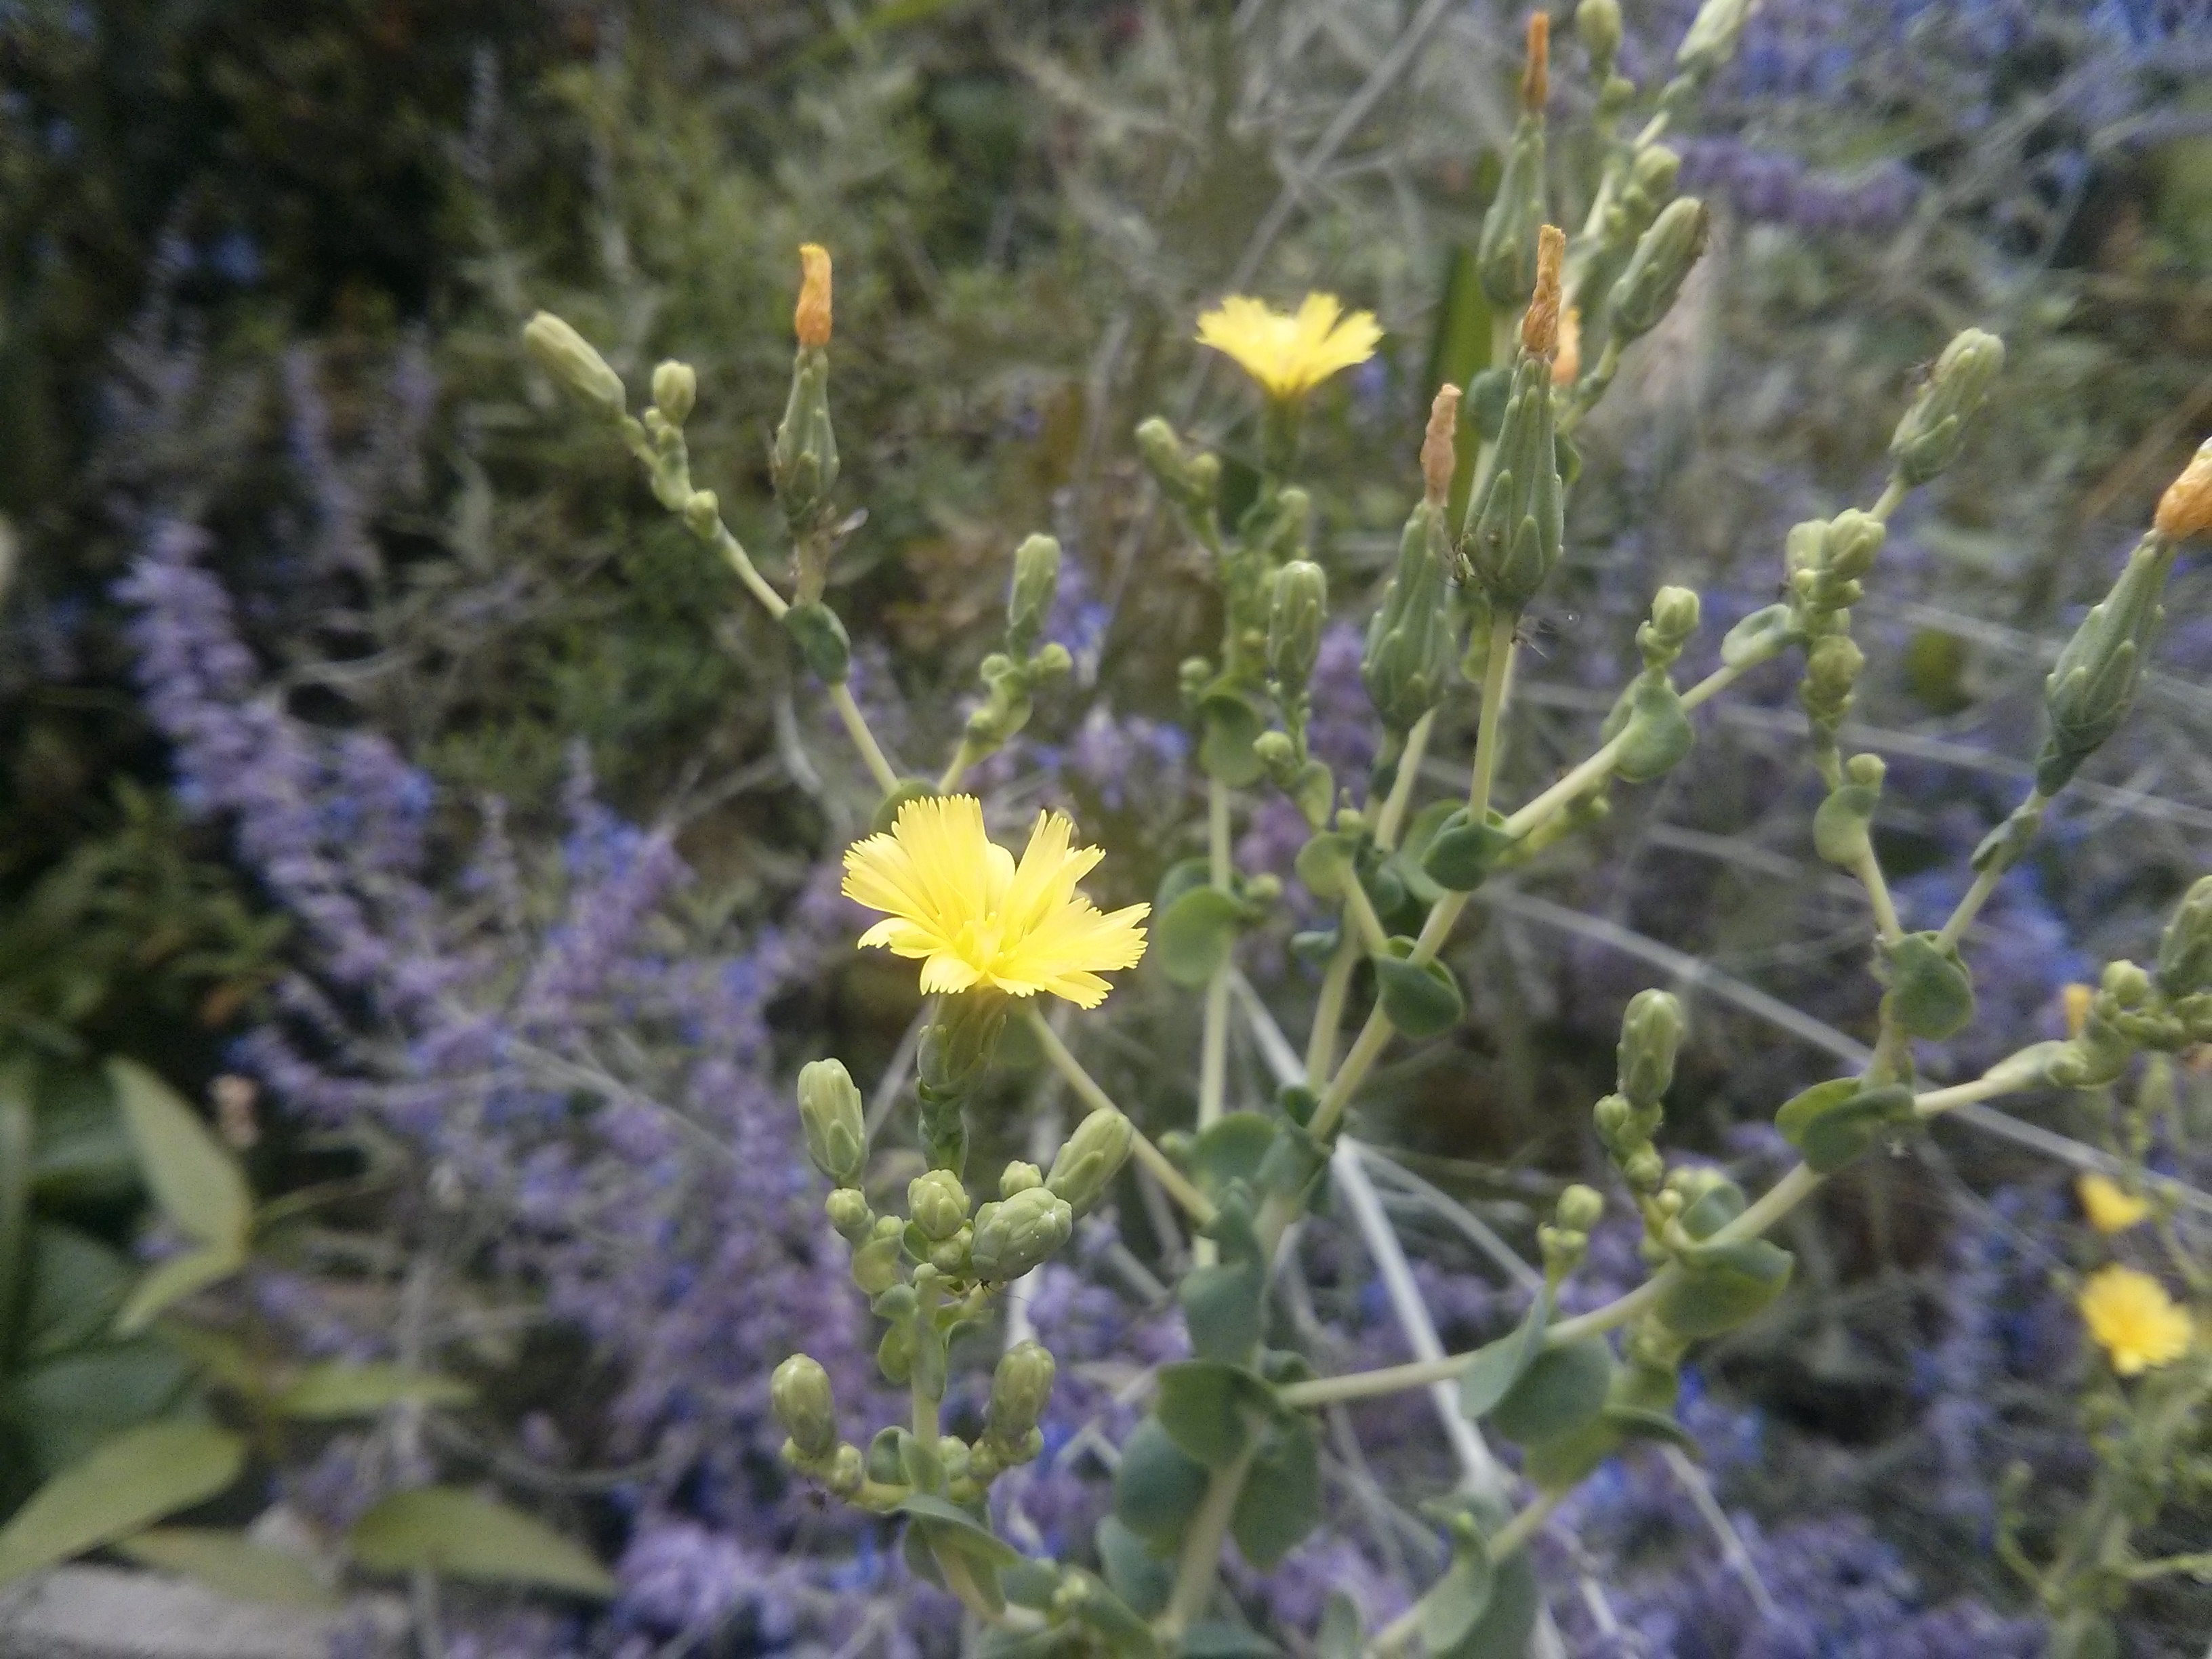
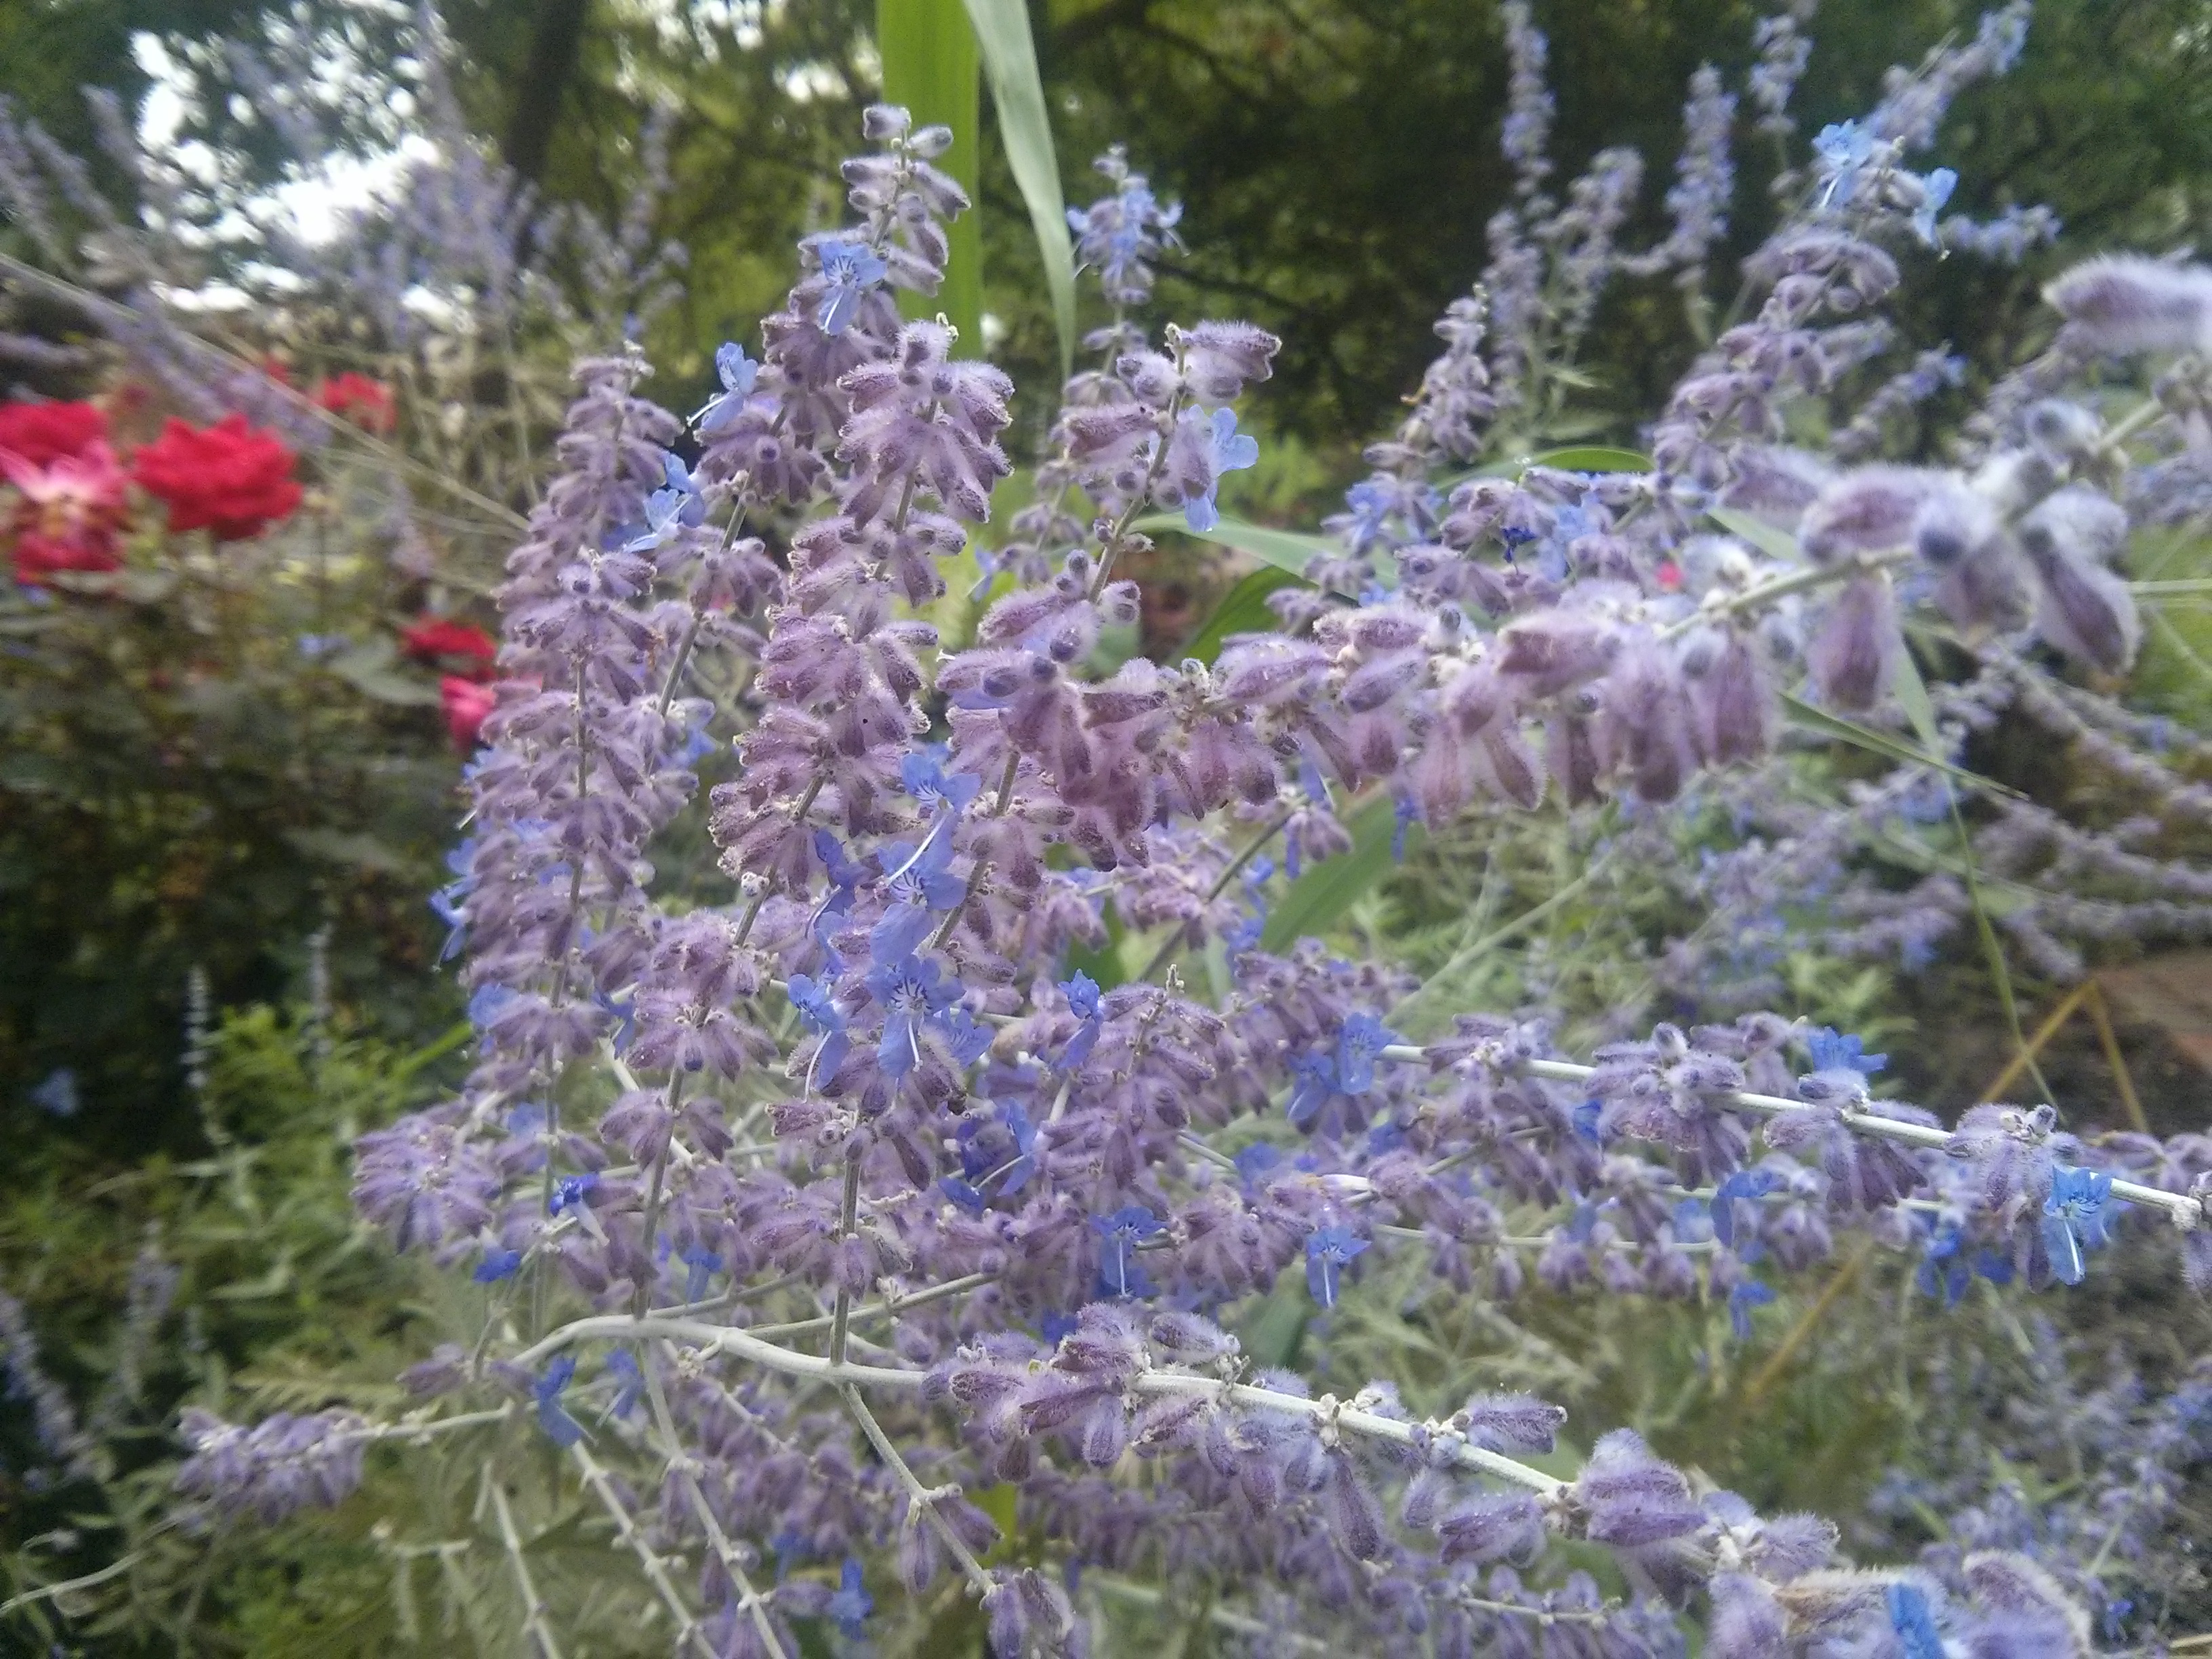


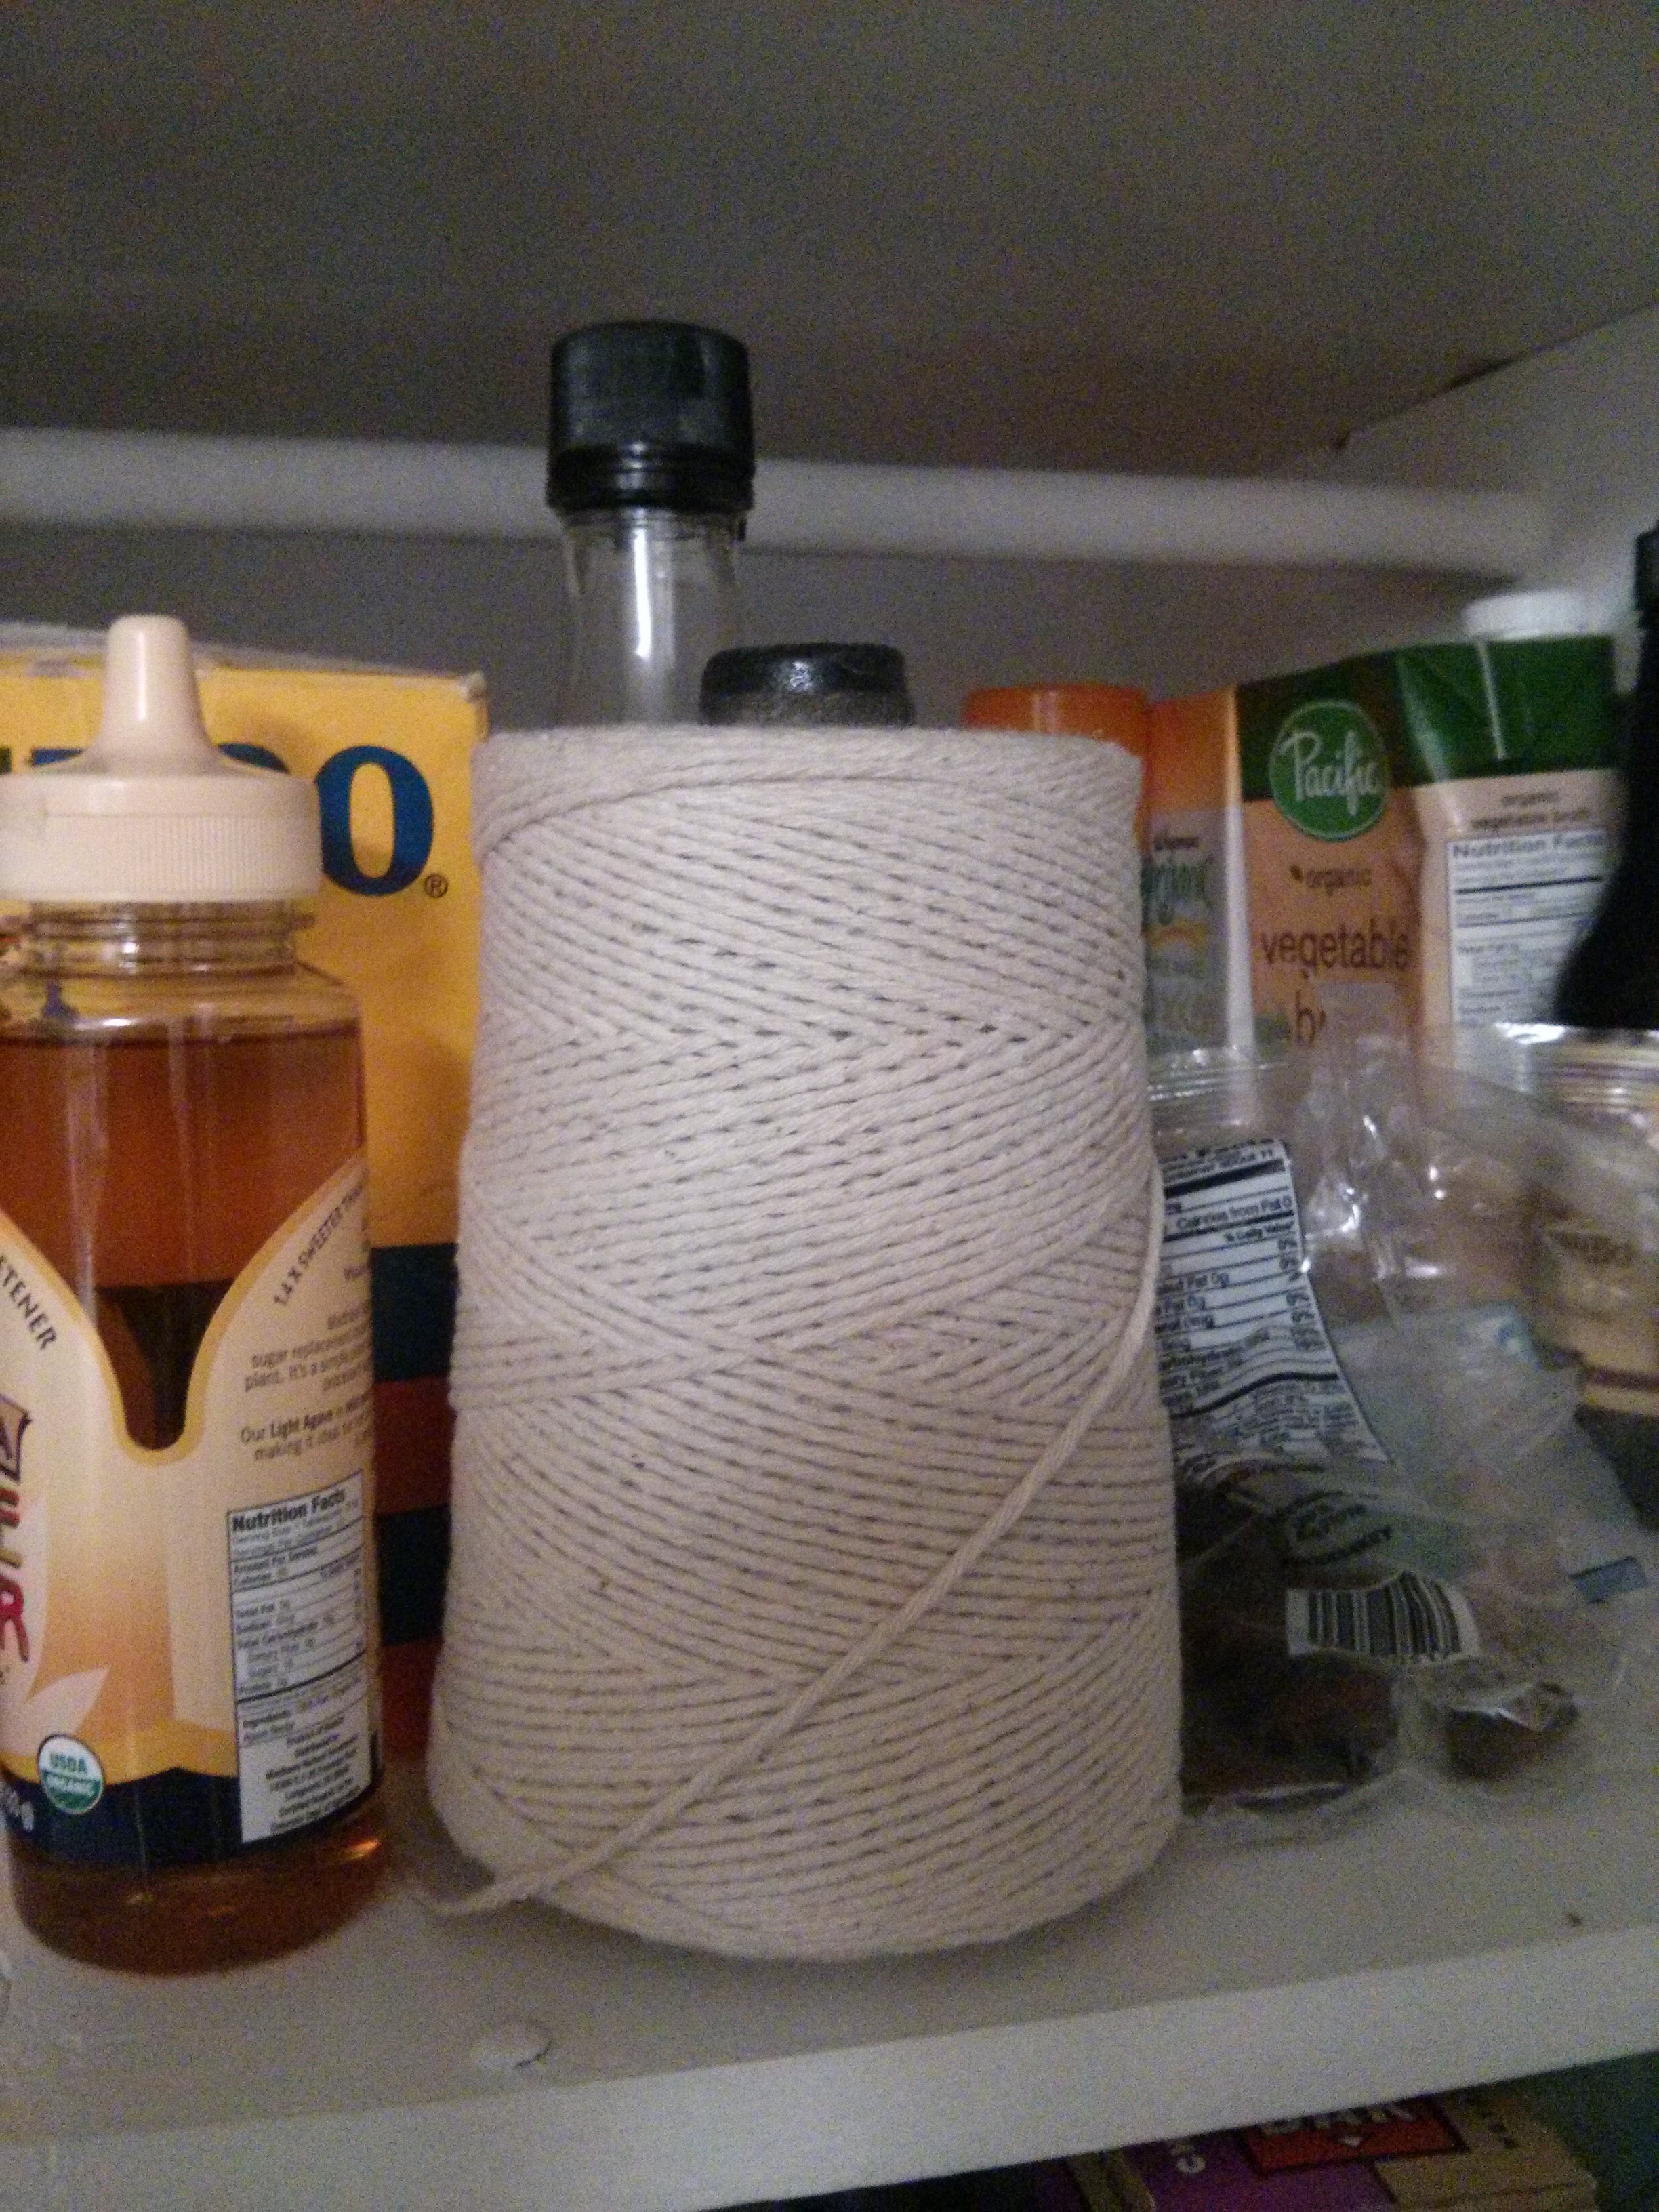


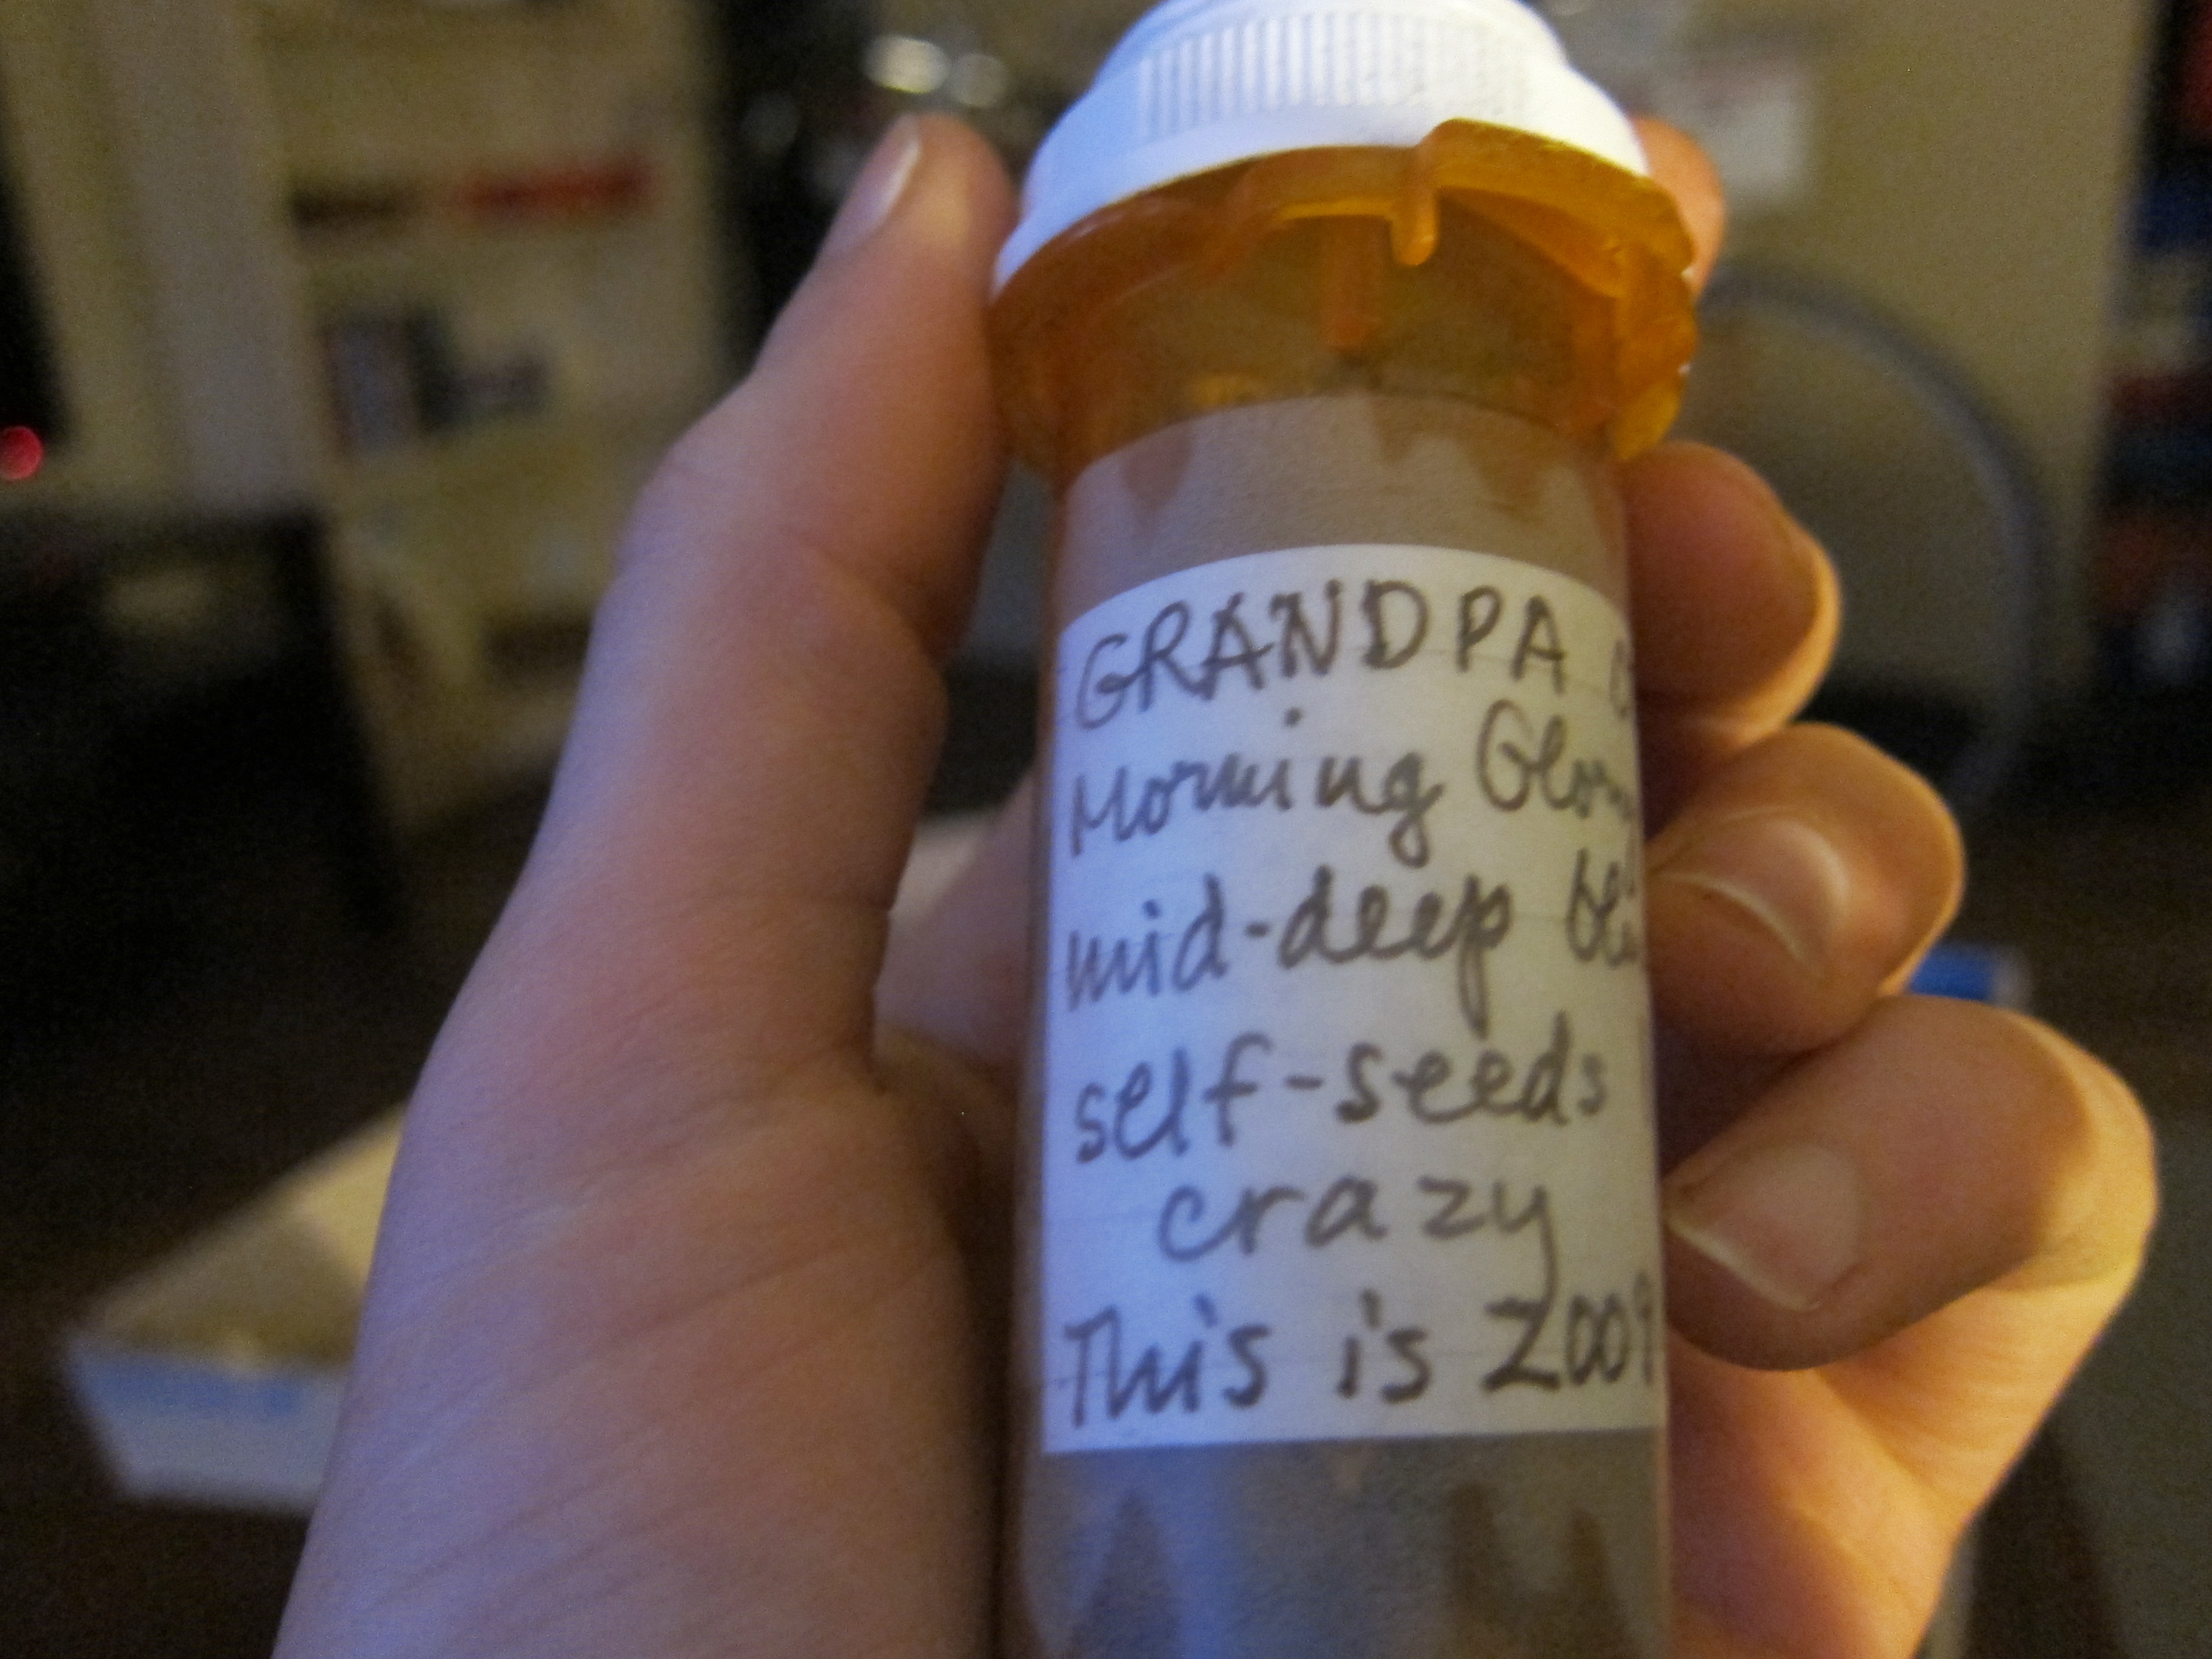
 Grandpa Ott in a bottle. I don’t actually have a Grandpa Ott, but my aunt’s handwriting had me thinking for a minute that maybe I did.