It was about six years ago, a warm Saturday morning in late-spring, and I was out riding with a small group that I’d had the fortune to start riding with around that time. We were doing something like 45 to 60 miles, and we were our way back from the deli, on take-your-pick of Back Brook / Van Lieus / Larsen / Welisewitz Rd.

As we were slowing down for a stop sign, someone noticed something on my legs. This would have been relatively unremarkable had it been a chainring tattoo, which those who ride know occasionally comes with the riding, and which those who know the people I was riding with know could very well be accompanied by good-natured ribbing. The conversation that followed went something like this:
Me: “Yeah, I did a group run last night, and there was a little mud.”
Other rider: “Nice! And then you didn’t take a shower and slept in your bed all dirty like that.”
Me: “Well, I was tired and I was getting up early to ride today, so I figured I’d just do it later. It’s okay, it’s all dry.”
Other rider: “You’re single right? That’s how it’s going stay.”
Another rider (ftw): “I have solution for you. Have a party. Invite soap and water, and have them meet.”
Recalling this last line, along with the mental image of its deadpan delivery, never fails to bring a smile to my face. So yes, thank you, Brian, for the suggestion that day. I’ll add for the record that back then, I did usually take showers after exercising like that. And that since back then, the ‘usually’ has gone on to become ‘more than usually.’
All of which, of course, brings me to the following: If soap and water can make for a good party, what can milk and vinegar do?

They can meet, simmer in a pot for 30-60 minutes, and make cottage cheese. I know! Two ingredients! How about for a that party.
It’s a simple recipe and one that I got from the Ethiopian cooking class I took in December and January (three sessions, lots of good leftovers each time, and about 10 new recipes to try; so far I’ve tried three of them). The recipe actually has a third ingredient, rue, which is a not-so-common culinary herb that can be added as an option at the end. As I was lacking in rue, I skipped it this time, and the cottage cheese turned out fine.
Another option, which wasn’t in the recipe but which I got from searching online, is to add salt. I added a sprinkling of salt this time, and I liked how it brought out the flavor in a subtle way. Salt’s good at doing that, right?? In the end, whether you add salt or not may depend on your ultimate plans for the cottage cheese. As part of the full meals we prepared during the class, the cottage cheese side dish served as a cooling and unsalty counterbalance to the main dishes that had a decent amount of heat and salt to them. So that’s just something to think about. Here’s the recipe.
Cottage cheese
- 1 gallon milk
- 1 cup white vinegar
- Rue (optional), a few sprigs
- Salt (optional)
- Add the milk and vinegar to a large pot and let stand for 5 minutes
- Simmer for 30-60 minutes over low heat, to allow the curds to form (simmer until you have soft curds (less time) rather than rubbery curds (more time))
- Strain most of the liquid out using a fine mesh colander or cheesecloth (you can strain more of less liquid, depending on your preference)
- Add rue (optional)
- Add salt (optional)
- Store in a refrigerator and serve cold (or serve warm if you want it right away!)
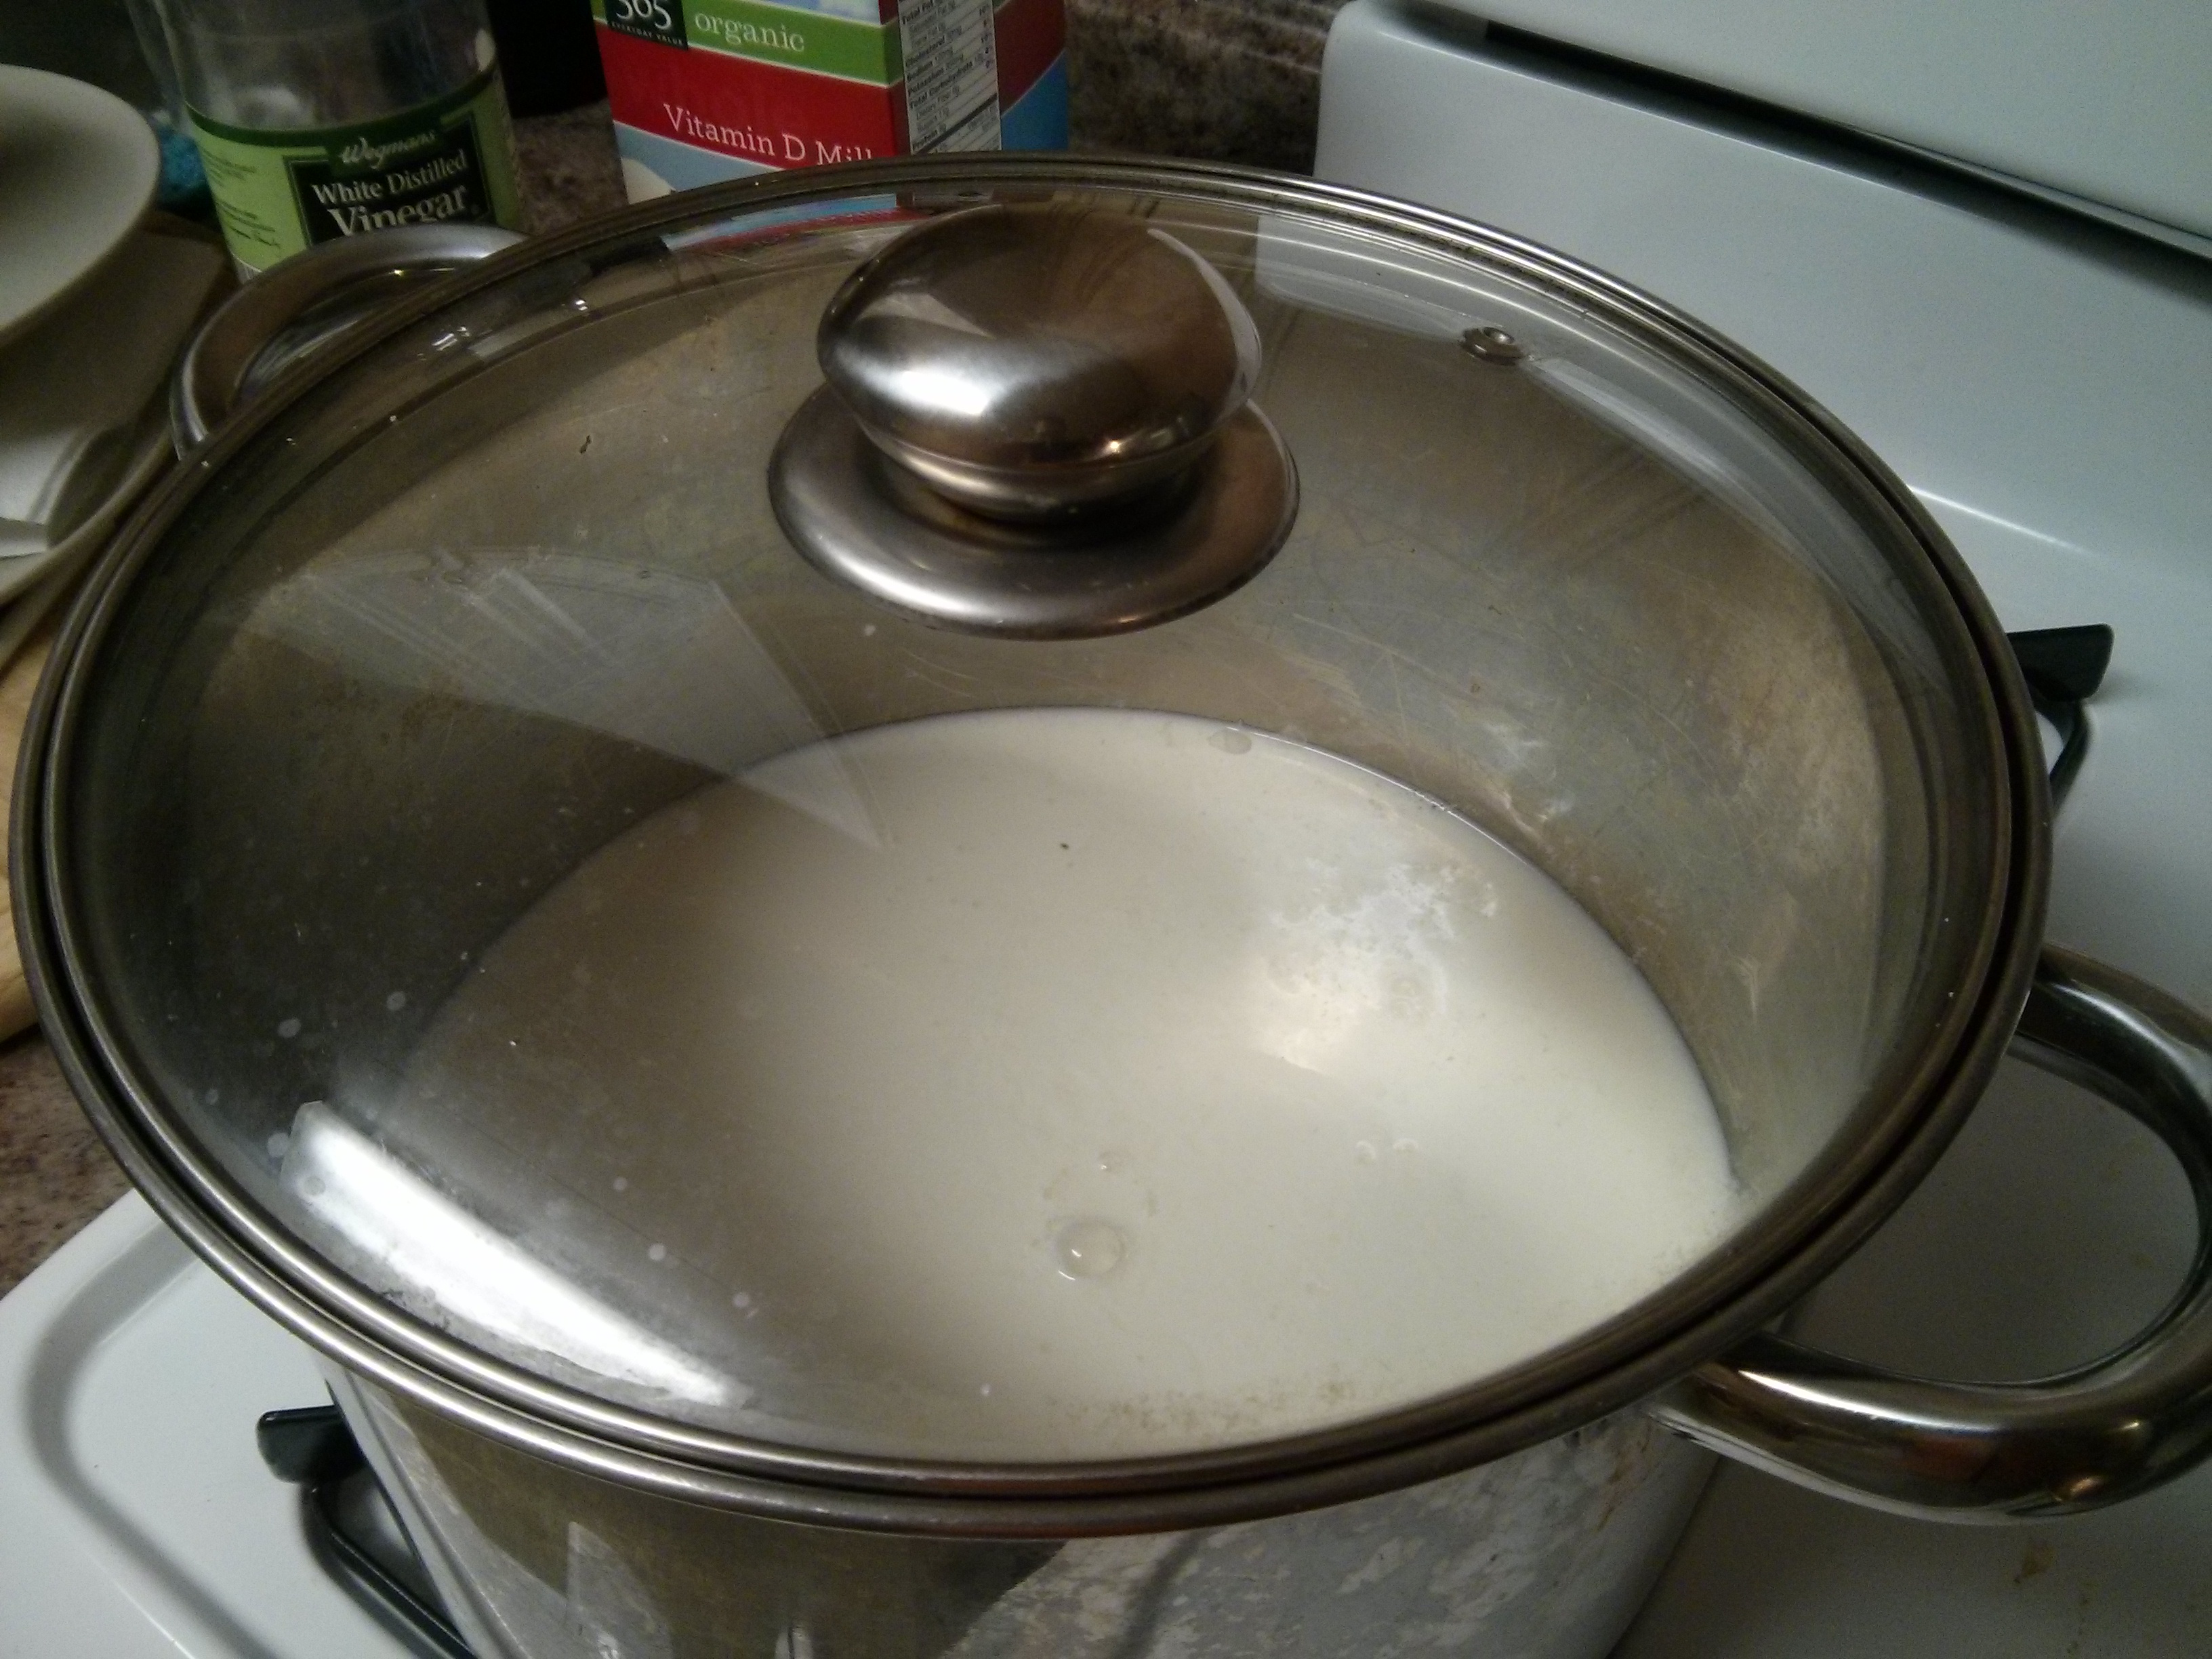
Two ingredients in a pot

Two ingredients in a pot 30 minutes later
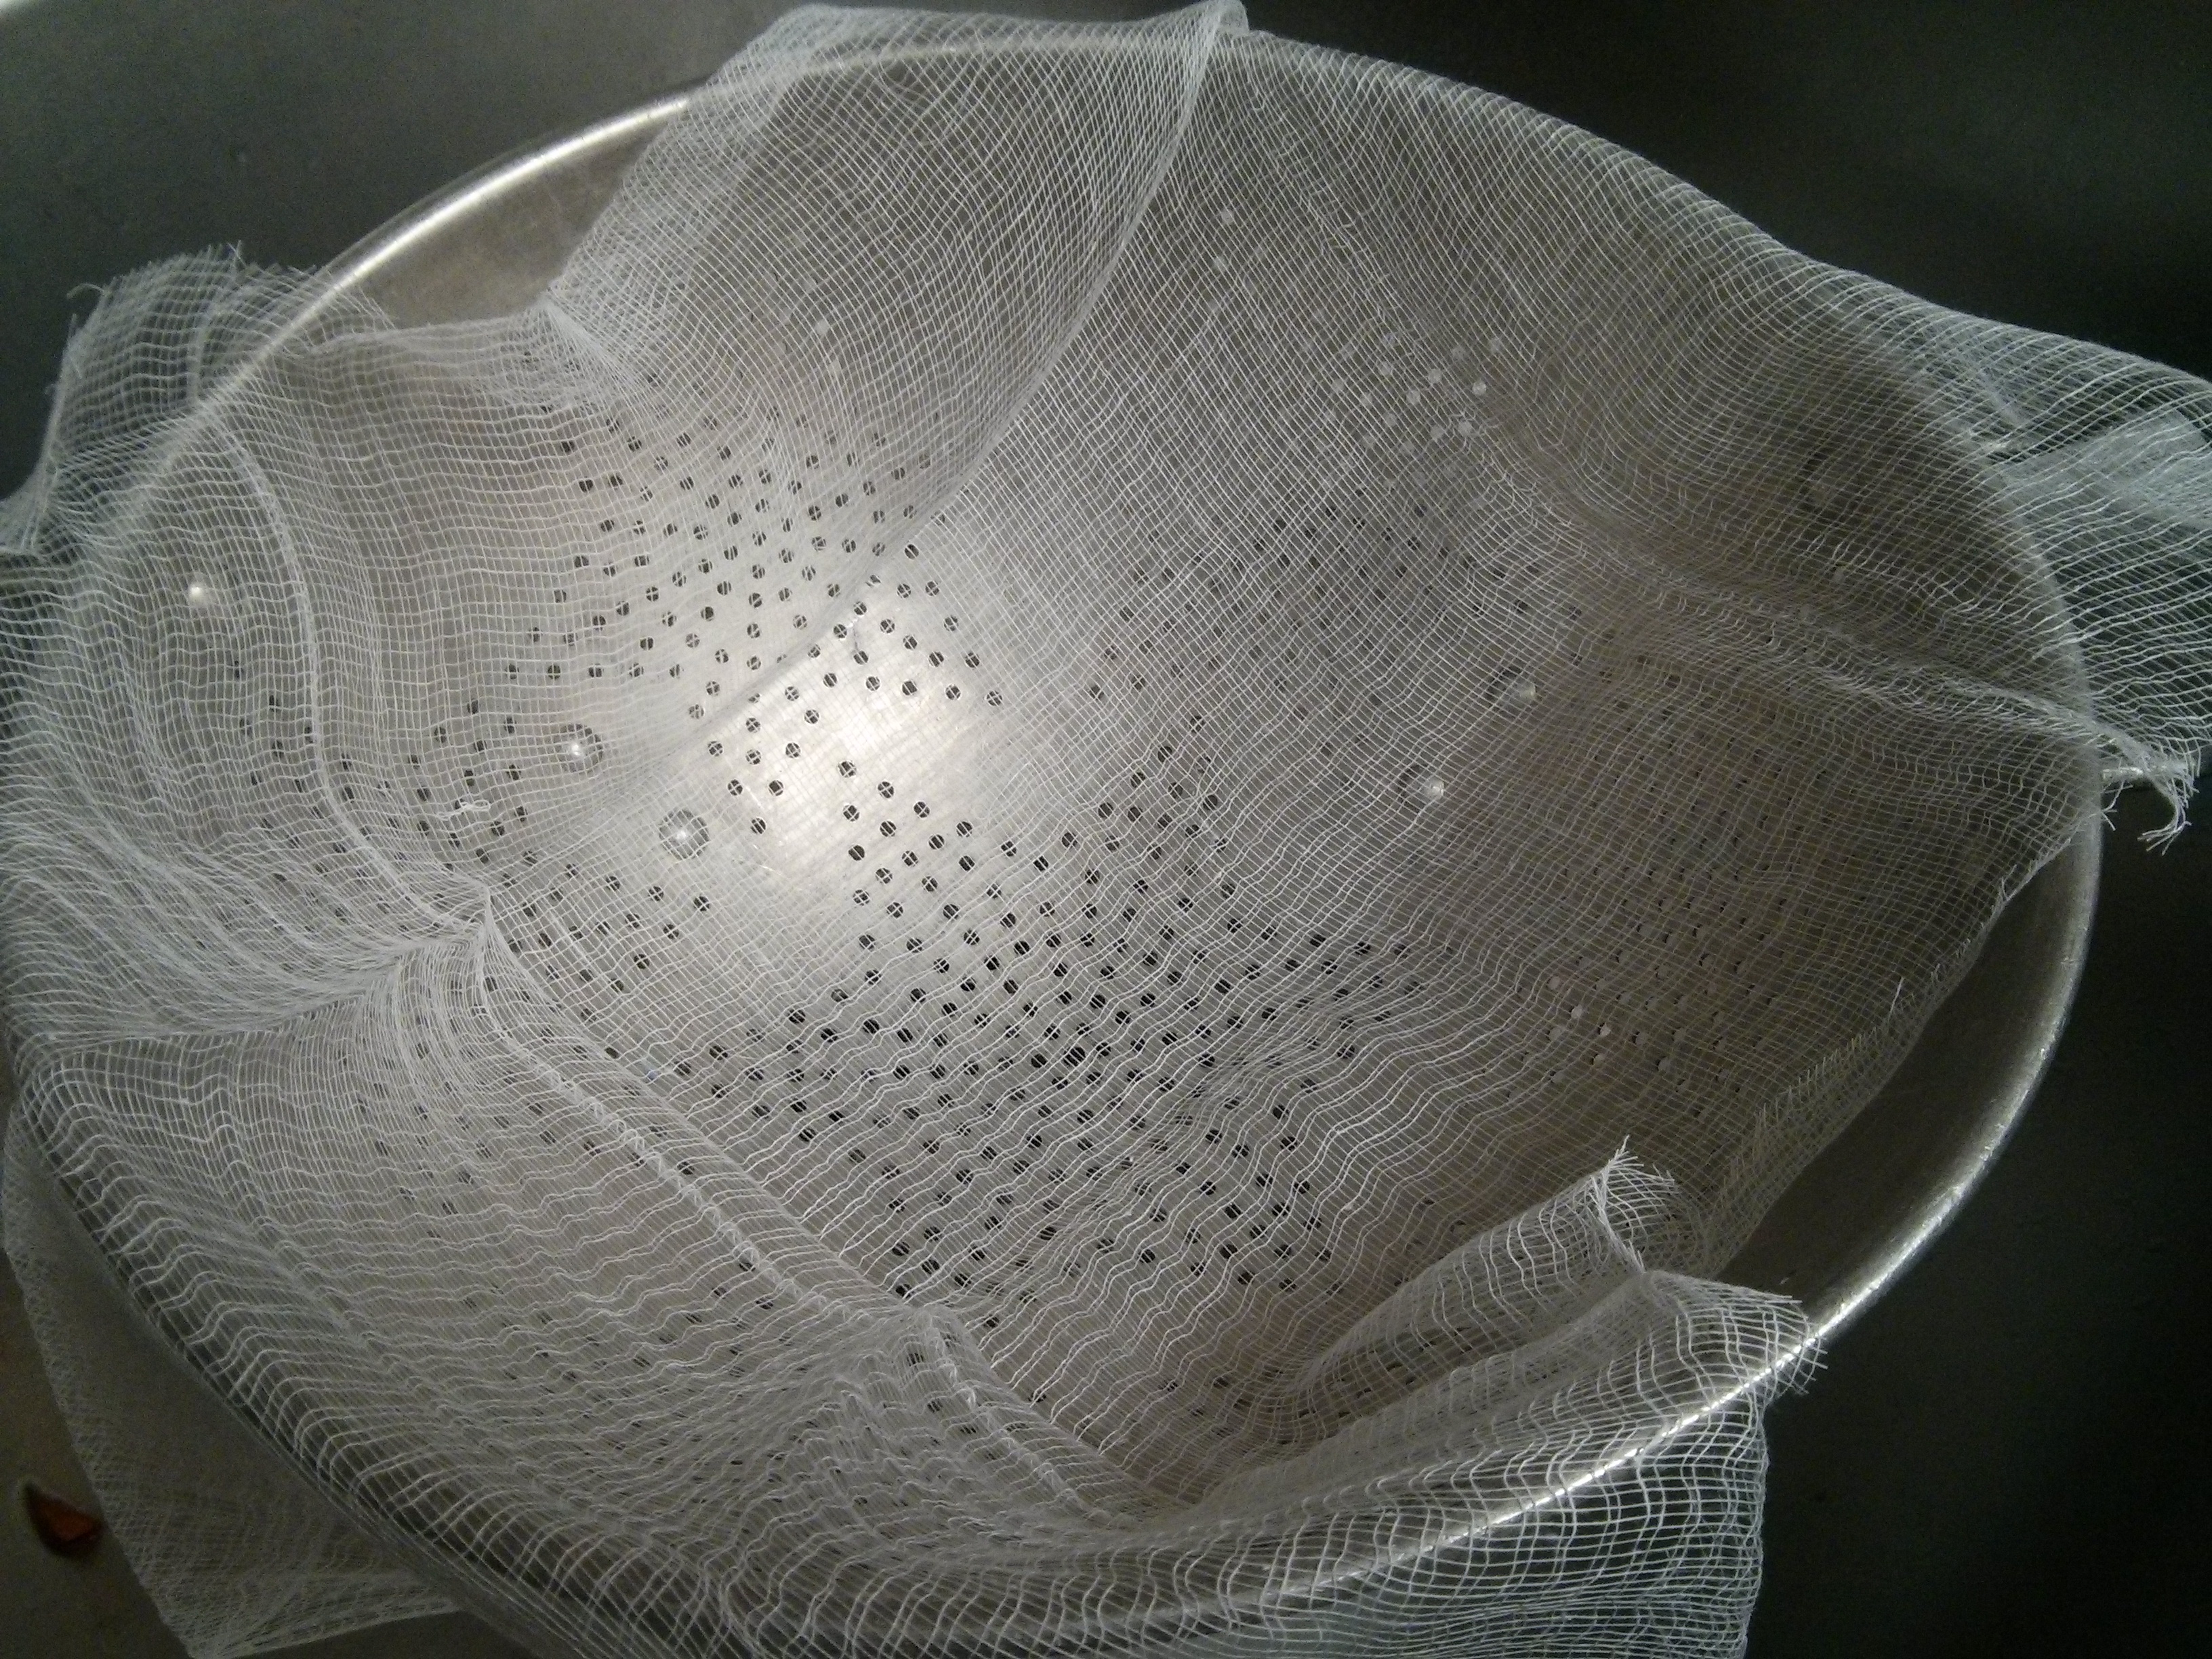
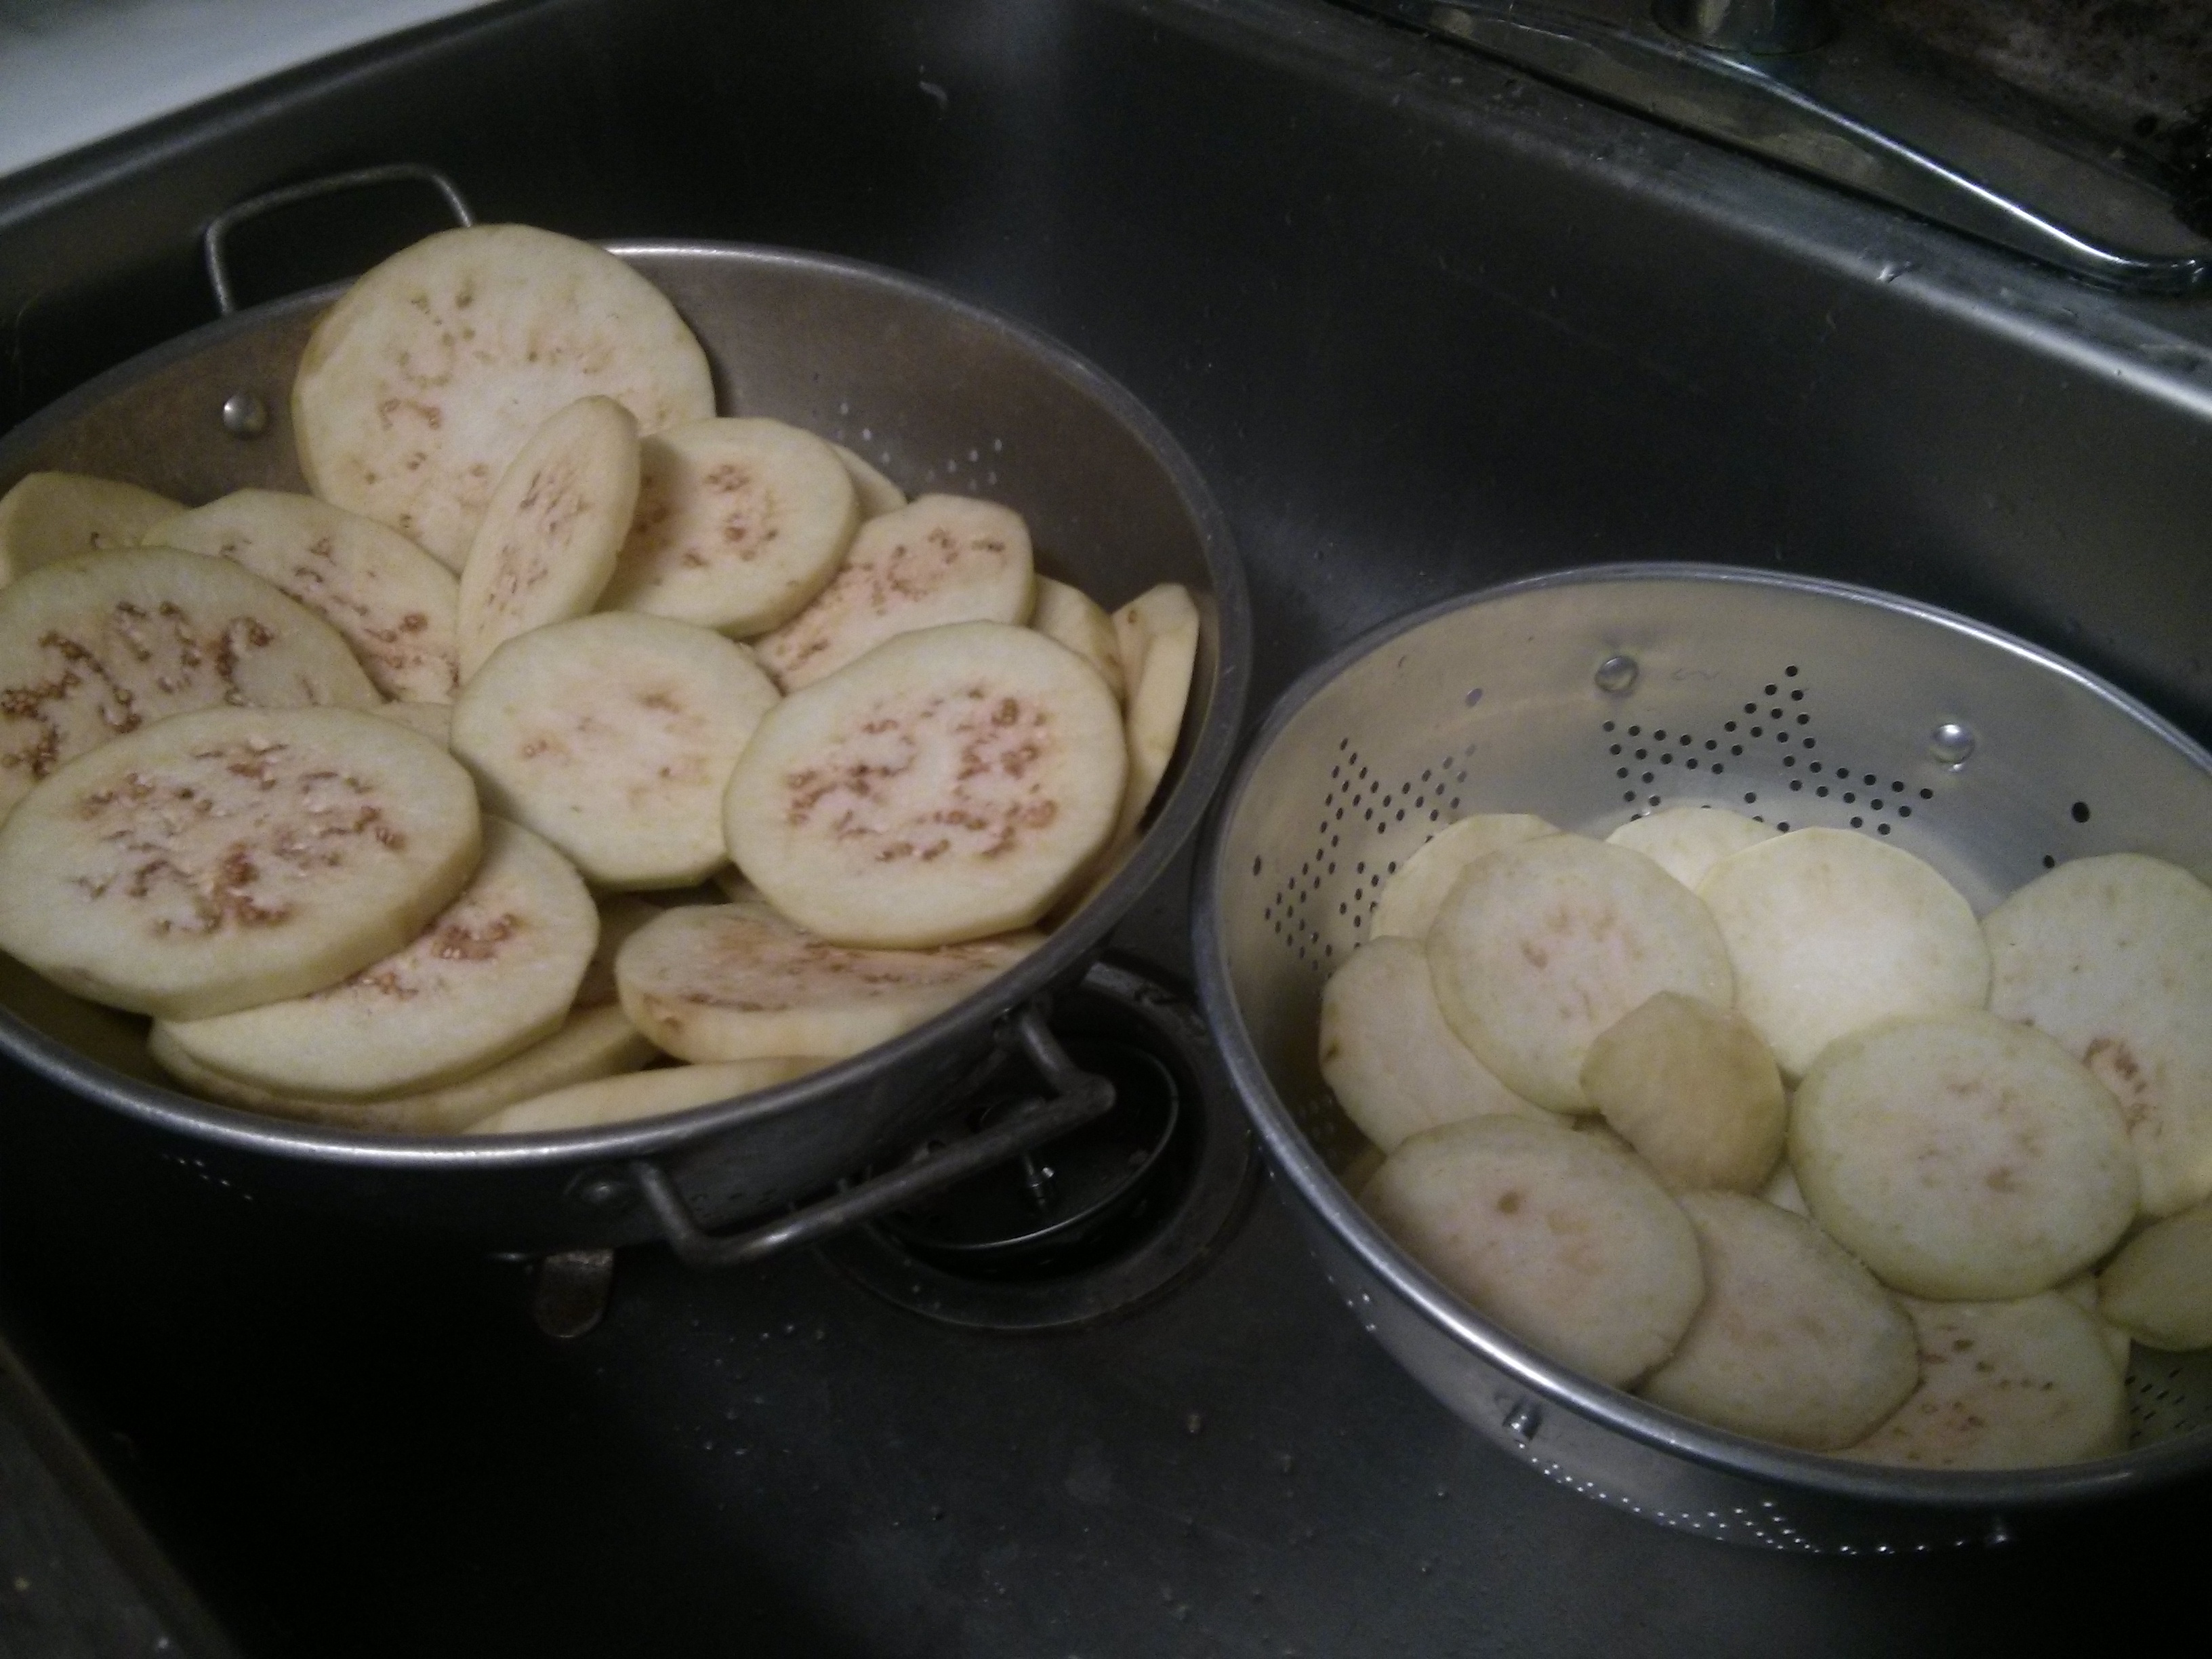
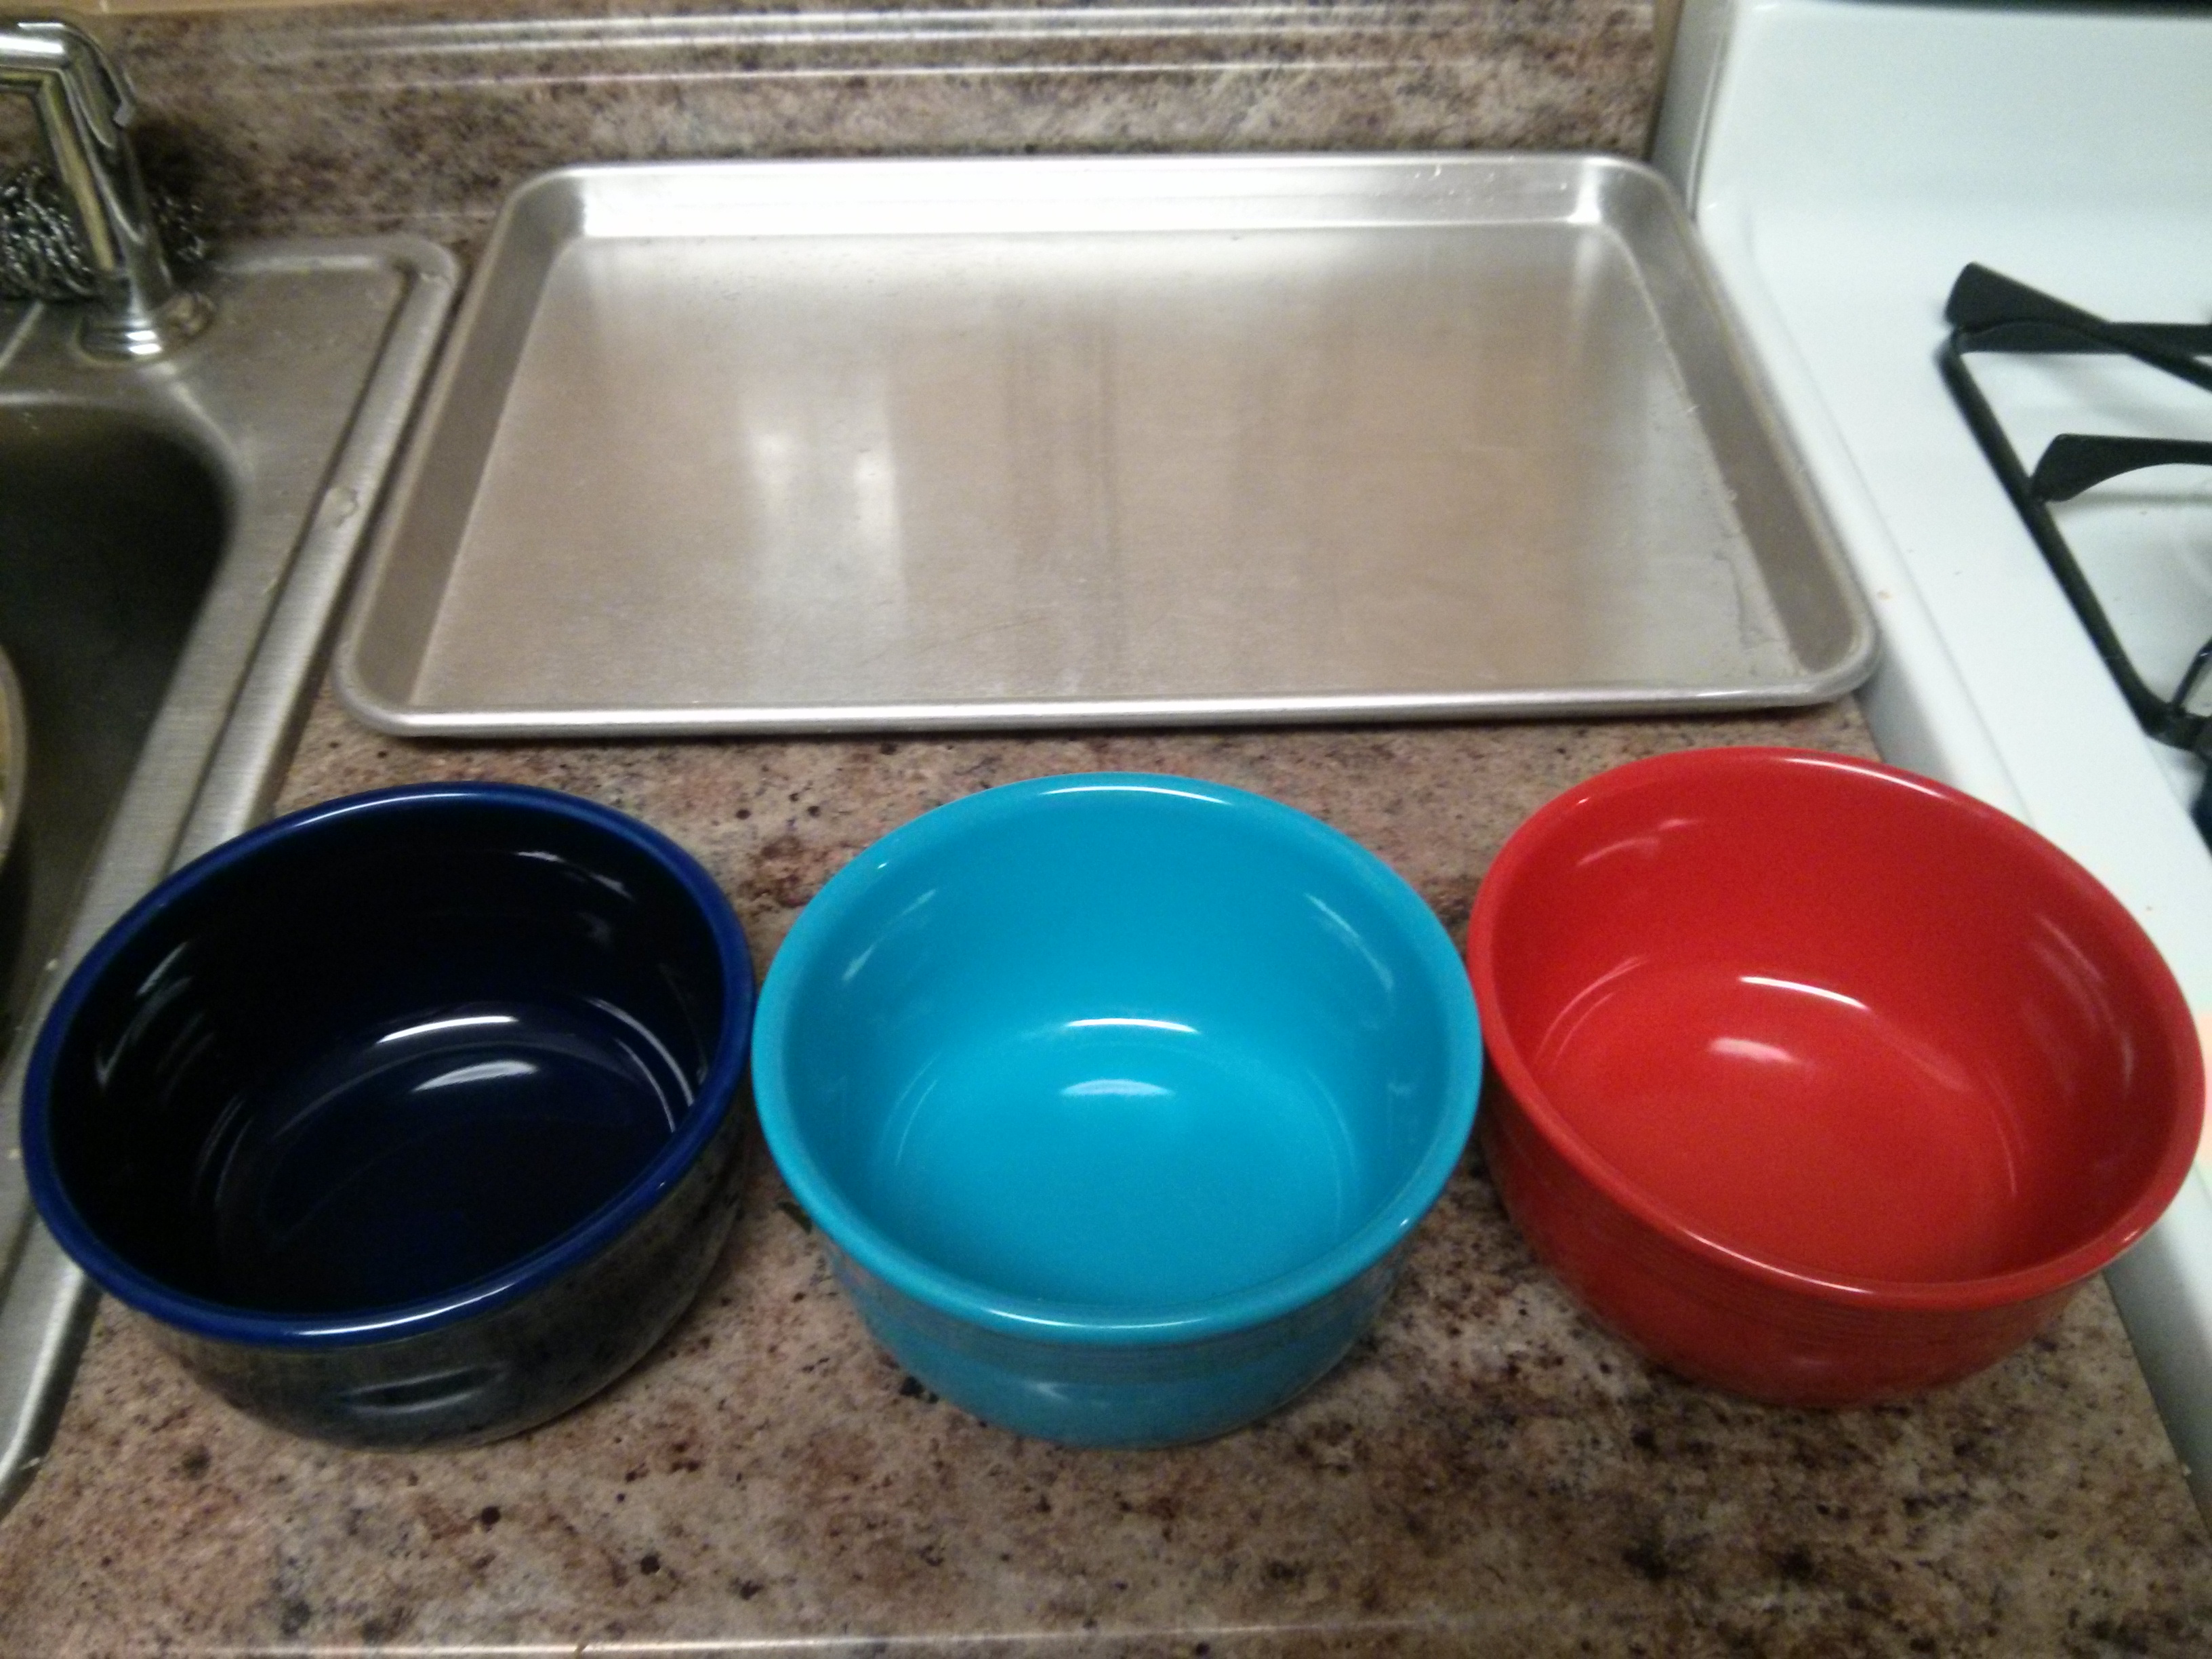
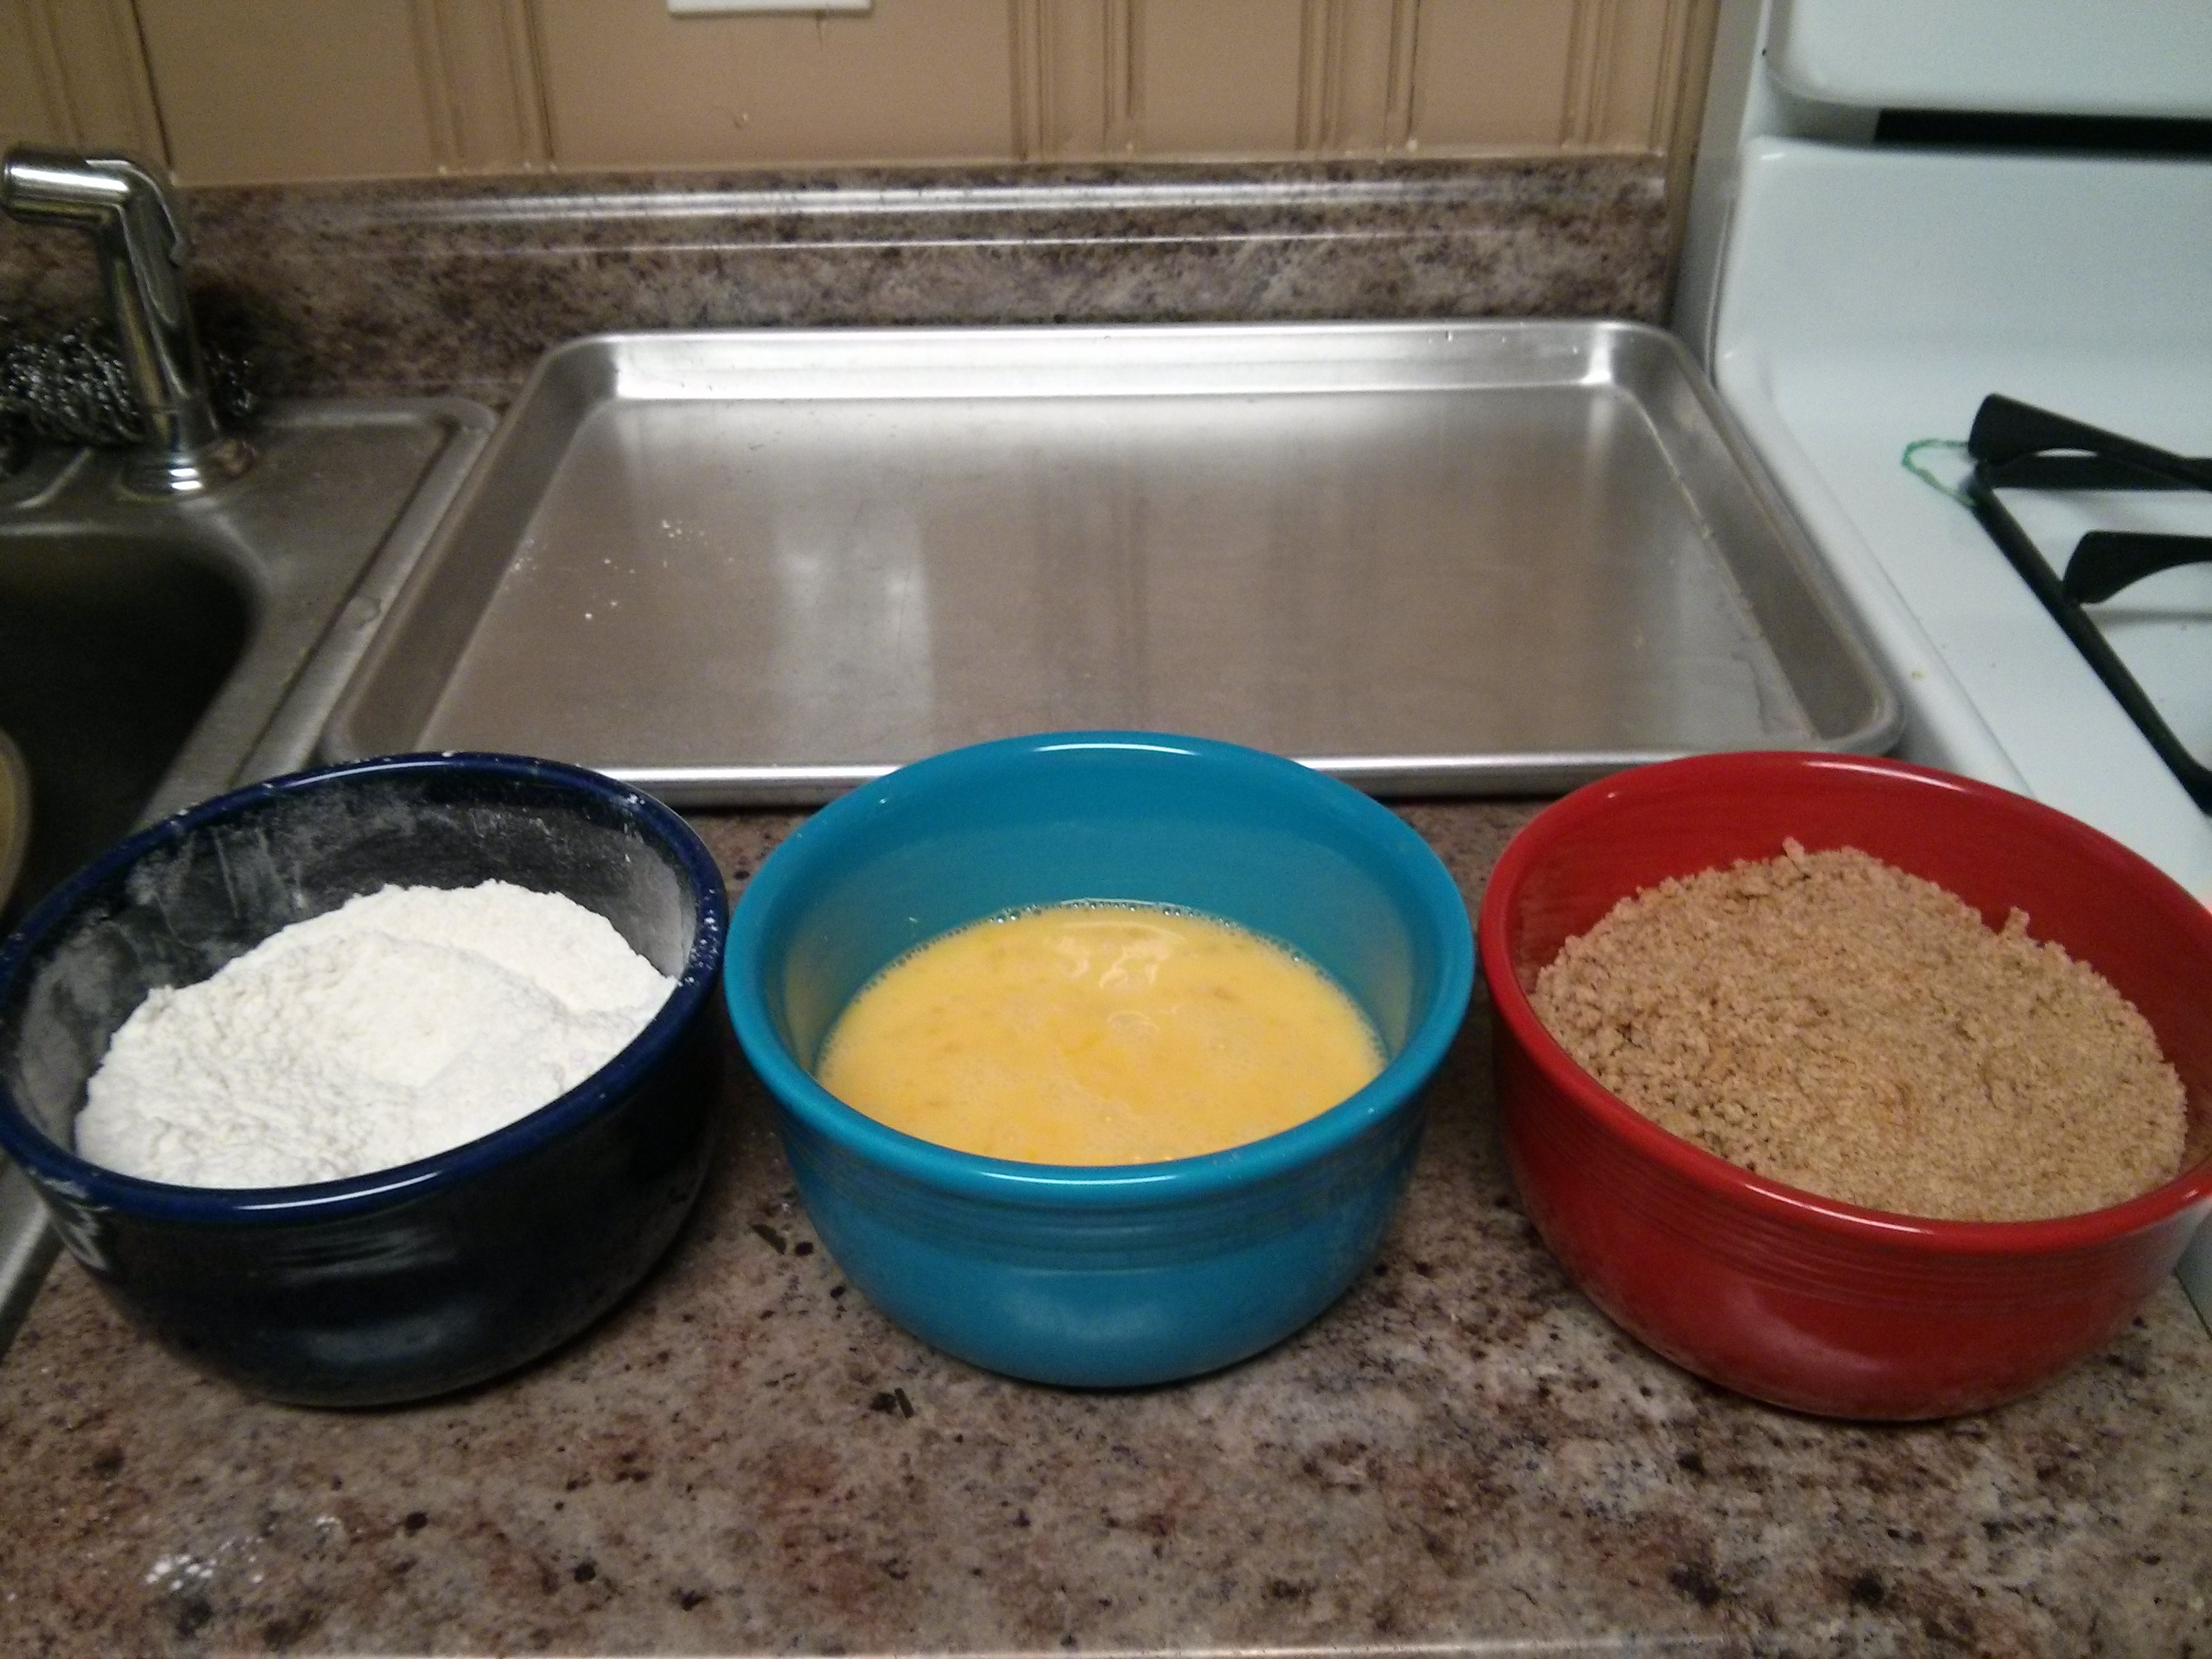
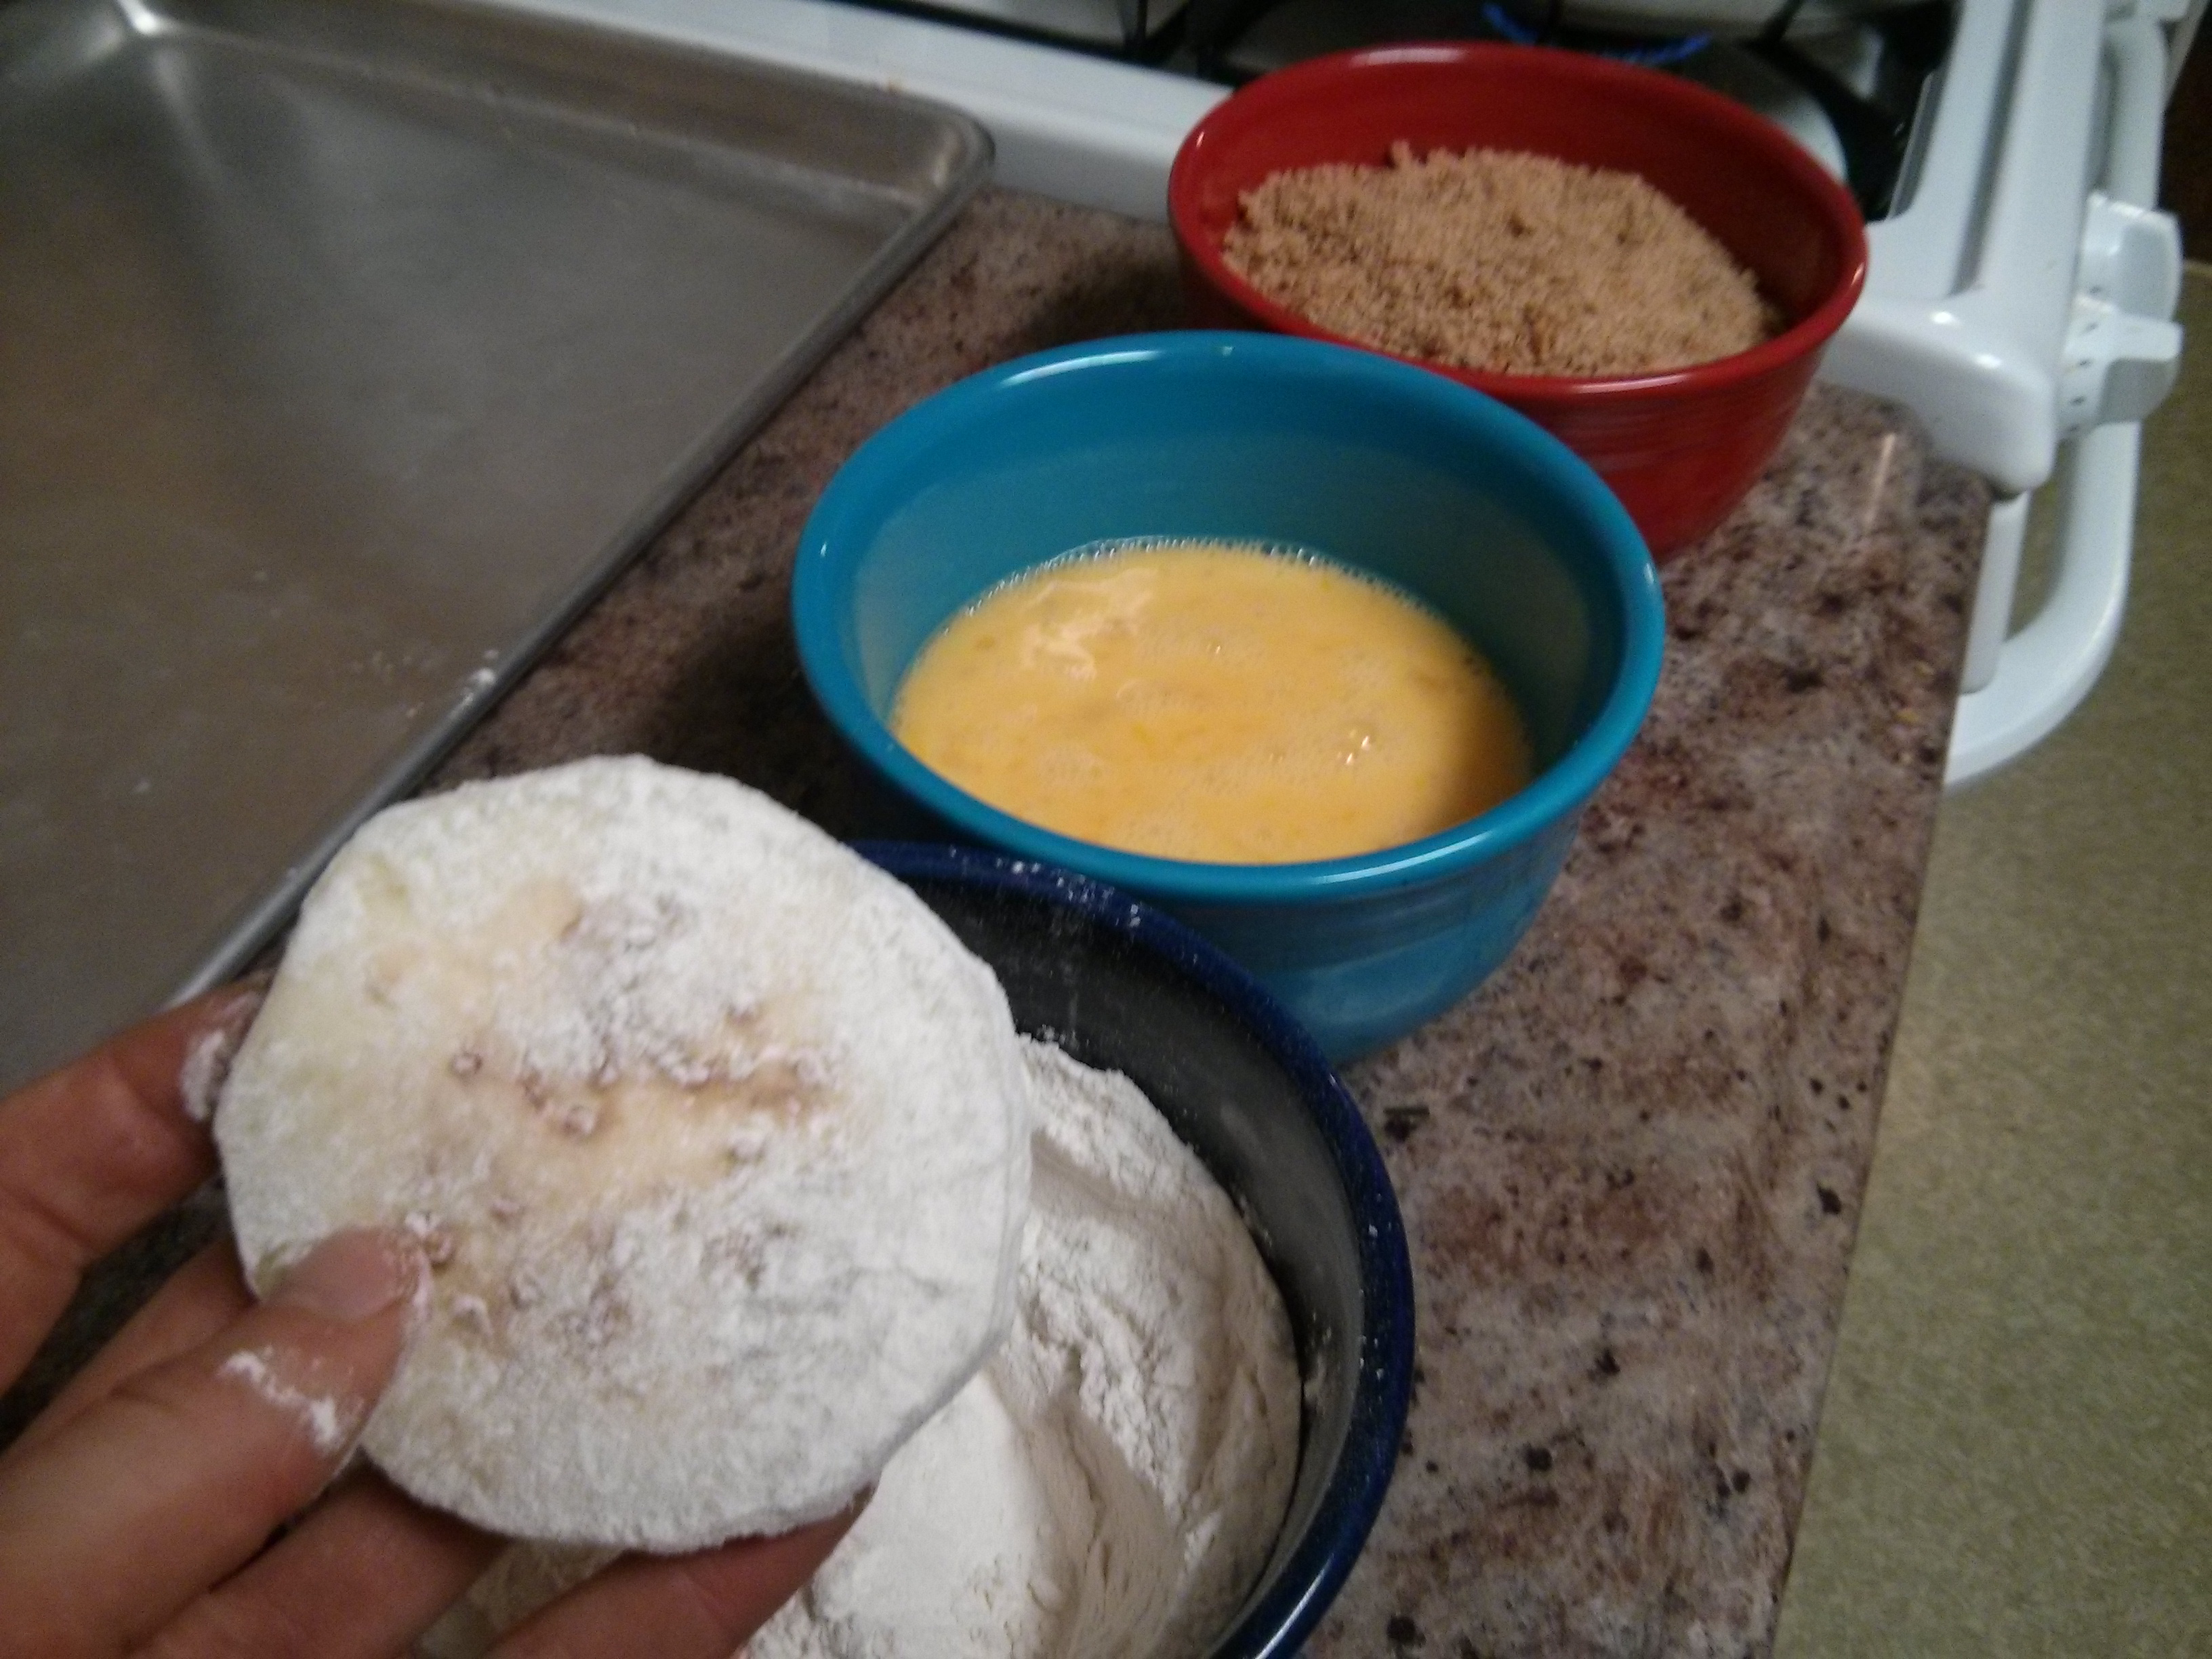
Getting ready

Cottage cheese on cheesecloth

Cloth in action

Fresh cottage cheese
In class, we did the full recipe (1 gallon of milk and 1 cup of vinegar) but when I made it at home, I cut the recipe in half so I could try making it more often (three tries so far!). Making a half-recipe worked out fine, no problem. I also used different types of milk each time. When using a lesser percent, non-organic milk, the cottage cheese that resulted had a little more tanginess to it, while the version that I made using whole, organic milk (what I did this time) had a little less tanginess. One side note: I also used different brands of milk each time, so let my initial observations here be not the final word in milk-for-cottage-cheese selection. Try it out and see what works for you, and I’ll keep trying, too, and maybe more scientifically. See what amount of simmer-minutes also works best for you. The recipe from class didn’t specify a time.
And that’s cottage cheese! The appearance and texture are similar to the kind from the store, and the taste is cottage cheesy good, not to mention also unique if you’ve made your own before. There are also ways to make it that involve a few more ingredients and alternative coagulating agents (or so the internet and a public library tell me), but this one’s good for now. 🙂
This time, I used some of the cottage cheese right away in a salad: baby spinach, cottage cheese, raisins, chopped walnuts, and a balsamic vinegar, olive oil, salt and pepper dressing.

Mmmmmmmmm, looks good tastes good.