Tag Archives: tomato sauce

Kitchen tips and kitchen blips

From my kitchen lips
To your kitchen ears,
I share with you a list
From the past year:
Kitchen tips and kitchen blips.

Good things come in threes,
Melt and melt and sauce,
Take the heat a piece,
And cut your losses:
The truth is in the reading.

Which brings me to the following,
One and two and three,
Each with a tip, and
Each with a blip:
Now for all to see.

wp-1467249453257.jpg

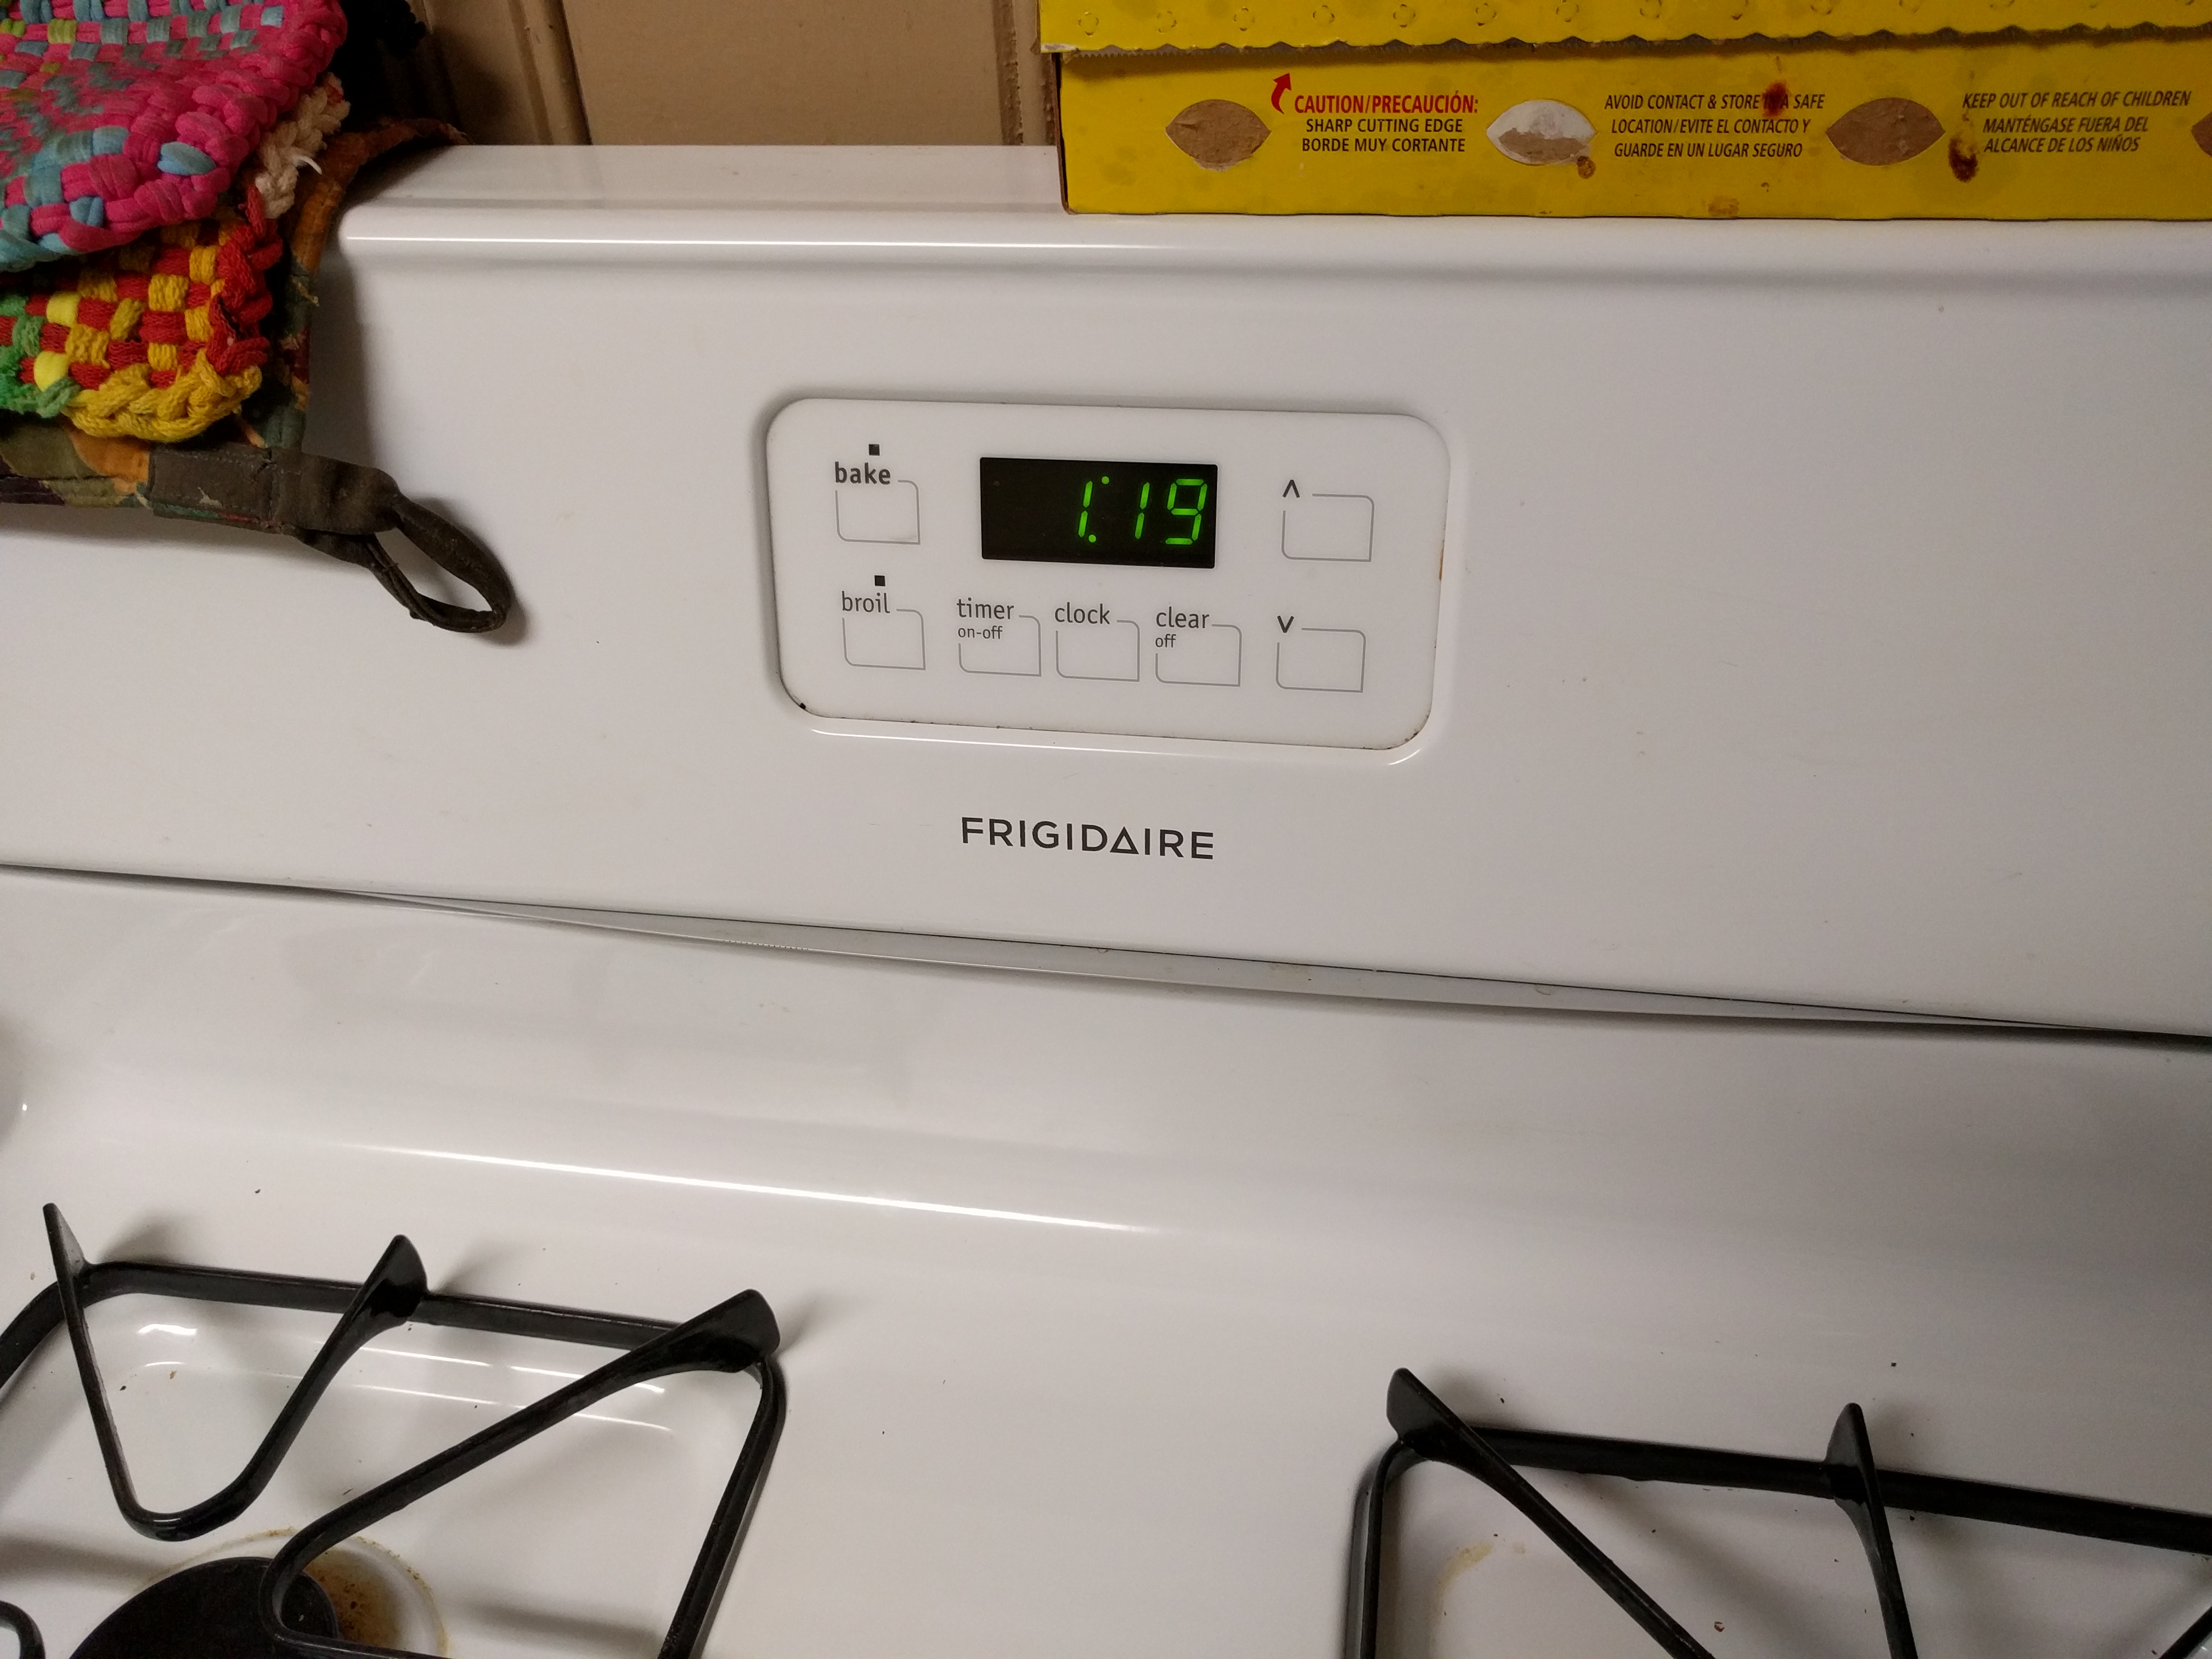
The hot air vent: yes, located just below the “FRIGIDAIRE”

1) Did you know: You can use the hot air that comes out of the oven vent for more than just passively heating your kitchen??

Kitchen tip: When making pumpkin bread (or zucchini bread or lemon pound cake or the like) and waiting for the oven to preheat, you can put your 9″ x 5″ x 3″ loaf pan under the vent, and the hot air will melt a small tab of butter for you, for easy greasing and flouring of the pan.

Kitchen blip: You could also put your salad spinner under the hot air vent as a way to speed the drying process and save time, but then you might, well, happen to melt the plastic such that the the spinner no longer spins.

wp-1467249557689.jpg

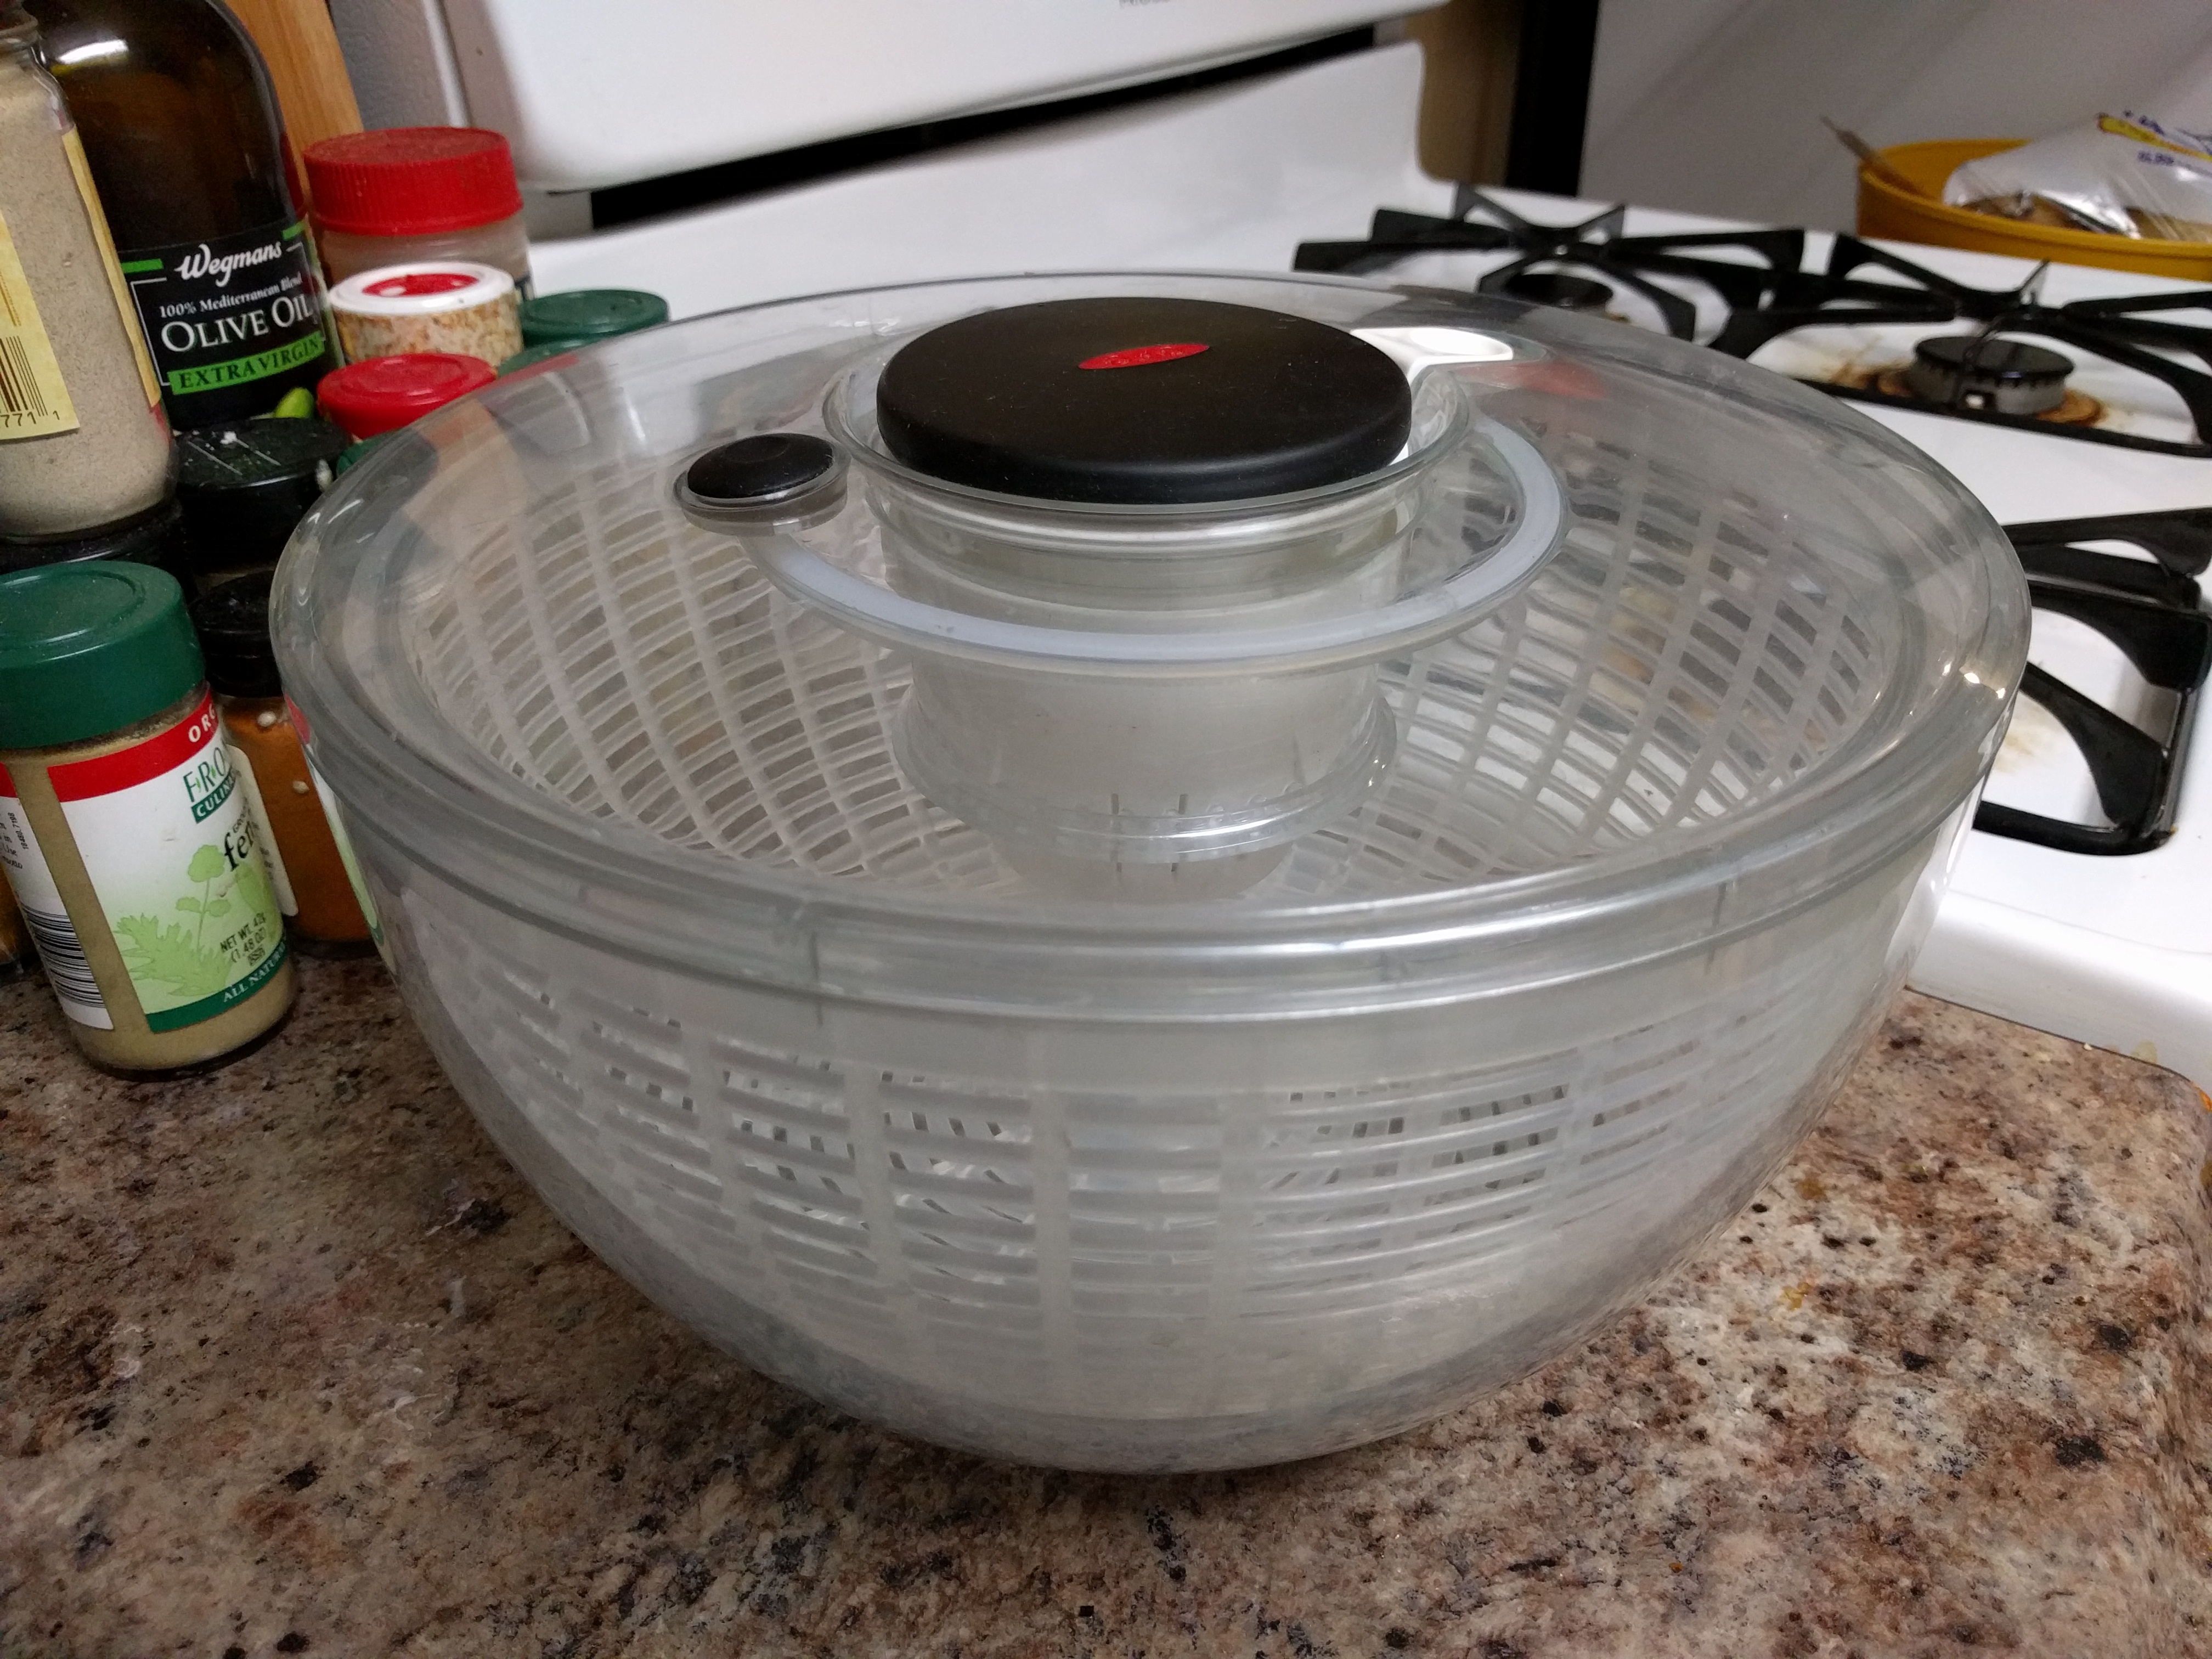
My replacement Oxo Good Grips salad spinner that a friend gave me, same model as the original

2) Did you know: You can use the stove-top’s flat surface for more than just cooking food??

Kitchen tip: When doing the dishes, and when the dish-drying rack is full (and when the rest of the counter is covered with starter houseplants growing in pots), you can set the extra dishes on the stove-top as another place to let them dry.

Kitchen blip: This might seem like a good idea, and it is, most of the time. When it is not a good idea is when you might, well, mean to turn on the front burner but instead turn on the back one, which is fine until you realize you have a glass dish with a plastic lid sitting on the burner in the back.

wp-1466969387862.jpg

wp-1466969447921.jpg

wp-1466968113423.jpg

He’s not much, but he’s my plastic horseshoe crab

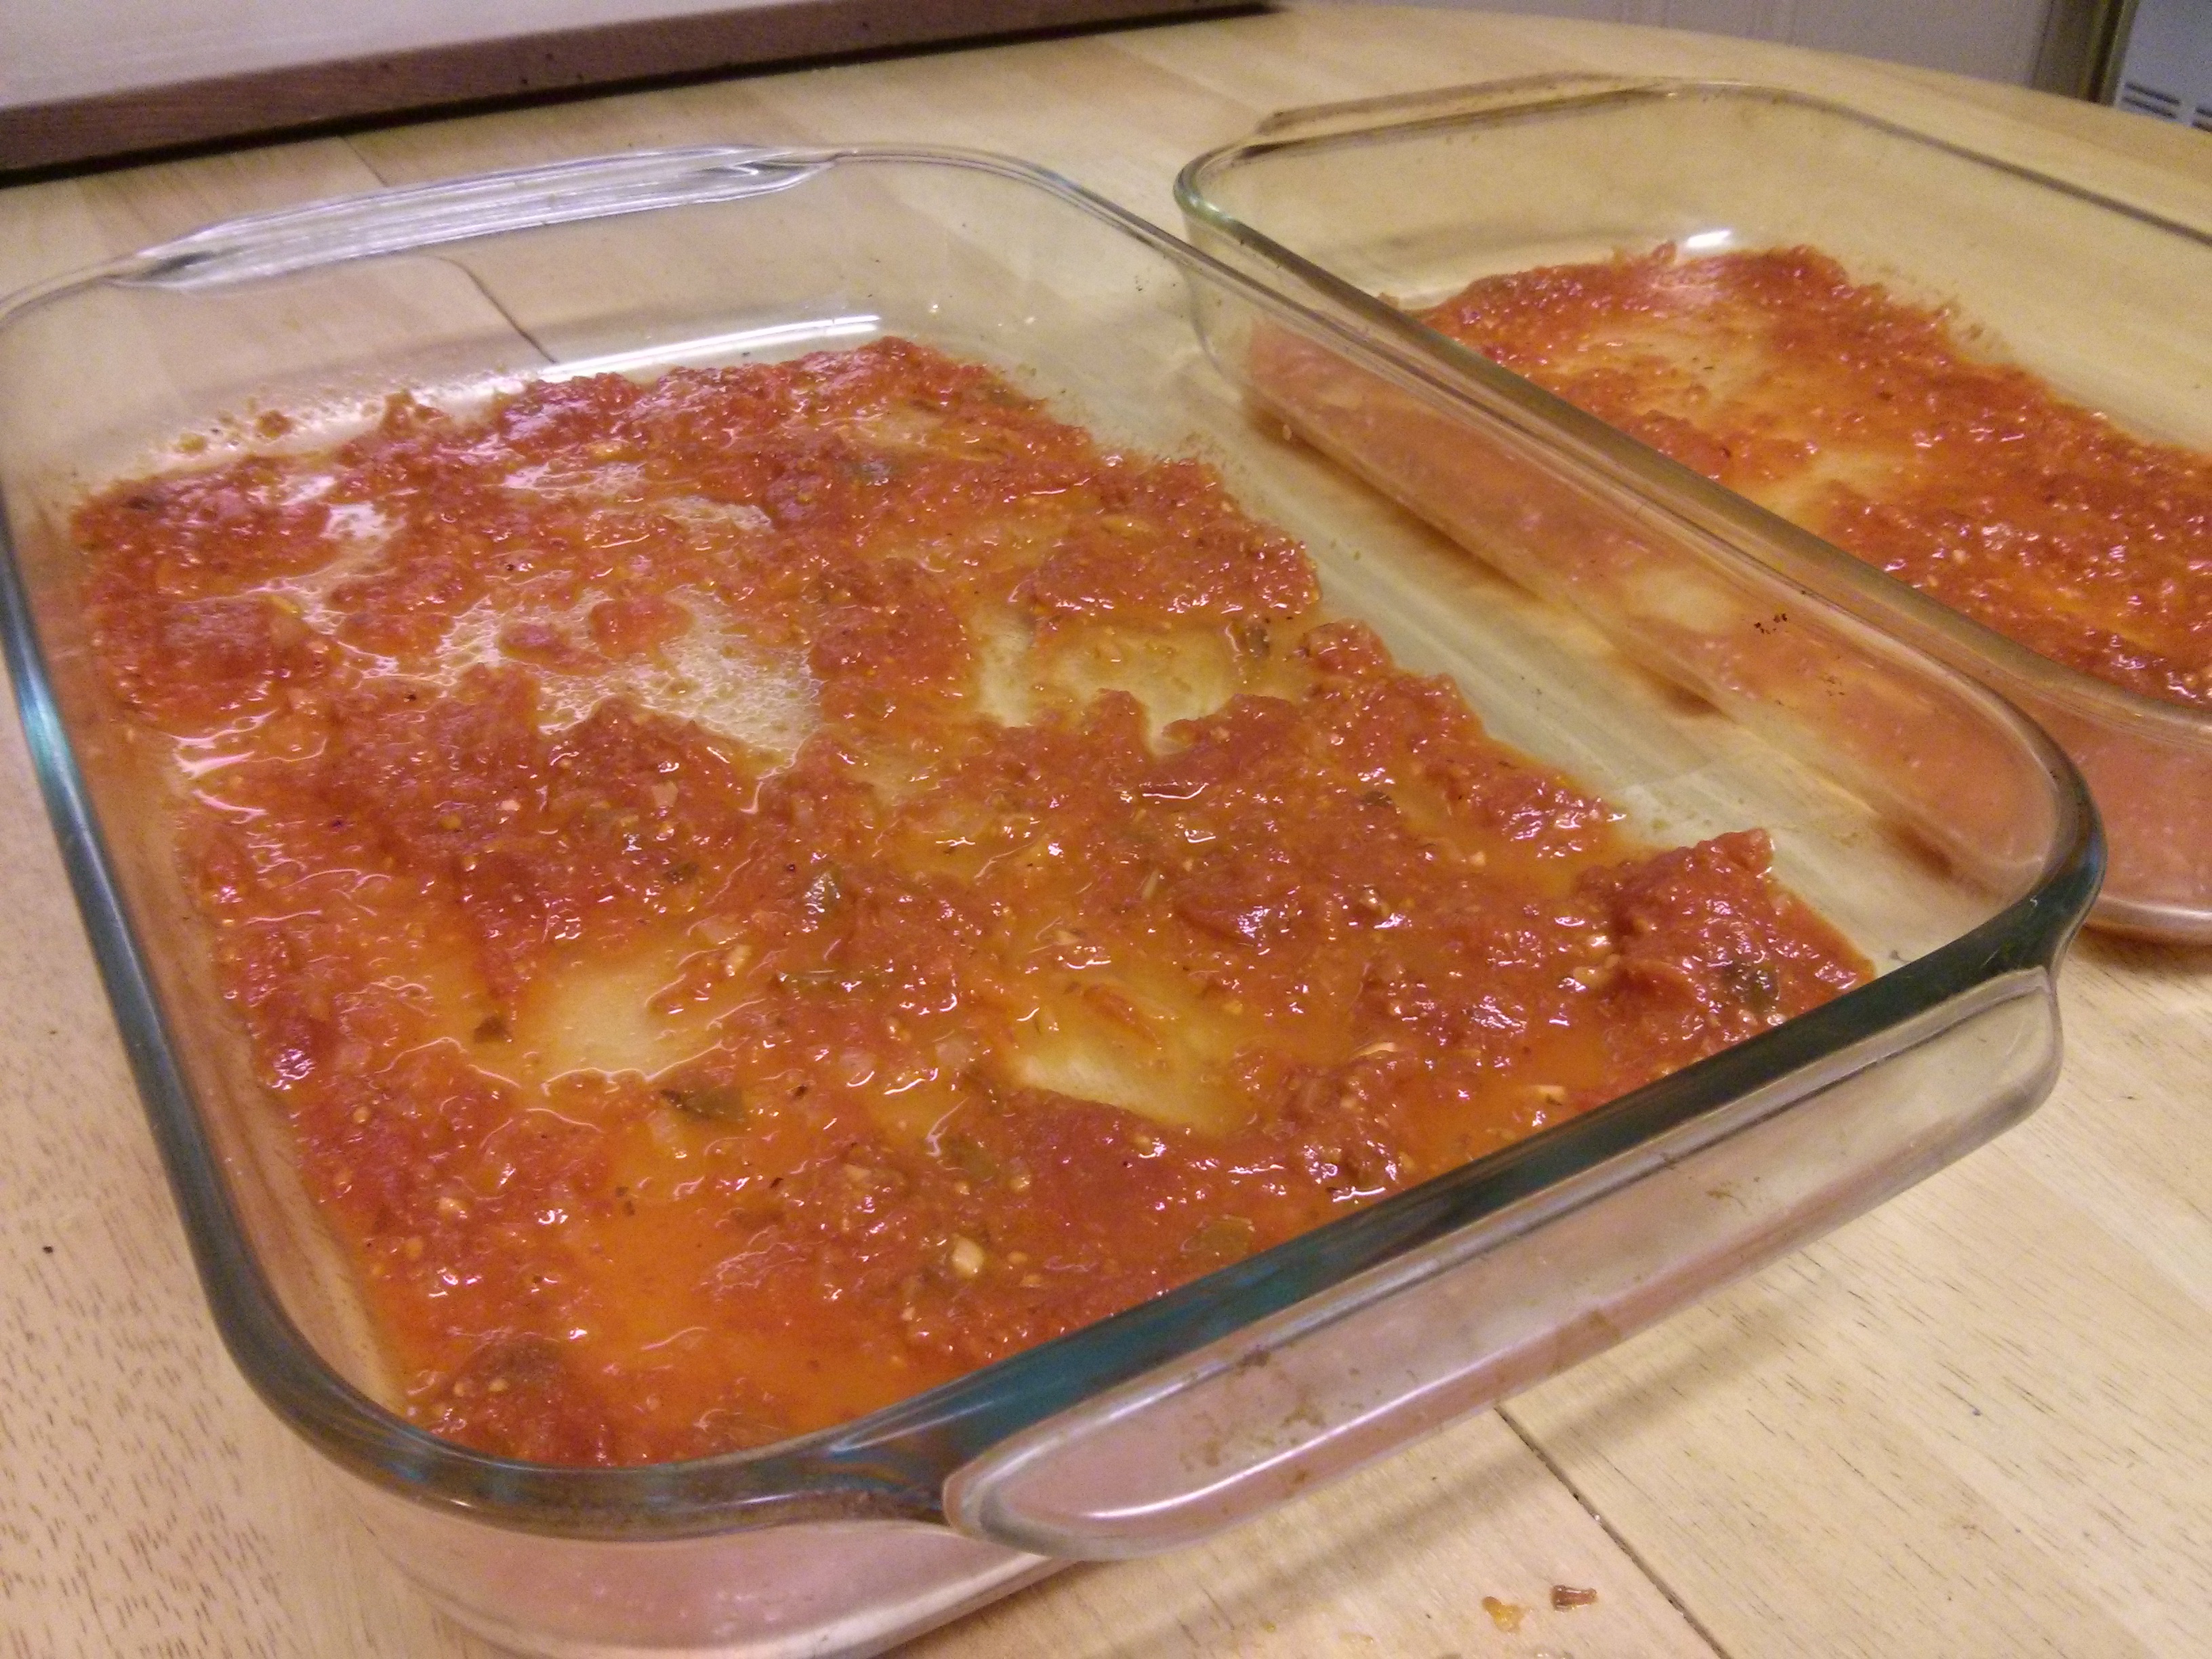
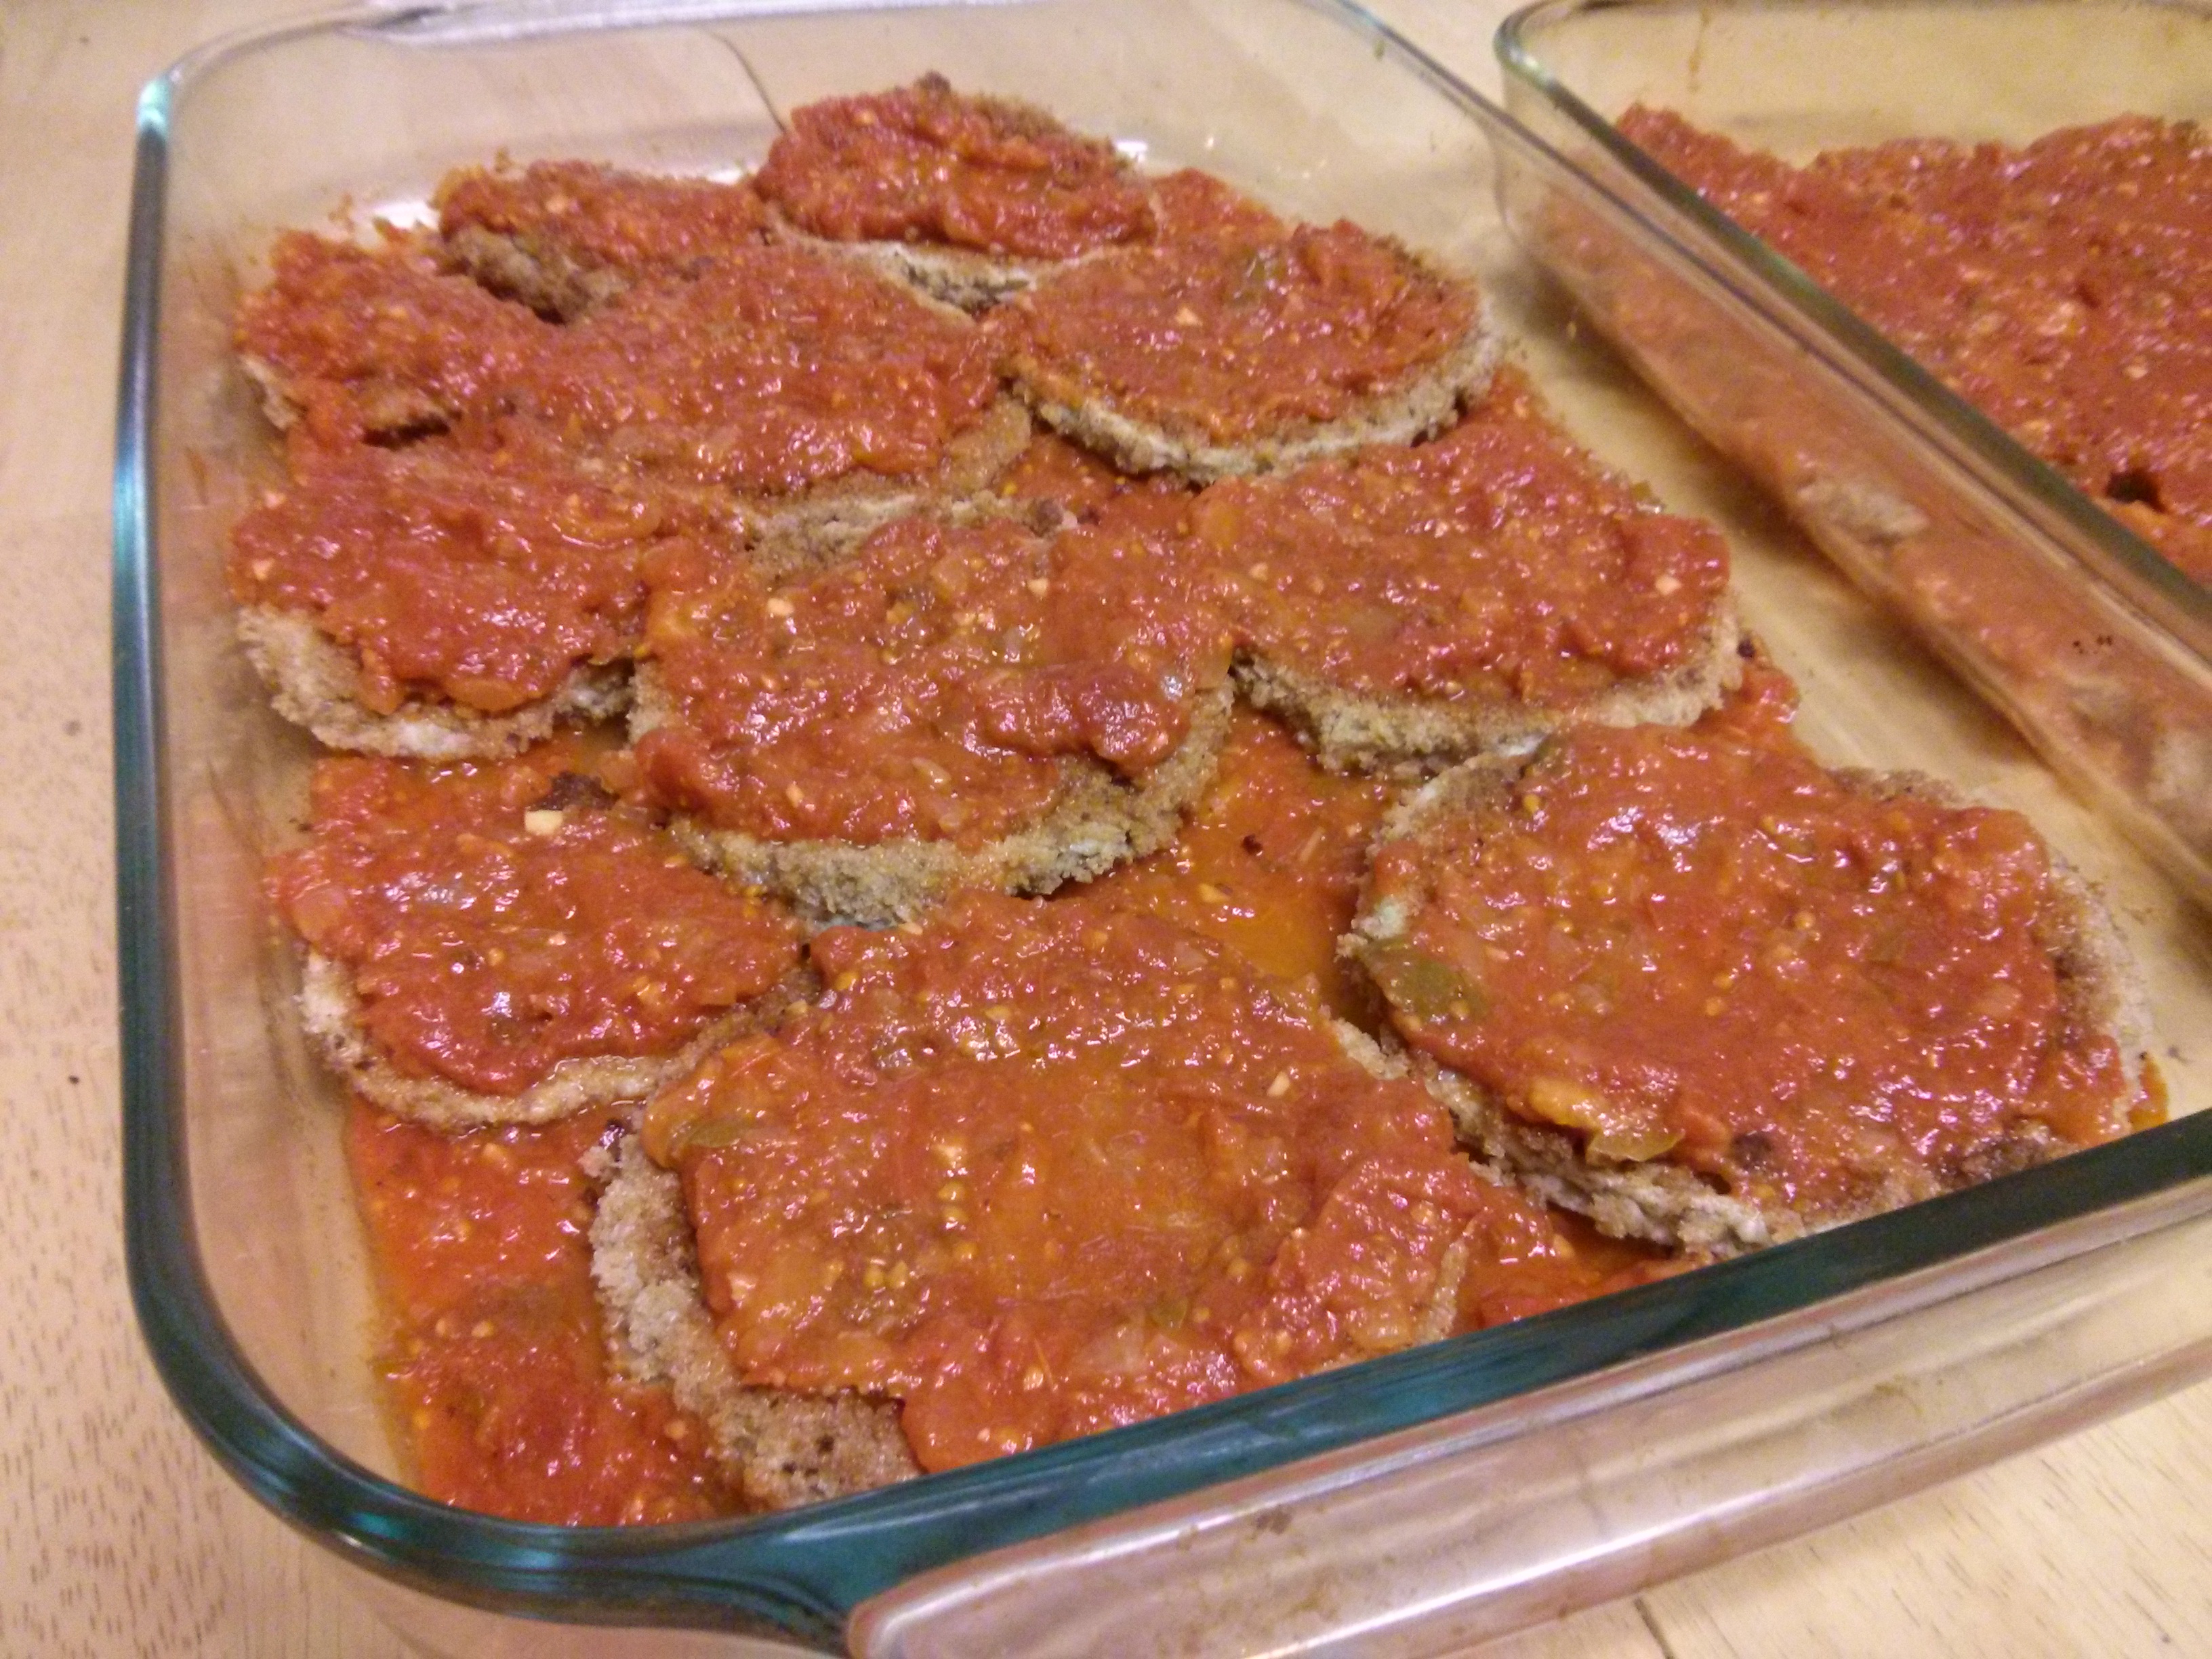
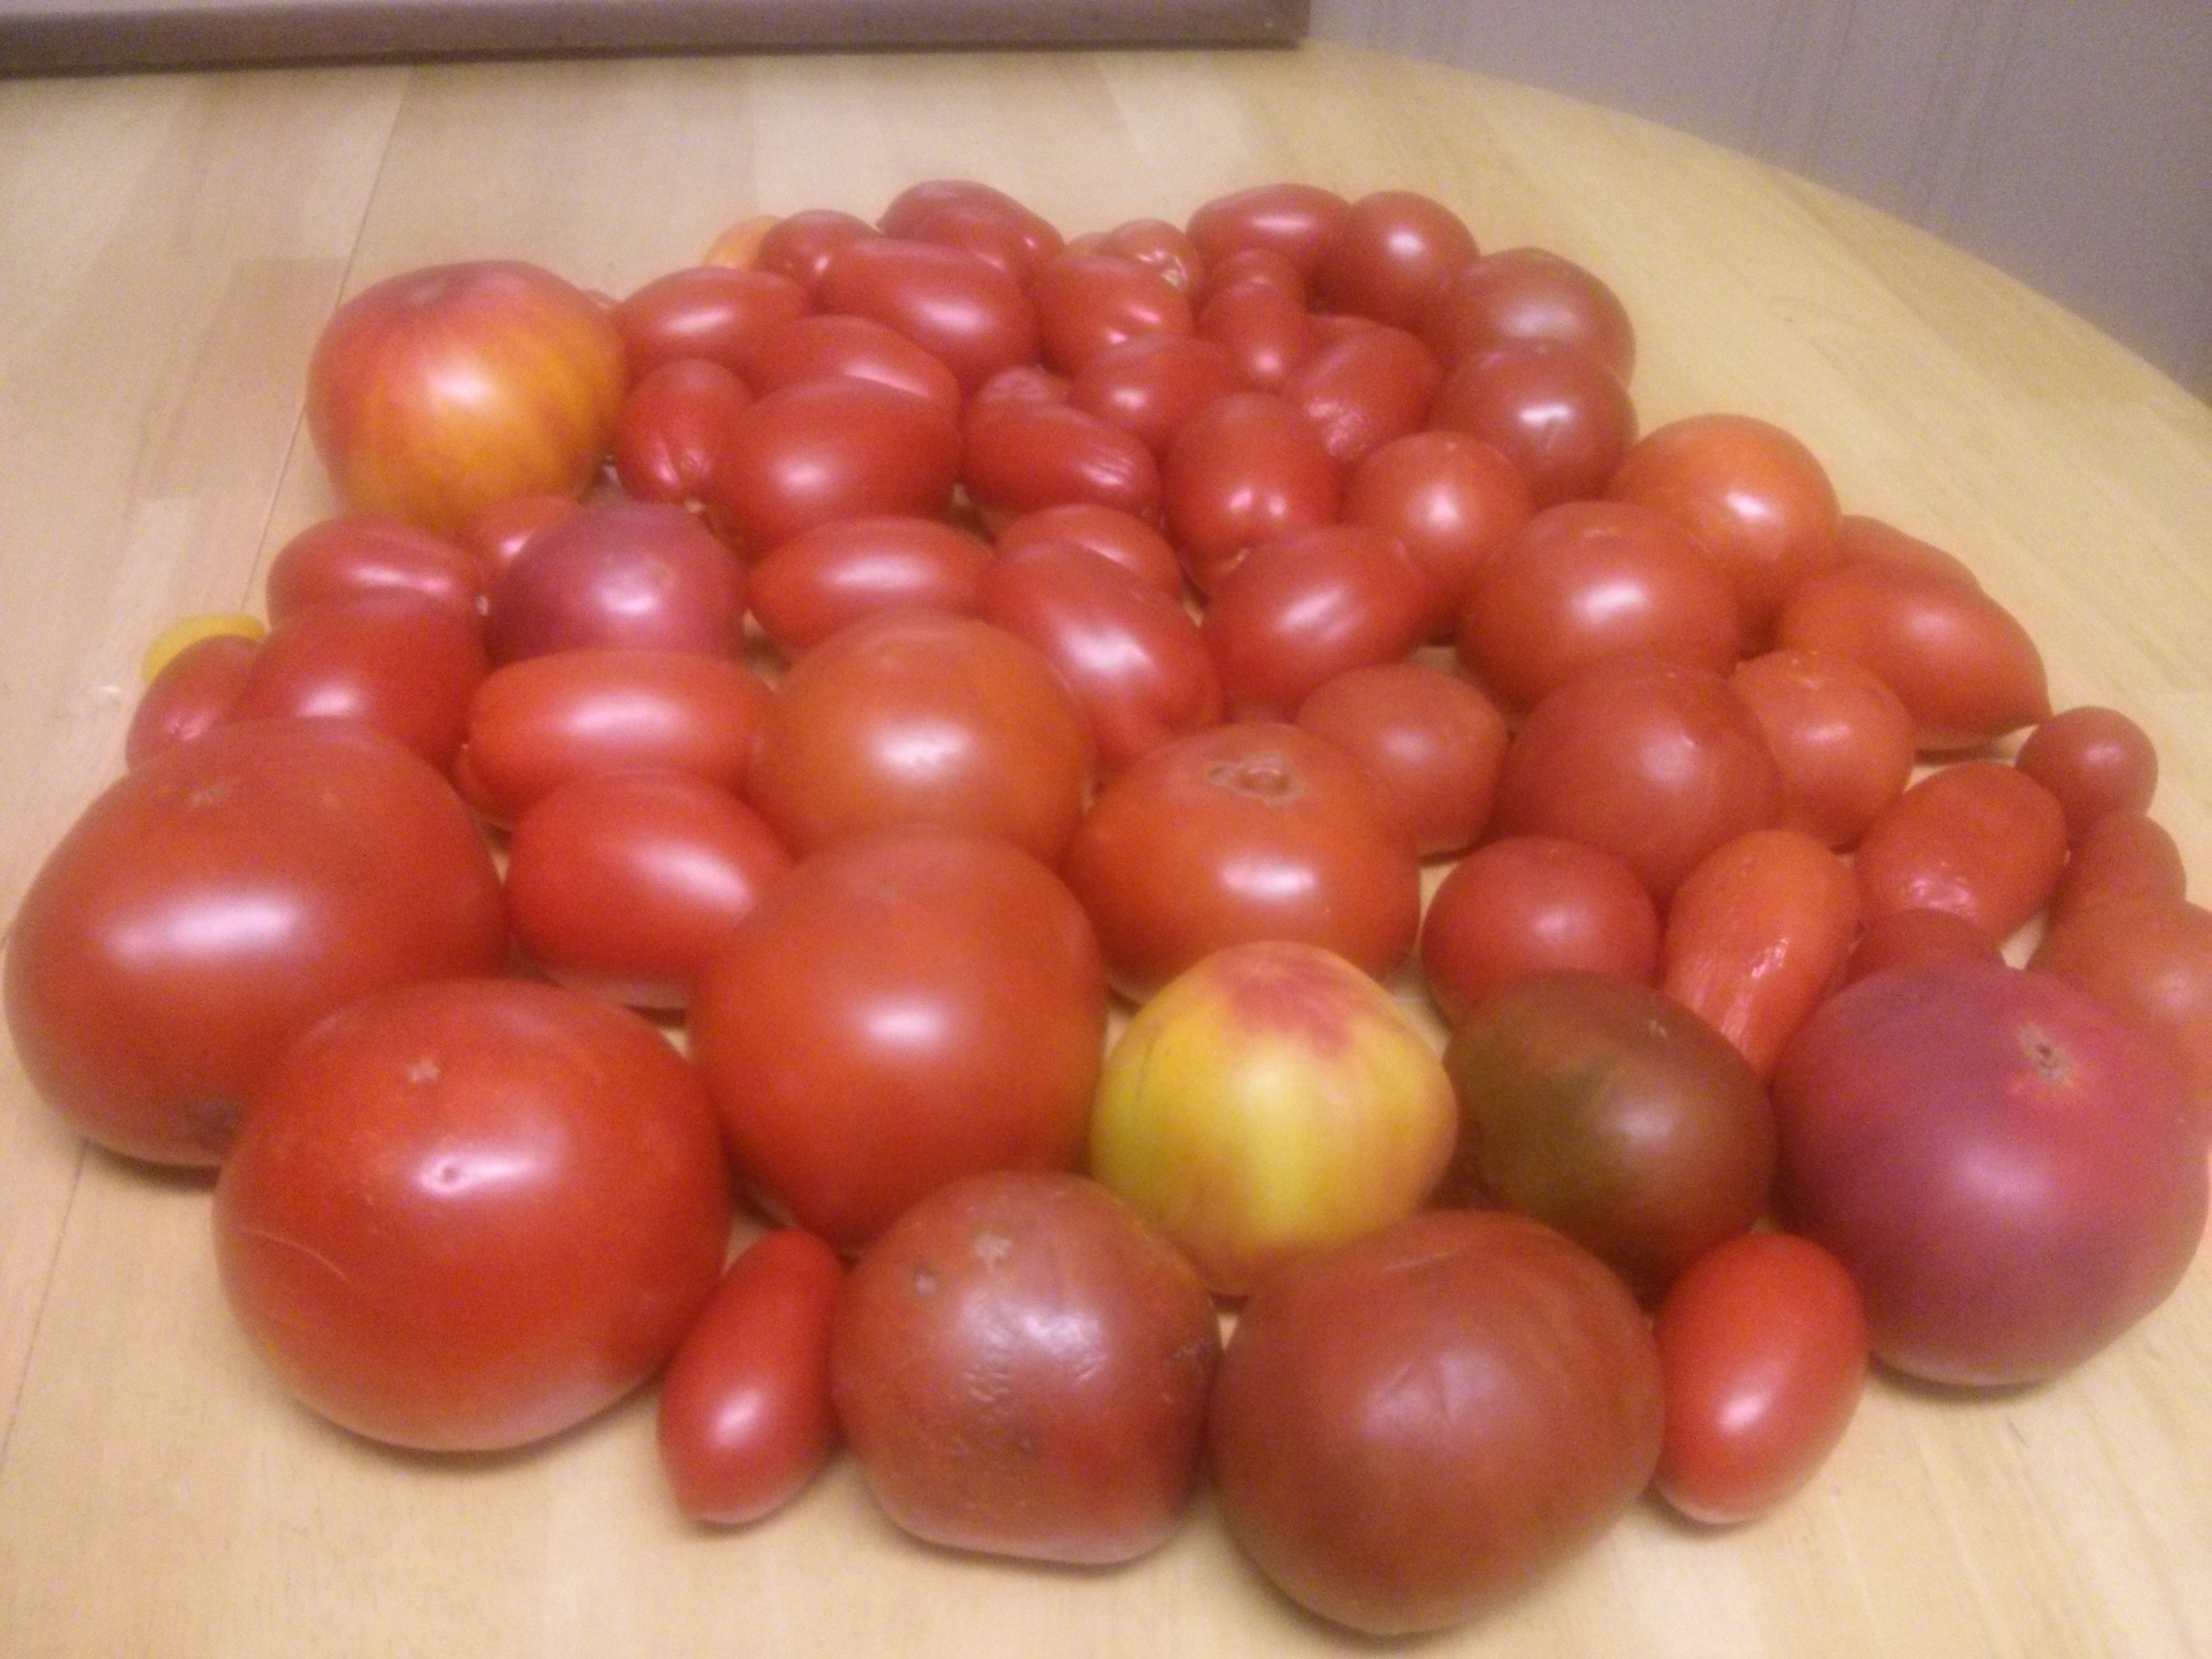
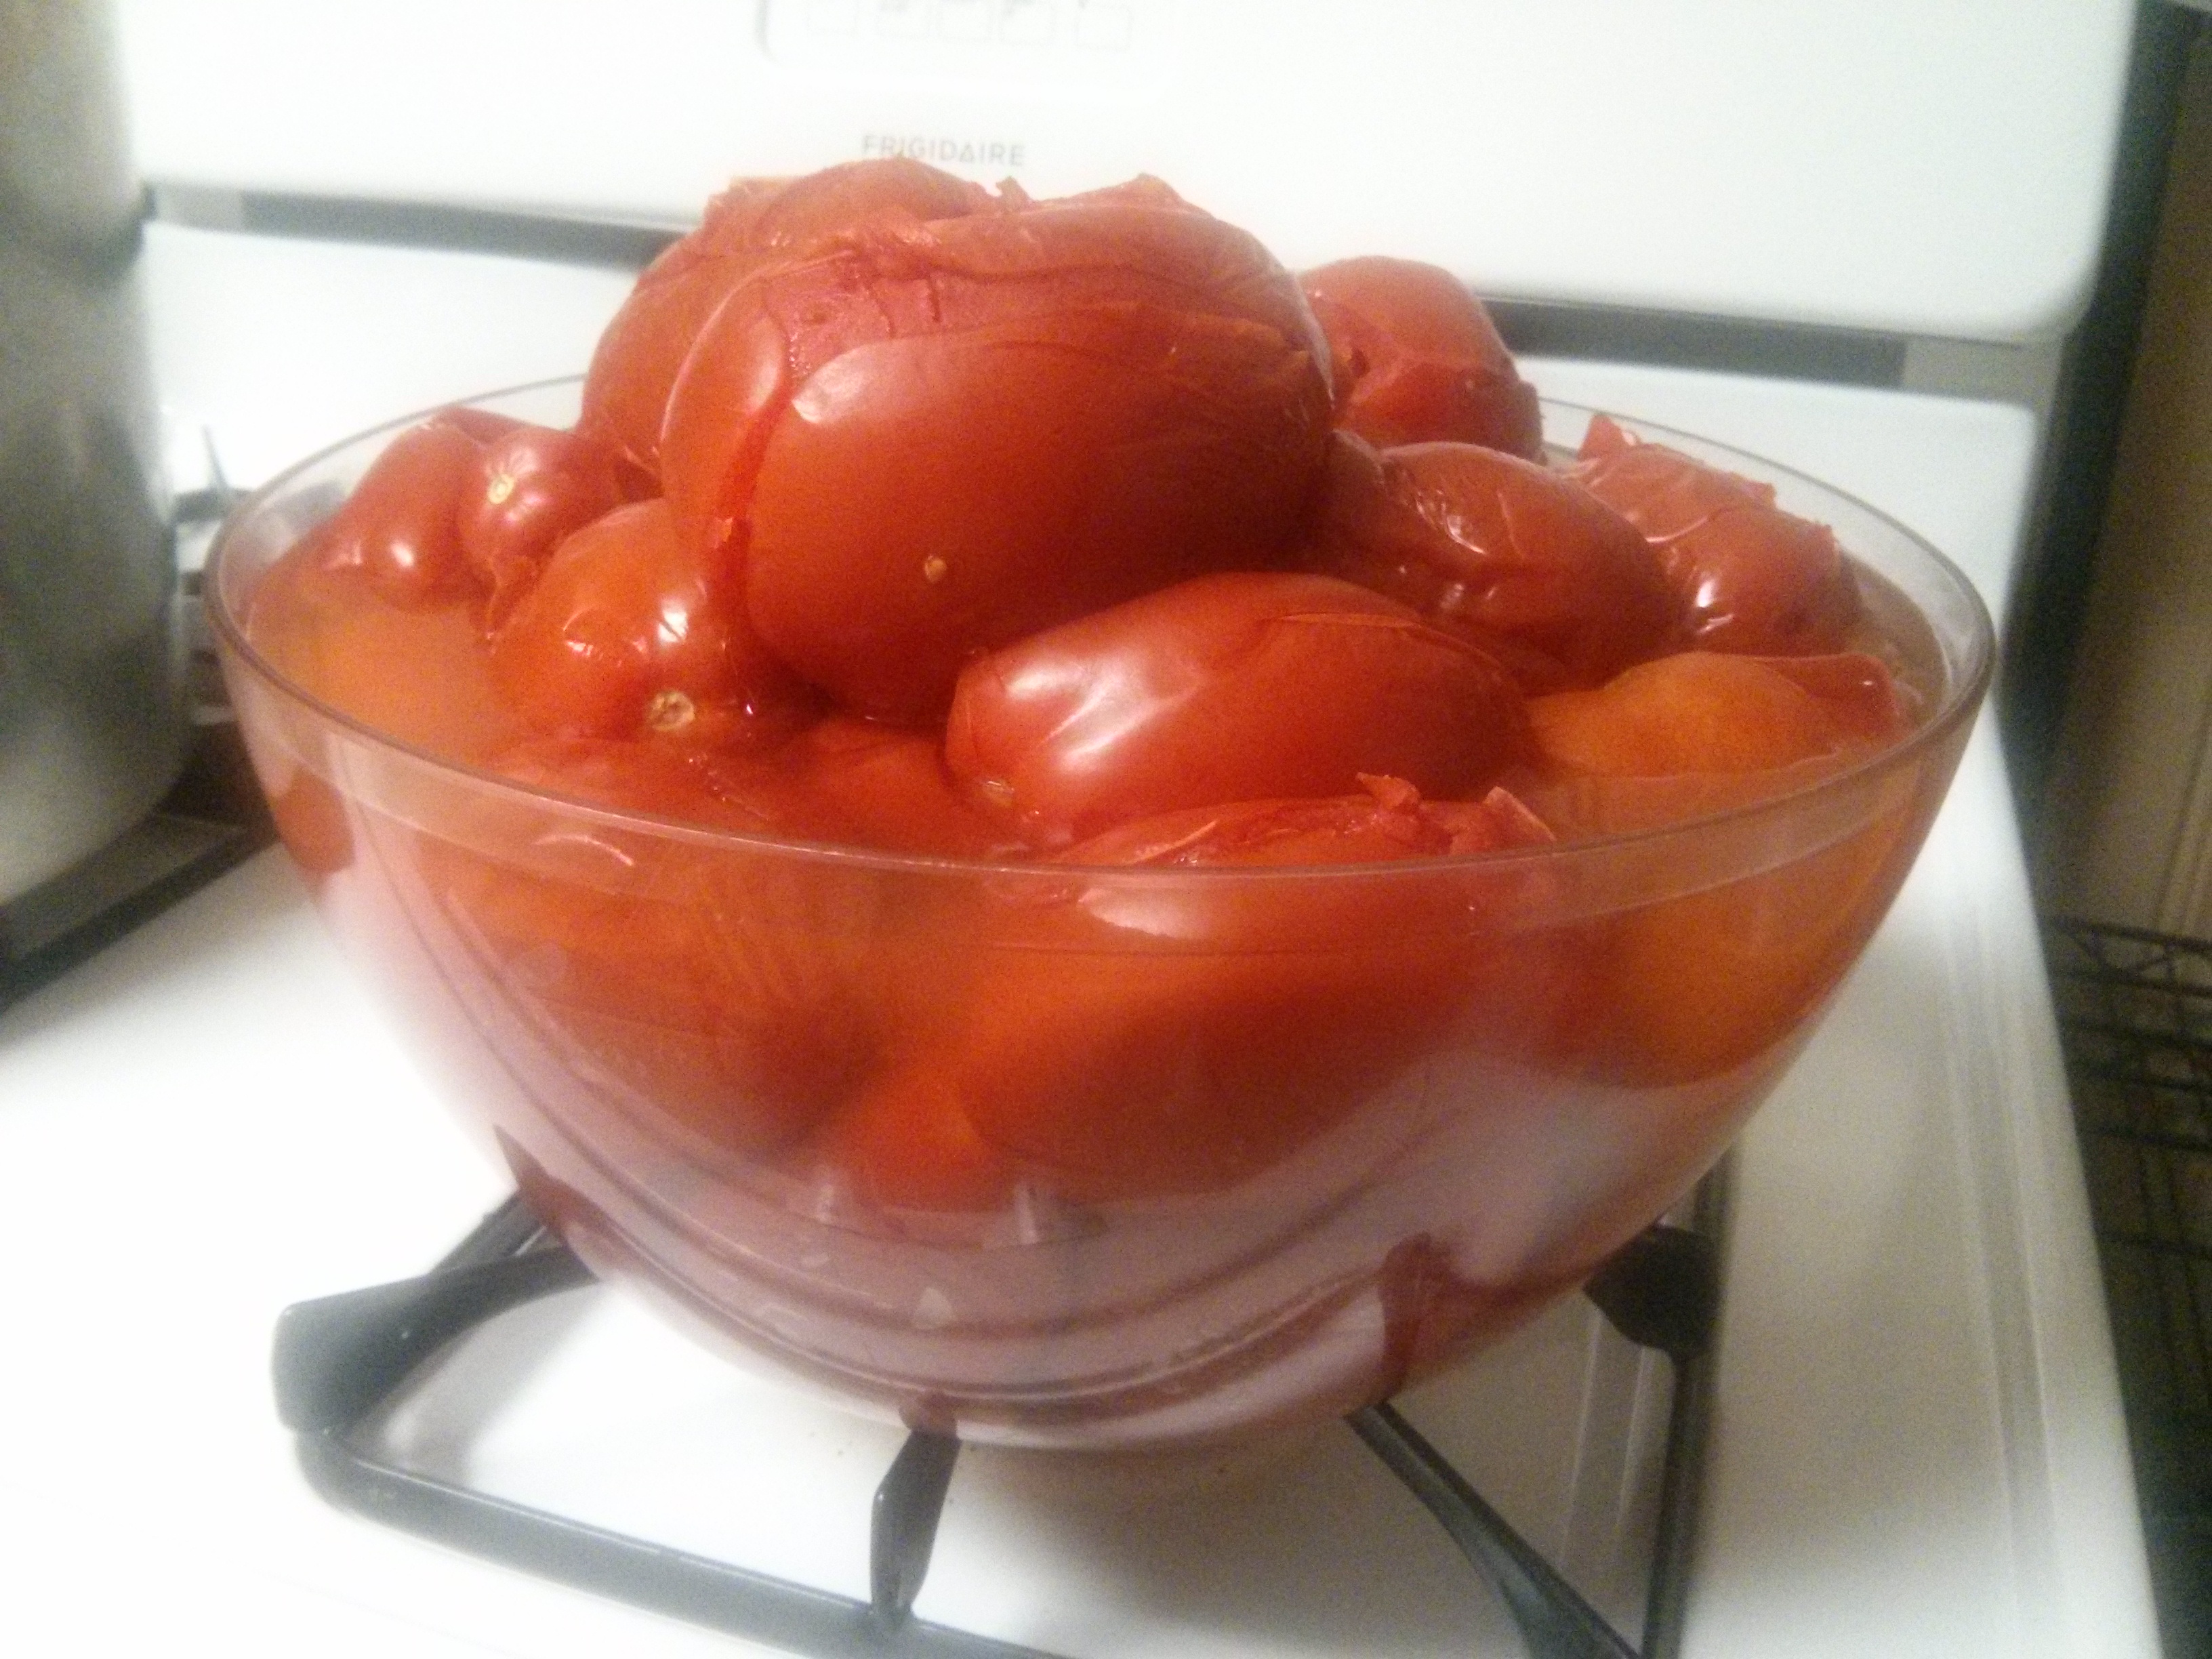
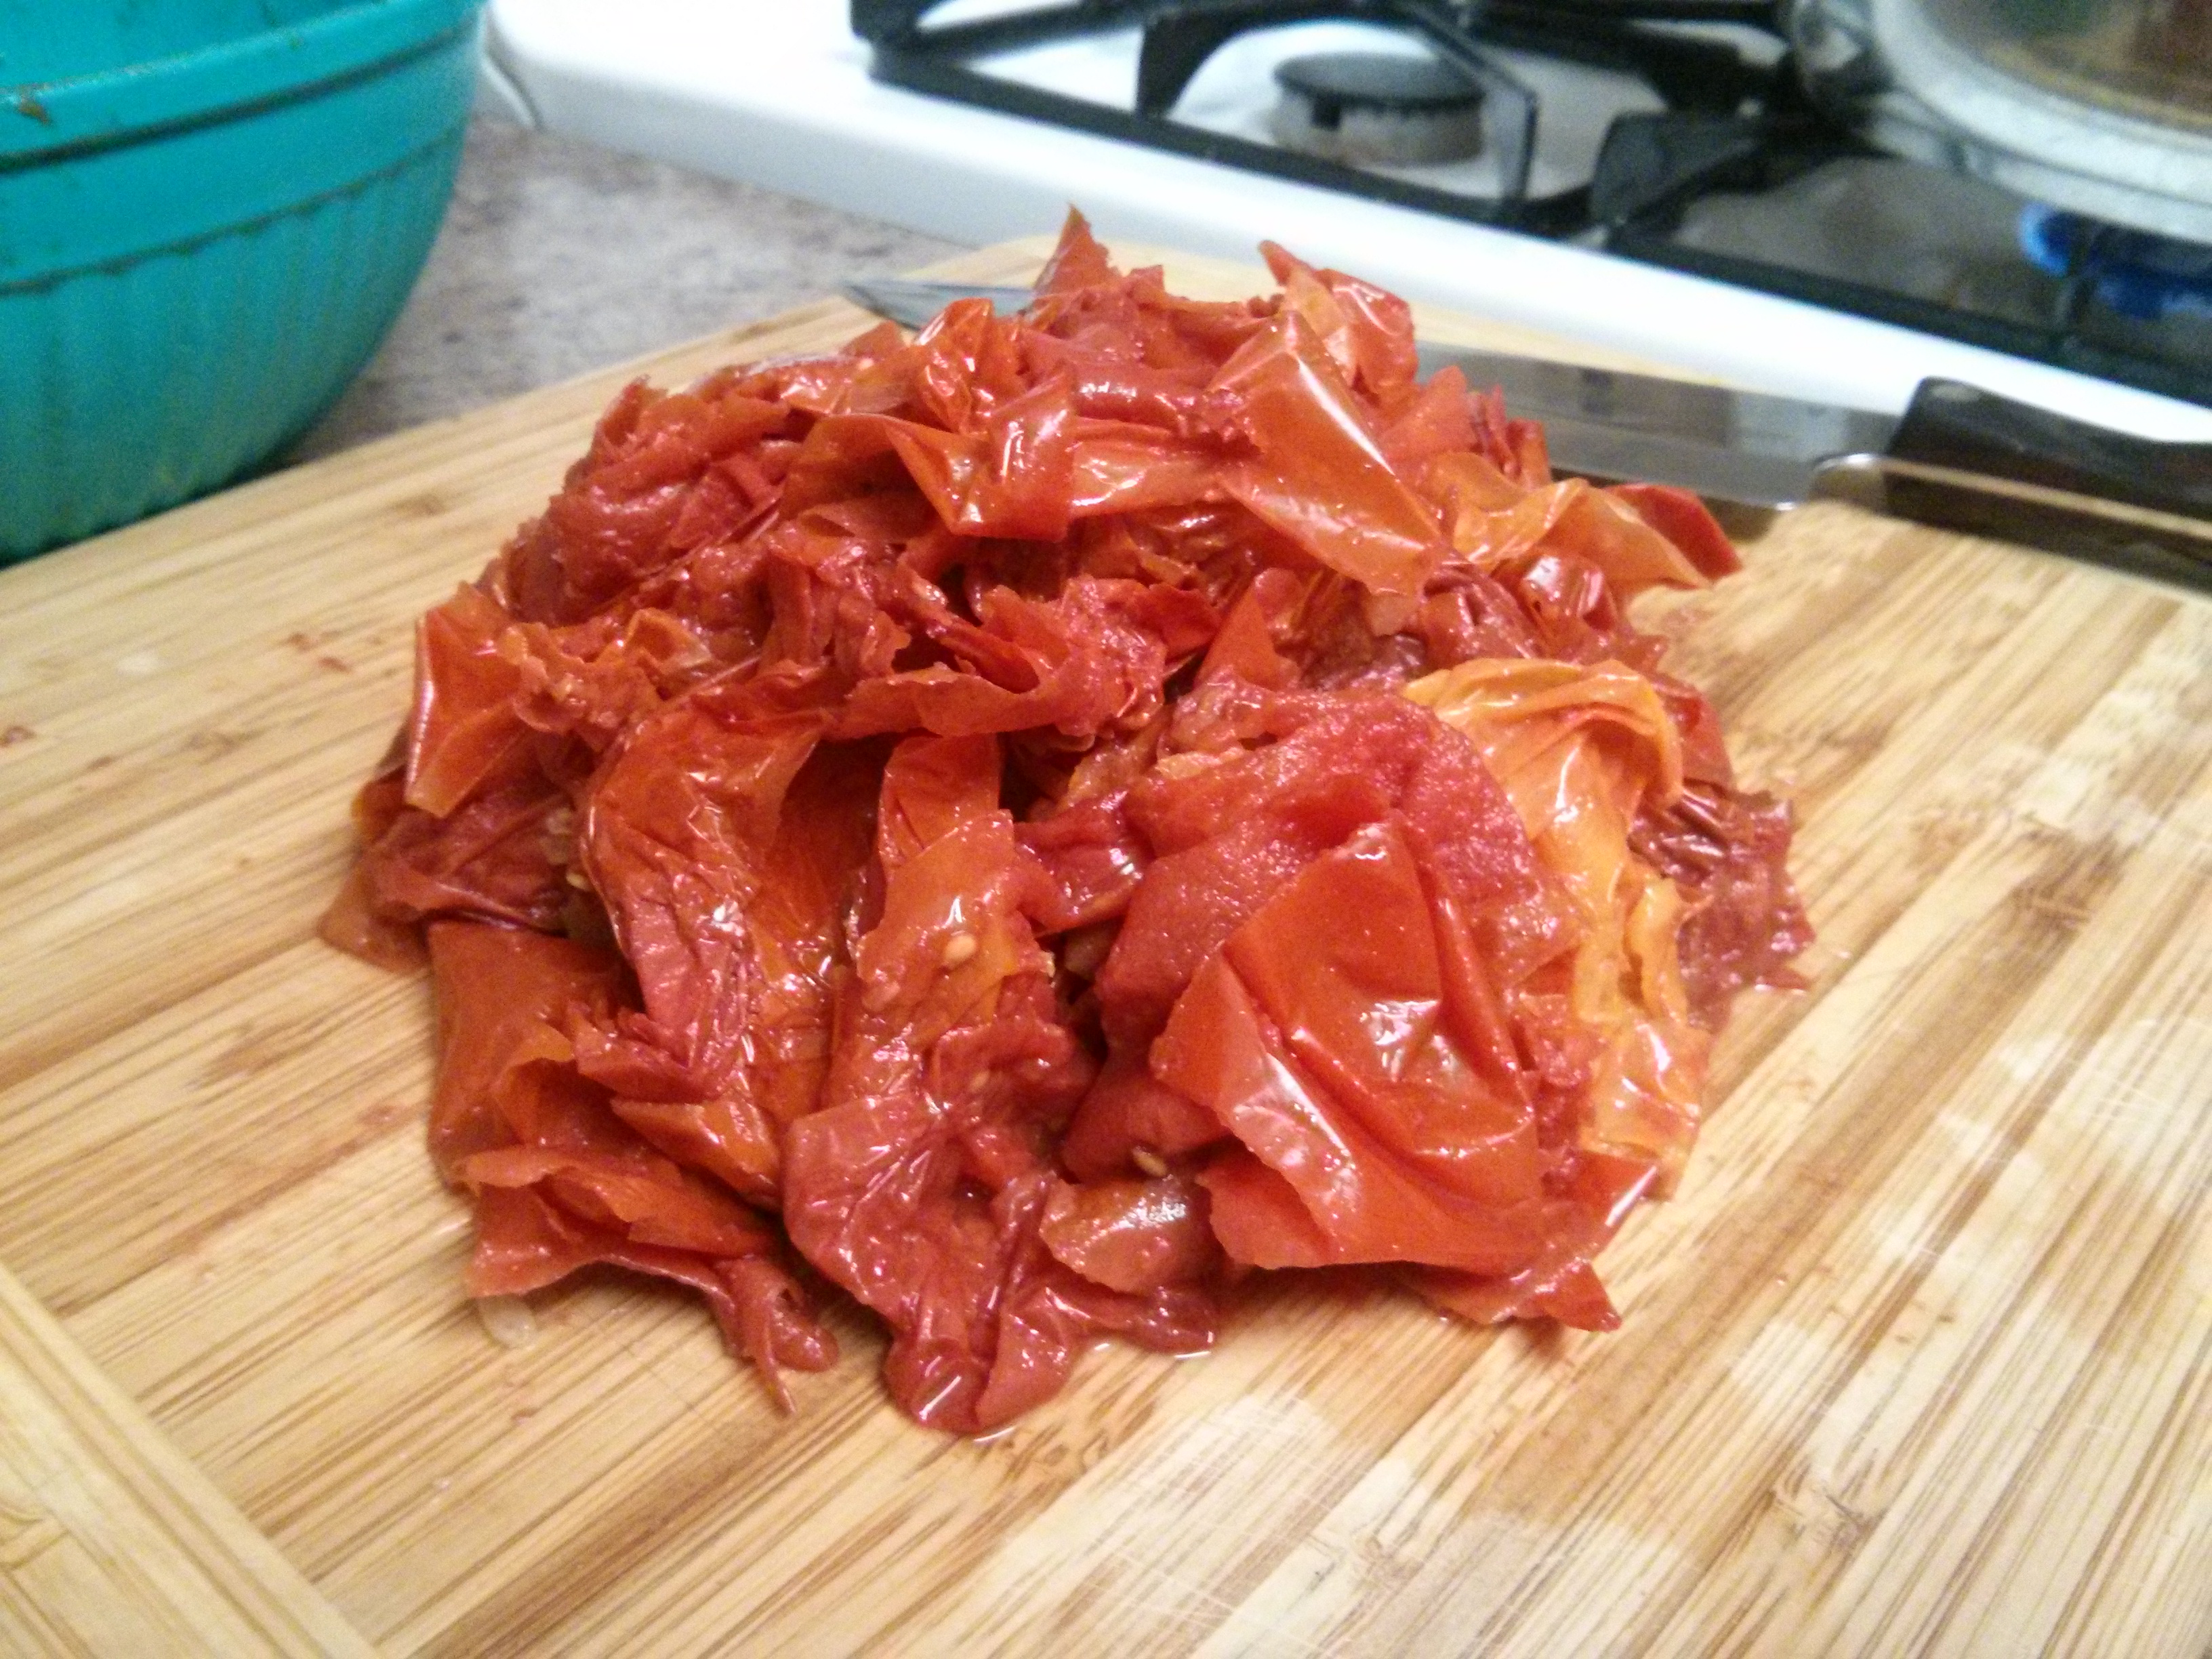
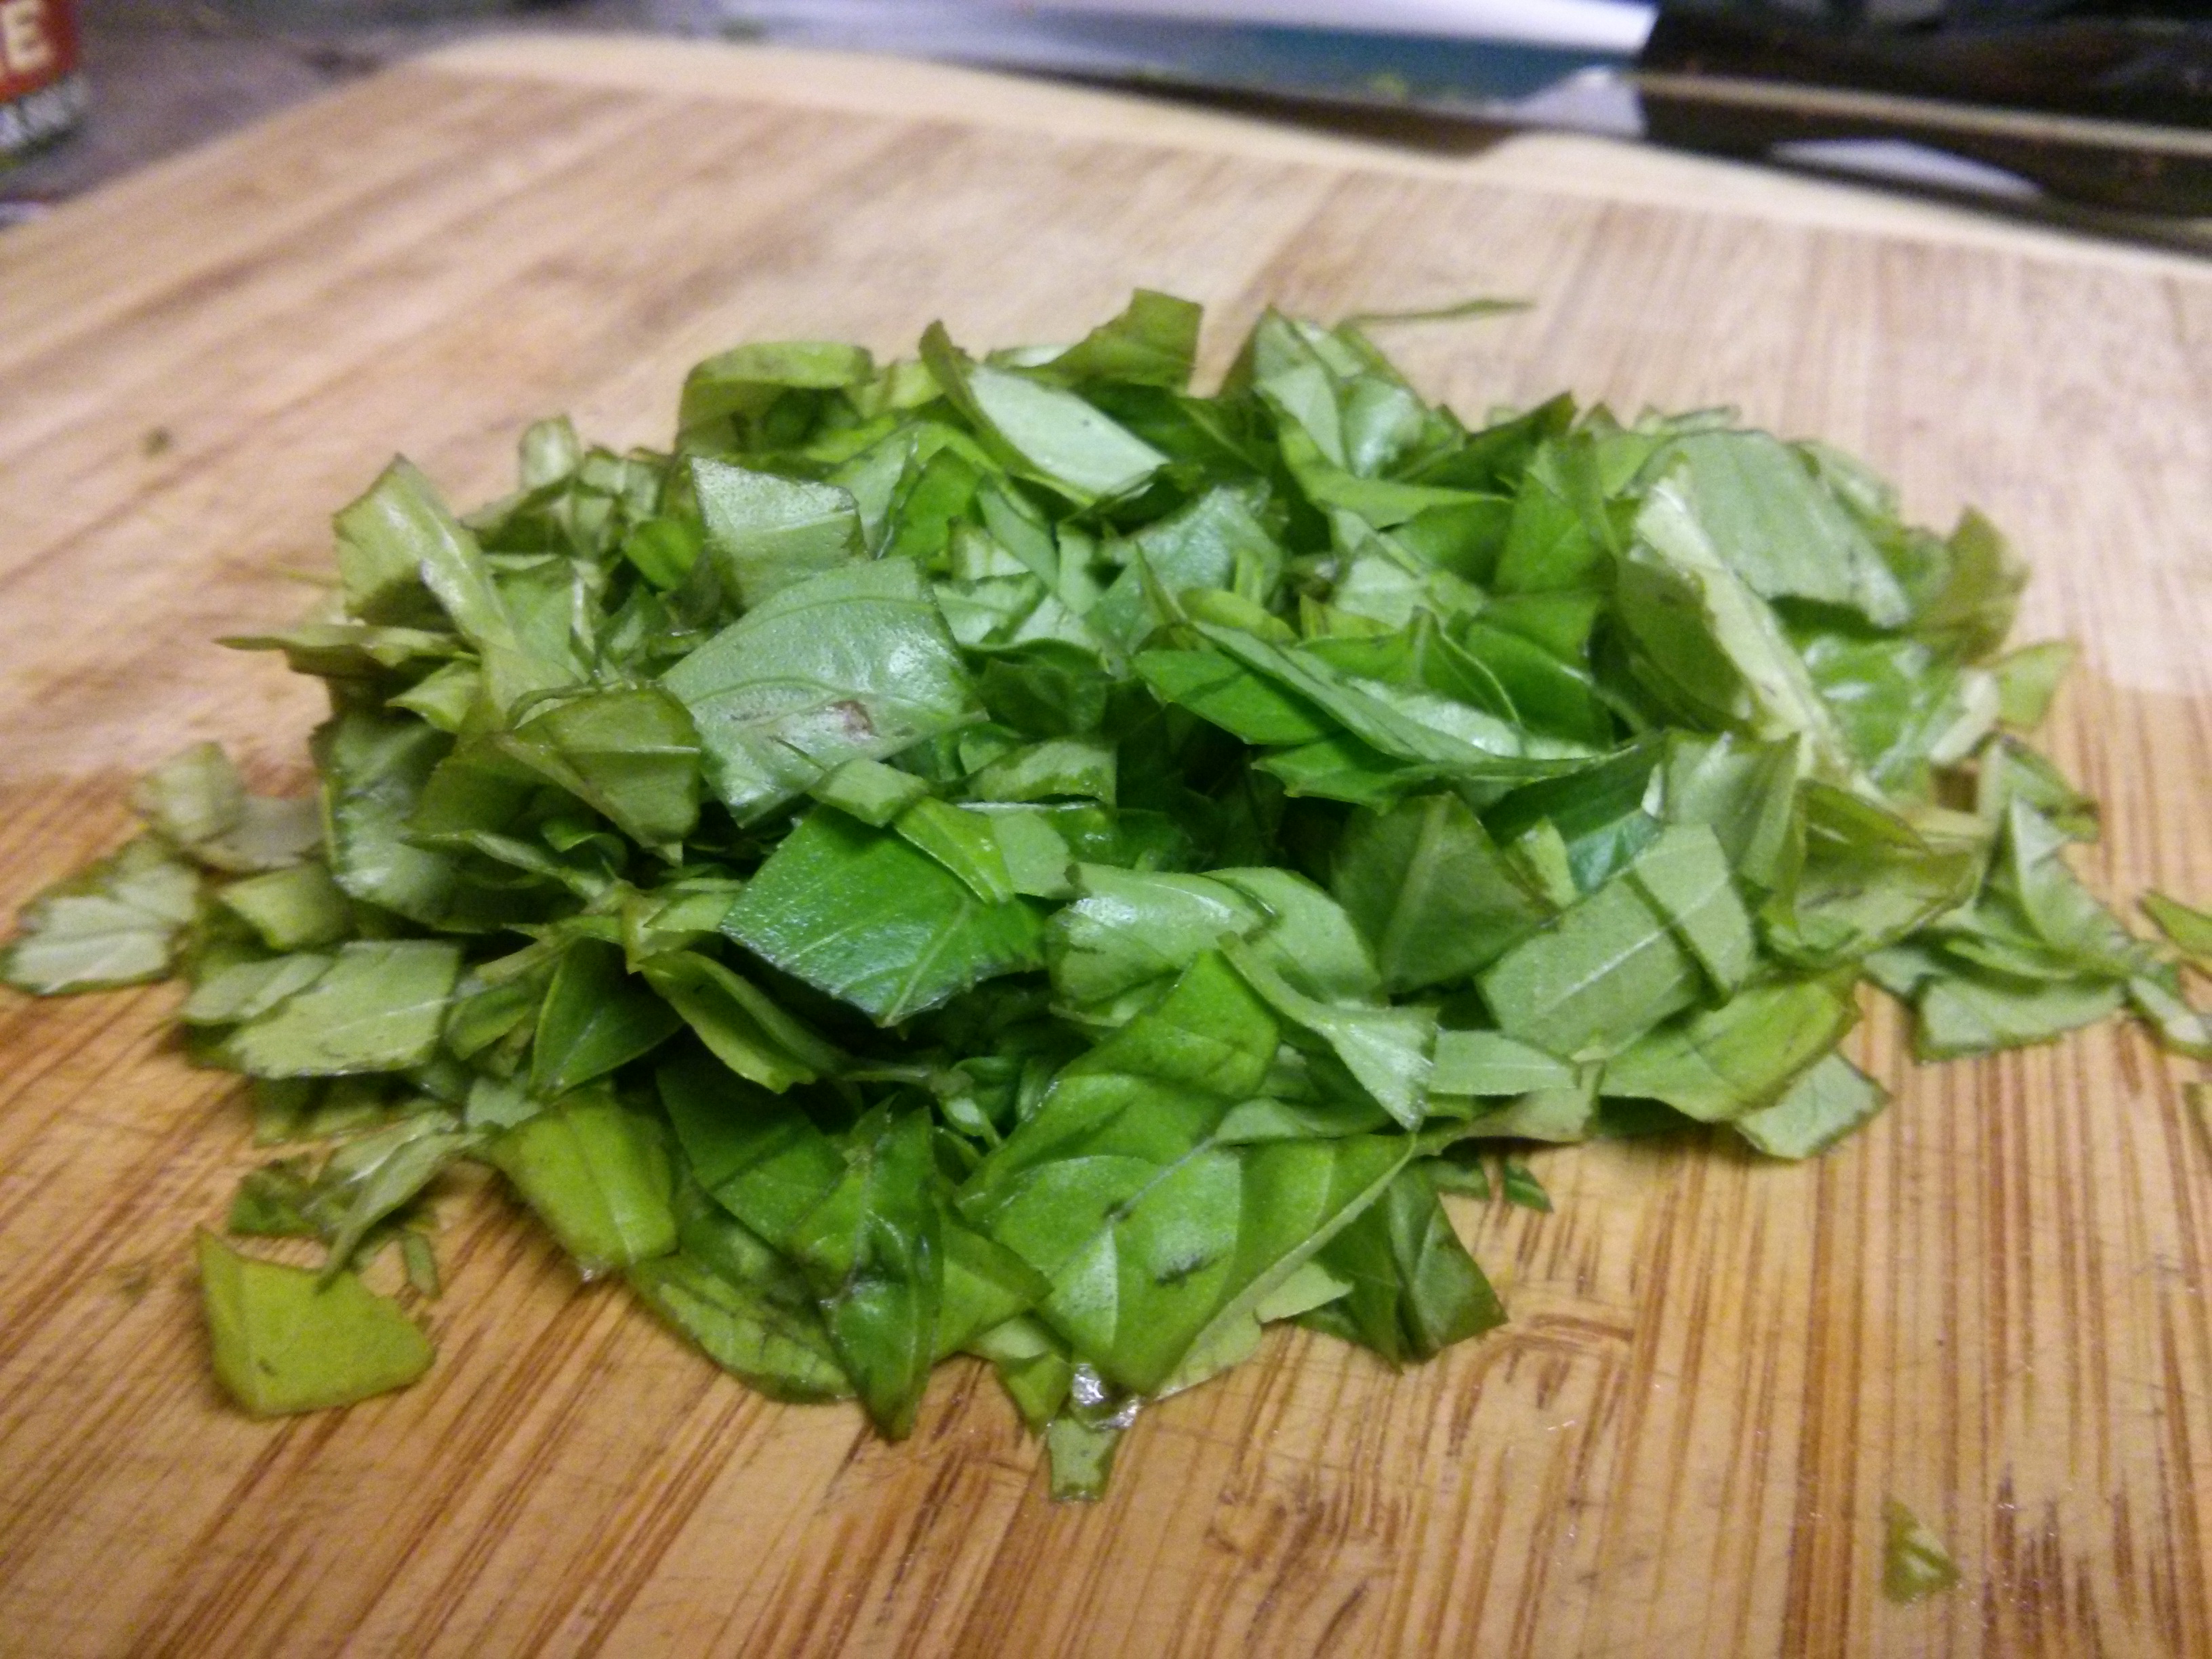
3) Did you know: Vodka sauce isn’t too difficult to make??

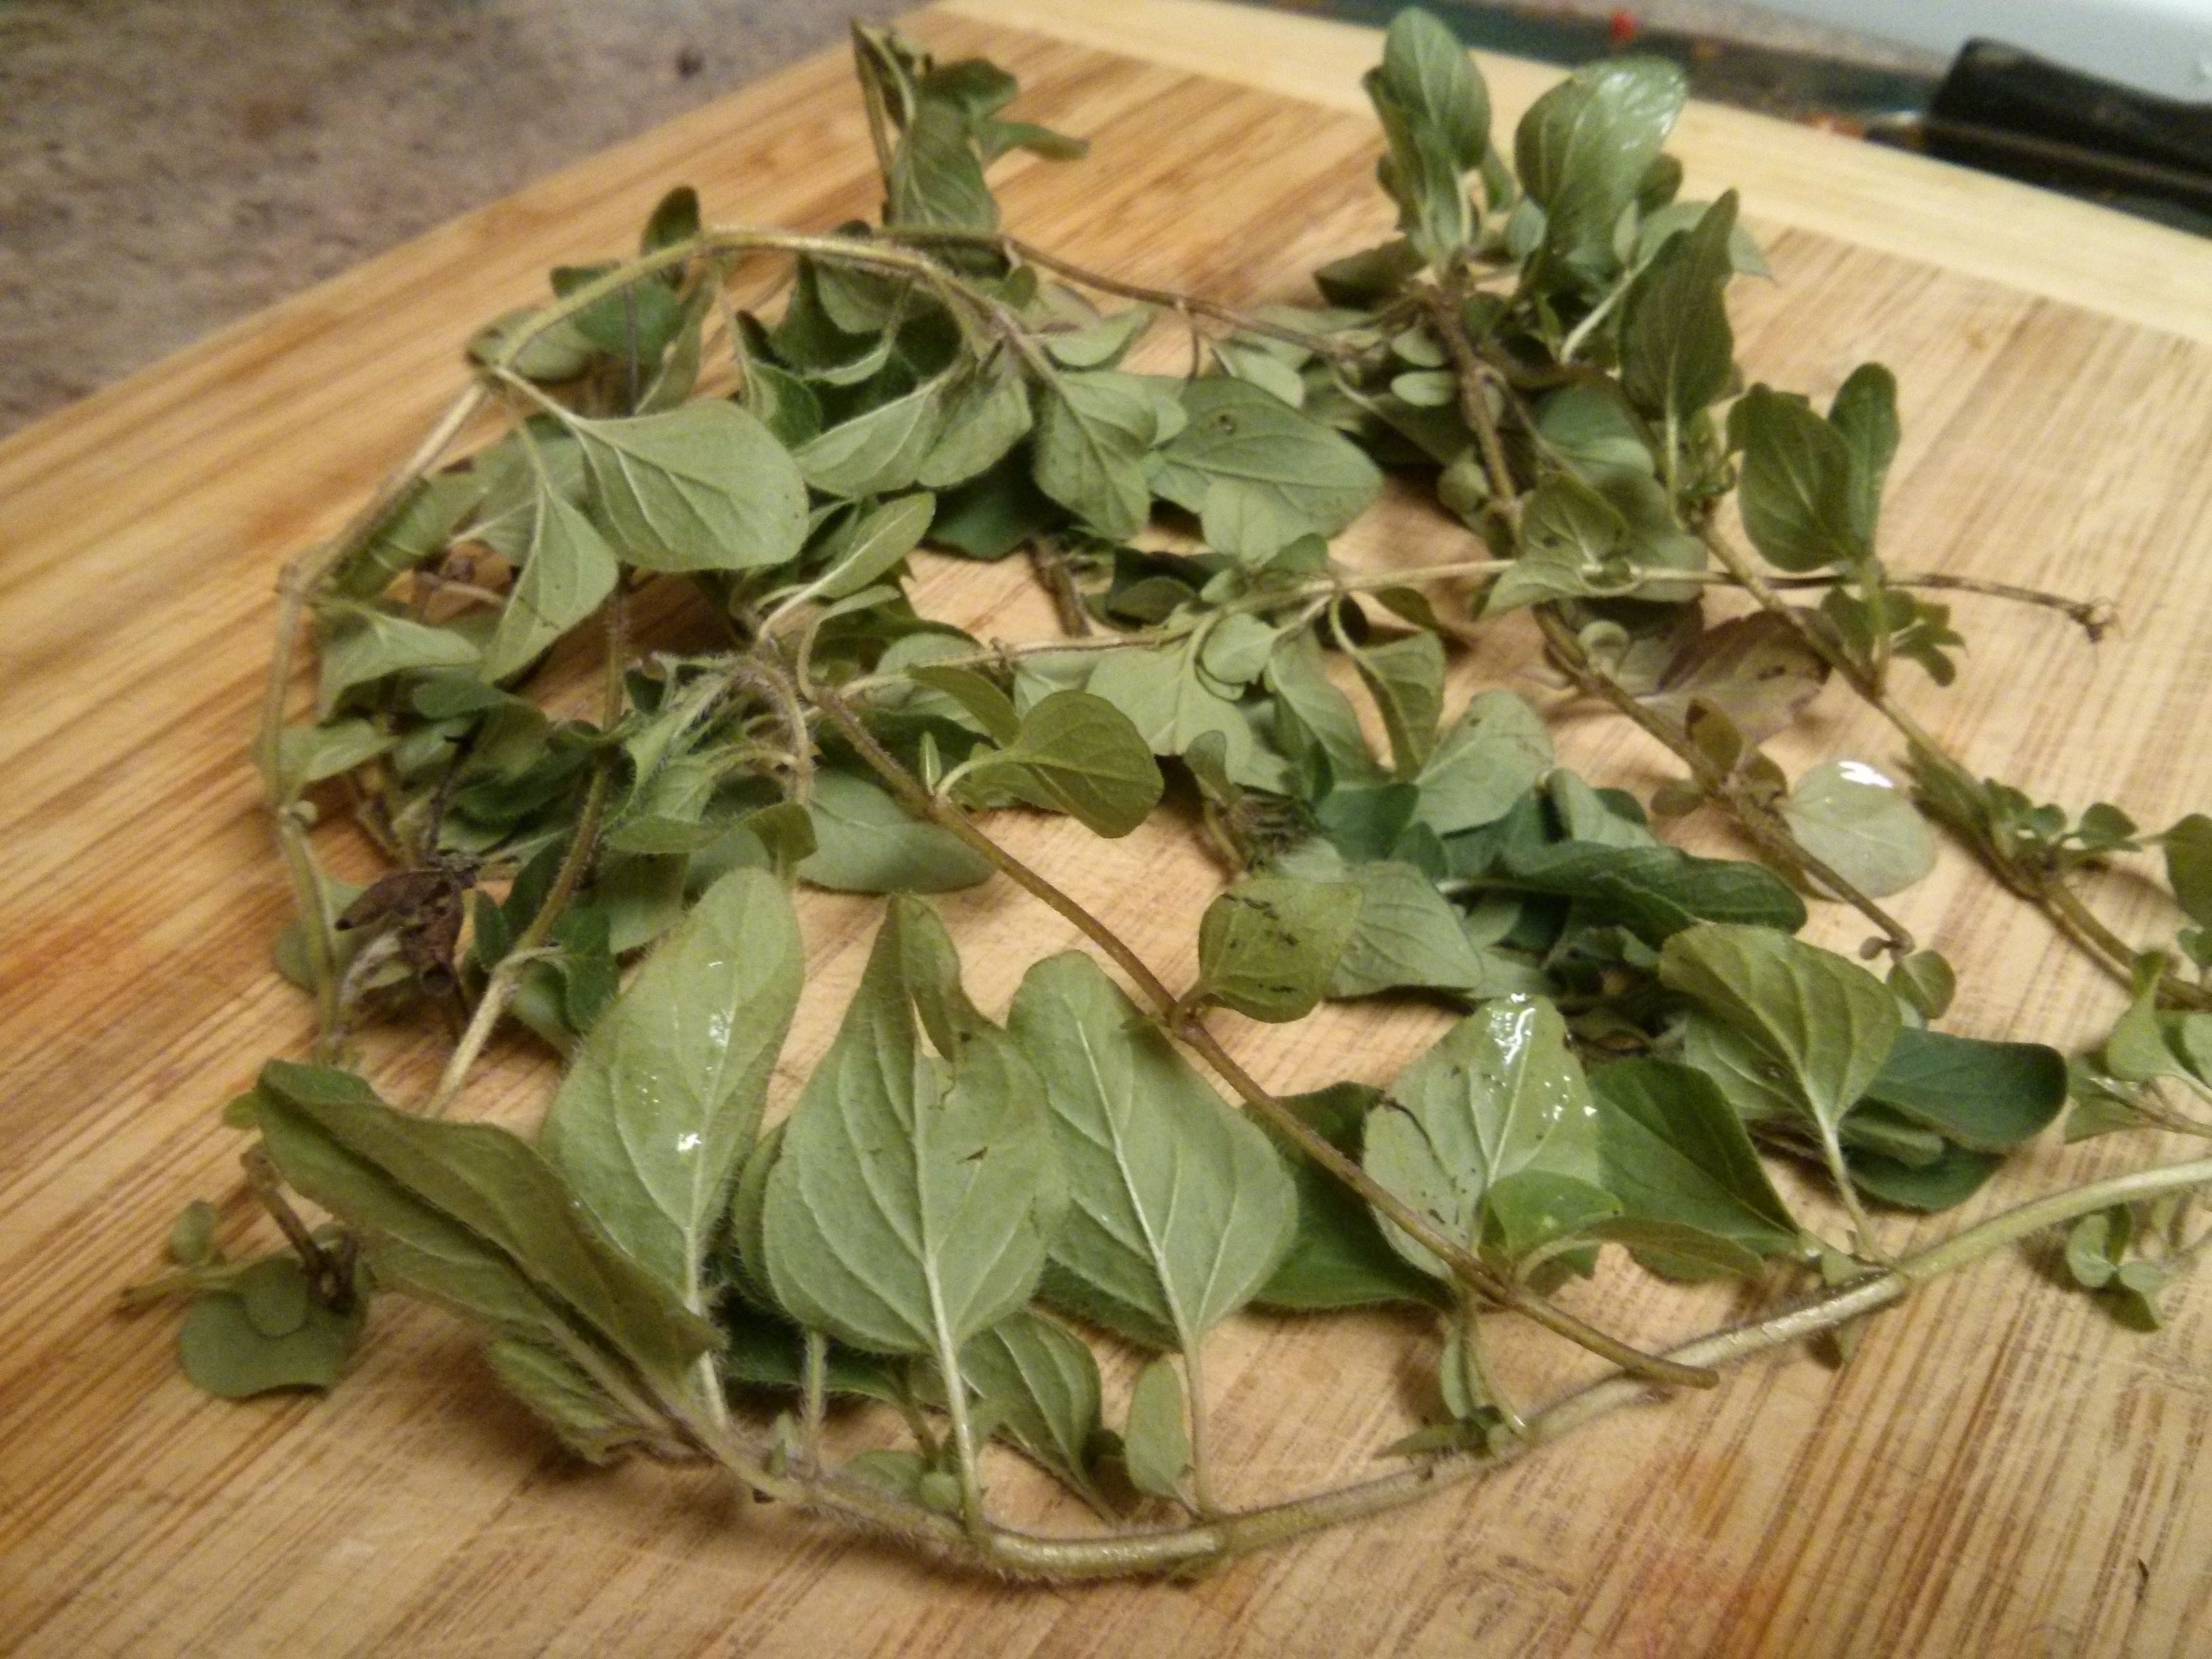
Kitchen tip: All you need is vodka, tomato sauce, heavy cream, and some other ingredients. And a little practice, to figure out the right amount of vodka, when to add it, and how long to simmer it off for.

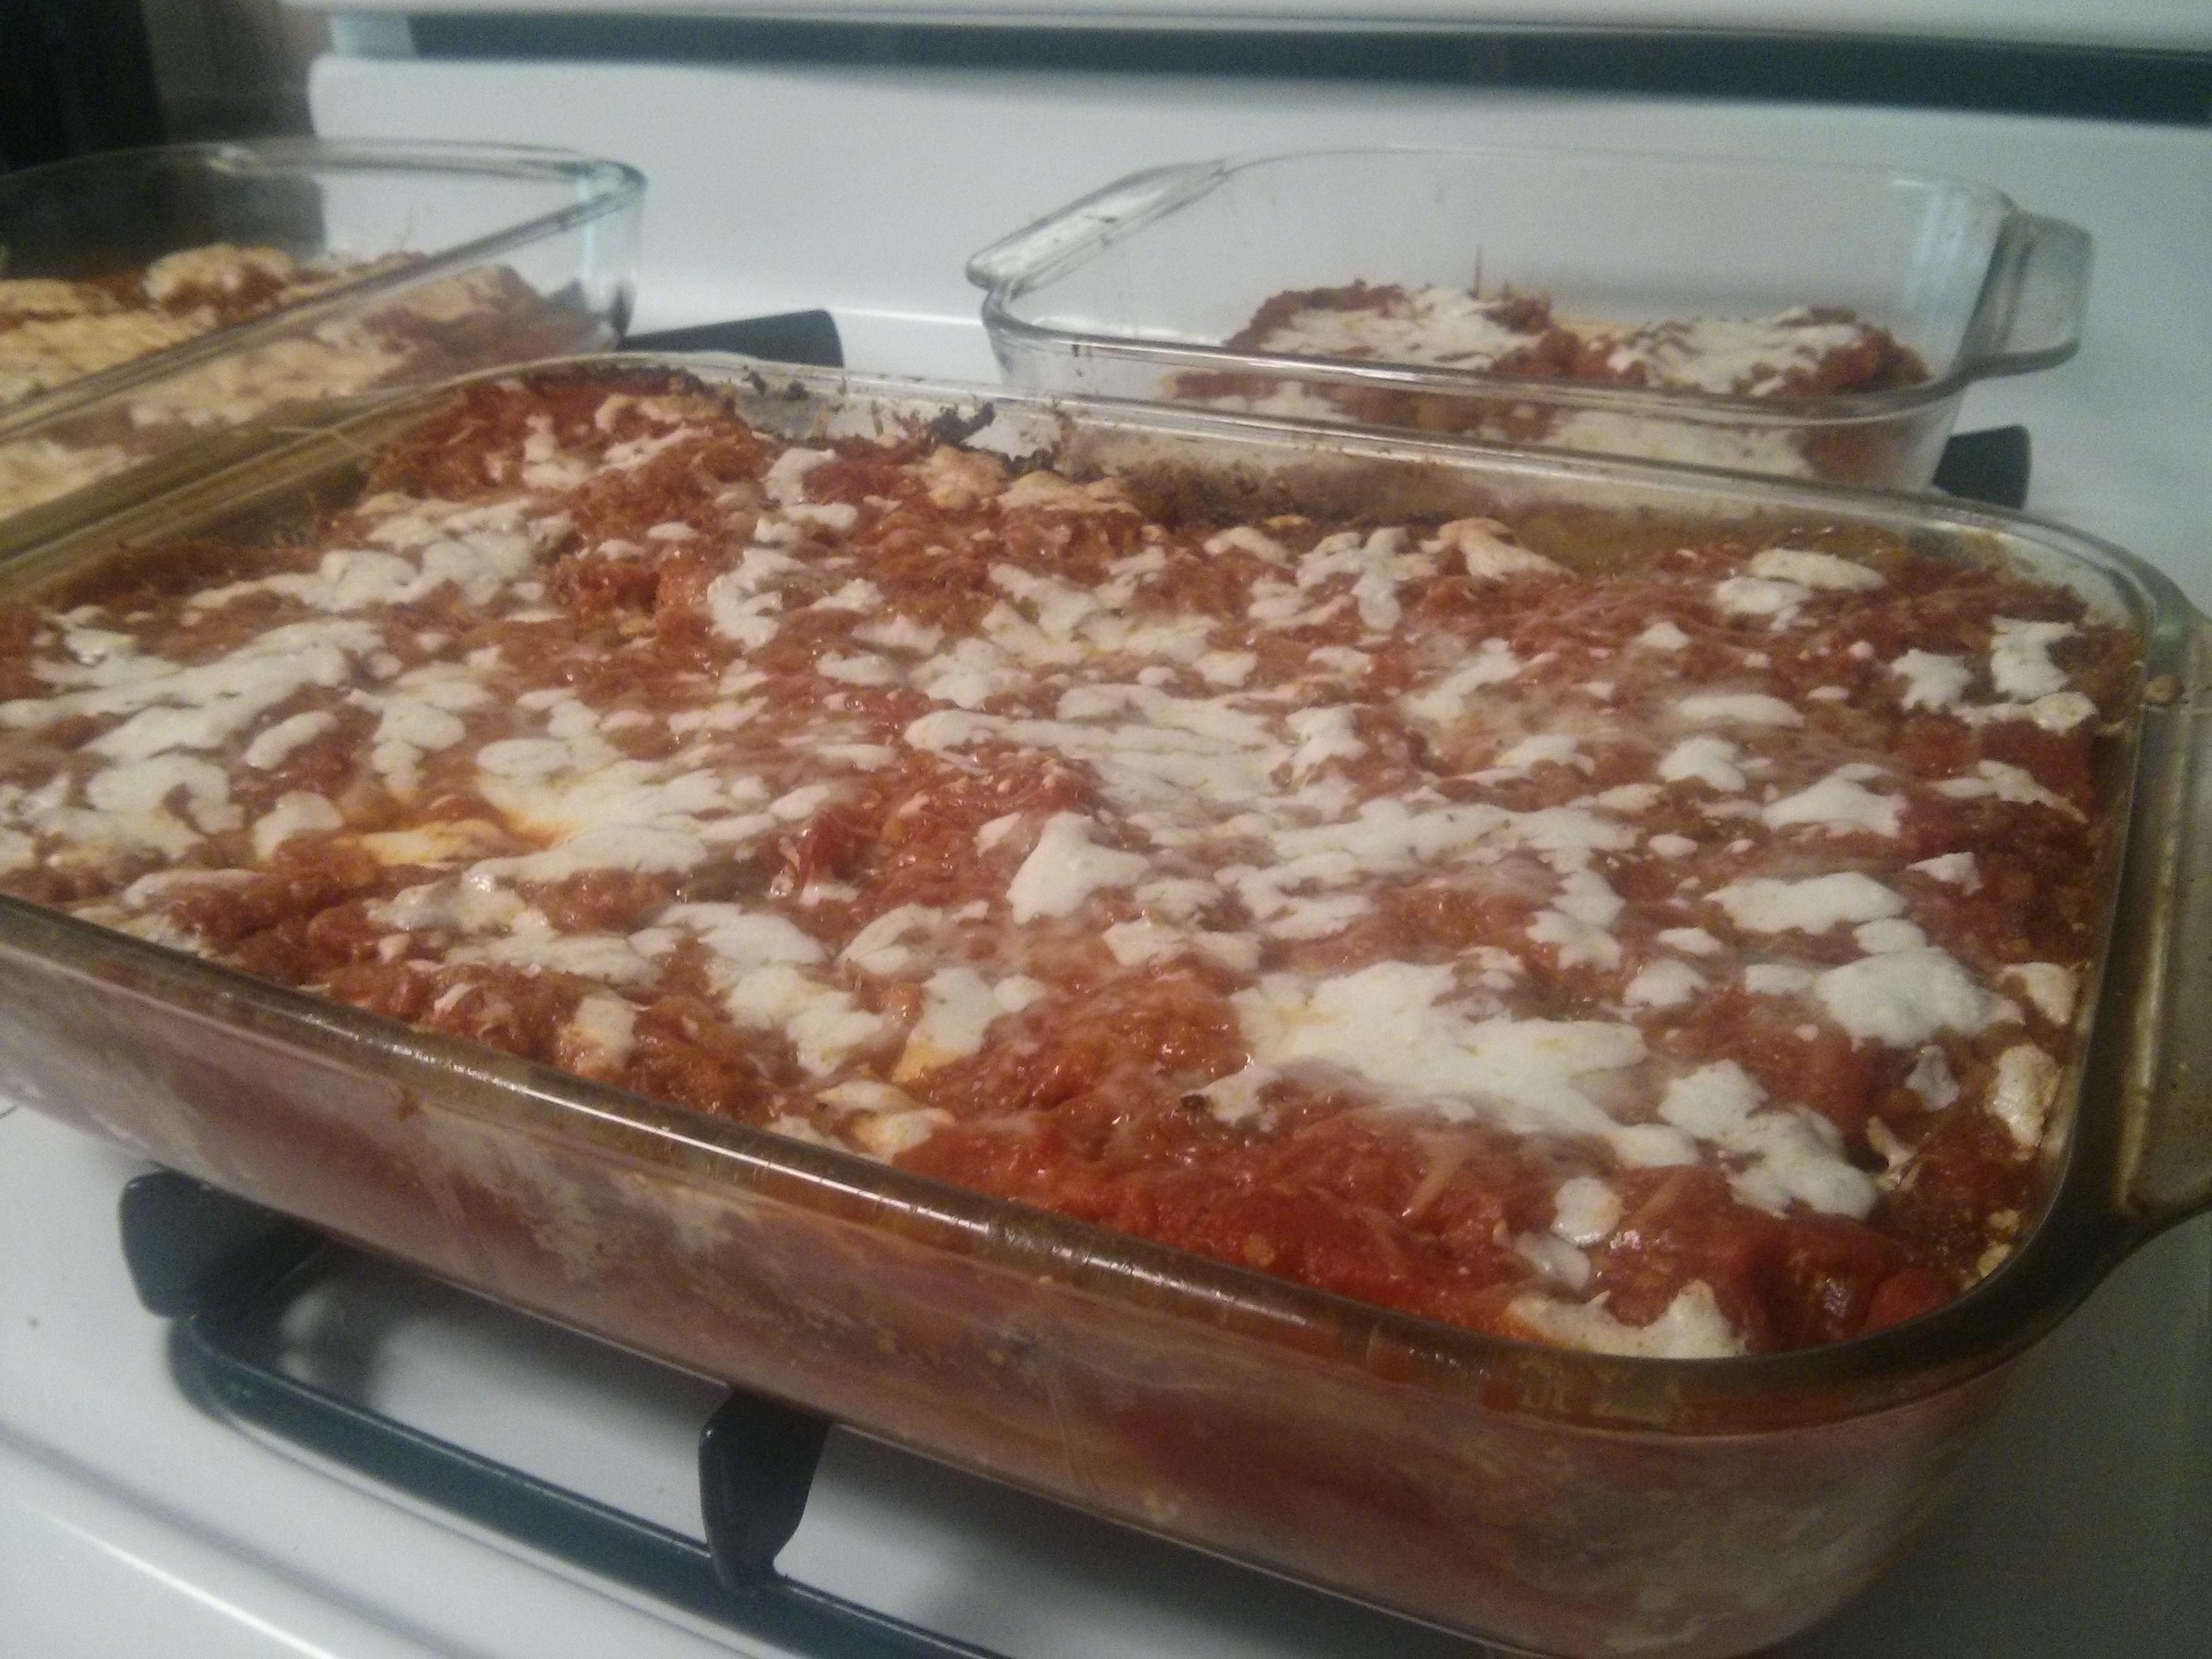
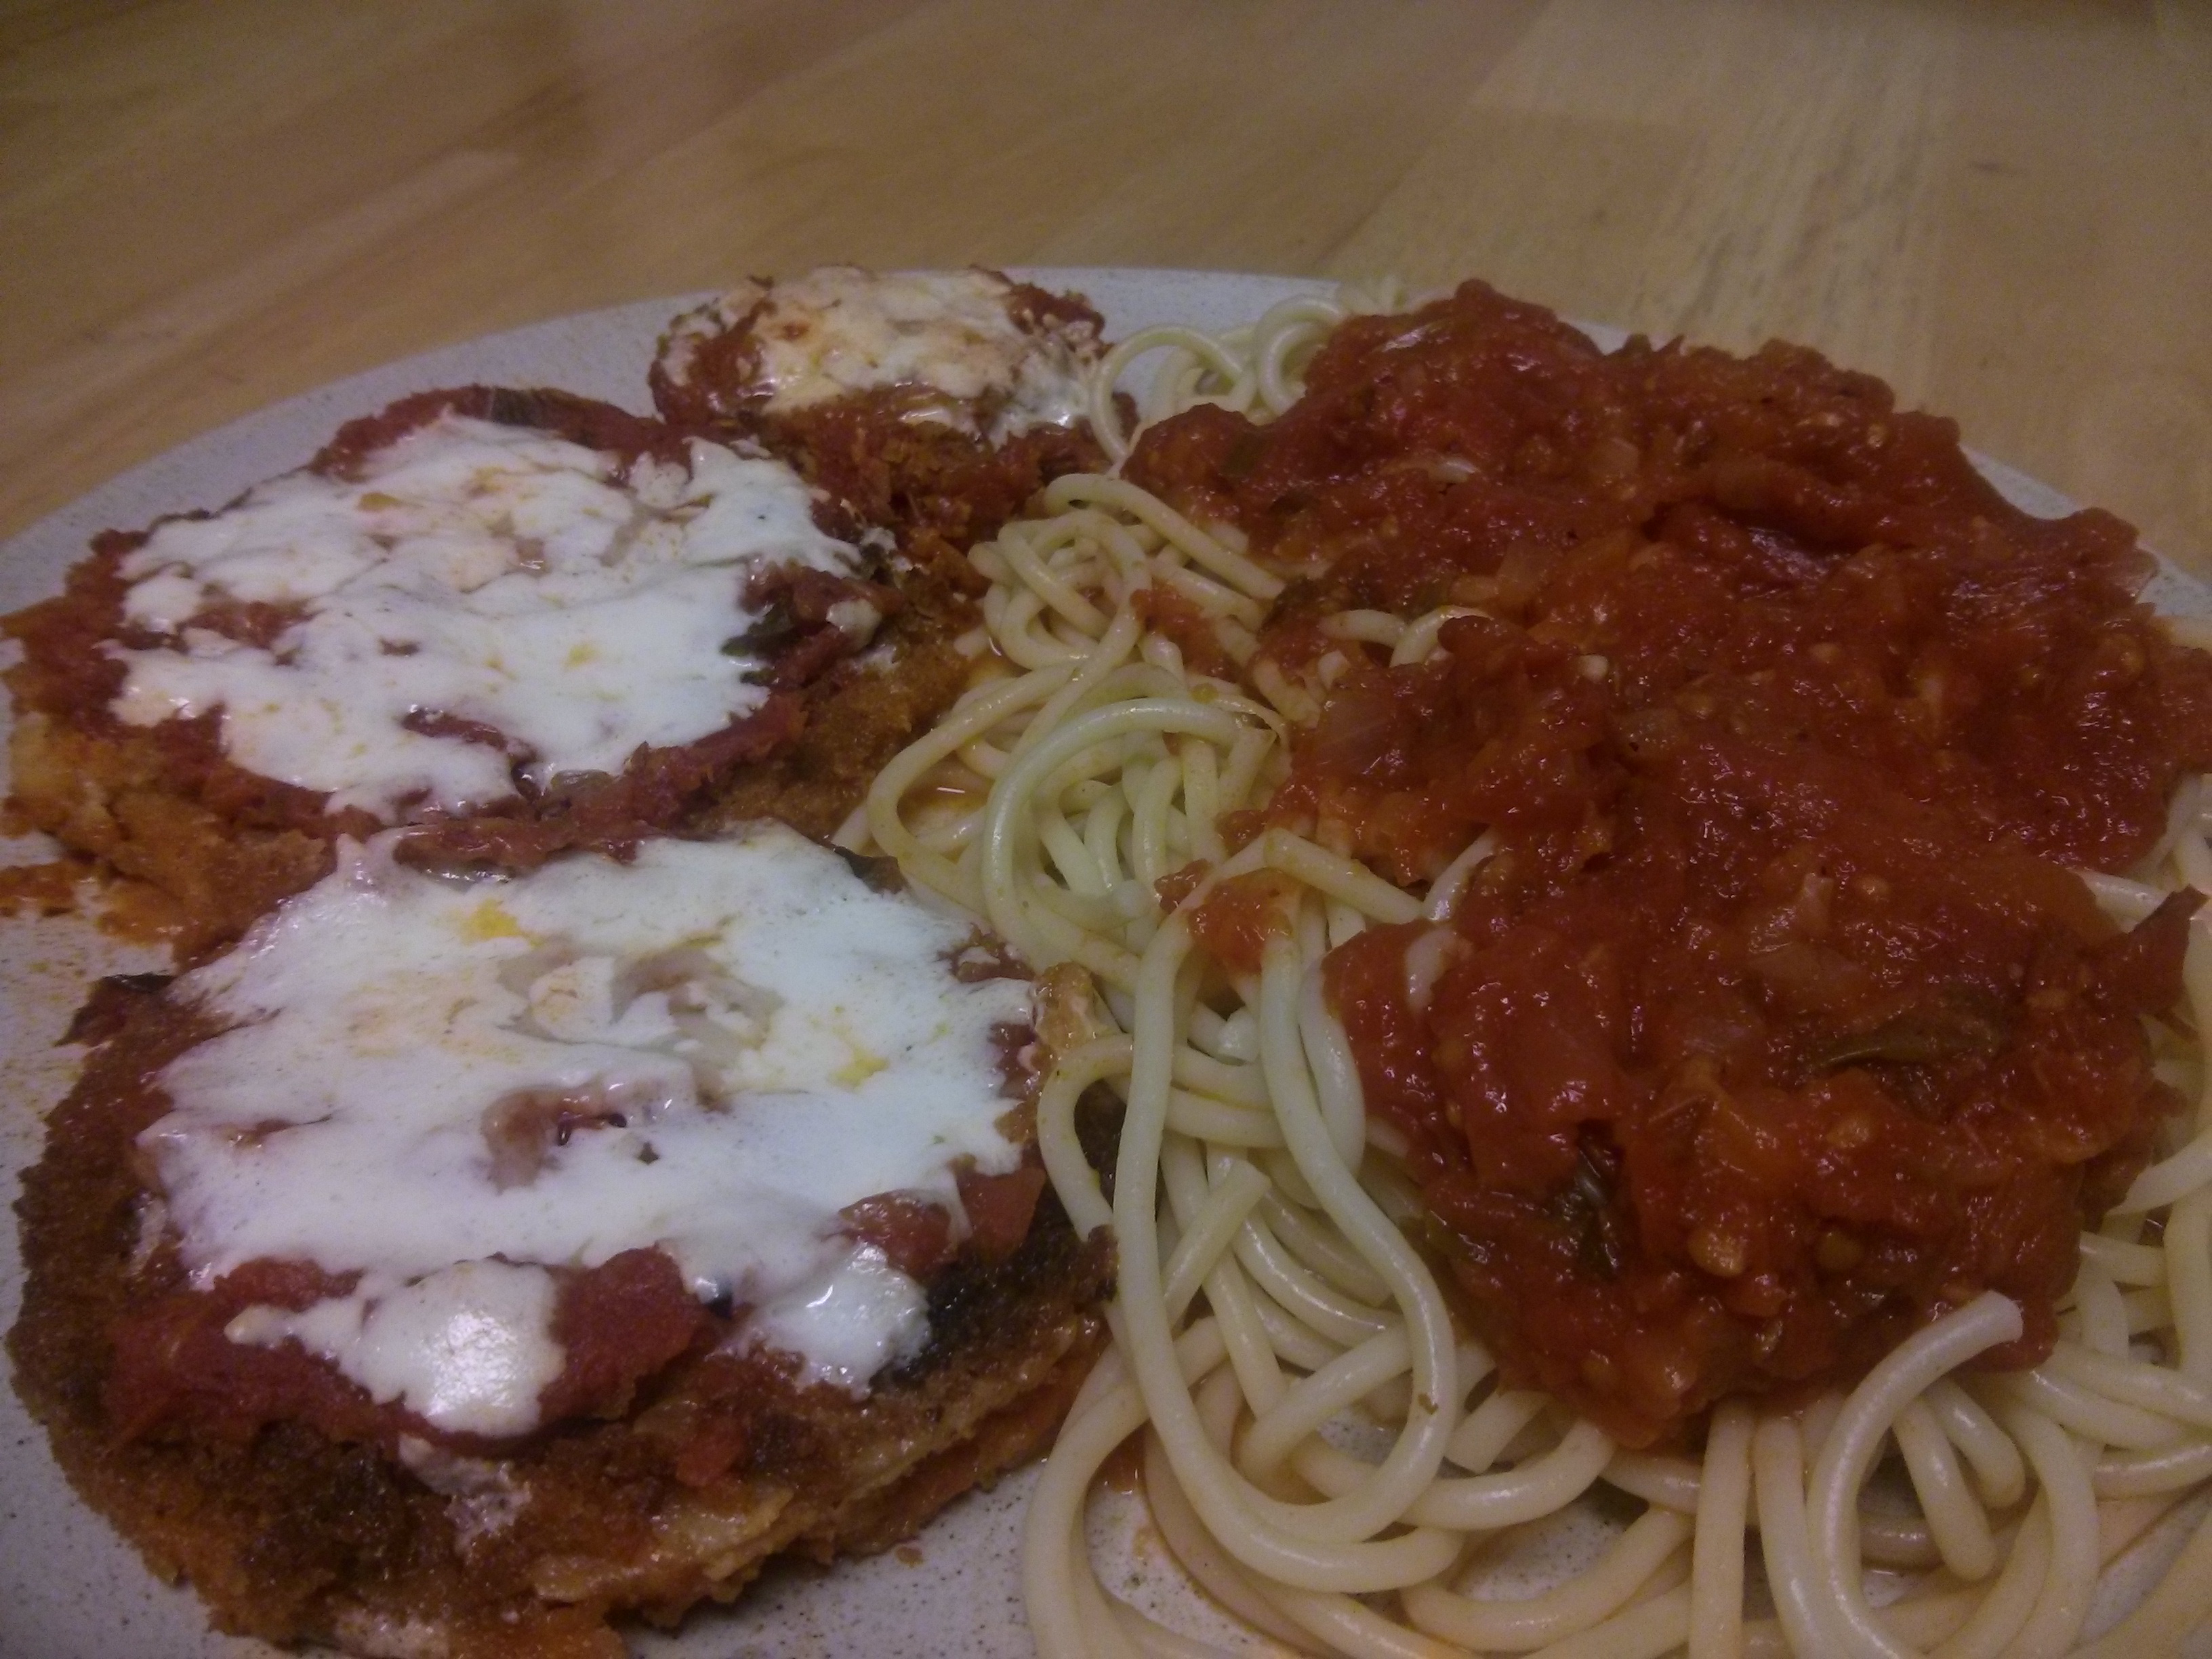
Kitchen blip: Vodka sauce can help make a meal feel higher class – and penne vodka would go great with a big Italian-themed dinner, like the big fundraising dinner I did two weeks ago for the Anchor House. Vodka sauce can only help in this regard when it makes an appearance though, rather than remaining in the fridge because you might have, well, added too much vodka at the beginning or not let it simmer long enough.

wp-1467263073671.jpg

The vodka sauce, adjusted later for personal consumption

When I tasted the sauce while it was in progress, I thought, “Hmmm, it’s got a little too much vodka taste…I know, I’ll add some more crushed tomatoes!” I didn’t want to throw it away and start over, so rather than doing that and cutting my losses, I…cut my losses by adding more tomatoes. And then I added some more tomatoes. And some more after that. But it wasn’t working.

So into the fridge it went to stay,
Until I had more time another day.

When I came back to it a few days later, I found myself rewriting the script. This time rather than cutting my losses, I cut my gains. I started with some new crushed tomatoes, and then I added a smaller amount of the not-quite-right-yet vodka sauce to it. With some trial and error, I figured out that in this case, I needed 2 parts new tomatoes to 1 part old vodka sauce. Which is to say: I found my gains by starting a-gain, and the result wasn’t perfect, but it was perfectly post-party edible. And now, in the freezer at work (the one at home is full), I’ve got approximately 64 ounces of new vodka sauce, ready to go.

Which is also to say, bonus tip! Aka kitchen tip reiteration:

With practice, play, and iteration,
The over-taste, it comes and goes,
Have faith in trials and taste-sensations,
And tomatoes placed with some knowing.

And okay, what the heck, one more 🙂

Bonus: Kitchen tip and kitchen blip: There are many places in the kitchen you could place the plastic wrap. On top of the stove’s back panel works, but a little down below? Not so much.

wp-1467310596795.jpg

wp-1467310573576.jpg 

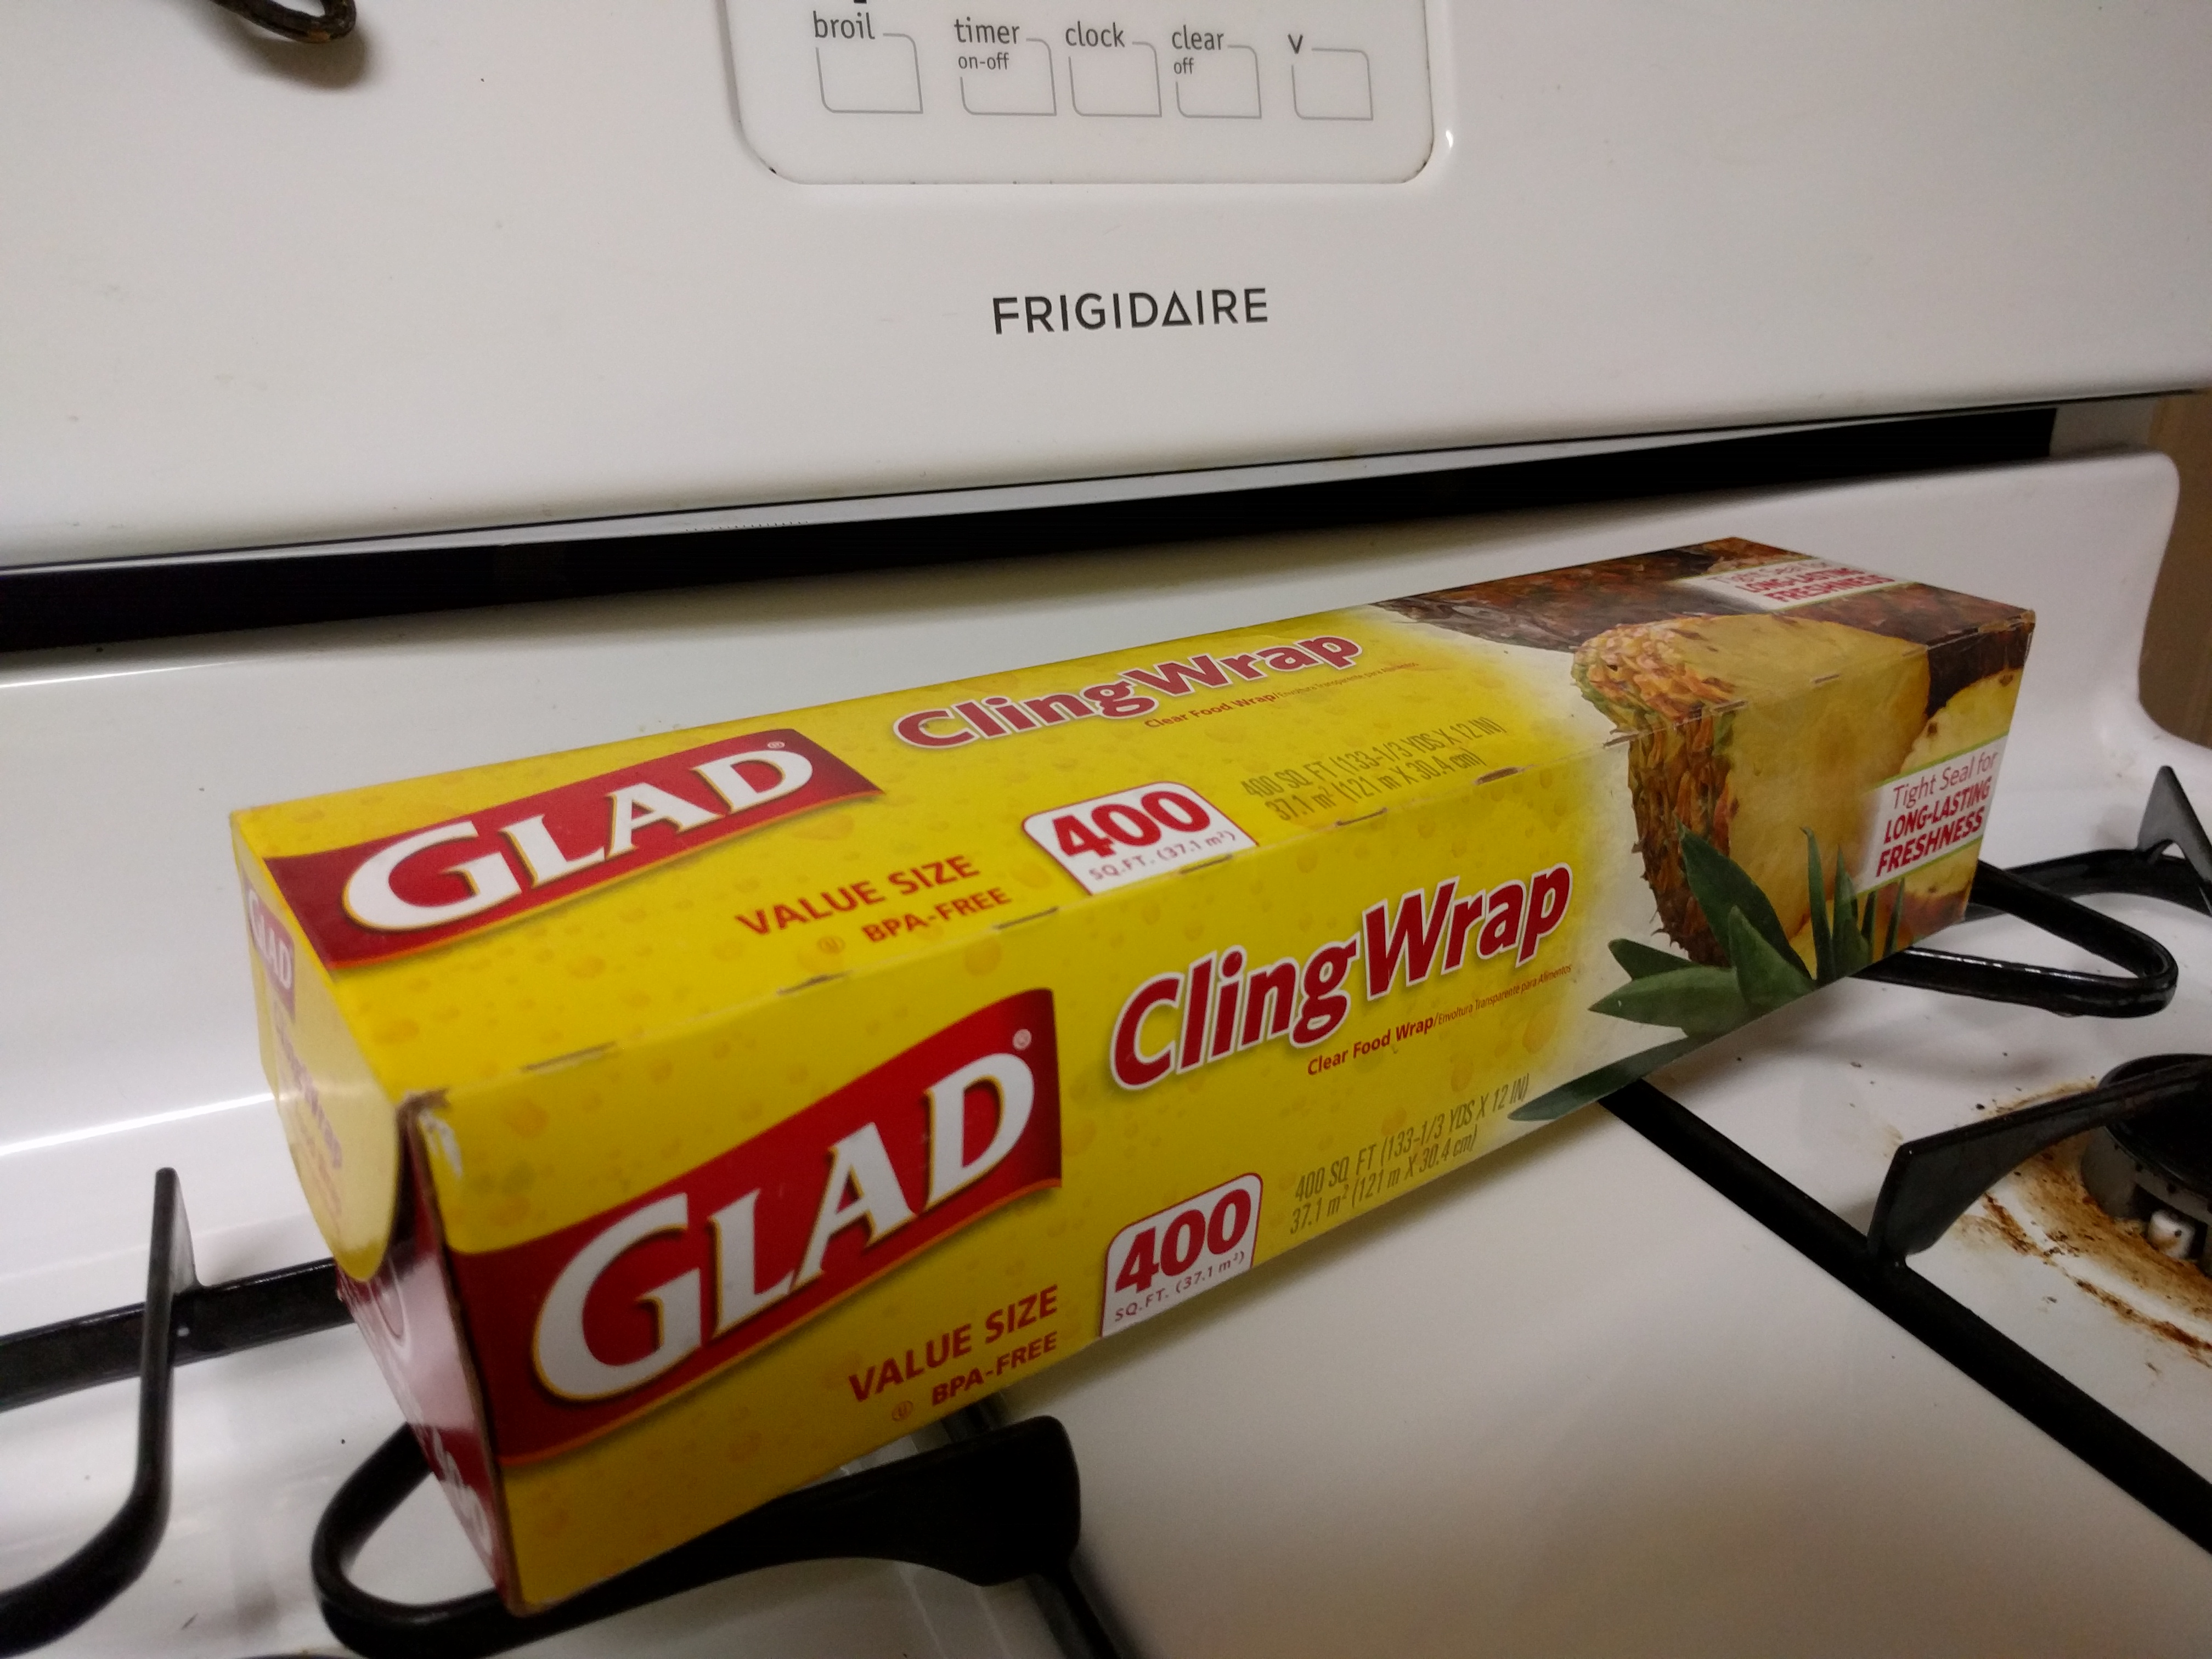
I mentioned that hot air vent thing, right???

Yes, a final kitchen tip,
And also kitchen blip,
As shared and told,
In words and pics.

Eggplant Parmesan

And then, there was Eggplant Parmesan.

IMG_20141012_121857

It’s actually pretty easy to make, especially when you have all the ingredients all ready and set to go:

  • Tomato sauce
  • Fried eggplant
  • Fresh Parmesan cheese, shredded
  • Fresh mozzarella cheese, shredded

Here are the basic steps:

Step 1

wpid-img_20141012_105945.jpg

If you’re like me and made fresh bread crumbs for the eggplant, the first step is, Clean out the oven.

wpid-img_20141012_110026.jpg

I mentioned earlier that I had already made Eggplant Parmesan about three times this year. I’ll mention now that two of those times, I started preheating the oven for the eggplant before I remembered to clean up the bread pieces. The smell of something burning, in these cases, provided a good reminder of this step.

Step 2

wpid-img_20141011_225737.jpg

The next step is getring the baking dishes ready. This means adding a small layer of tomato sauce to each dish. If you’re making individual Eggplant Parmesan pieces, this is particularly important so the areas around the pieces don’t burn.

Step 3

Now add all the ingredients, one after another, to form the Eggplant Parmesan pieces – the eggplant, tomato sauce, Parmesan cheese, and then the mozzarella cheese. The process for the layered version is basically the same – just repeat the same ingredient-steps to create however many layers you want. In terms of the cheese to be added, I shredded the Parmesan fine and the mozzarella regular-size.

Pictured below are the steps for the individual pieces:

wpid-img_20141011_230401.jpg

wpid-img_20141011_230805.jpg

wpid-img_20141011_232622.jpg

wpid-img_20141011_234244.jpg

To the right in the pictures above is a second dish where I did the layered version. Three layers were a good fit for this standard 9″ x 13″ x 2″ glass baking dish and for the amount of eggplant I had prepared.

When making the layers, I packed the eggplant pieces a little more tightly so there weren’t many gaps. Then following in turn, I added enough tomato sauce to make the sauce uniform on top of that.

wpid-img_20141011_230859.jpg

Here: the tomato sauce on top of the eggplant while making the first layer

Then the cheeses are added, spread evenly on top of the sauce, and the layer’s done. Each of the three layers was the same: eggplant, tomato sauce, and then the Parmesan and mozzarella.

Step 4

With the Eggplant Parmesan pieces and/or layers now ready, preheat the oven to 350 degrees, and bake until the sauce starts to bubble and the cheese all melts together (and begins to crisp just slightly). This took me 25 minutes baking at 350 (and then 5 minutes more at 400 to get the desired crisp). Maybe better would have been 20 minutes at 375 – something to try next time.

wpid-img_20141012_114929.jpg

The individual pieces

IMG_20141012_121857

wpid-img_20141012_115030.jpg

And the layered version

IMG_20141012_122038

Overall, I’d call it a satisfying culinary and creative week. My original plan was to do everything in a row – Monday, Tuesday, Wednesday, Thursday – but with writing and other things, the cooking got more spread out:

Of course, you can also do everything on one day. It’s really only the two middle steps, the eggplant and the sauce, that take some time. There are also ways to make the sauce more quickly, like simmering it for less time (or using canned tomatoes instead of fresh).

If you try making it, let me know how it turns out. I bet it’ll be good. For me, eating some warm, freshly-made Eggplant Parmesan is a melts-in-your-mouth experience that often makes me think, and sometimes say out loud, Wow, this is good.

IMG_20141014_193125

Eggplant Parmesan, Part 3b

So how much sauce can you make from this many tomatoes?

wpid-img_20141008_195718.jpg

Let’s find out! And take a look at some pictures.

Part 3: Tomato sauce

So the recipe, as you may know, actually appears in the previous post. I enjoyed writing it, and it pretty much covers the important things. I think part of the art is making it your own – figuring out what you like and also improvising – and for me and tomato sauce, I often just take whatever I have on hand and go from there. The recipe is the process.

Among the many things I like about cooking, one is that that no matter what you do, it usually turns out alright in the end. And if something doesn’t work out, that’s okay too. Only have dried oregano instead fresh, or no oregano at all? It’s still going to be good. Or decide to let it simmer for an extra hour, on purpose or by accident? Still going to taste good. Or want to try a mix of yellow and red tomatoes? It’s going to look and taste good.

This time around, I had a mix of round slicing tomatoes, red plum ones, and a few small tomatoes too. Here are the steps and how everything came together:

Step 1

wpid-img_20141008_200540.jpg

The first step is cutting the stems out of the large tomatoes. This makes it easier to peel and save the skins later on (after step 2). Because the stems on the plum tomatoes and smaller tomatoes are so small, they’re fine to stay in.

Step 2

wpid-img_20141008_203344.jpg

The next step is boiling a pot of water and putting the tomatoes in. The purpose here is to crack and loosen the skins and to partially cook and soften the tomatoes.

Some recipes say to leave the tomatoes in for just a minute or two, to only work the skins (in which case more of the tomato-cooking/simmering will happen later), but I’ve been leaving them in longer, sometimes 15-30 minutes, meaning I’ll do some of the initial cooking during this initial step. This also makes it easier to break the tomatoes into smaller pieces later.

I take the tomatoes out of the boiling water when they’re half or more soft, but can still hold their shape. If the tomatoes are at different stages of ripeness and if some are large and some are small, they’ll be ready to be taken out at different times.

wpid-img_20141008_211105.jpg

wpid-img_20141008_211157.jpg

How about those cracked skins?

This is how the tomatoes looked after their hot water bath. When I measured the volume of this bowl later using water, I found that the bowl holds 160 oz. That’s ten pounds! That’s also the equivalent, in terms of 28-oz cans of crushed tomatoes, of more than 5 1/2 such cans.

Step 3

wpid-img_20141009_201916.jpg

The next step is prepping the onions and garlic for the sauce. This means dicing and sautéing them in olive oil until they’re soft.

wpid-img_20141009_202900.jpg

The onions

wpid-img_20141009_203521.jpg

The garlic

wpid-img_20141009_210726.jpg

The sauté

I used two large onions and three cloves of garlic this time. For the oil, I started with 1/2 cup, which might sound like a lot, but there was also a lot of tomatoes, and the olive oil helps to make for a richer sauce. If I were making a smaller batch of sauce, I might start with one onion and one garlic clove.

Step 4

After the onions and garlic are ready, transfer them to a large pot and add the tomatoes (after first having removed the tomatoes’ skins). Some recipes also say to remove the tomatoes’ seeds, but the seeds don’t bother me so I’ve never done that.

With the tomatoes now in the pot, at this point you can also break the them into smaller pieces using a wooden spoon, potato masher, or other kitchen implement that is up to the task. The tomato sauce can then be left to simmer while finishing the rest of the recipe.

 wpid-img_20141009_210435.jpg

Above is how the tomatoes looked (L) after removing the skins (R). I also poured out (and saved for another day) the extra tomato liquid so that the future sauce would be thicker. In this case, the extra liquid amounted to a full 32 oz.

Step 5

To make the sauce thicker, I also dice the tomato skins into a paste and then add this paste to the pot. I love this step.

wpid-img_20141009_212100.jpg

wpid-img_20141009_213125.jpg

I usually dice the skins by hand, but this time I used the food processor to save a little time. I measured the volume of the resulting paste above, and it was 13 oz.

Step 6

The second to last step is adding salt and pepper. I usually do 2 parts salt to 1 part pepper, but the ratio and exact amounts are up to you. Add a little, see how it tastes, add then add some more if you think it needs more.

wpid-img_20141013_231138.jpg

I made a note while I was cooking that I added 1 tbsp salt and 1/2 tbsp pepper, but I think it actually might have been 1.5 tbsp salt and 3/4 tbsp pepper. Either way, it tasted good in the end. I also have a tendency to use less salt than others, so that’s another reason to try things out and see what you like.

Step 7

The last step is adding oregano and basil (or any herbs that you like). This time I used fresh oregano from my CSA share and fresh basil from my garden.

wpid-img_20141009_225556.jpg

wpid-img_20141009_230733.jpg

wpid-img_20141009_231114.jpg

The oregano, diced

wpid-img_20141010_001824.jpg

wpid-img_20141010_002023.jpg

The basil, chopped

I usually add the oregano during the middle of the sauce simmering/cooking time. The basil, though, I add just a few minutes before the sauce is done. I think this helps the basil retain its presence in how the tomato sauce tastes.

wpid-img_20141010_002253.jpg

Looks good, tastes good

A close-up on the looks good

And a close-up view of the looks good

In the end, the approximately 60 tomatoes that I started with helped produce 144 oz of sauce.

IMG_20141011_135702

The tomato sauce

Time-wise, I let the sauce simmer on low heat for about two hours. Cooking the sauce for one hour or even less time also would have worked, but I wanted to make it a little thicker, plus it gave me more time to write 3a. In the end, here was the ingredient list that made it all happen:

  • 60 tomatoes (various sizes)
  • 2 onions
  • 3 cloves of garlic
  • 1/2 cup olive oil
  • 1 tbsp salt
  • 1/2 tbsp pepper
  • Leaves from 15 sprigs of oregano
  • 1 handful of basil leaves

Next up is a look at putting everything together – eggplant, tomato sauce, and cheese: the Eggplant Parmesan.

Eggplant Parmesan, Part 3a

I took a lot of pictures, as usual along the way, but first I’ll do words, with a post called 3a. It started with a line – I got inspired and free – and the rest came as I cooked, plus the plans for 3b.

Part 3: Tomato sauce

There are a lot of ways to make tomato sauce,
But if it’s summer or fall and I have the time,
I like to start off with them fresh,
In place of the canned crushed kind.

From the garden, farm market, and CSA,
I’ll get all that I need and be on my way.

Step one is the stems,
With a knife, cut away.
In a pot of hot water,
Place the tomatoes to stay.

For fifteen or thirty,
Have them sit in the boil,
It’s not the minutes that matter,
But the soft flesh from the toil.

When cooled, peel away,
The cracked skins from the rest,
And reserve for yet later,
To pass the use test.

Meanwhile, start the onions,
And garlic together.
Dice and set in a pan,
And sauté till they’re soft, much better.

And now the tomatoes,
Just before set aside,
Have them join the mirepoix,
For the sauce-making ride.

If they’re soft and cooked well,
The next step is easy,
With a spoon that is wooden,
Split them in pieces.

That cooks for a while,
Let it simmer, not quick.
With tomatoes so fresh,
That’s how to make the sauce thick.

And lest we forget,
About trick number two,
Dice the saved-skins really fine,
And add this paste to the stew.

For salt and for pepper,
What you like, you should do,
Also sounds like advice,
Not just cooking, life too.

Still, to note what I add,
When including this pair,
I trust two parts the former,
One the latter, all square.

The last step’s the herbs,
Oregano and basil,
Dice one and chop two,
And we’re done! Let’s make the plates full.

Are you hungry like me?
I could go for a dish.
We’ll save some for the eggplant,
That’ll be our tomorrow wish.

wpid-img_20141010_002253.jpg