Tag Archives: Parmesan cheese

The reason is in the risotto

There are times to plan, and there are times to just take a step and go. This past Tuesday in the kitchen, it was one of the latter.

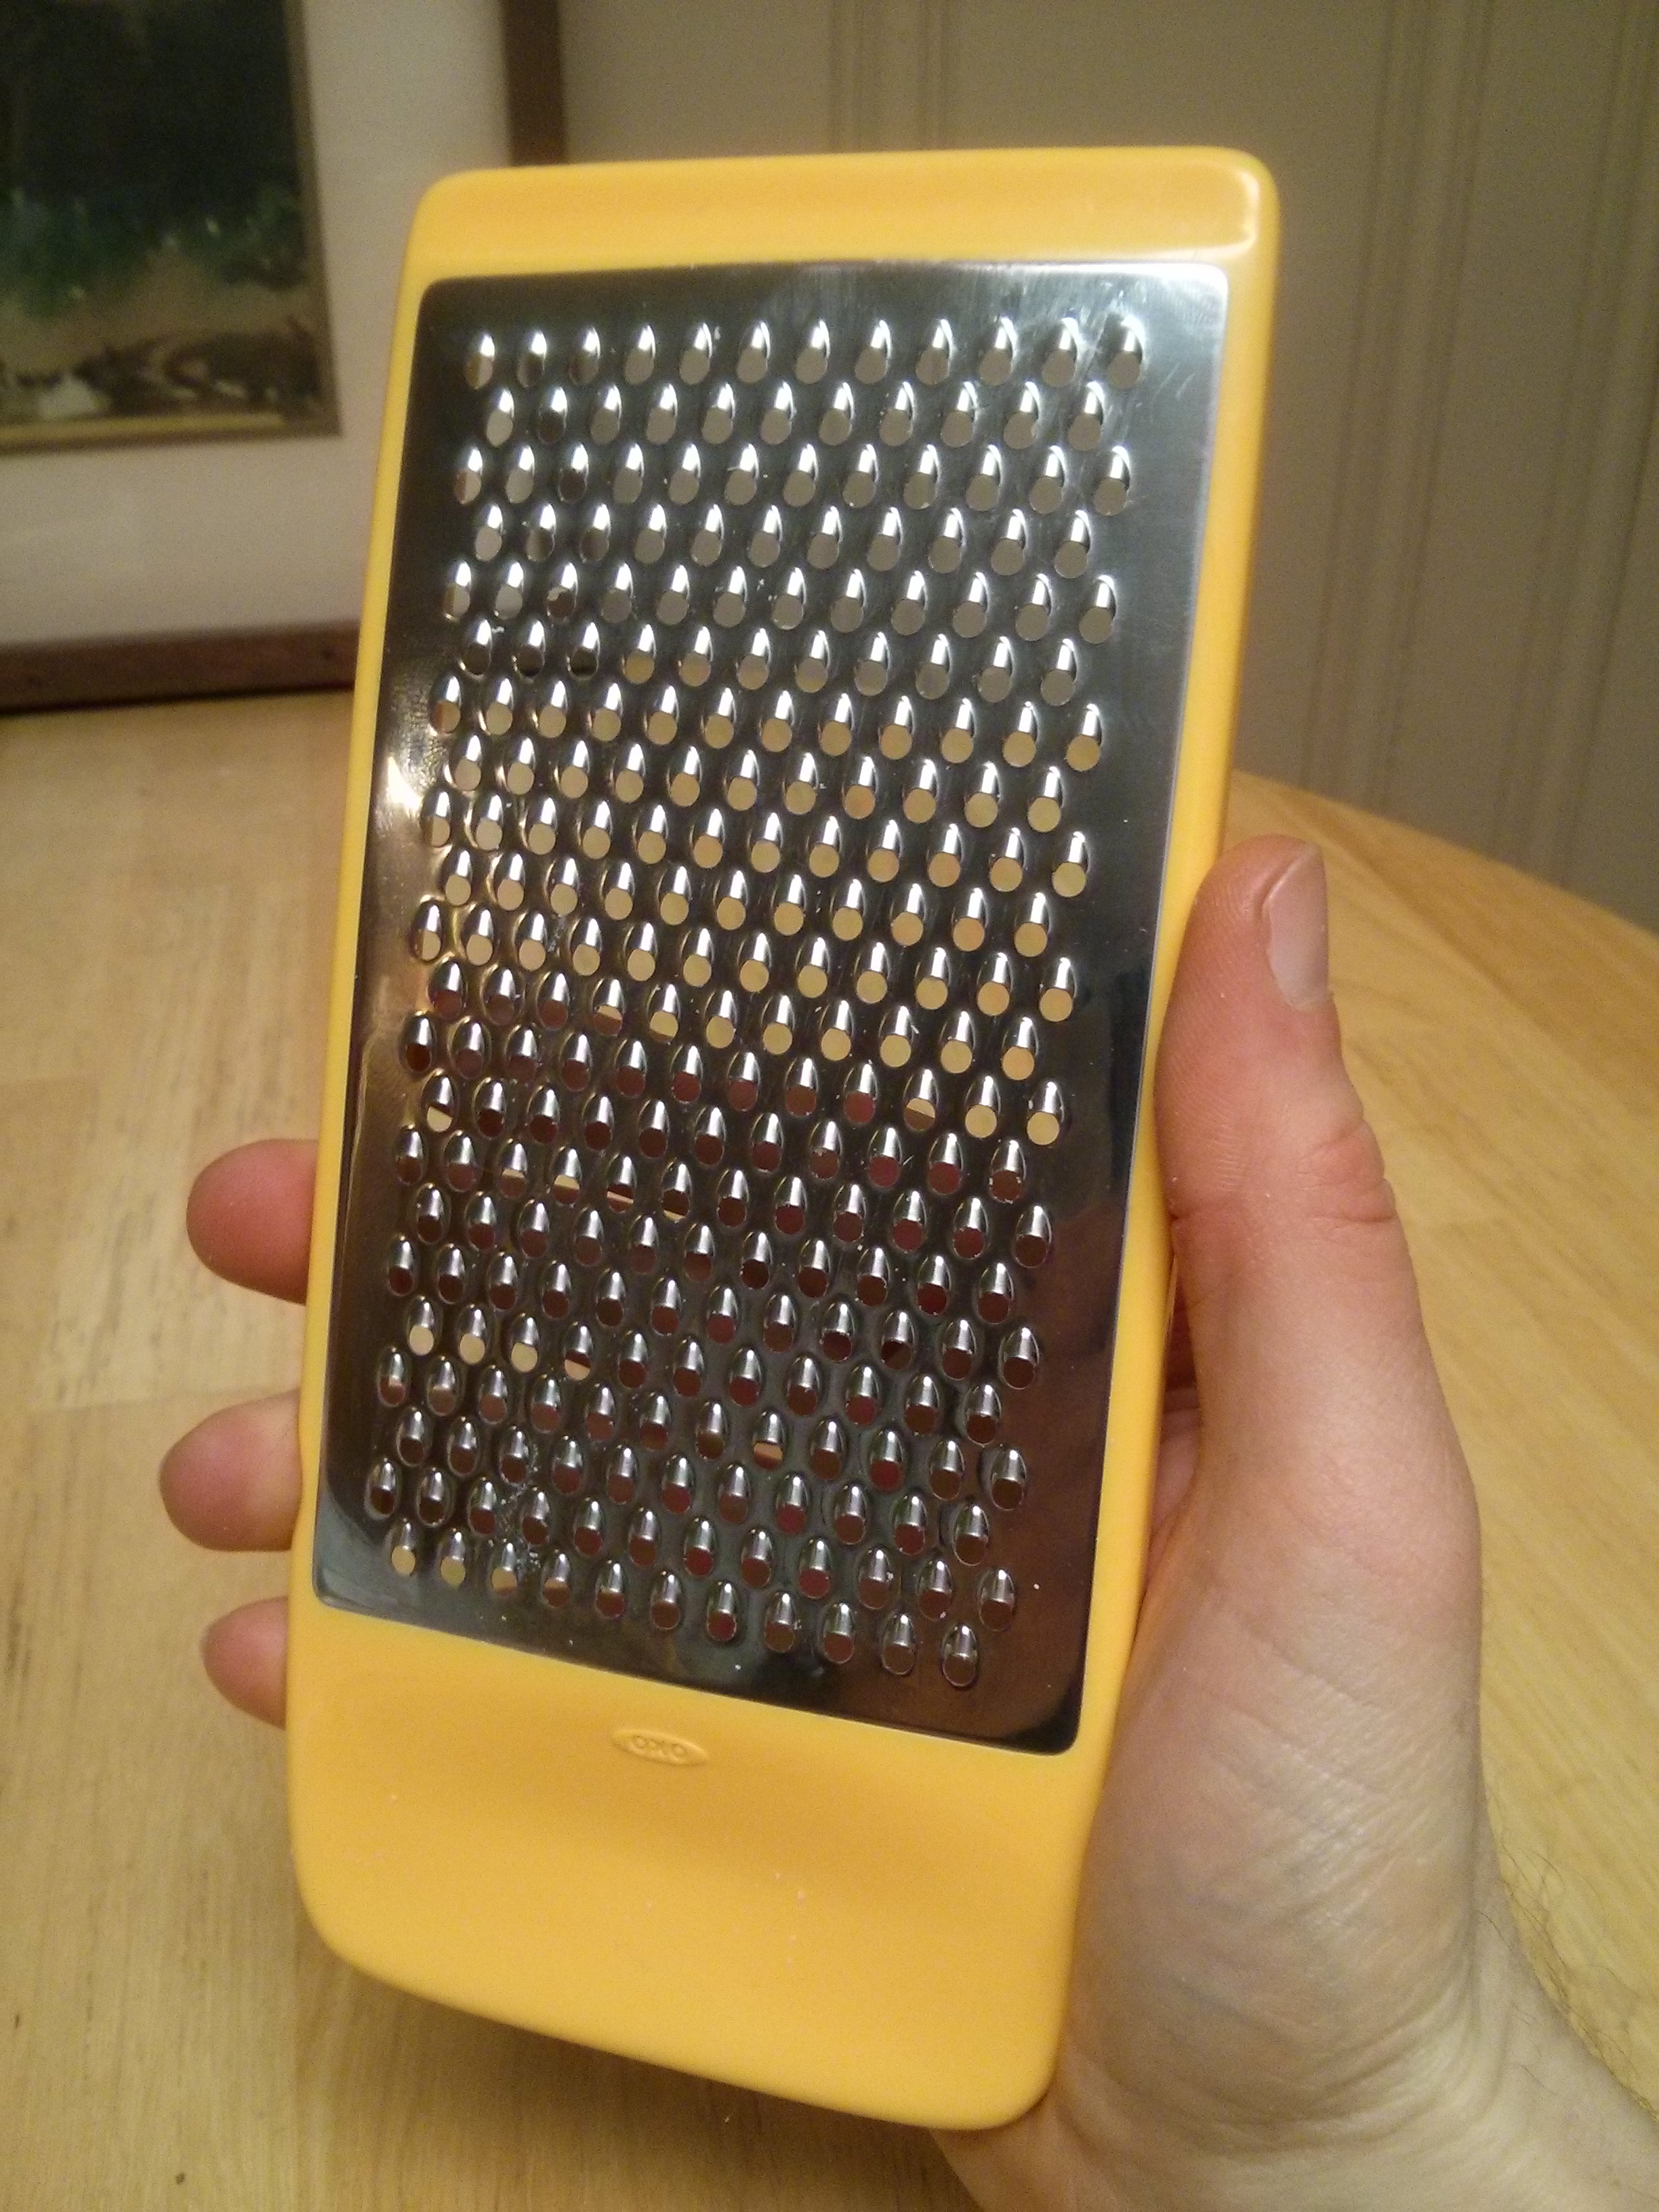
I hadn’t thought about what to make for dinner, and as I walked past the pumpkins and into the kitchen, I saw it. There, still sitting on the shelf and still in the box, was the new, Oxo Good Grips shredder that my bother and sister-in-law had given me for the holidays and that I hadn’t opened yet… despite having had numerous cheese shredding opportunities in the past month… because I was waiting for the perfect occasion and dish that would not only involve shredding, but would also taste great and make for a great story. I know, such a burden to place on a kitchen implement!

As I stood in there in front of the box, with the kernel of these thoughts in mind, I made the following decision in a matter of seconds, almost without thinking: “I’m going to make risotto tonight and use the shredder, and however it turns out, I’ll write about, and it’ll be fine. It’s time.”

wpid-wp-1423795284878.jpeg

Oxo box on Oxo spinner

There is simple-risotto, and there is more-complex-risotto, and I decided to try a version more towards the simpler end of the cheesy arborio rice spectrum. Which is to say, I decided to add carrots and red peppers to the mix. Doing so would add some color to complement the peas, a more traditional risotto ingredient (along with the rice, broth, wine, and Parmesan cheese), and it would be something new for me. Here’s the recipe, as I wrote it up afterwards.

Risotto with Carrots, Red Peppers, and Peas

  • 1/4 cup olive oil
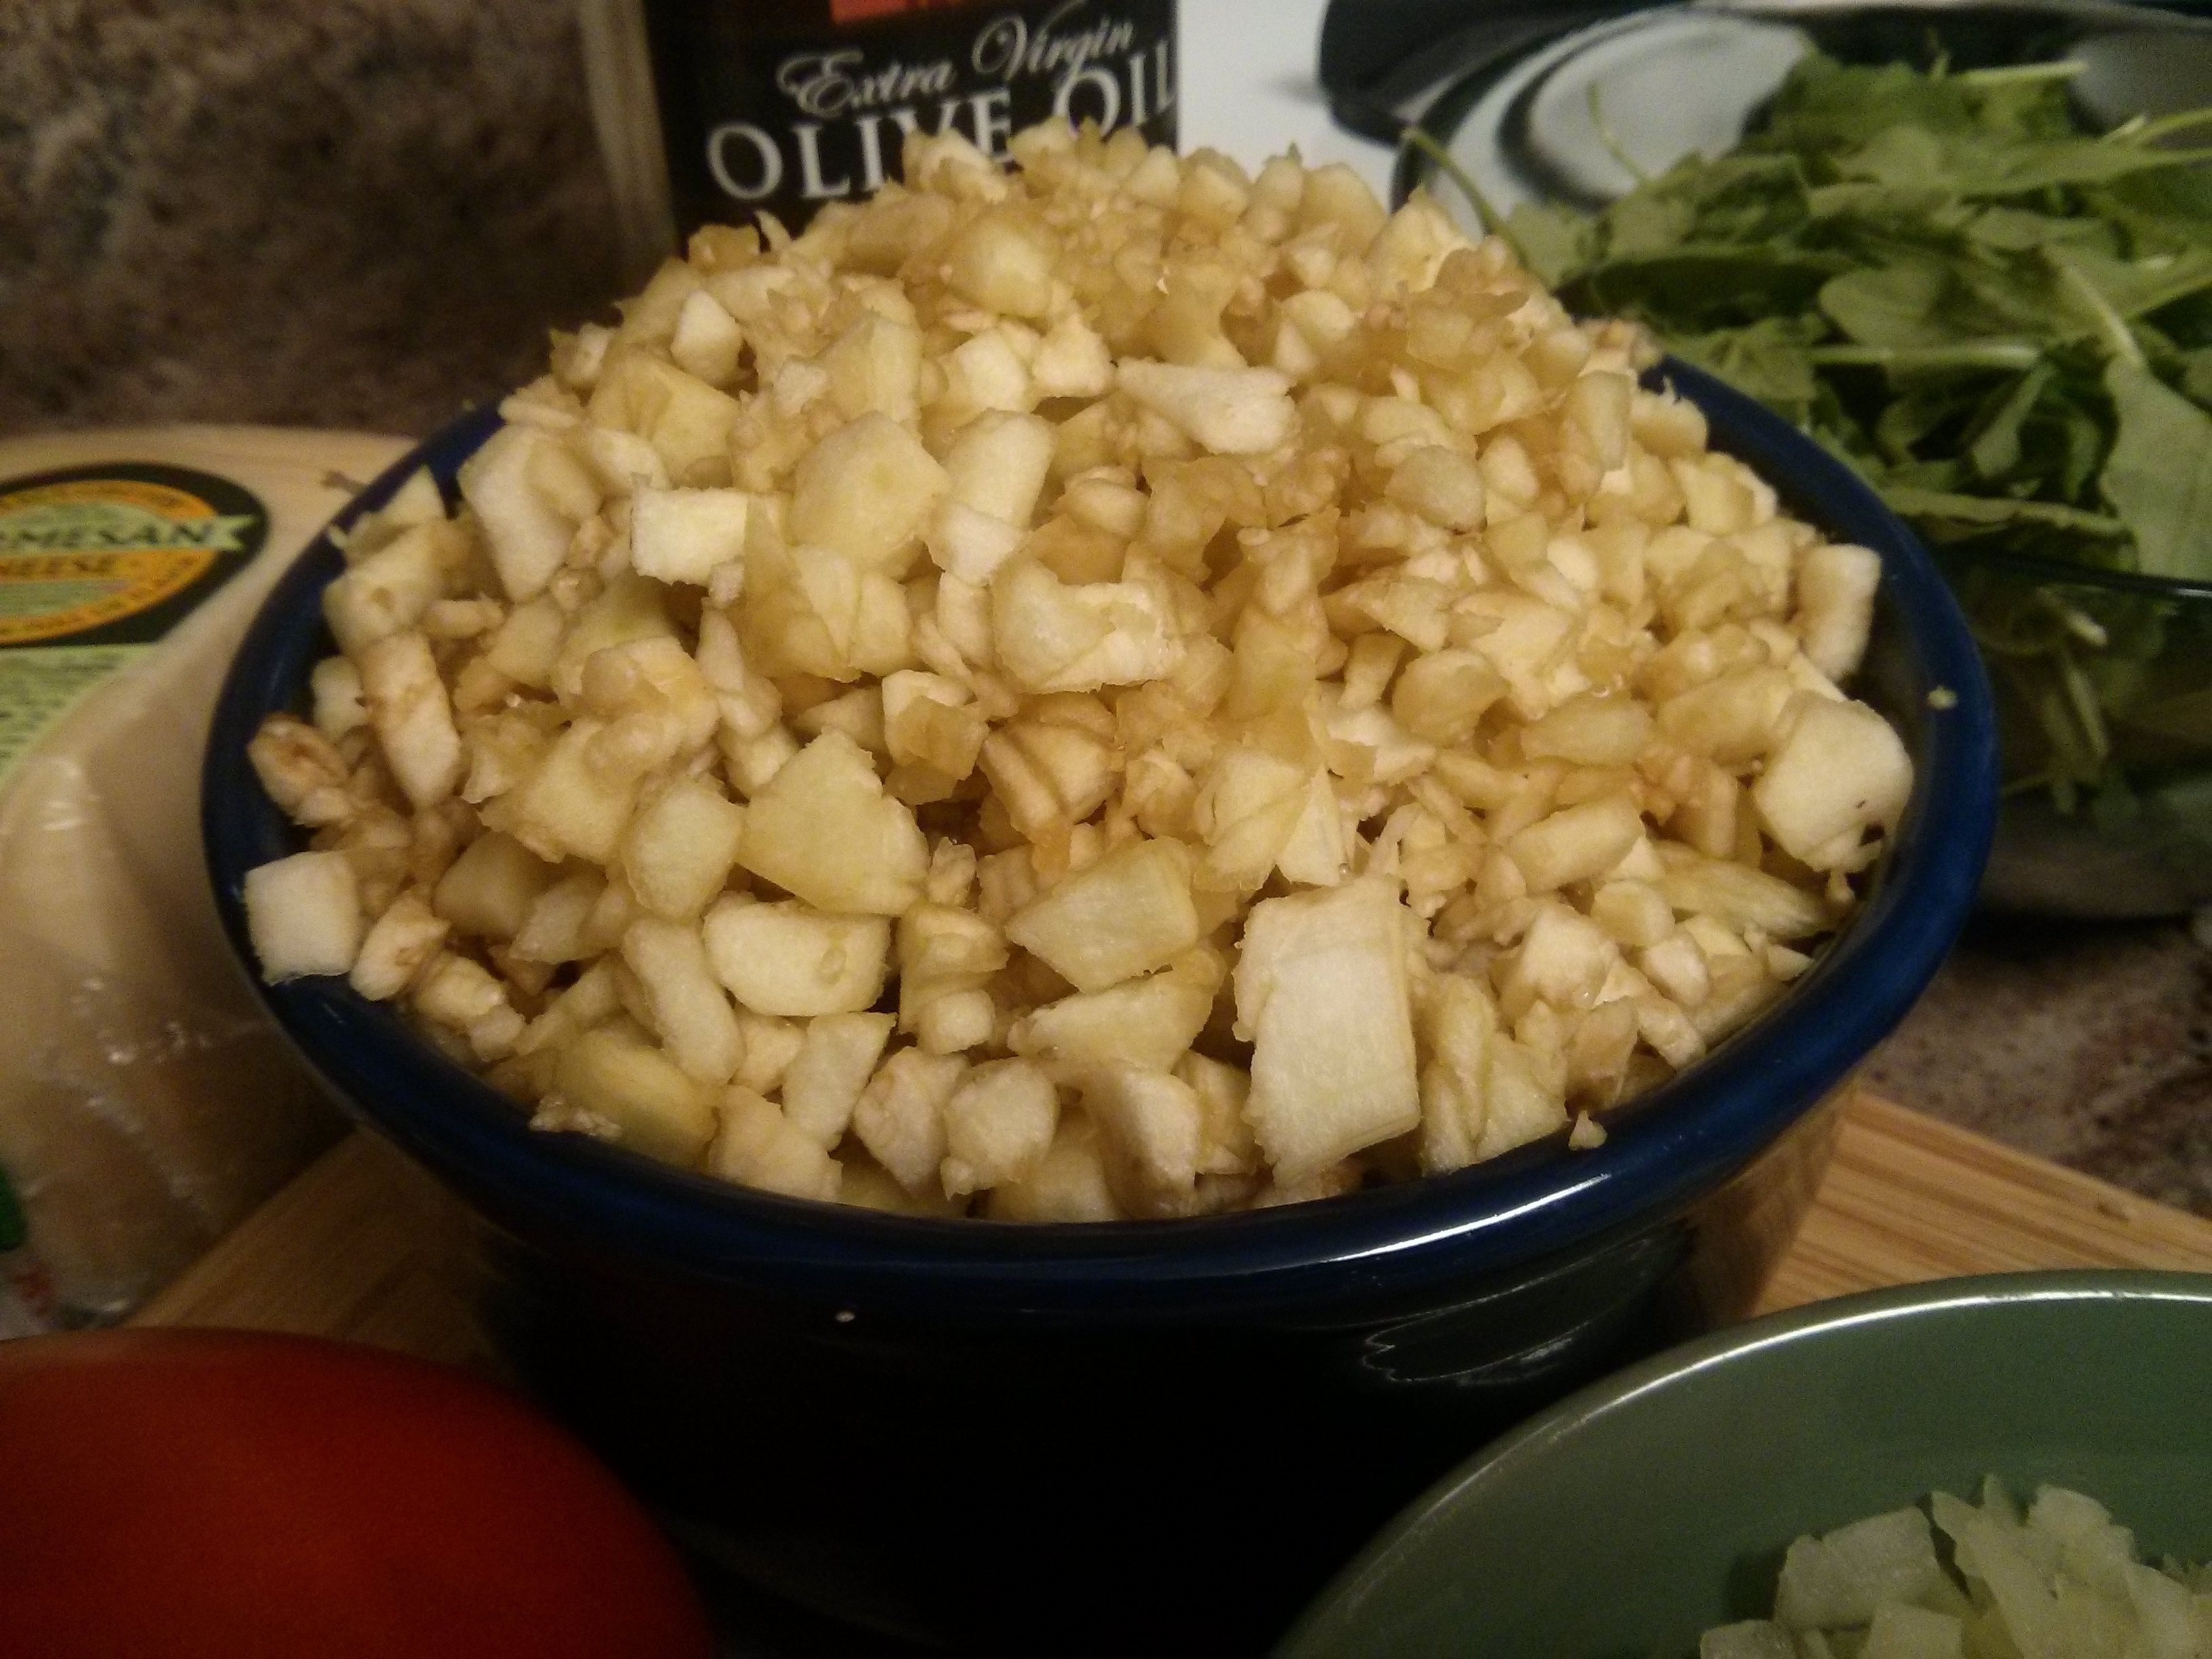
  • 2 onions, chopped into small pieces
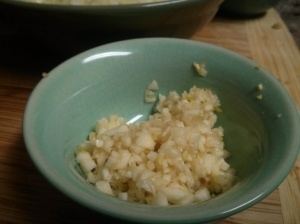
  • 4 garlic cloves, chopped into small pieces
  • 2 carrots, chopped into small pieces
  • 1 red pepper, chopped into small pieces
  • 2 cups arborio rice
  • 1 cup white wine
  • 32 ounces (4 cups) vegetable broth, heated
  • 16 ounces (2 cups) water, heated
  • 1/2 cup Parmesan cheese, shredded finely
  • 1/4 tsp salt
  • 1/4 tsp pepper
  1. Heat the olive oil in a frying pan over medium heat
  2. Add the onions and garlic, and sauté until soft
  3. Add the carrots and red peppers, and sauté until mostly soft
  4. Add the rice and cook for about 5 minutes, stirring occasionally
  5. Add the wine and  simmer until it’s absorbed, stirring occasionally
  6. Add 1 cup of vegetable broth and simmer until it’s absorbed, stirring occasionally
  7. Continue adding the broth and then the water, 1 cup at a time, until the rice is done (you’ll know the rice is done when it’s cooked but still has a slight crunch or chewiness to it).
  8. Add the Parmesan cheese
  9. And then add the salt and pepper

One of the great things about making a decision and just going with it is that it’s a lot more freeing than the alternative. There’s no agonizing over what the ‘right,’ best, or dare I say, perfect, thing to do is. And as it often turns out, that initial instinct or feeling often is a good guide. This is not to say I’m the greatest at doing this, and along the way I will have my share of second-guessing (darn you second-guessing!), but I know it’s there for me to access and to try using when I can.

In the kitchen that night, I wasn’t second-guessing my decision to use the shredder. And even though I was trying something a little new, I’d made risotto before, and I had faith that things would turn out alright.

And with that mindset, I began.

wpid-wp-1423619554474.jpeg

The first step was to sauté the onions and garlic:

wpid-wp-1423626426958.jpeg

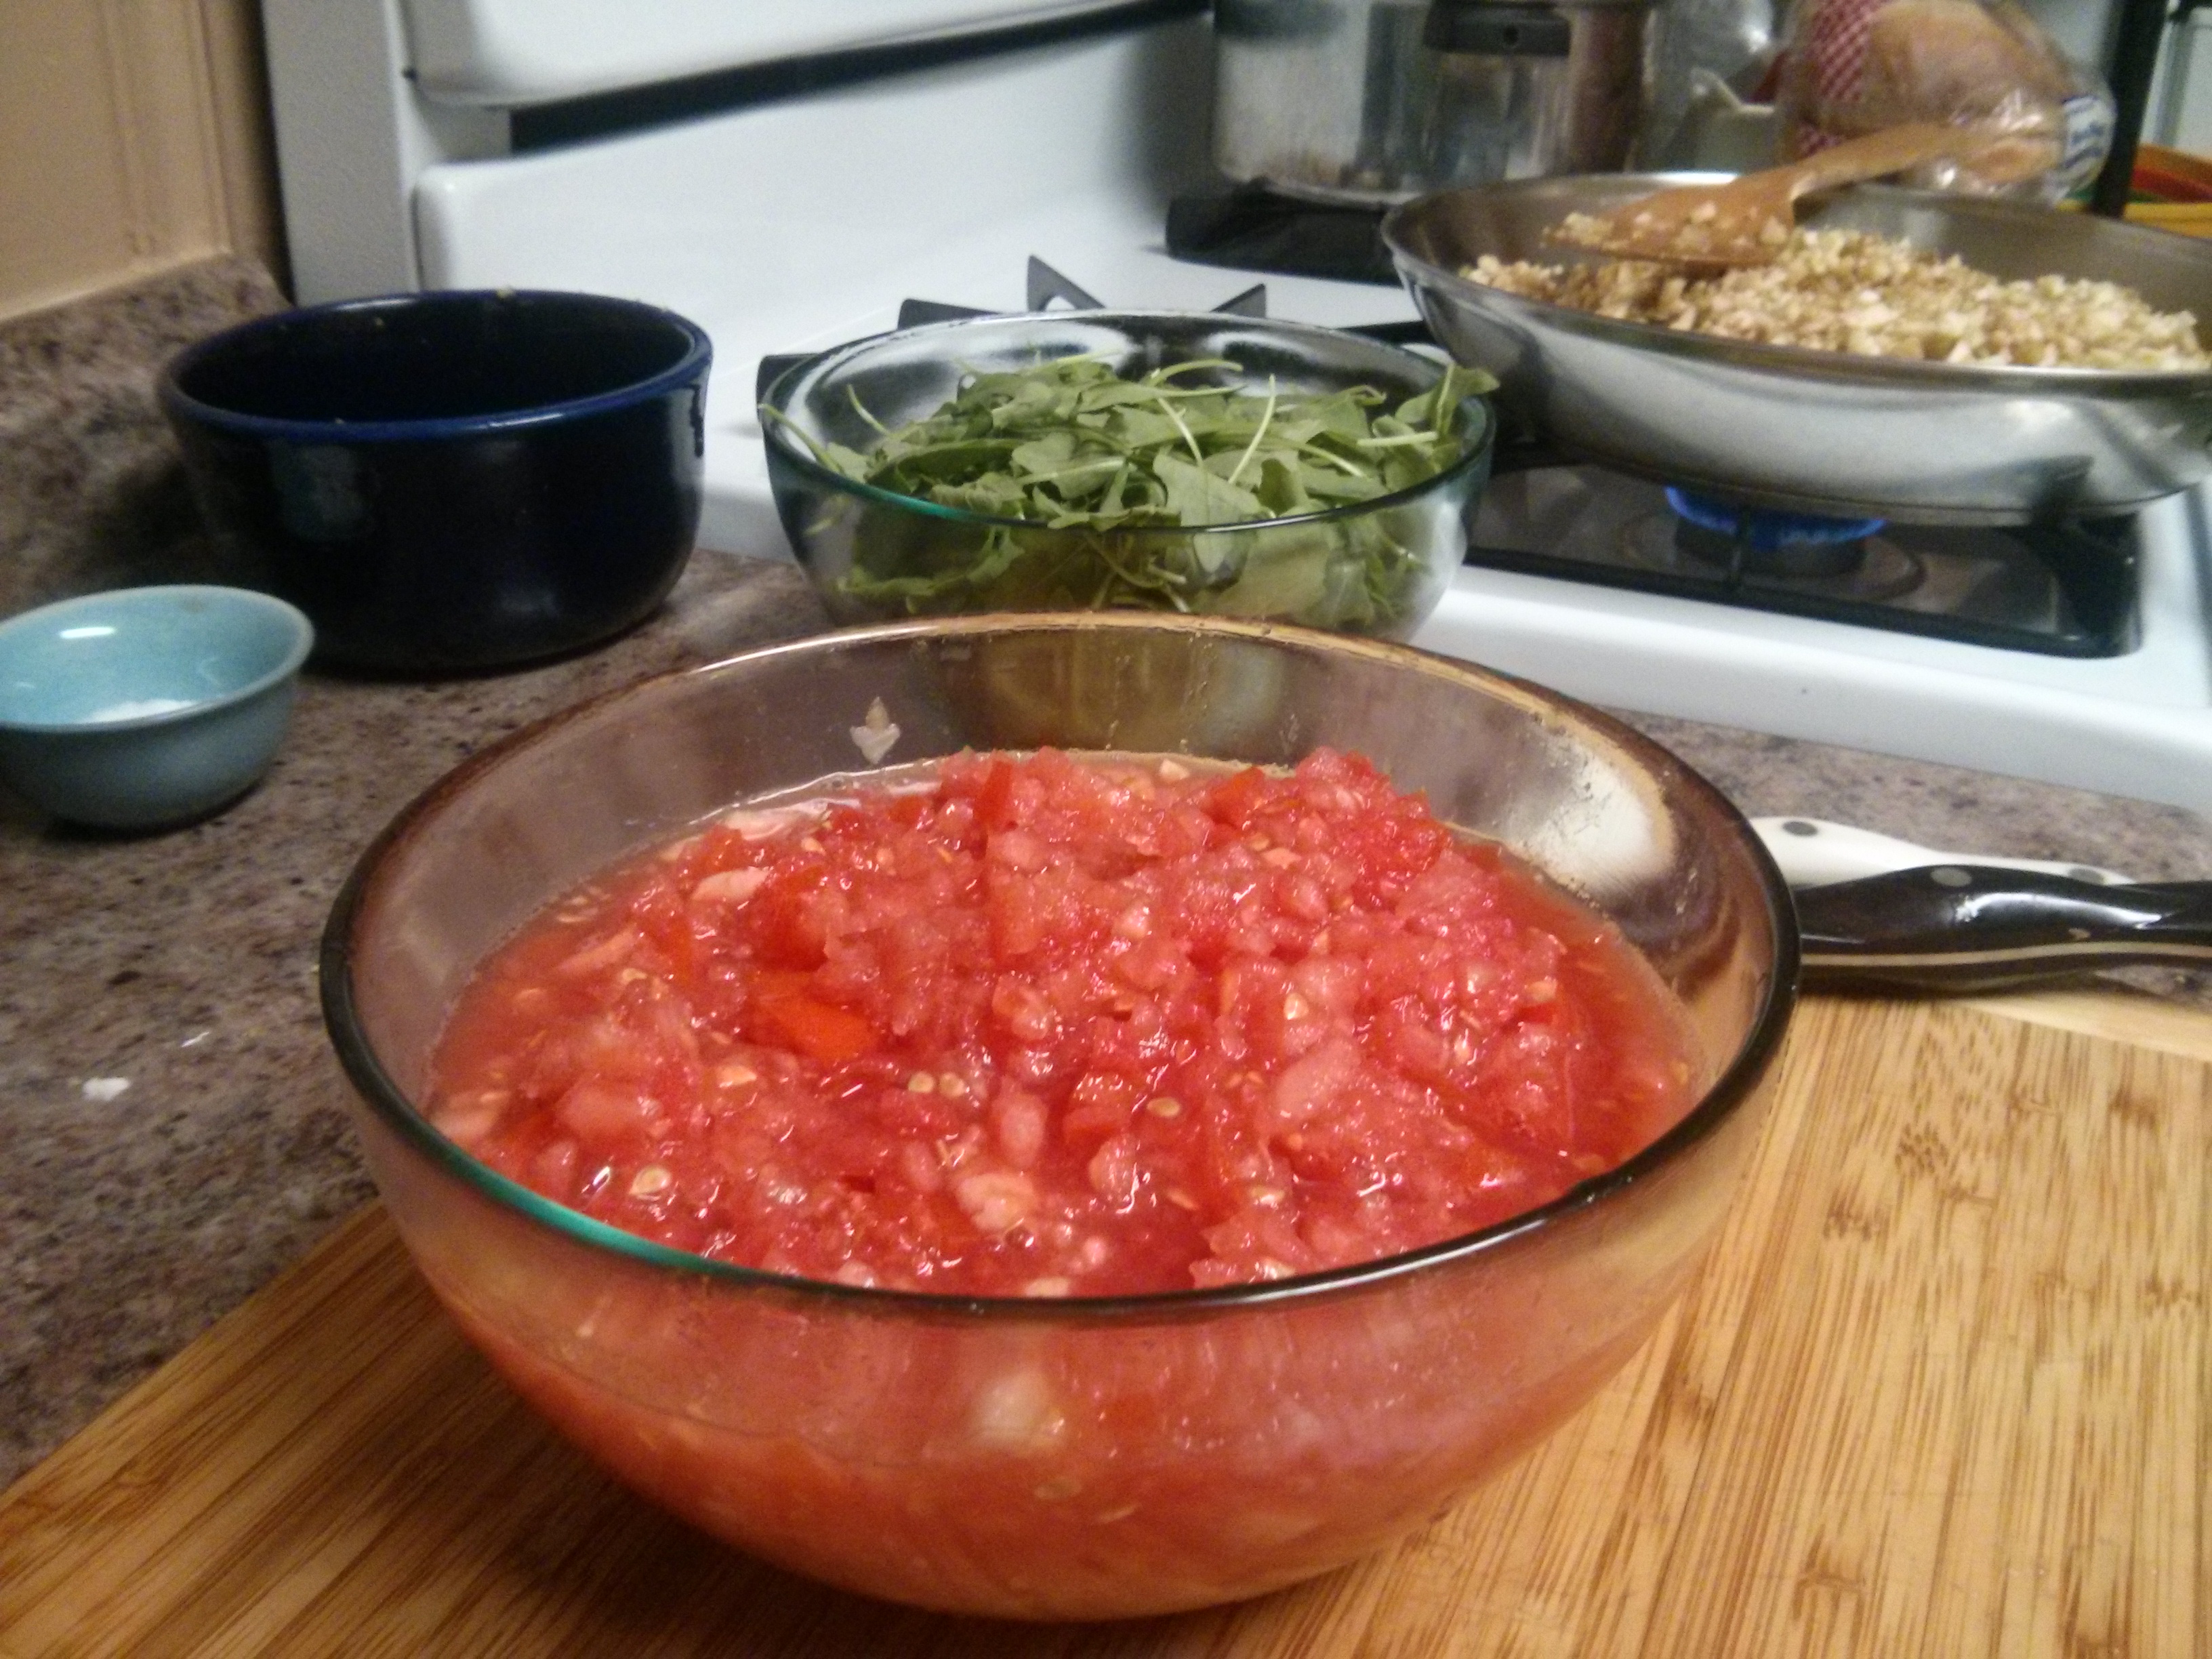
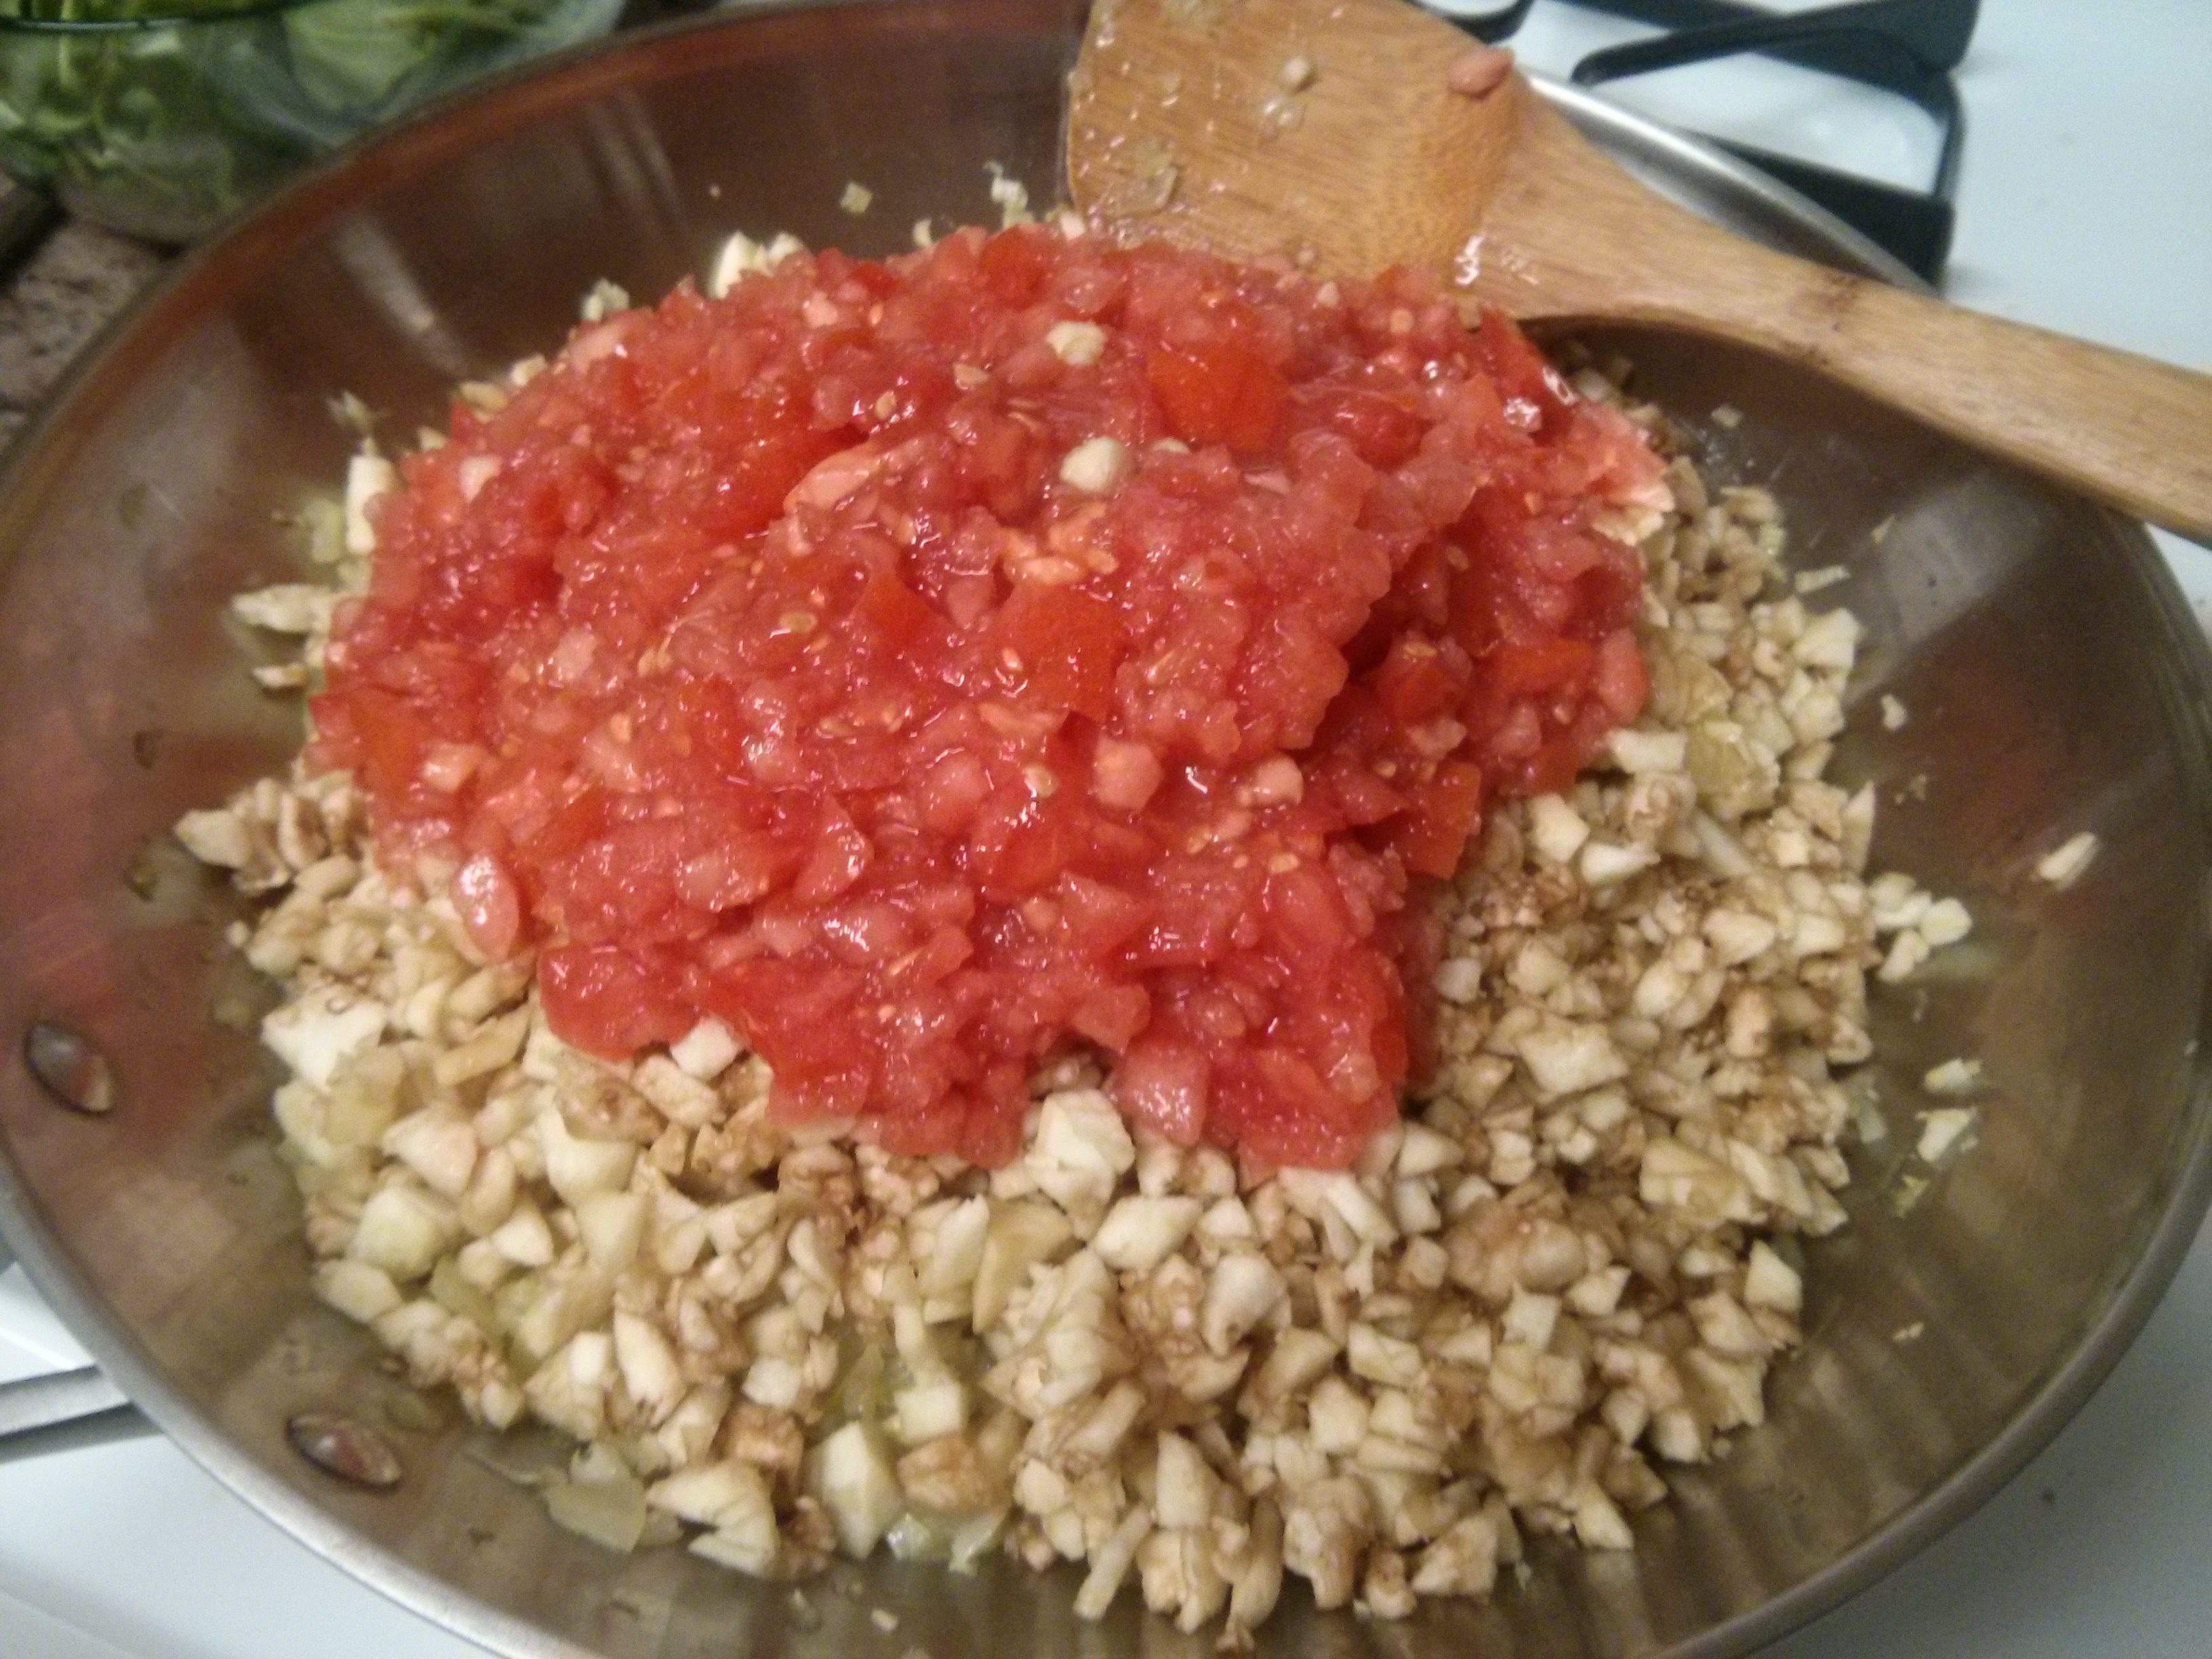
Then I continued down the traditonal, basic risotto path by adding the rice, the wine, and the first cup of broth. It was only after the first cup of broth had been absorbed that I added the carrots and red peppers:

wpid-wp-1423626458753.jpeg

How about the early color, right??? Looks good! Color, yes! Correct order, however, no. There was a part of me that wanted to believe that it would work – that I could add the carrots and red peppers at this point and have them cook and soften during the the successive simmer steps, and that’s why I had decided to try it – but almost as soon as I added them to the rice, and definitely while I was stirring them in, I knew I had made a mistake (or rather, we might say, a *learning experience*). I should have sauteed them first. But now they would still be crunchy when the rice was done, and with risotto, it’s more the arborio rice that’s supposed to be the slightly crunchy star.

With nothing to do but smile and chuckle (and if I’m being honest, there may have been some eye-roll too), I then went about picking out, piece by piece, all of the little carrot and red pepper pieces I had just stirred all the way in. As I did this, I also continued cooking the rice, adding 1 cup of broth/water at a time. The piece by piece effort also reminded me of a good ninth grade summer memory of doing a 3,000 piece puzzle of Versailles, most of which involved a picture of the garden. It was steady family work, one piece at a time, and though sometimes it was hard to feel the progress along the way, the progress came, and the puzzle moved forward.

wpid-wp-1423698909449.jpeg

Yes, I picked this much out by hand, one piece at a time.

After sauteing the carrots and red peppers I’d removed – I’ll estimate I got two-thirds of them out – and returning them to the pan, the risotto was almost done. I bestowed the other third of them with ‘soft enough’ status, as they actually did cook a bit, and then I got the shredder out to do the Parmesan cheese. (You can do a vegan version too of course, without the cheese. If you do this, maybe use broth instead of the water, and adjust the salt and pepper accordingly to your liking.)

And then it was all done! And time for some portraits.

wpid-img_20150209_210737.jpg

The risotto

wpid-wp-1423618340890.jpeg

The shredder, with an interesting risotto color mimicry

wpid-wp-1423803675199.jpeg

A close up

wpid-wp-1423698915780.jpeg

Well, hello

wpid-wp-1423698921386.jpeg

Don’t back the cheese up or you’ll blow a tire

wpid-wp-1423698930249.jpeg

Sorry, can’t talk right now, I’m eating dinner

wpid-img_20150209_213254.jpg

And on the plate

In the end, the vegetable combination worked out pretty well – the risotto had good taste and good color. And it was the taking of a step, jumping in, and going with the experience that had worked to get me started and got me through. What’s that saying again? Yes. The proof is in the pudding. And the reason is in the risotto.

Eggplant Parmesan Sloppy Joes

If I ever had a restaurant, this would go on the menu.

wpid-img_20141117_205933.jpg

It’s quick, easy, uses whole ingredients, and is delicious.

I made it for the first time about a month ago, shortly after making the regular Eggplant Parmesan. I had gotten another eggplant and some tomatoes from the farm share, and to try something new, I decided to make tomato sauce with diced eggplant. At some point along the way, I remembered I also still had fresh bread crumbs and Parmesan and mozzarella. So I added them, too. The result: awesome Sloppy Joes. 

Eggplant Parmesan Sloppy Joes

The ingredients

  • 1/4 cup olive oil
  • 1 large onion, diced
  • 3 garlic cloves, diced
  • 1 eggplant, diced
  • 3 tomatoes, diced
  • 2 handfuls arugula
  • 1 ¾ cup bread crumbs
  • 3/4 cup fresh Parmesan, grated
  • 3/4 cup fresh mozzarella, grated
  • 1 ⅝ tsp salt

The steps:

  1. Heat the oil in a frying pan over medium heat
  2. Add the onions and garlic, and sauté until soft, about 15 minutes
  3. Add the eggplant and tomatoes, and simmer over medium heat until the eggplant is mostly soft, about 30 minutes
  4. Add the arugula
  5. Add the bread crumbs
  6. Add the Parmesan and mozzarella
  7. And then add the salt

Here’s how everything looked at the beginning, when I made it this week.

wpid-img_20141117_190550.jpg

The first step was dicing the vegetables.

The onion (I used three small ones in place of one large one this time)

The onions (I used three small onions this time)

Garlic

Garlic

wpid-img_20141117_193254.jpg

Eggplant (remember to peel first)

wpid-img_20141117_195158.jpg

And the tomatoes

To save time, I actually did the dicing in two parts. I diced the onions and garlic first, and then while they were sauteing in the olive oil, I diced the eggplant and tomatoes.

wpid-img_20141117_195047.jpg

The onions and garlic, looking good after 15 minutes

Once the onions and garlic were ready, I added the eggplant and tomatoes.

wpid-img_20141117_195300.jpg

I’ve found that when cooking eggplant, the key for me is to cook it long enough so that it no longer has its initial toughness, but not so long that it becomes completely soft. A 30-minute simmer worked well in this case.

With the eggplant cooked, I then added the rest of the ingredients: the arugula, bread crumbs, and Parmesan and mozzarella.

wpid-img_20141117_202444.jpg

The arugula

wpid-img_20141117_203004.jpg

Bread crumbs

wpid-img_20141117_203248.jpg

wpid-img_20141117_203916.jpg

And the Parmesan and mozzarella

And then I added the salt and was done!

If you don’t have arugula, you could also try spinach or chard, or leave it out. I like the extra color and taste that the arugula leaves add to the Sloppy Joe mixture, and they go well, too, as an extra topping in the bun. This time I added arugula and a few tomato slices to the bun. An extra piece of mozzarella or Parmesan is another great addition.

wpid-img_20141117_205933.jpg

And if you have small crackers and plum tomatoes, you can also make little Sloppy Joe bites!

wpid-img_20141117_205544.jpg

wpid-img_20141117_205635.jpg

Whether as an appetizer or the main course, I’ll definitely be making this again. It’s like Eggplant Parmesan, but inverted, and in the same category of awesome.

Eggplant Parmesan

And then, there was Eggplant Parmesan.

IMG_20141012_121857

It’s actually pretty easy to make, especially when you have all the ingredients all ready and set to go:

  • Tomato sauce
  • Fried eggplant
  • Fresh Parmesan cheese, shredded
  • Fresh mozzarella cheese, shredded

Here are the basic steps:

Step 1

wpid-img_20141012_105945.jpg

If you’re like me and made fresh bread crumbs for the eggplant, the first step is, Clean out the oven.

wpid-img_20141012_110026.jpg

I mentioned earlier that I had already made Eggplant Parmesan about three times this year. I’ll mention now that two of those times, I started preheating the oven for the eggplant before I remembered to clean up the bread pieces. The smell of something burning, in these cases, provided a good reminder of this step.

Step 2

wpid-img_20141011_225737.jpg

The next step is getring the baking dishes ready. This means adding a small layer of tomato sauce to each dish. If you’re making individual Eggplant Parmesan pieces, this is particularly important so the areas around the pieces don’t burn.

Step 3

Now add all the ingredients, one after another, to form the Eggplant Parmesan pieces – the eggplant, tomato sauce, Parmesan cheese, and then the mozzarella cheese. The process for the layered version is basically the same – just repeat the same ingredient-steps to create however many layers you want. In terms of the cheese to be added, I shredded the Parmesan fine and the mozzarella regular-size.

Pictured below are the steps for the individual pieces:

wpid-img_20141011_230401.jpg

wpid-img_20141011_230805.jpg

wpid-img_20141011_232622.jpg

wpid-img_20141011_234244.jpg

To the right in the pictures above is a second dish where I did the layered version. Three layers were a good fit for this standard 9″ x 13″ x 2″ glass baking dish and for the amount of eggplant I had prepared.

When making the layers, I packed the eggplant pieces a little more tightly so there weren’t many gaps. Then following in turn, I added enough tomato sauce to make the sauce uniform on top of that.

wpid-img_20141011_230859.jpg

Here: the tomato sauce on top of the eggplant while making the first layer

Then the cheeses are added, spread evenly on top of the sauce, and the layer’s done. Each of the three layers was the same: eggplant, tomato sauce, and then the Parmesan and mozzarella.

Step 4

With the Eggplant Parmesan pieces and/or layers now ready, preheat the oven to 350 degrees, and bake until the sauce starts to bubble and the cheese all melts together (and begins to crisp just slightly). This took me 25 minutes baking at 350 (and then 5 minutes more at 400 to get the desired crisp). Maybe better would have been 20 minutes at 375 – something to try next time.

wpid-img_20141012_114929.jpg

The individual pieces

IMG_20141012_121857

wpid-img_20141012_115030.jpg

And the layered version

IMG_20141012_122038

Overall, I’d call it a satisfying culinary and creative week. My original plan was to do everything in a row – Monday, Tuesday, Wednesday, Thursday – but with writing and other things, the cooking got more spread out:

Of course, you can also do everything on one day. It’s really only the two middle steps, the eggplant and the sauce, that take some time. There are also ways to make the sauce more quickly, like simmering it for less time (or using canned tomatoes instead of fresh).

If you try making it, let me know how it turns out. I bet it’ll be good. For me, eating some warm, freshly-made Eggplant Parmesan is a melts-in-your-mouth experience that often makes me think, and sometimes say out loud, Wow, this is good.

IMG_20141014_193125