Let’s file this one under hearty, midweek, easy, and good. I made an initial version of it earlier in the week, and I was like, “Hmmm, this is pretty good for being pretty simple,” and then I made it again yesterday so that I could give it to a friend and also refine it/write about it.

While the first goal will be a goal-postponed – given the snow, my friend and I decided to connect on another day – the second goal is in the process now of being a goal-realized. 🙂
As many a cook knows, many times or perhaps most or even all of the time, what you make often turns our a little different every time. This is especially true when you keep the ingredients (mostly) the same and don’t worry (too much) about the exact amounts. In this case, I knew the ingredients that I’d used the first time but not the precise amounts. I also decided to make a small spice swapperoo at the end. The result? The second version was indeed different from the first, and better.
The dish’s slightly different appearance the second time I made it also moved it a little further from how it reminded me of tabbouleh (the dish’s brown rice and spinach looked a little darker this time, I think because I used a little more tomato paste), but no matter for the name. I like the original name I gave it; it’s more interesting than calling it, say, vegetable-bean-spinach-baked-tofu rice; and in the end, it’s still a hot version of something somewhat reminiscent of tabbouleh, yet something else.
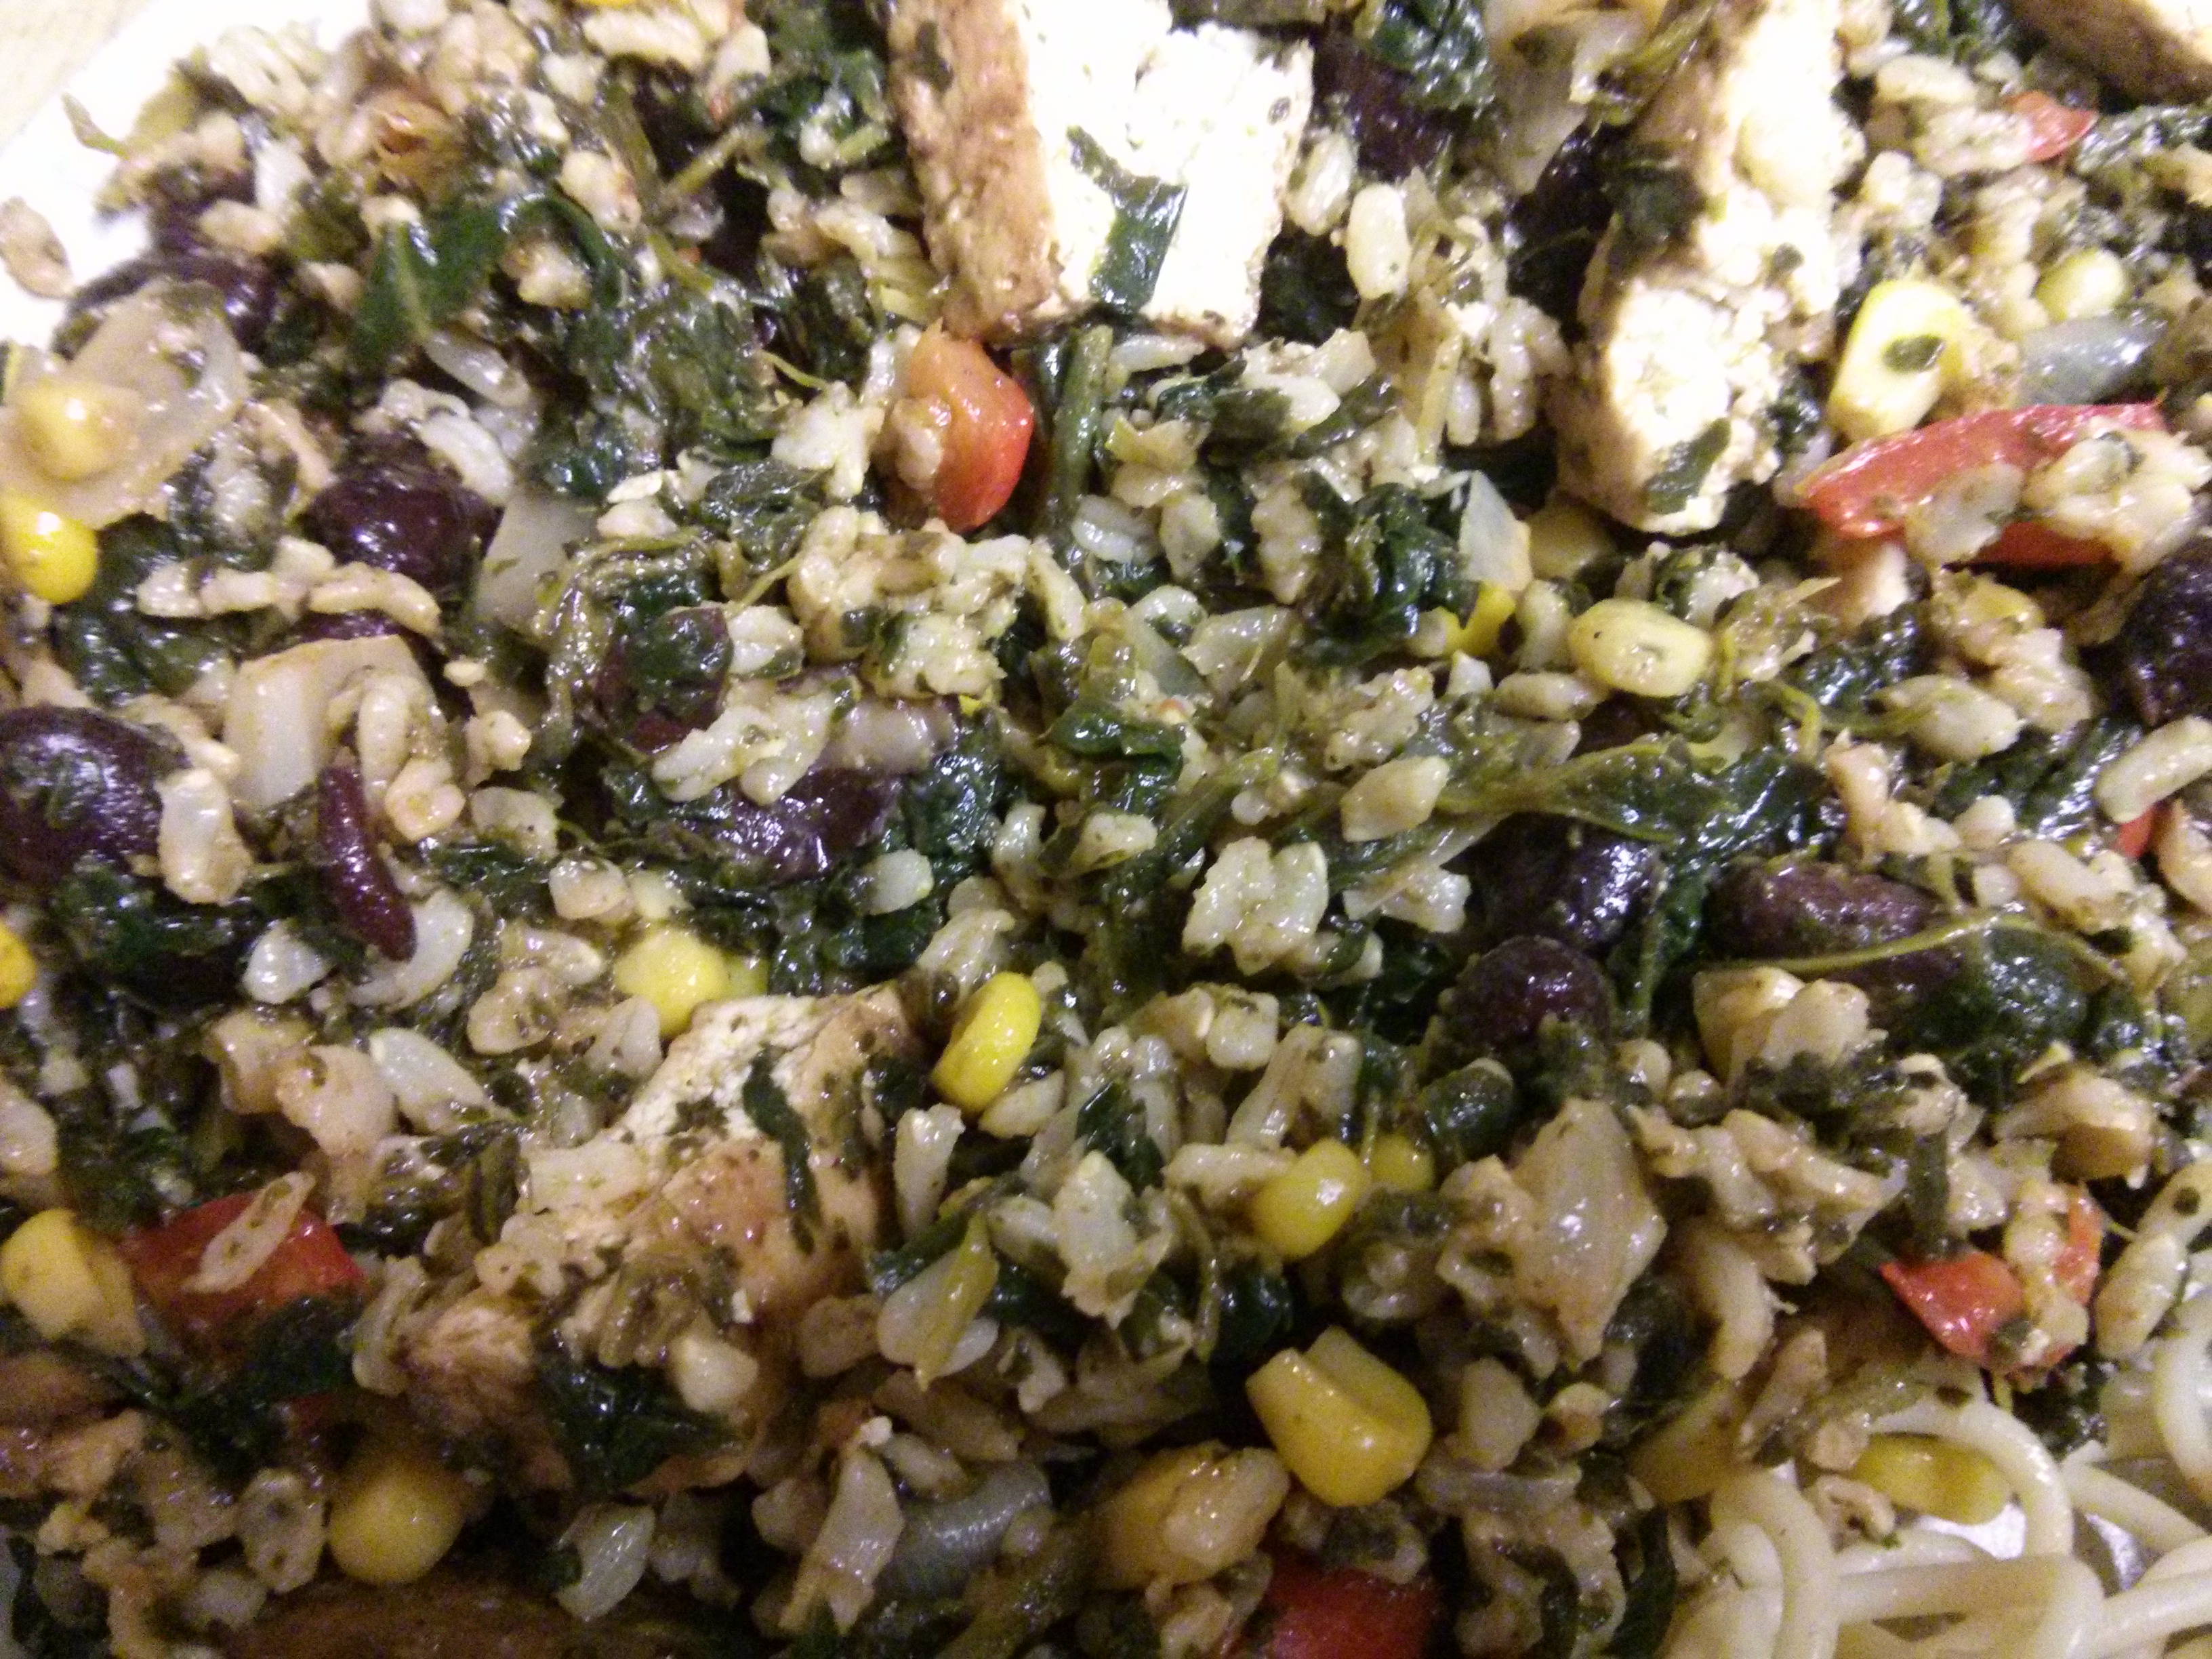
First version

Second version
Hot Not Tabbouleh
The igredients
- 1/4 cup olive oil
- 2 onions, chopped into small pieces
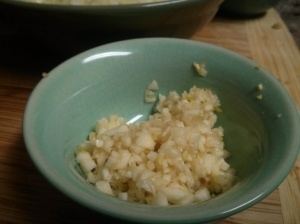
- 3 garlic cloves, diced
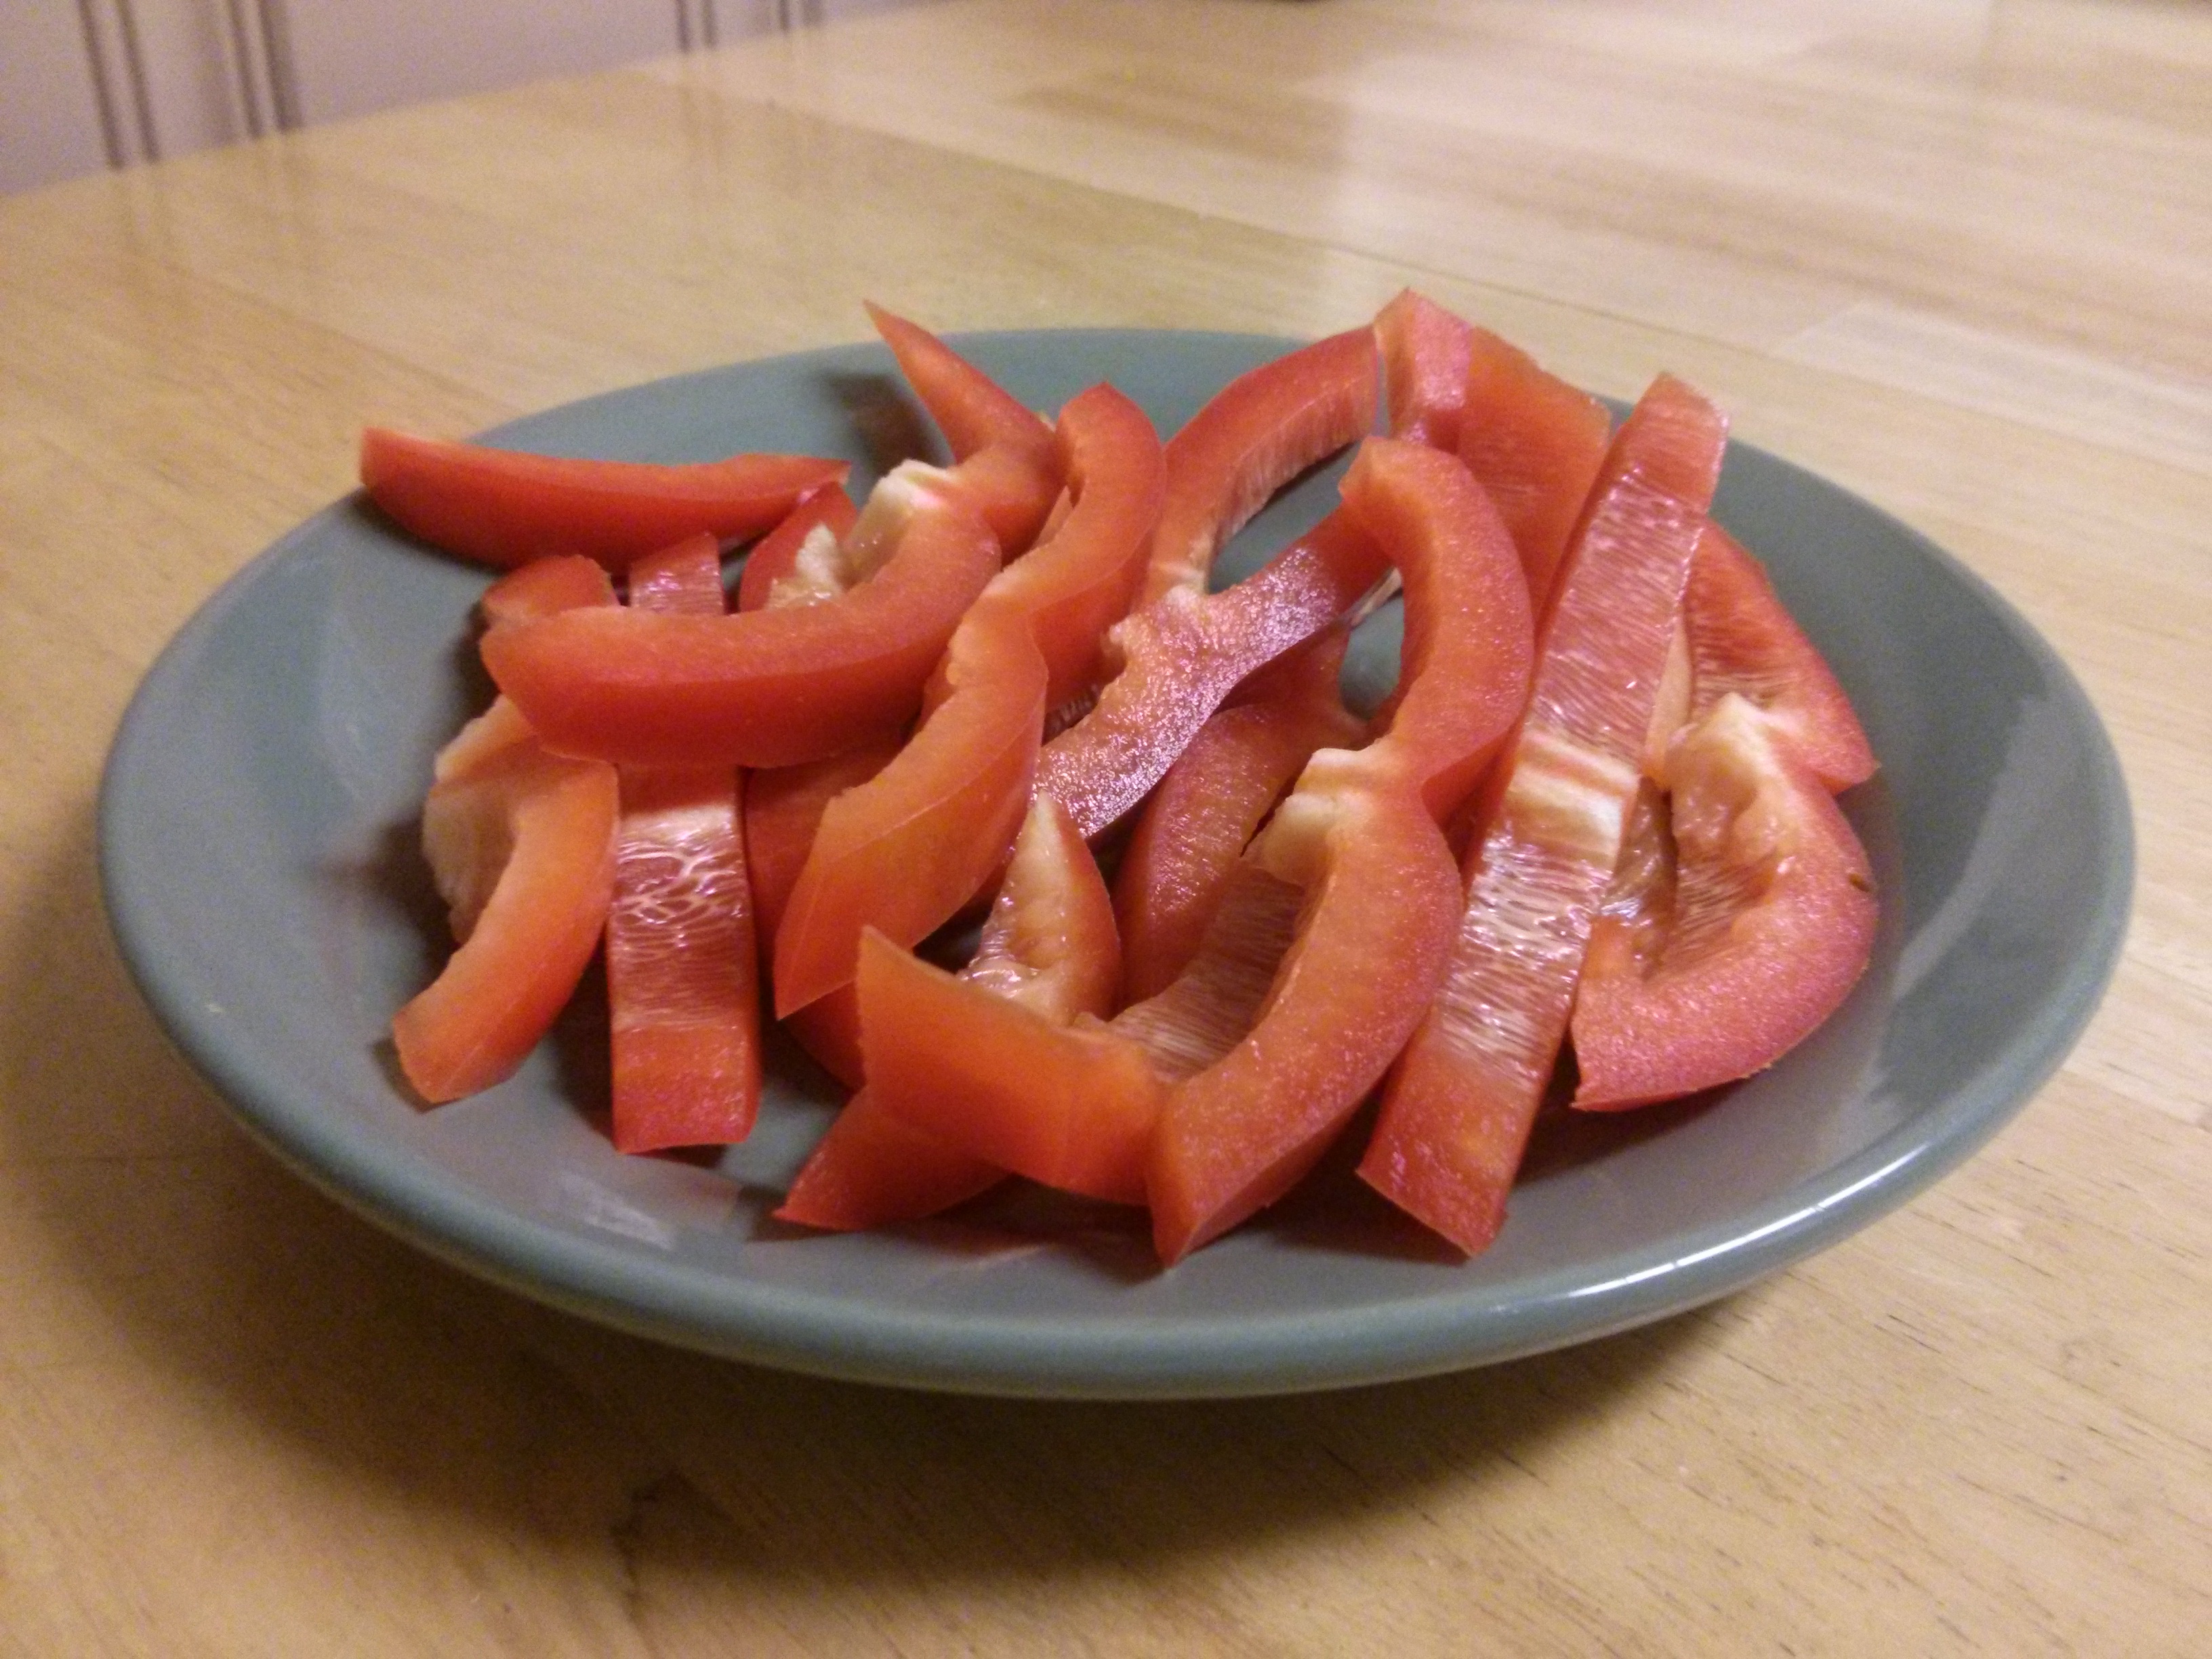
- 1 red pepper, chopped into small pieces
- 16 oz (1 can) light red kidney beans
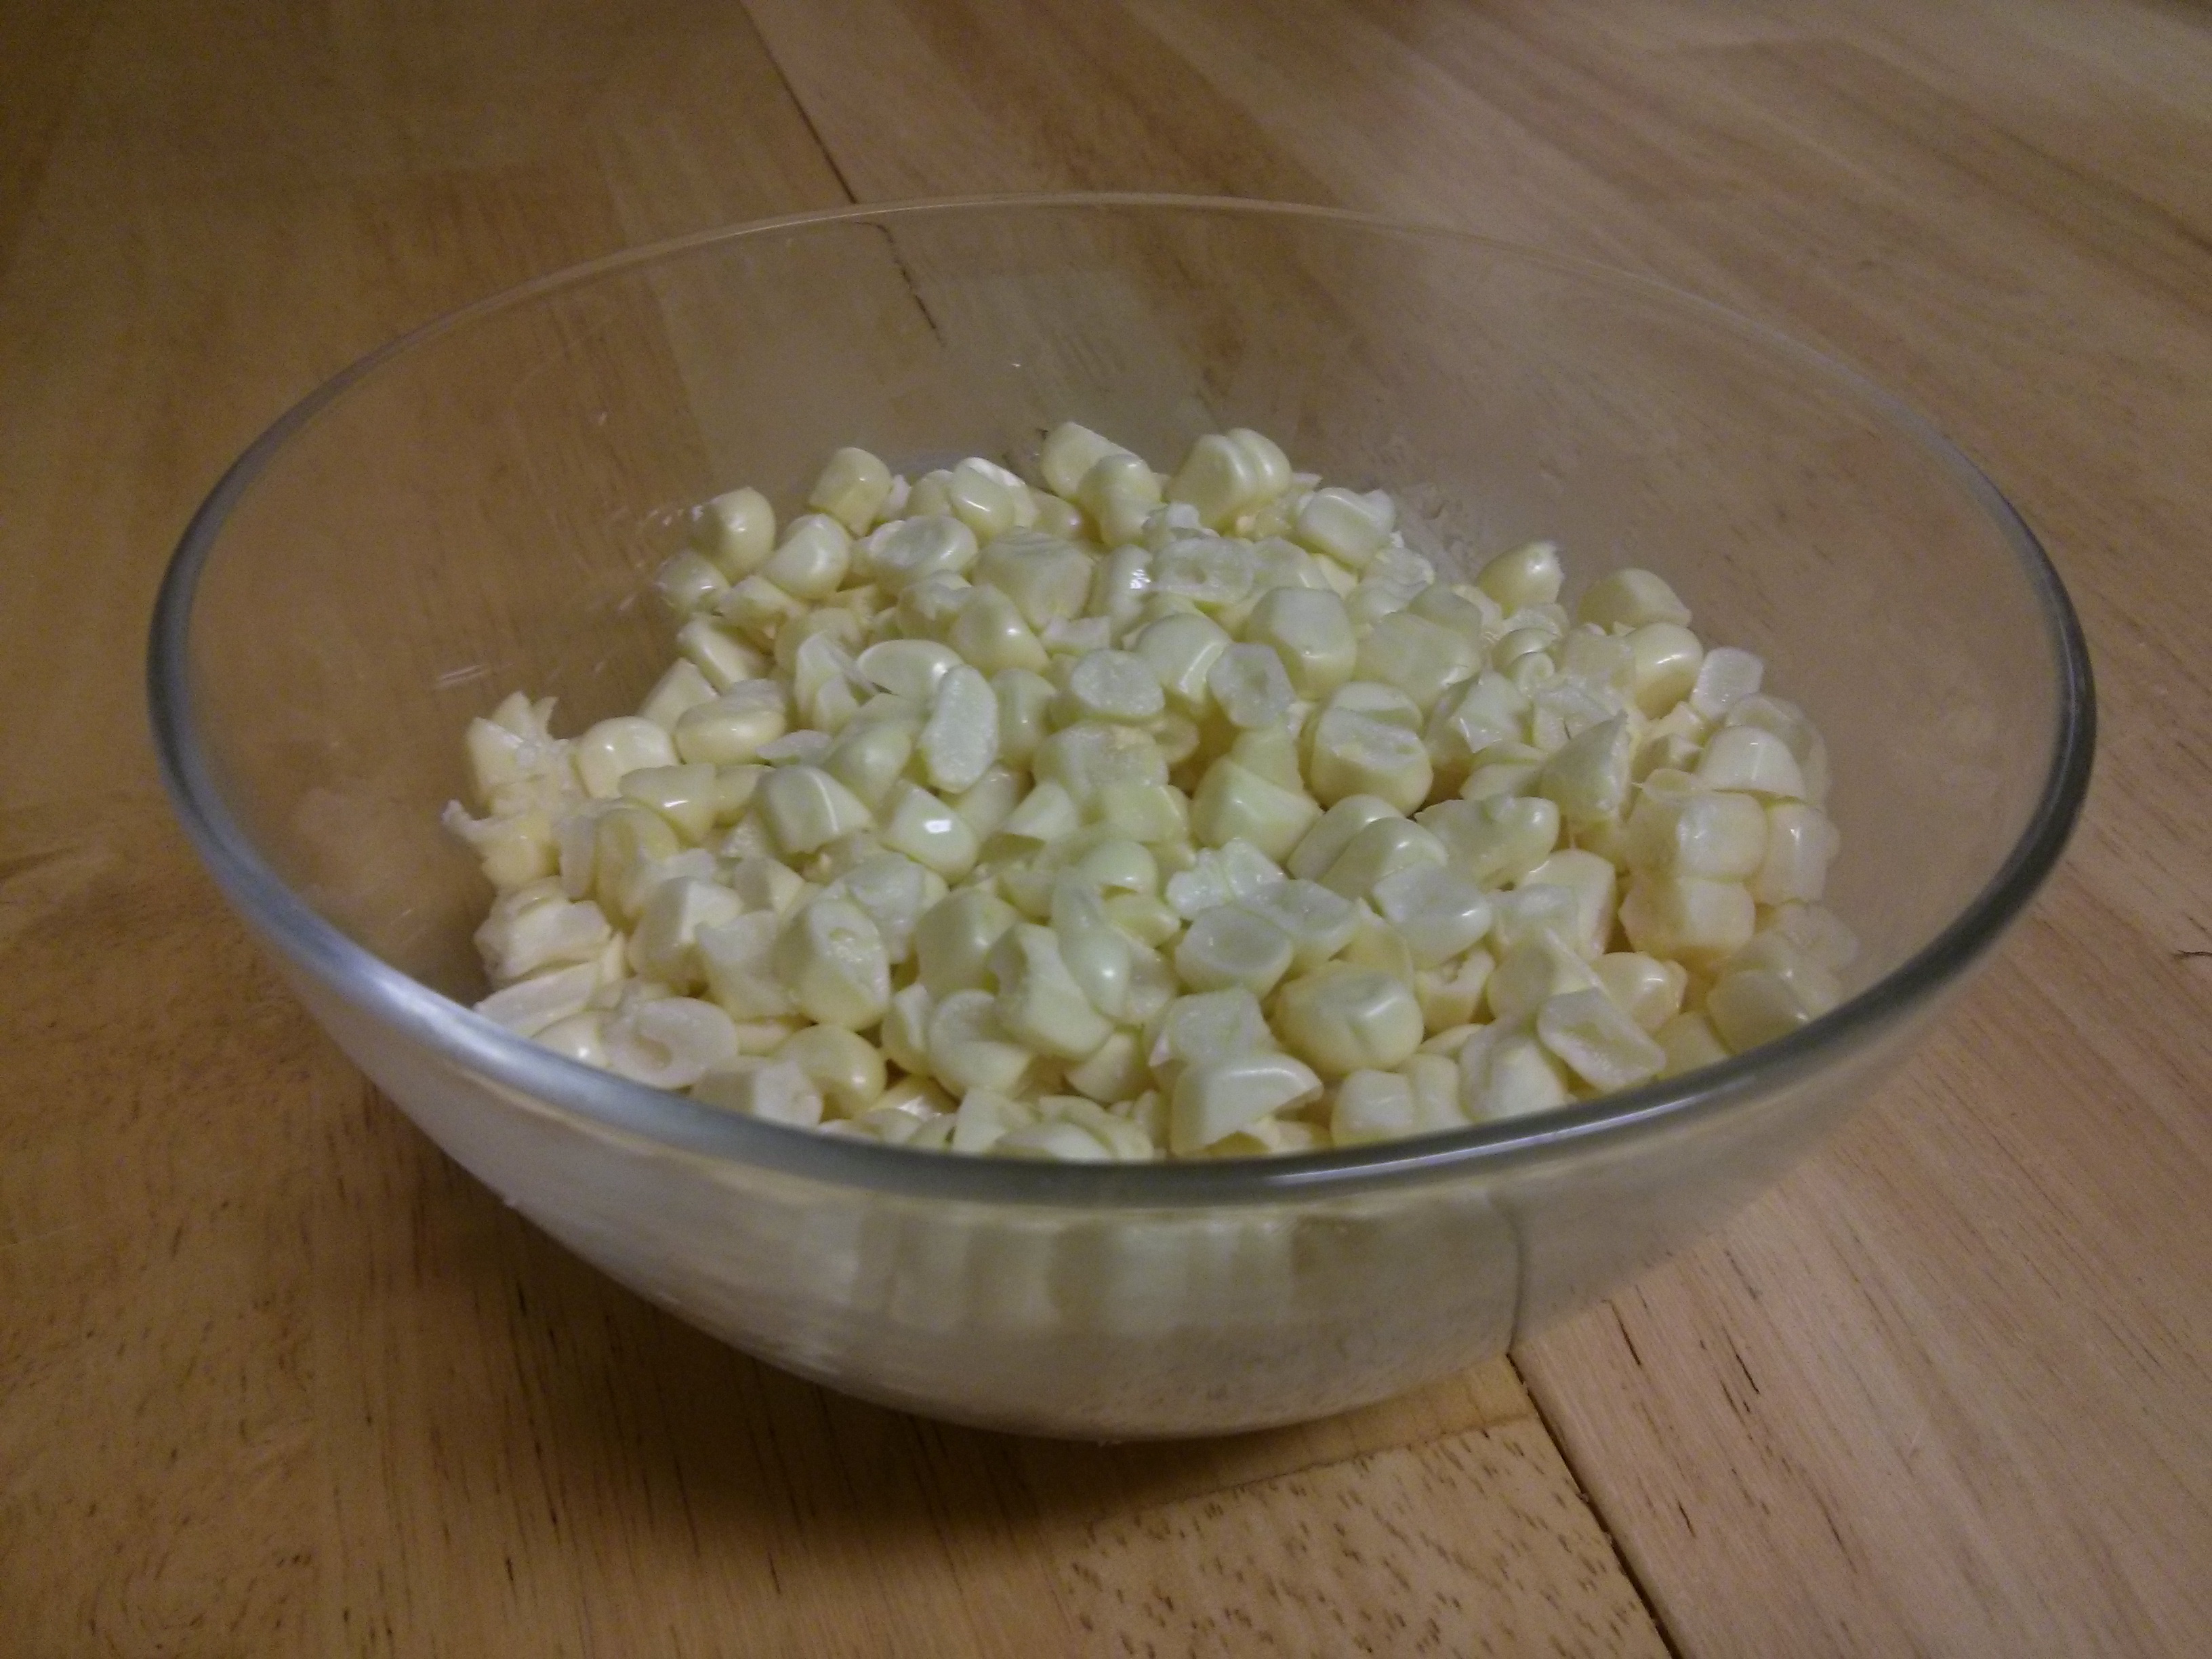
- 1 1/4 cup corn kernels
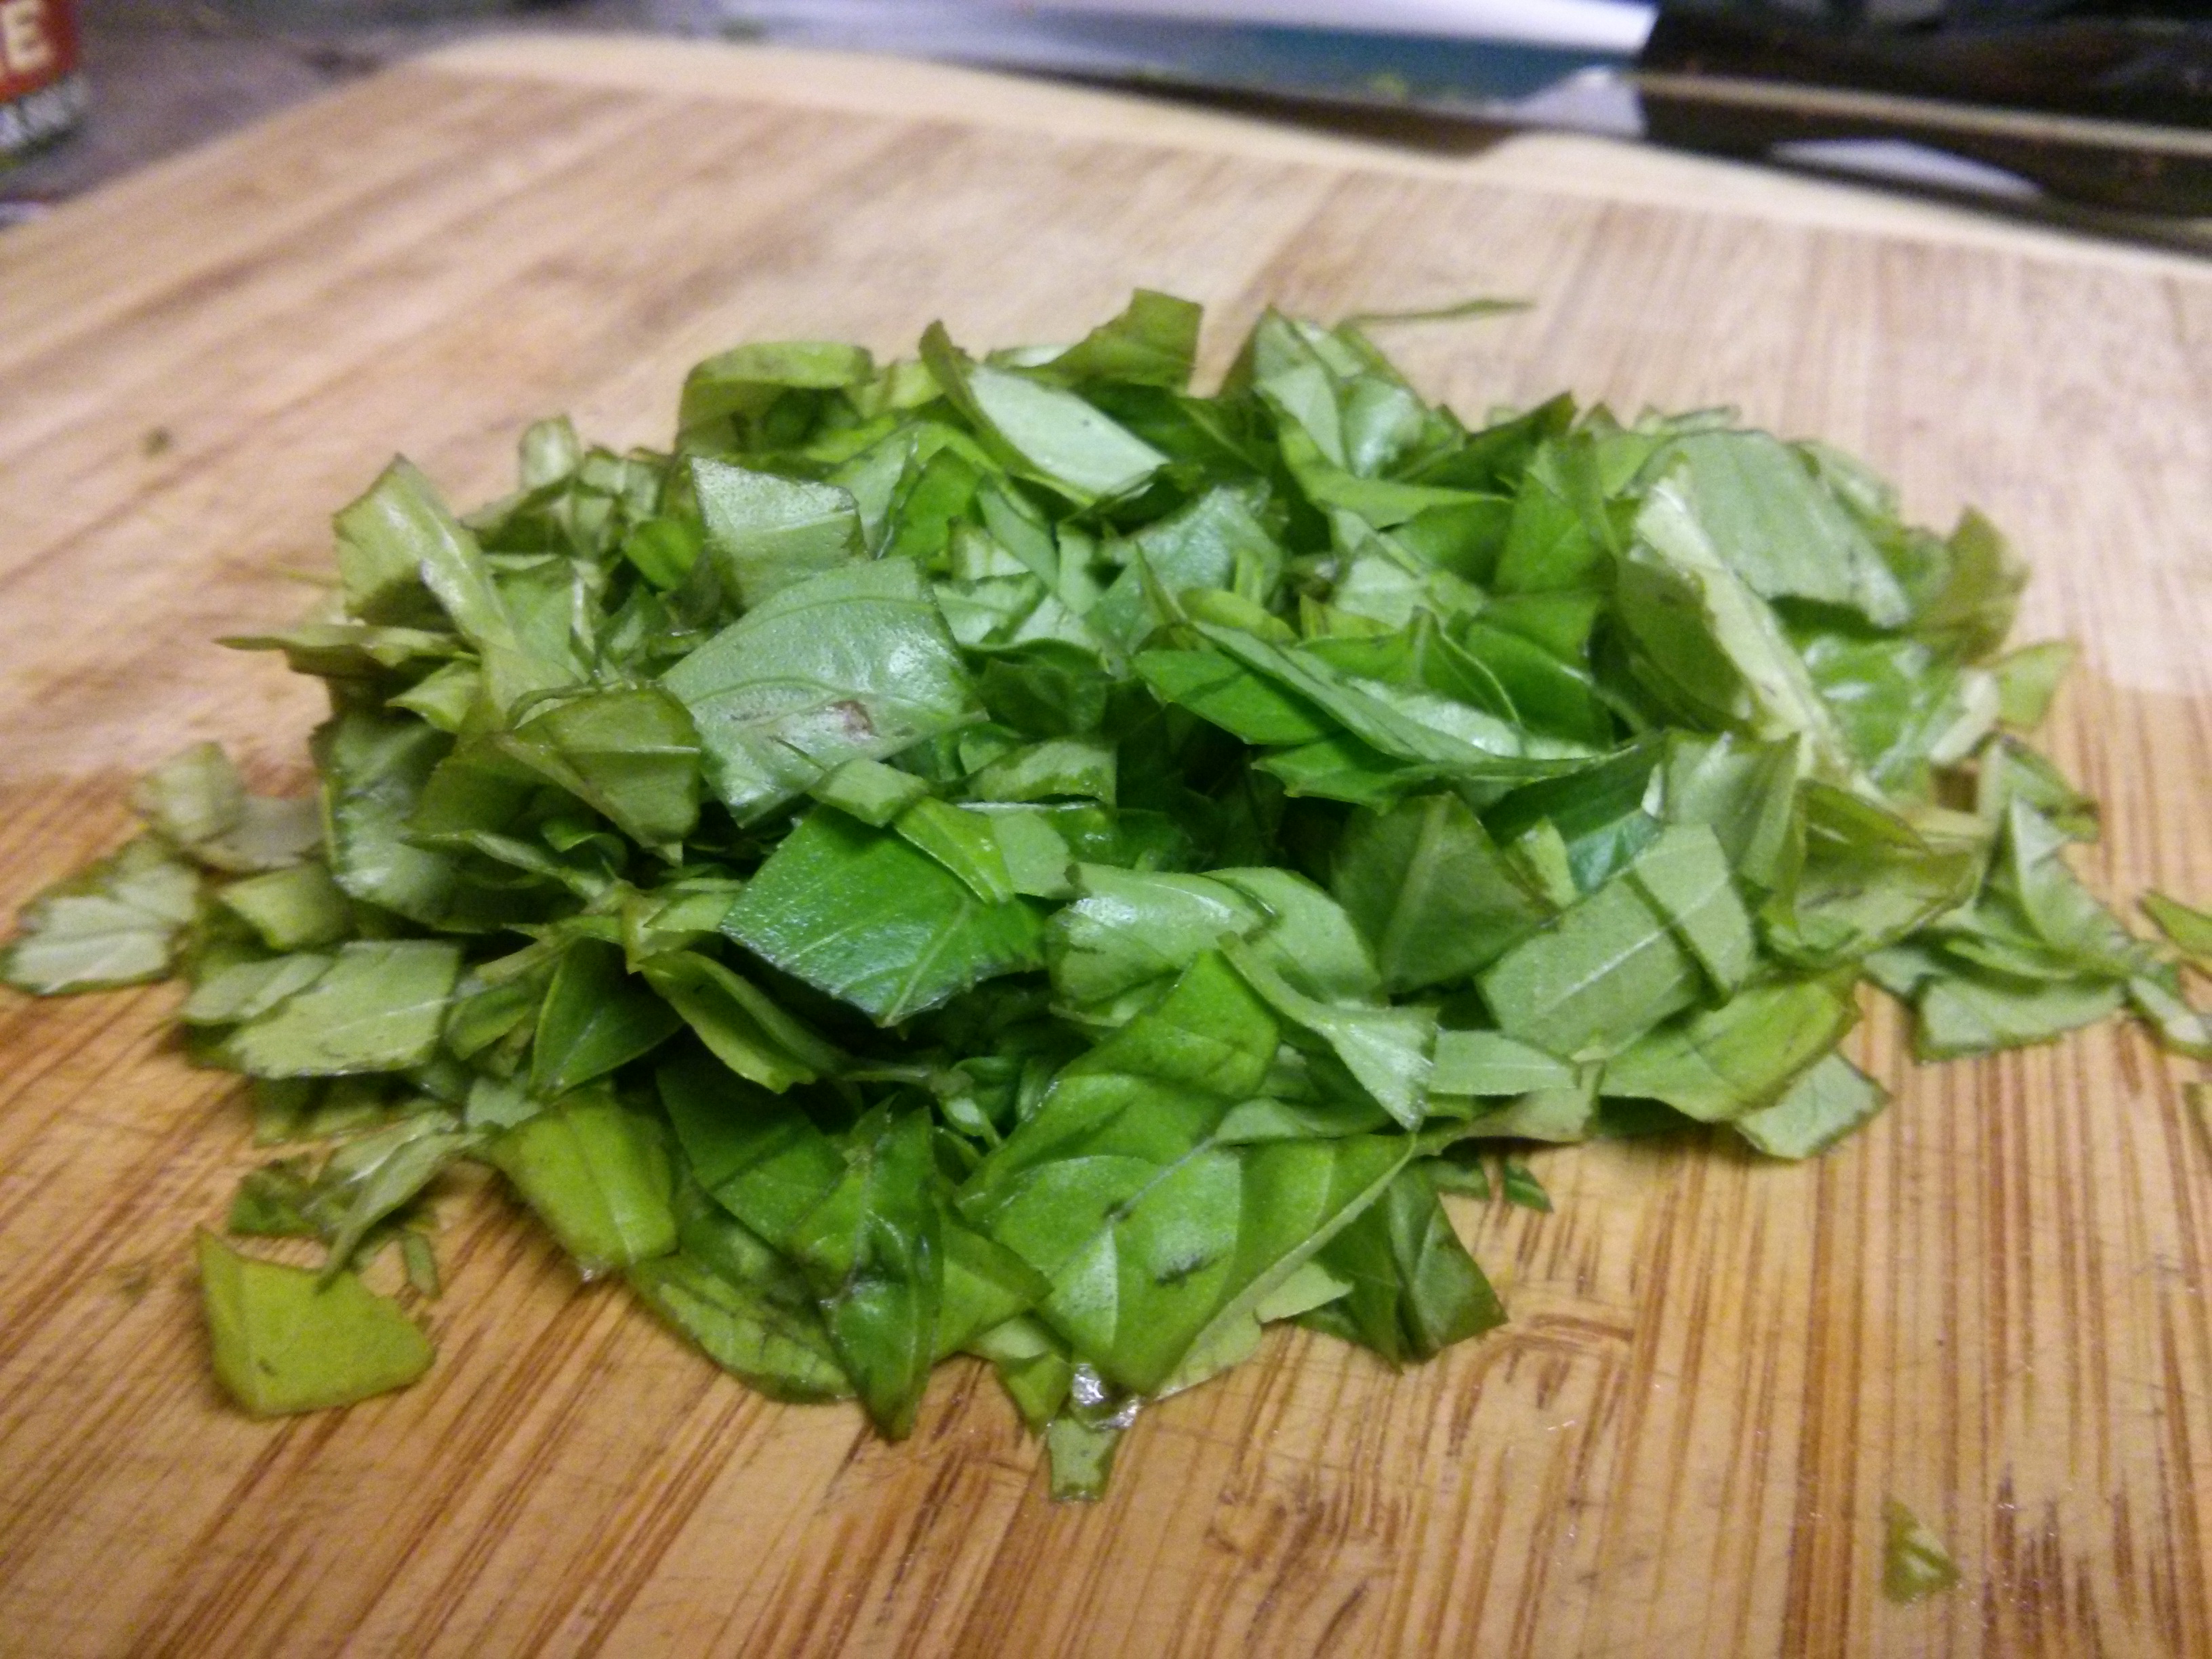
- 16 oz spinach
- 2.5 cups cooked brown rice (1 cup uncooked)
- 3 oz tomato paste
- 1/2 cup white wine
- 1/2 cup water
- 2 tsp salt
- 3/4 tsp pepper
- 1/2 tsp chili powder
- Lemon juice from 1/2 lemon
- 16 oz extra firm tofu
- 2.5 Tbsp soy sauce
[Wow, 17 ingredients! That might be the longest list in this space so far. It’s possible you have all or most of them already, though. The only things I didn’t have until that first day were the spinach and the corn, which I happened to buy (frozen) on a whim while wandering Wegmans.]
The steps
- Make the rice. (I used a rice cooker.)
- Bake the tofu. (Press out extra water, cut into small slabs (I made them about 1/2″ x 1″), mix with the soy sauce in a bowl, and bake on a baking sheet at 400 degrees for 40 minutes, flipping them once half-way through.)
- Then do the rest. Start by sauteing the onions and garlic in a large pan over medium heat. Sauté until mostly soft.
- Add the red peppers and sauté until mostly soft
- Add the beans, corn, and spinach
- Add the rice, tomato paste, wine, and water. If there is any soy sauce left in the bowl, add that too.
- Mix everything together and cook for 20-30 minutes, stirring occasionally to keep it from sticking to the bottom.
- Add the salt, pepper, chili powder, and lemon juice
- Cut the baked tofu pieces in half lengthwise, and add them to the pan
- Mix everything together and cook for another 10 minutes

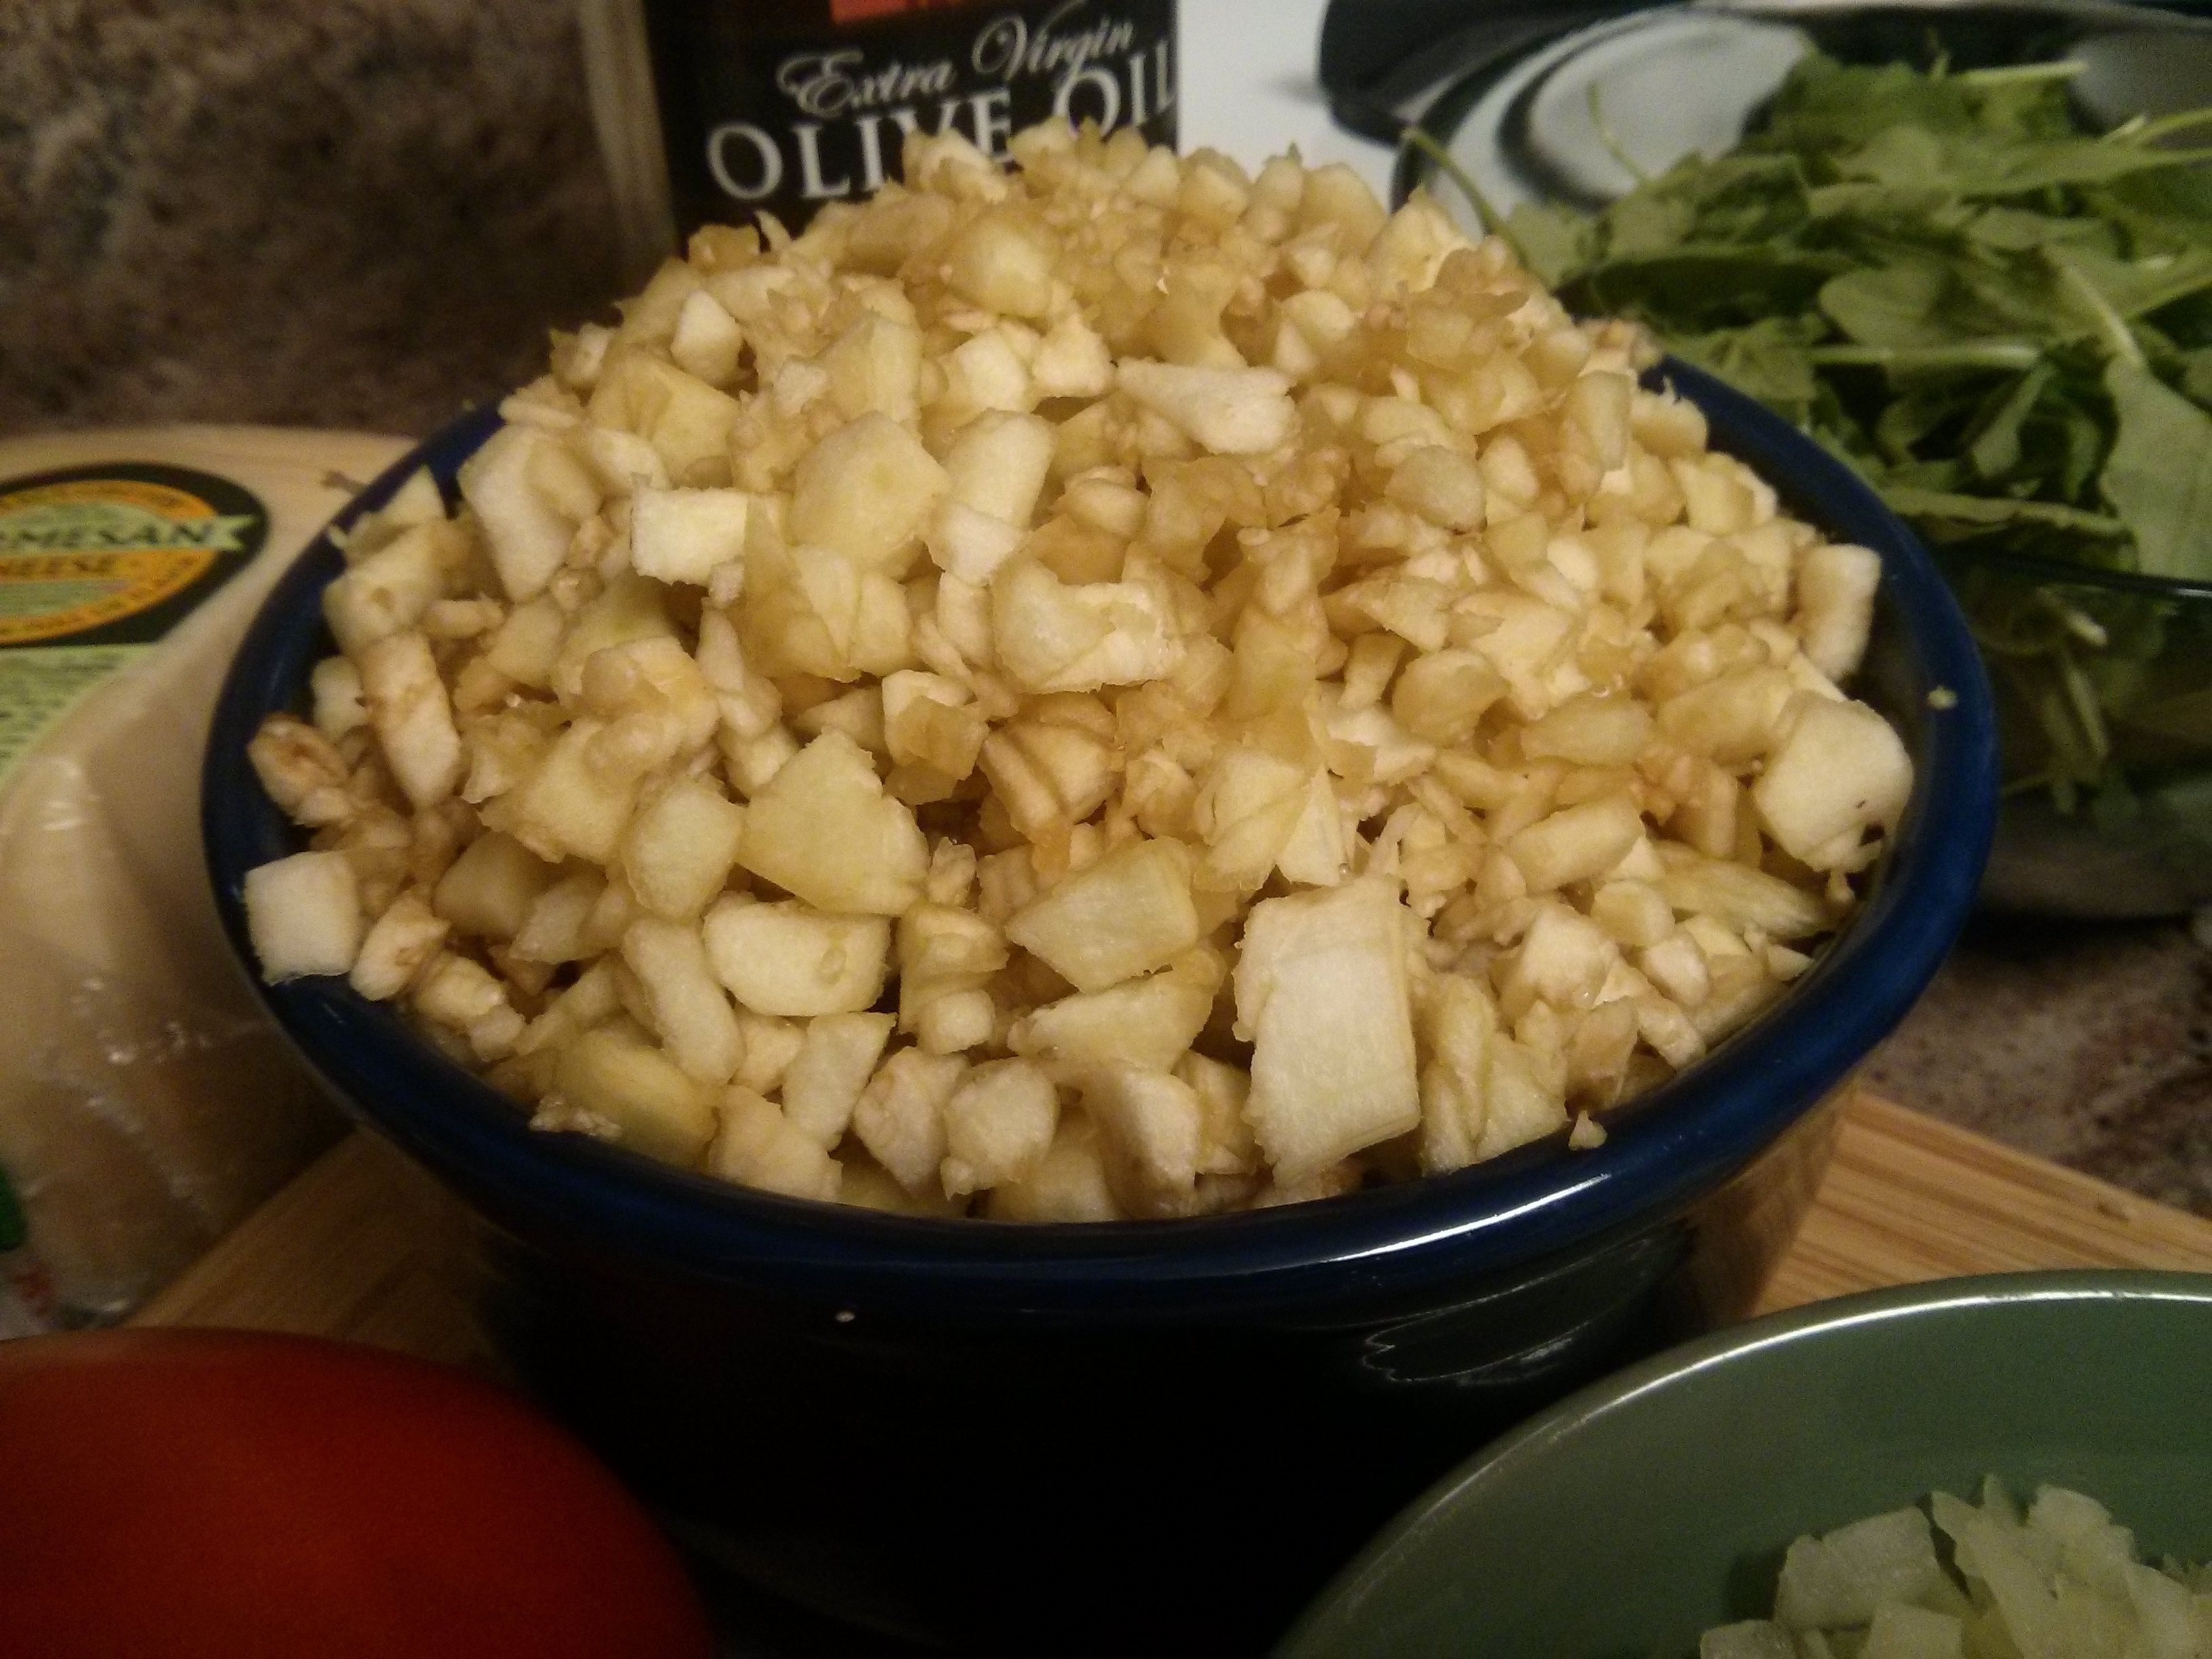
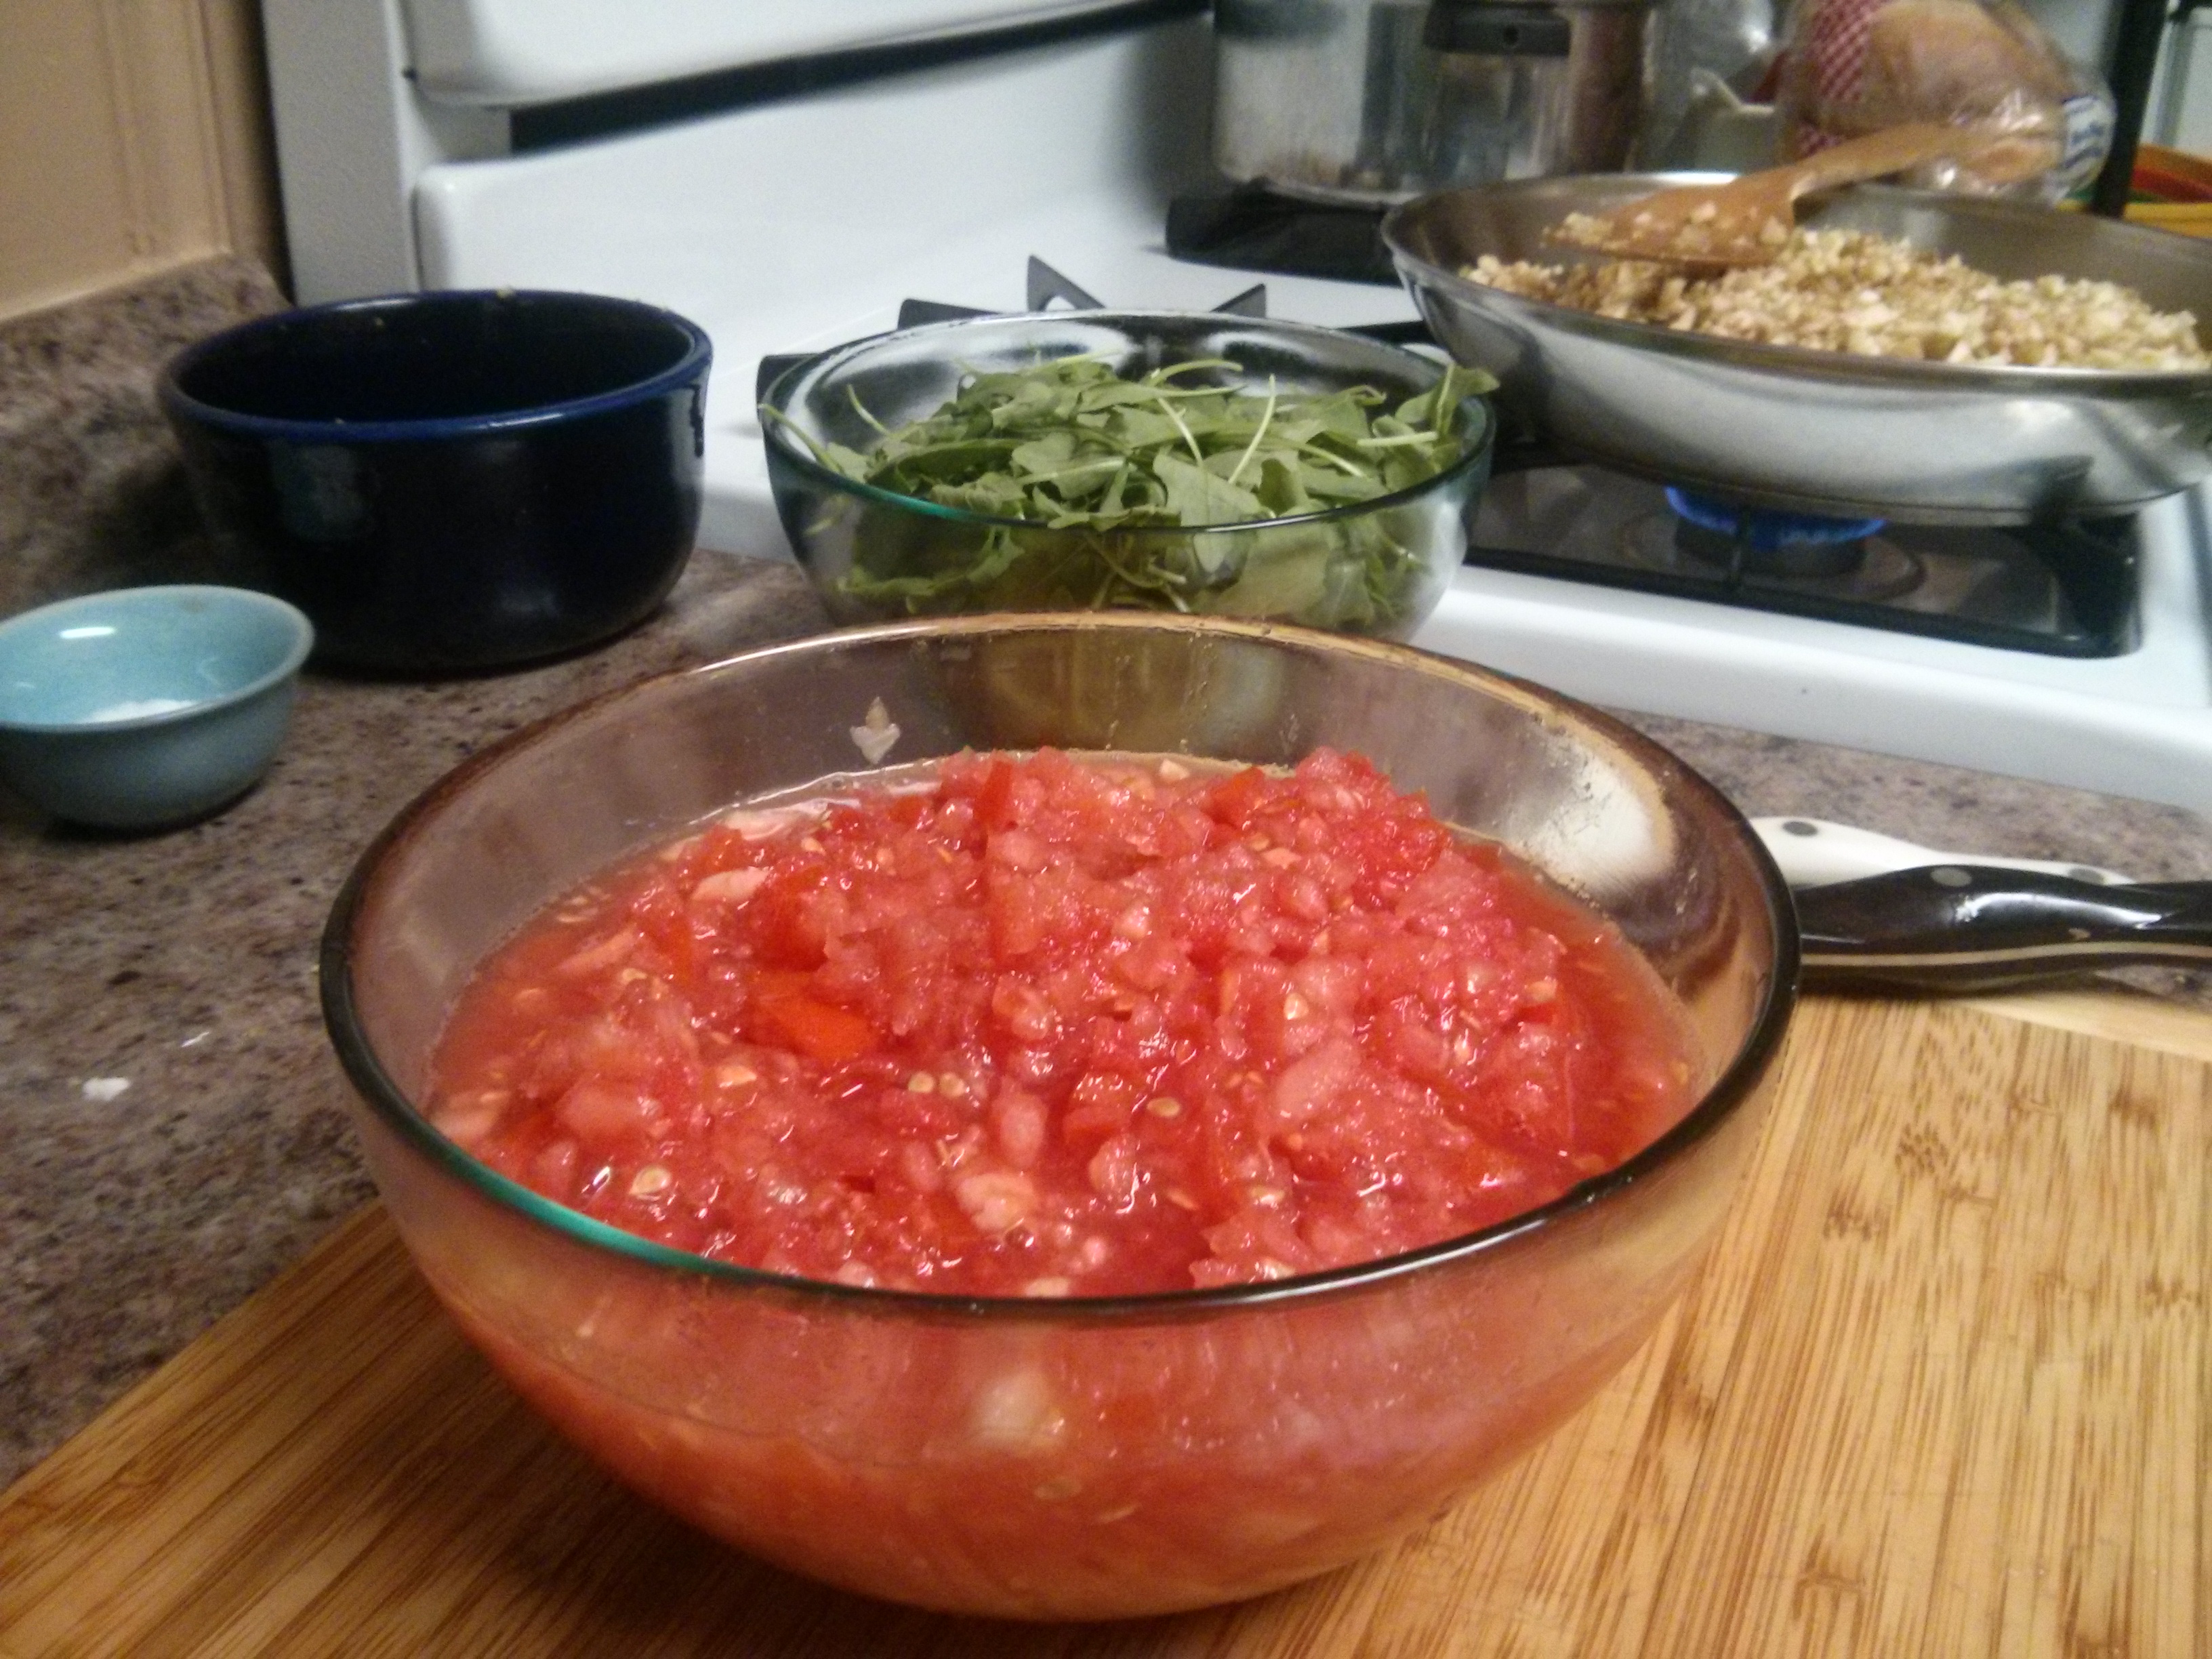
Most of the ingredients

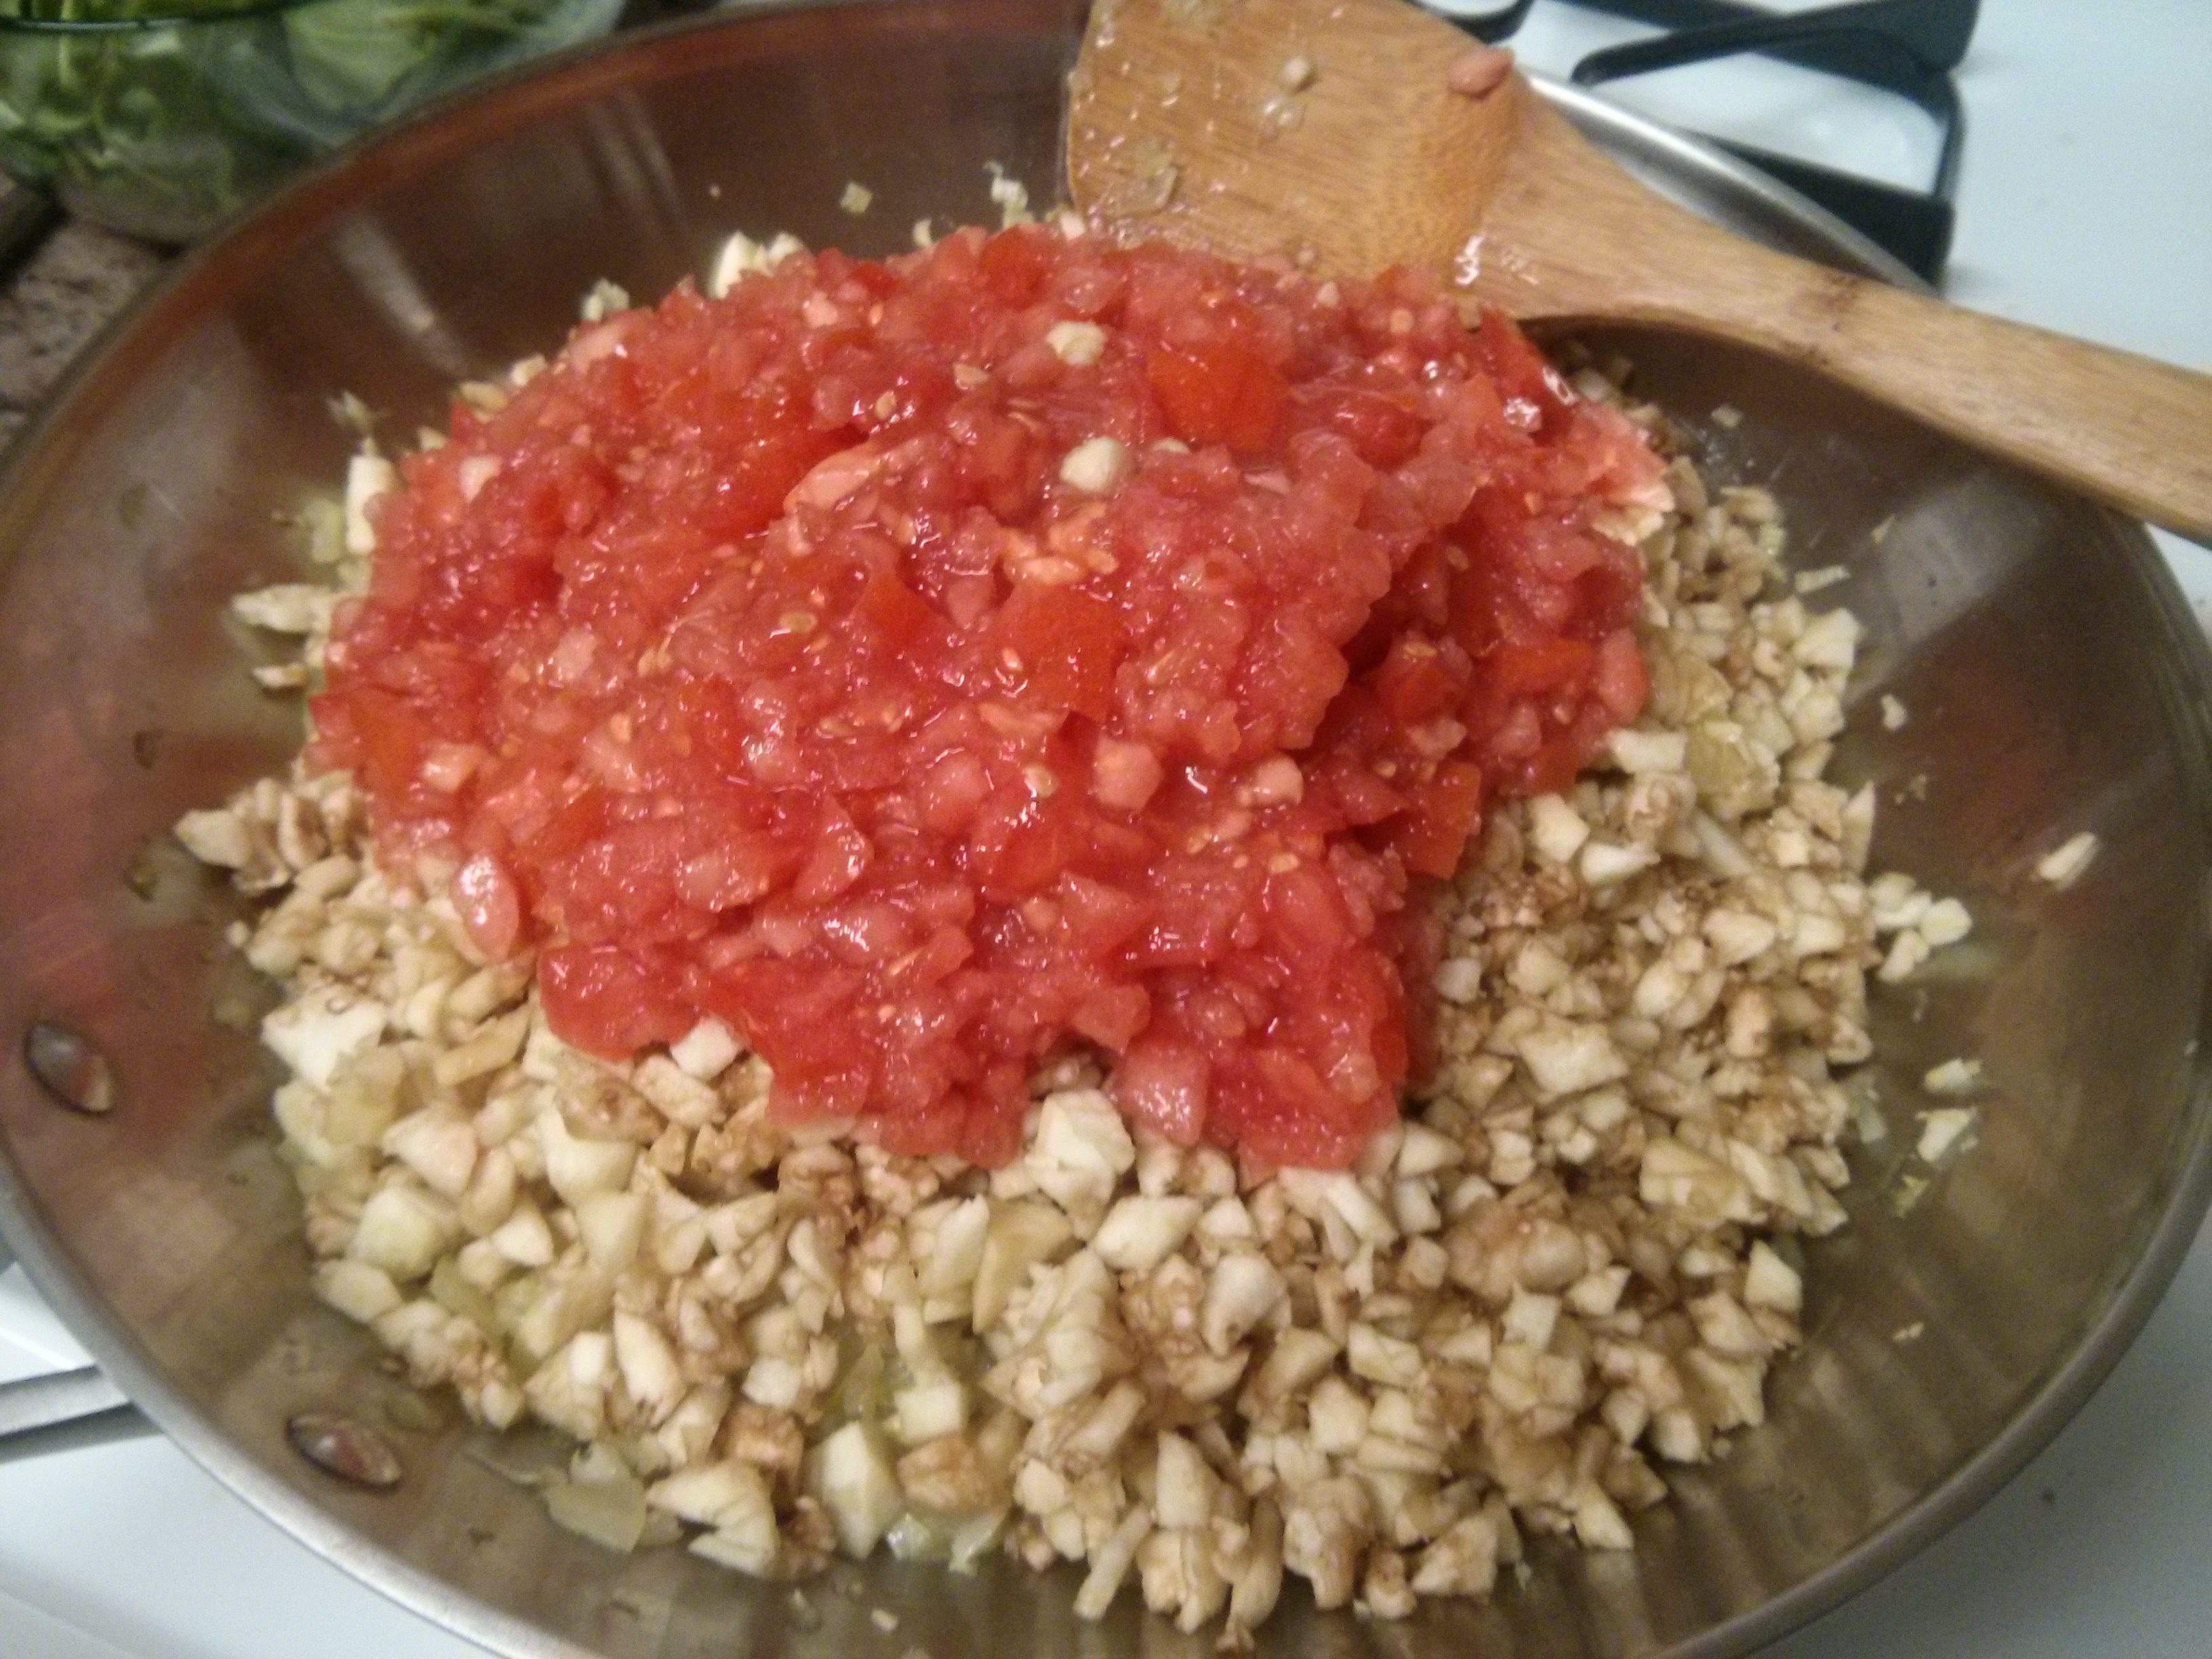
Just after sauteing the onion, garlic, and red pepper

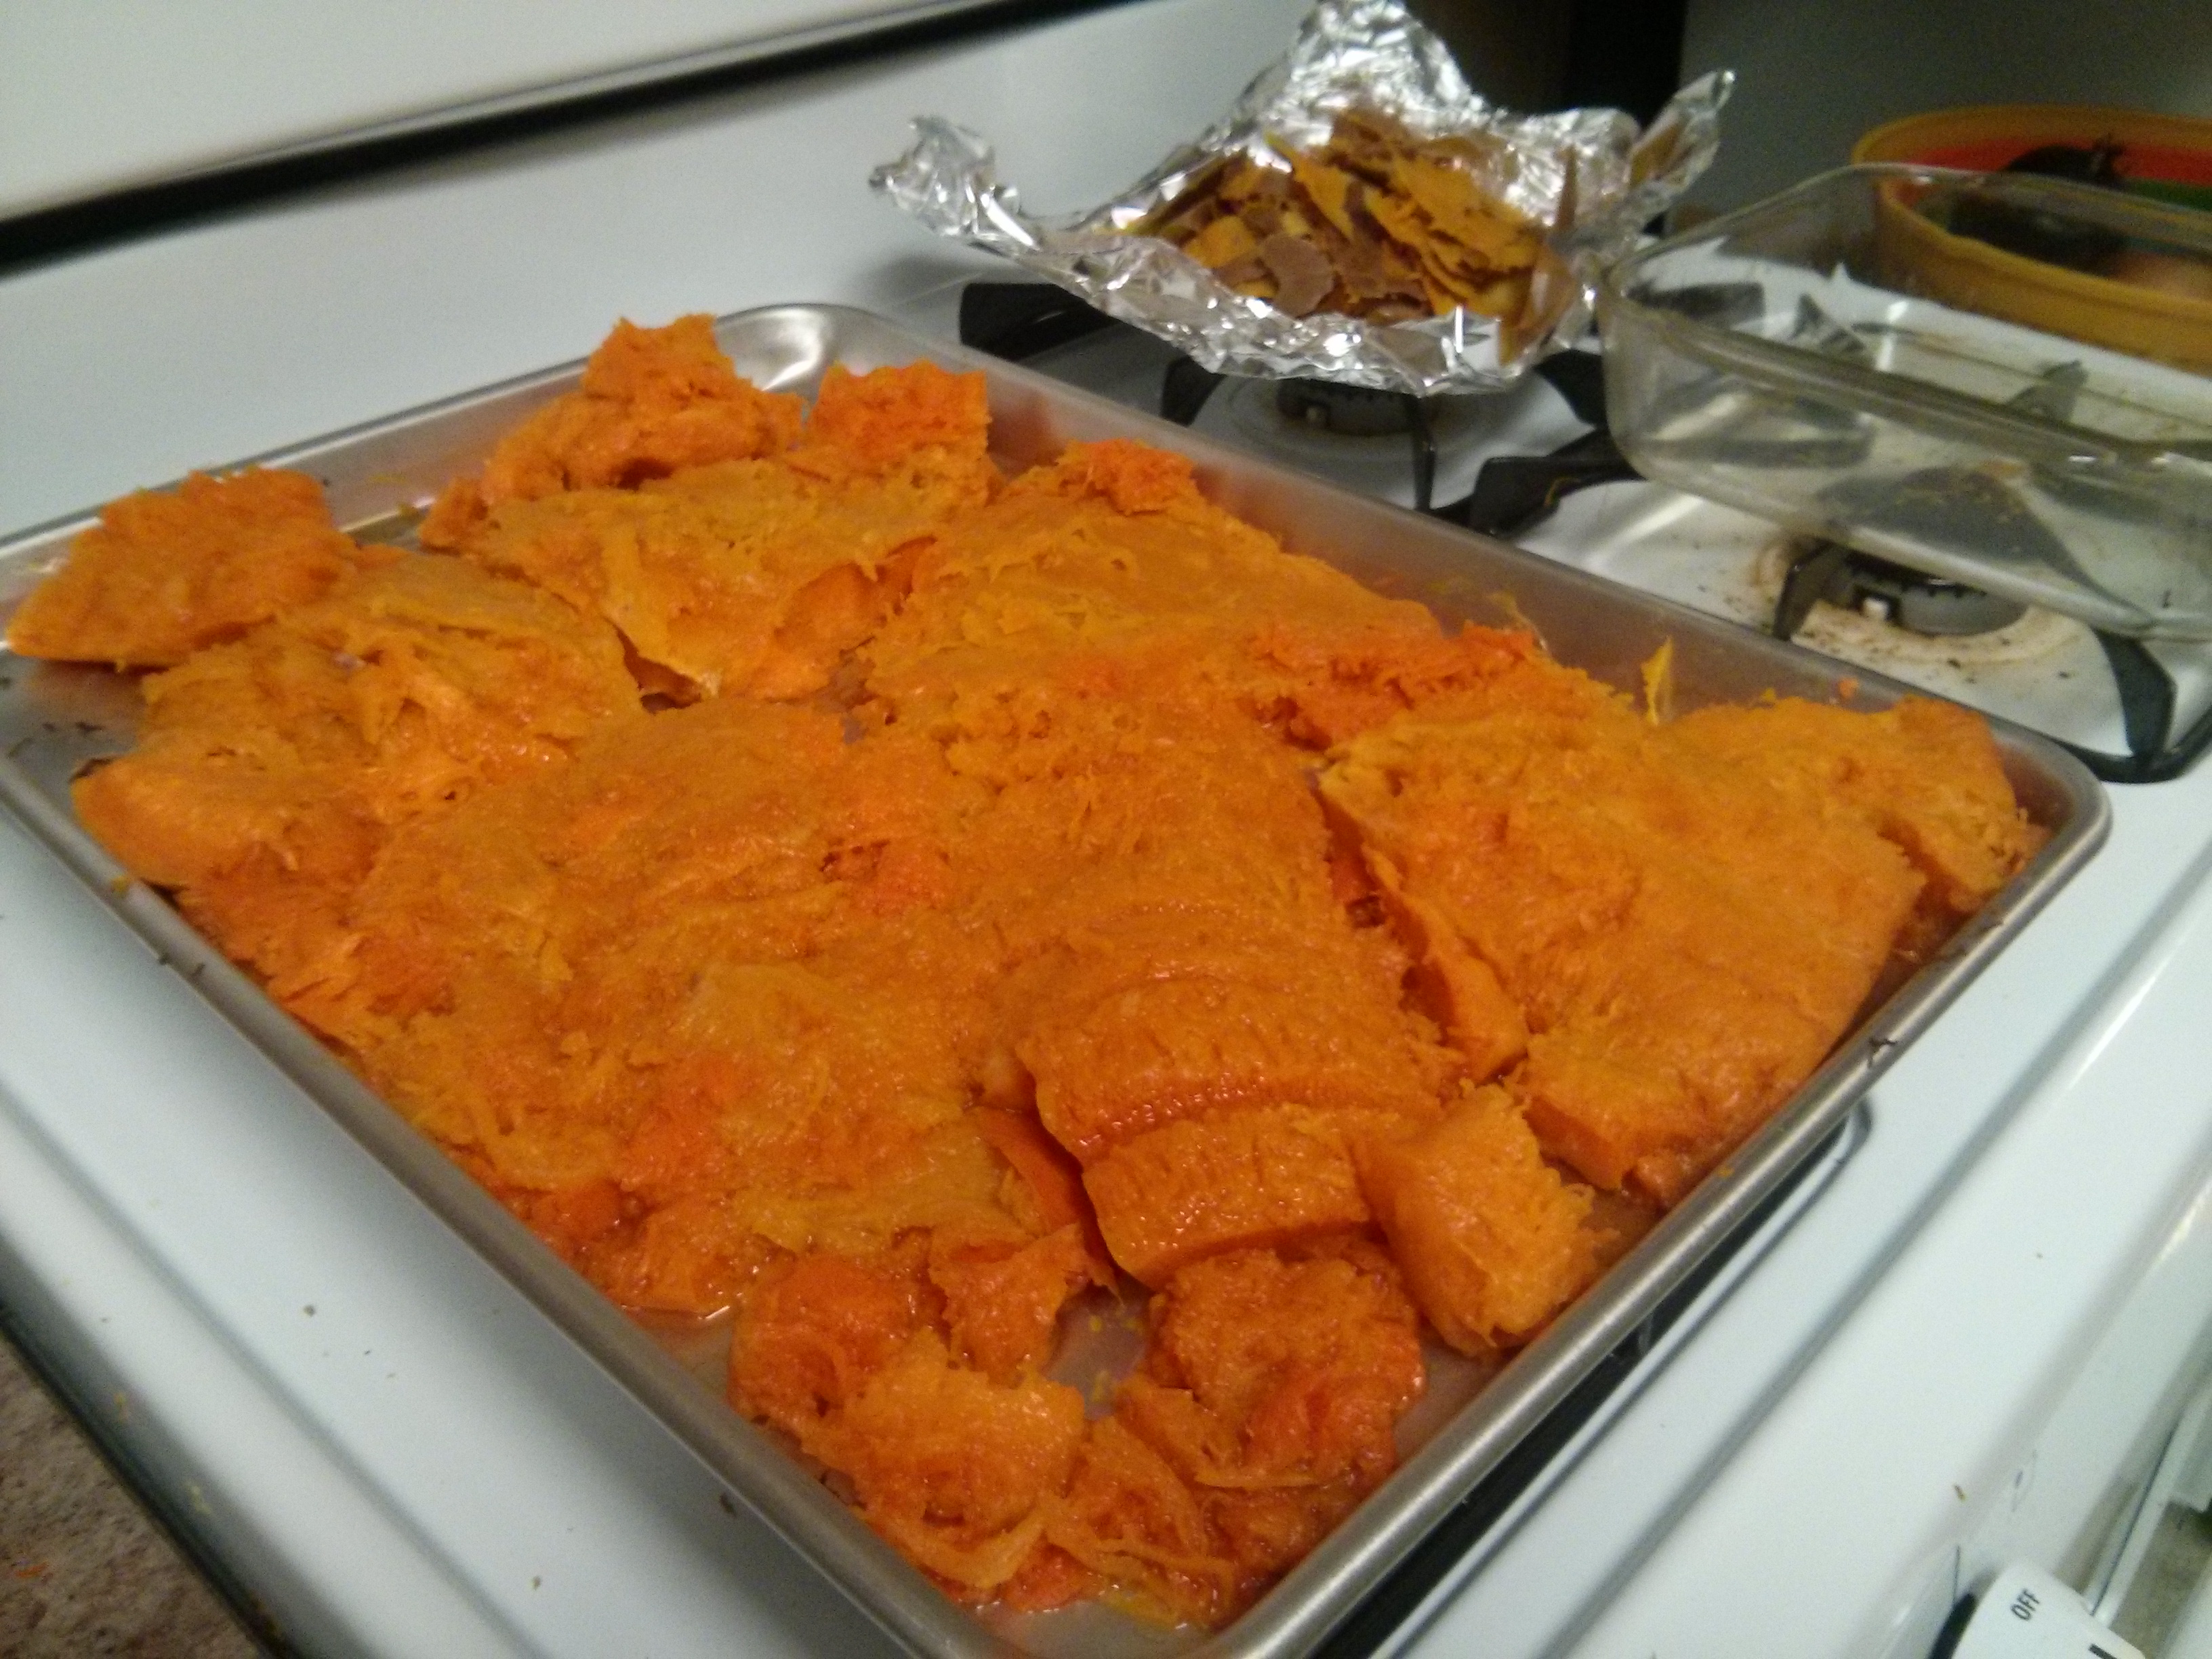
The tofu, baked

The tofu, halved
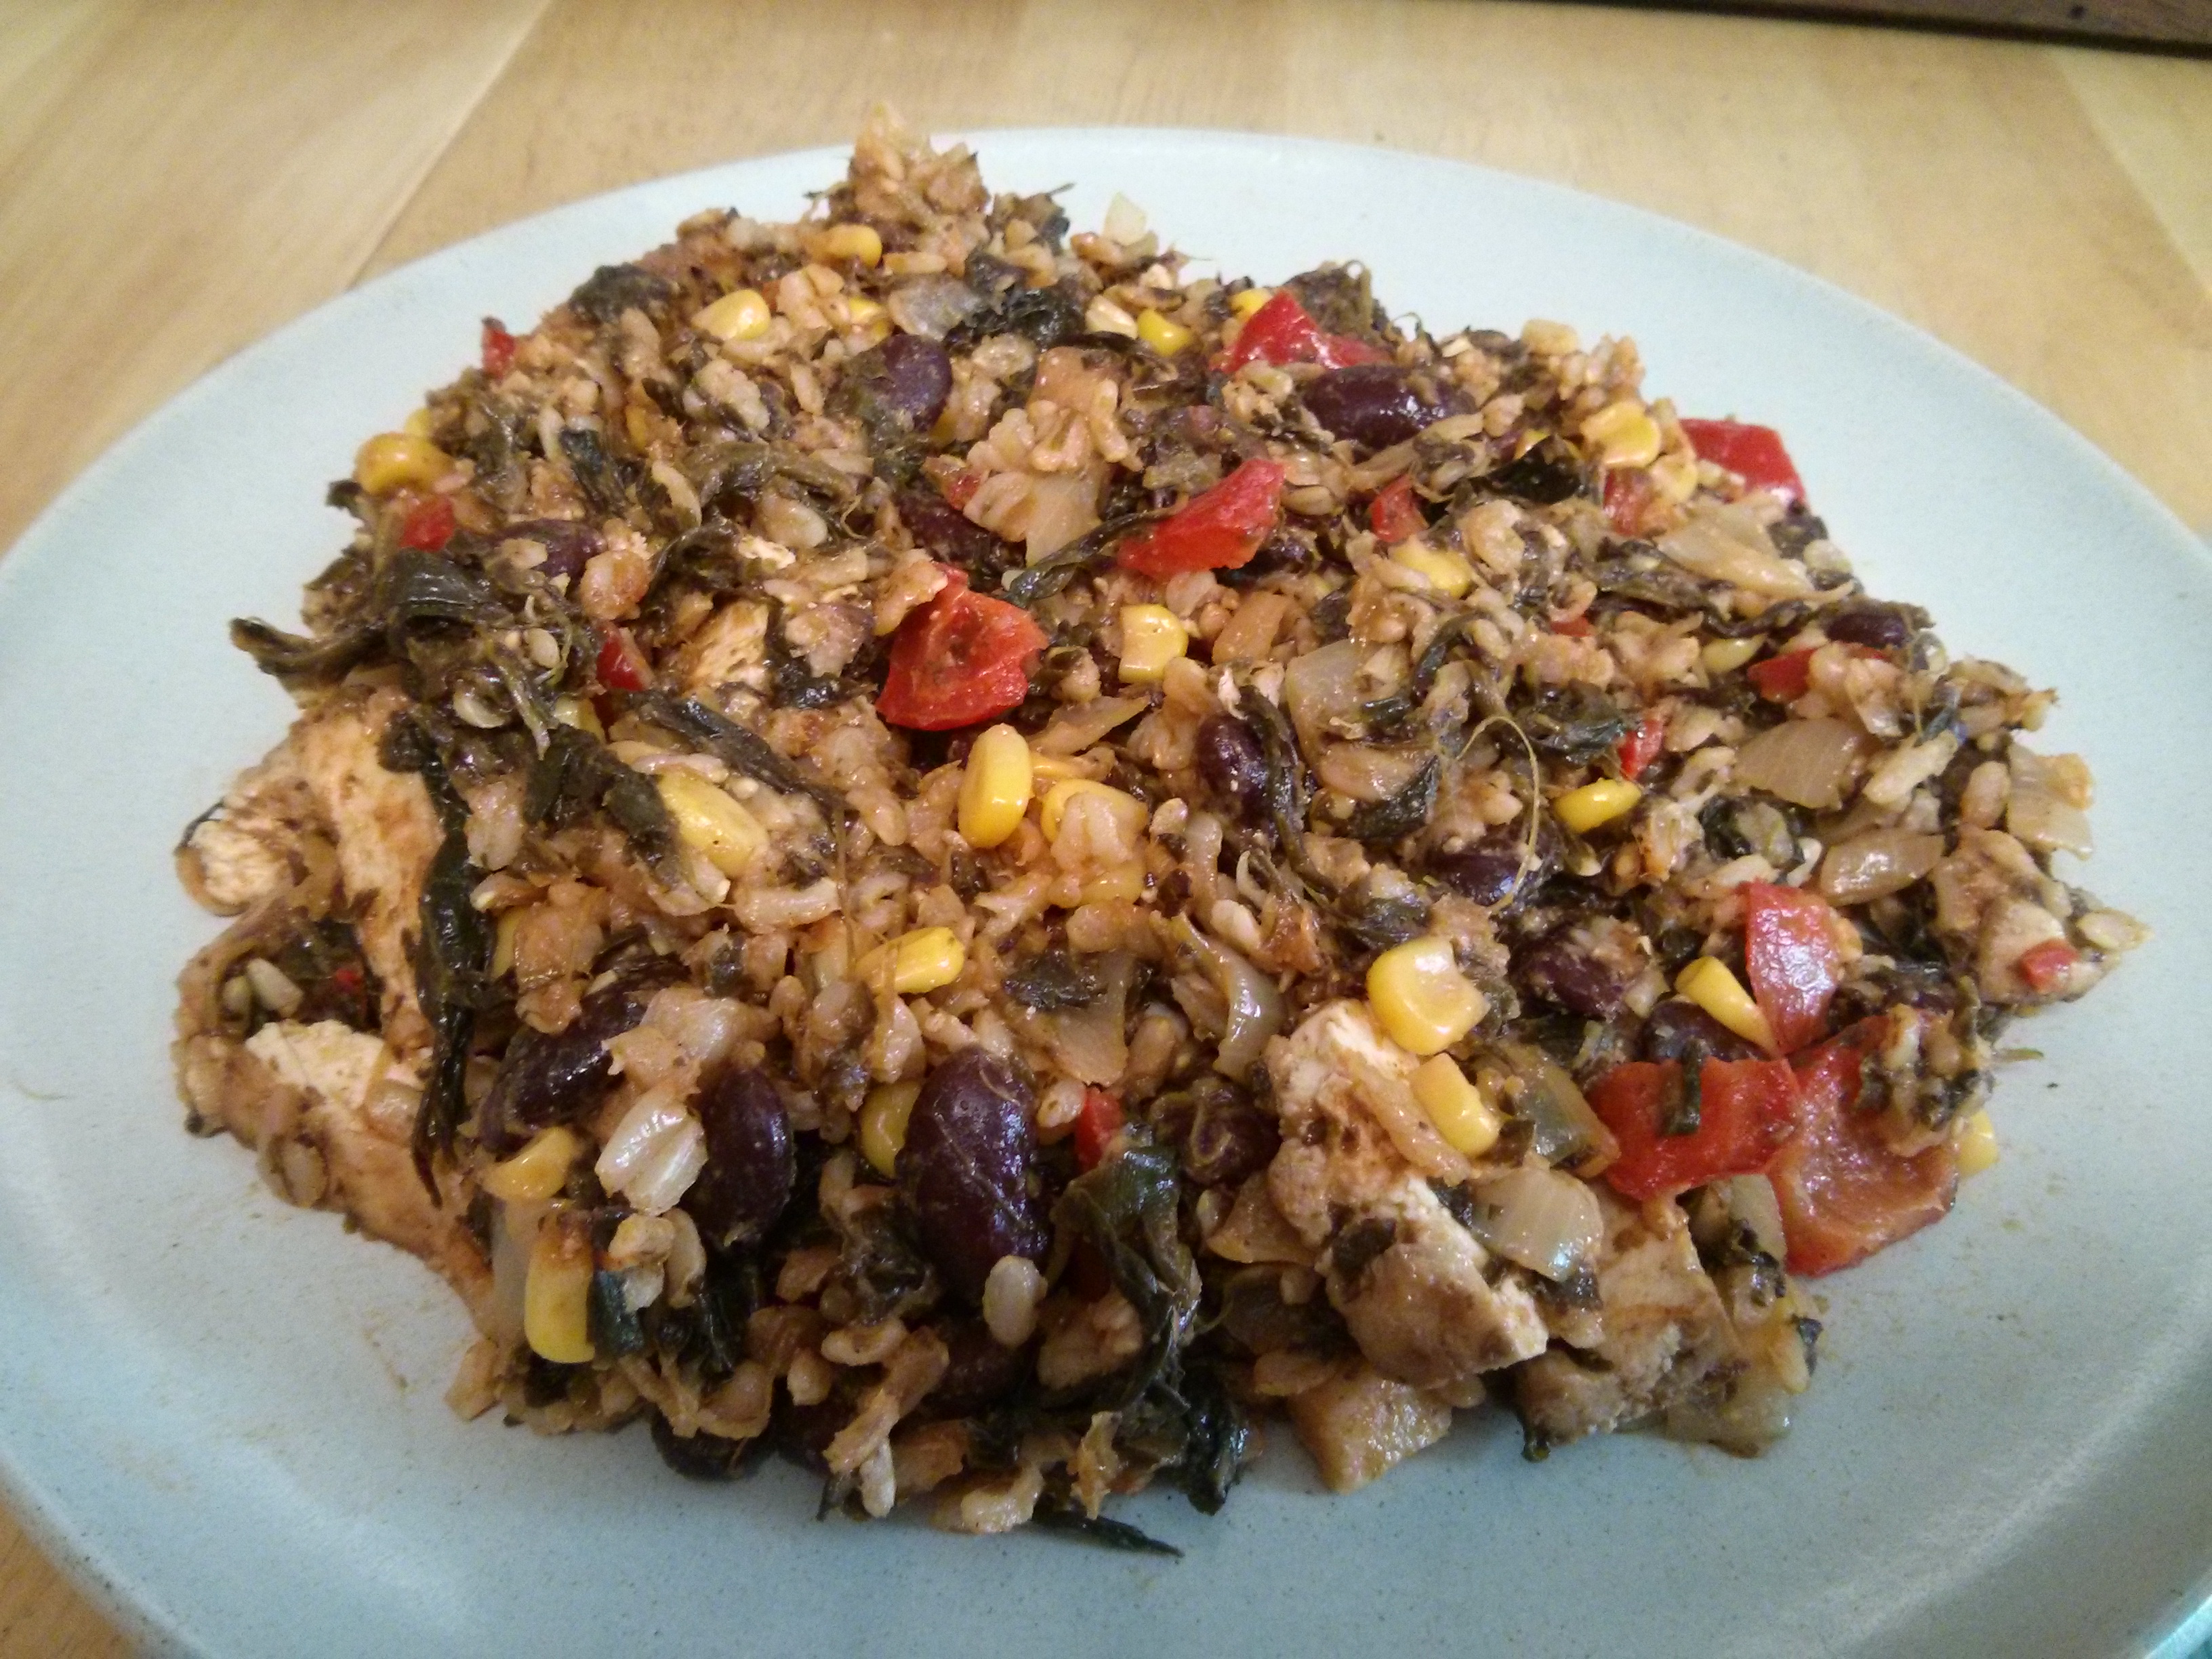
And the final dish, ready to go
If you’ve never had Hot Not Tabbouleh before (and if you made it through that last dependent clause), let me tell you, it’s got some substance to it. There’s a touch of sweetness from the corn kernels in most bites, a hint of smokiness from the chili powder, and a spinach smoothness that makes you wonder if there isn’t some melted cheese somewhere in there too.
As I was making it the first time, my general thinking was that I wanted to try new combinations of ingredients (using what I had on hand) and ultimately make something new. This included using a spice that I had only used once in a while – Chile Con Limon.
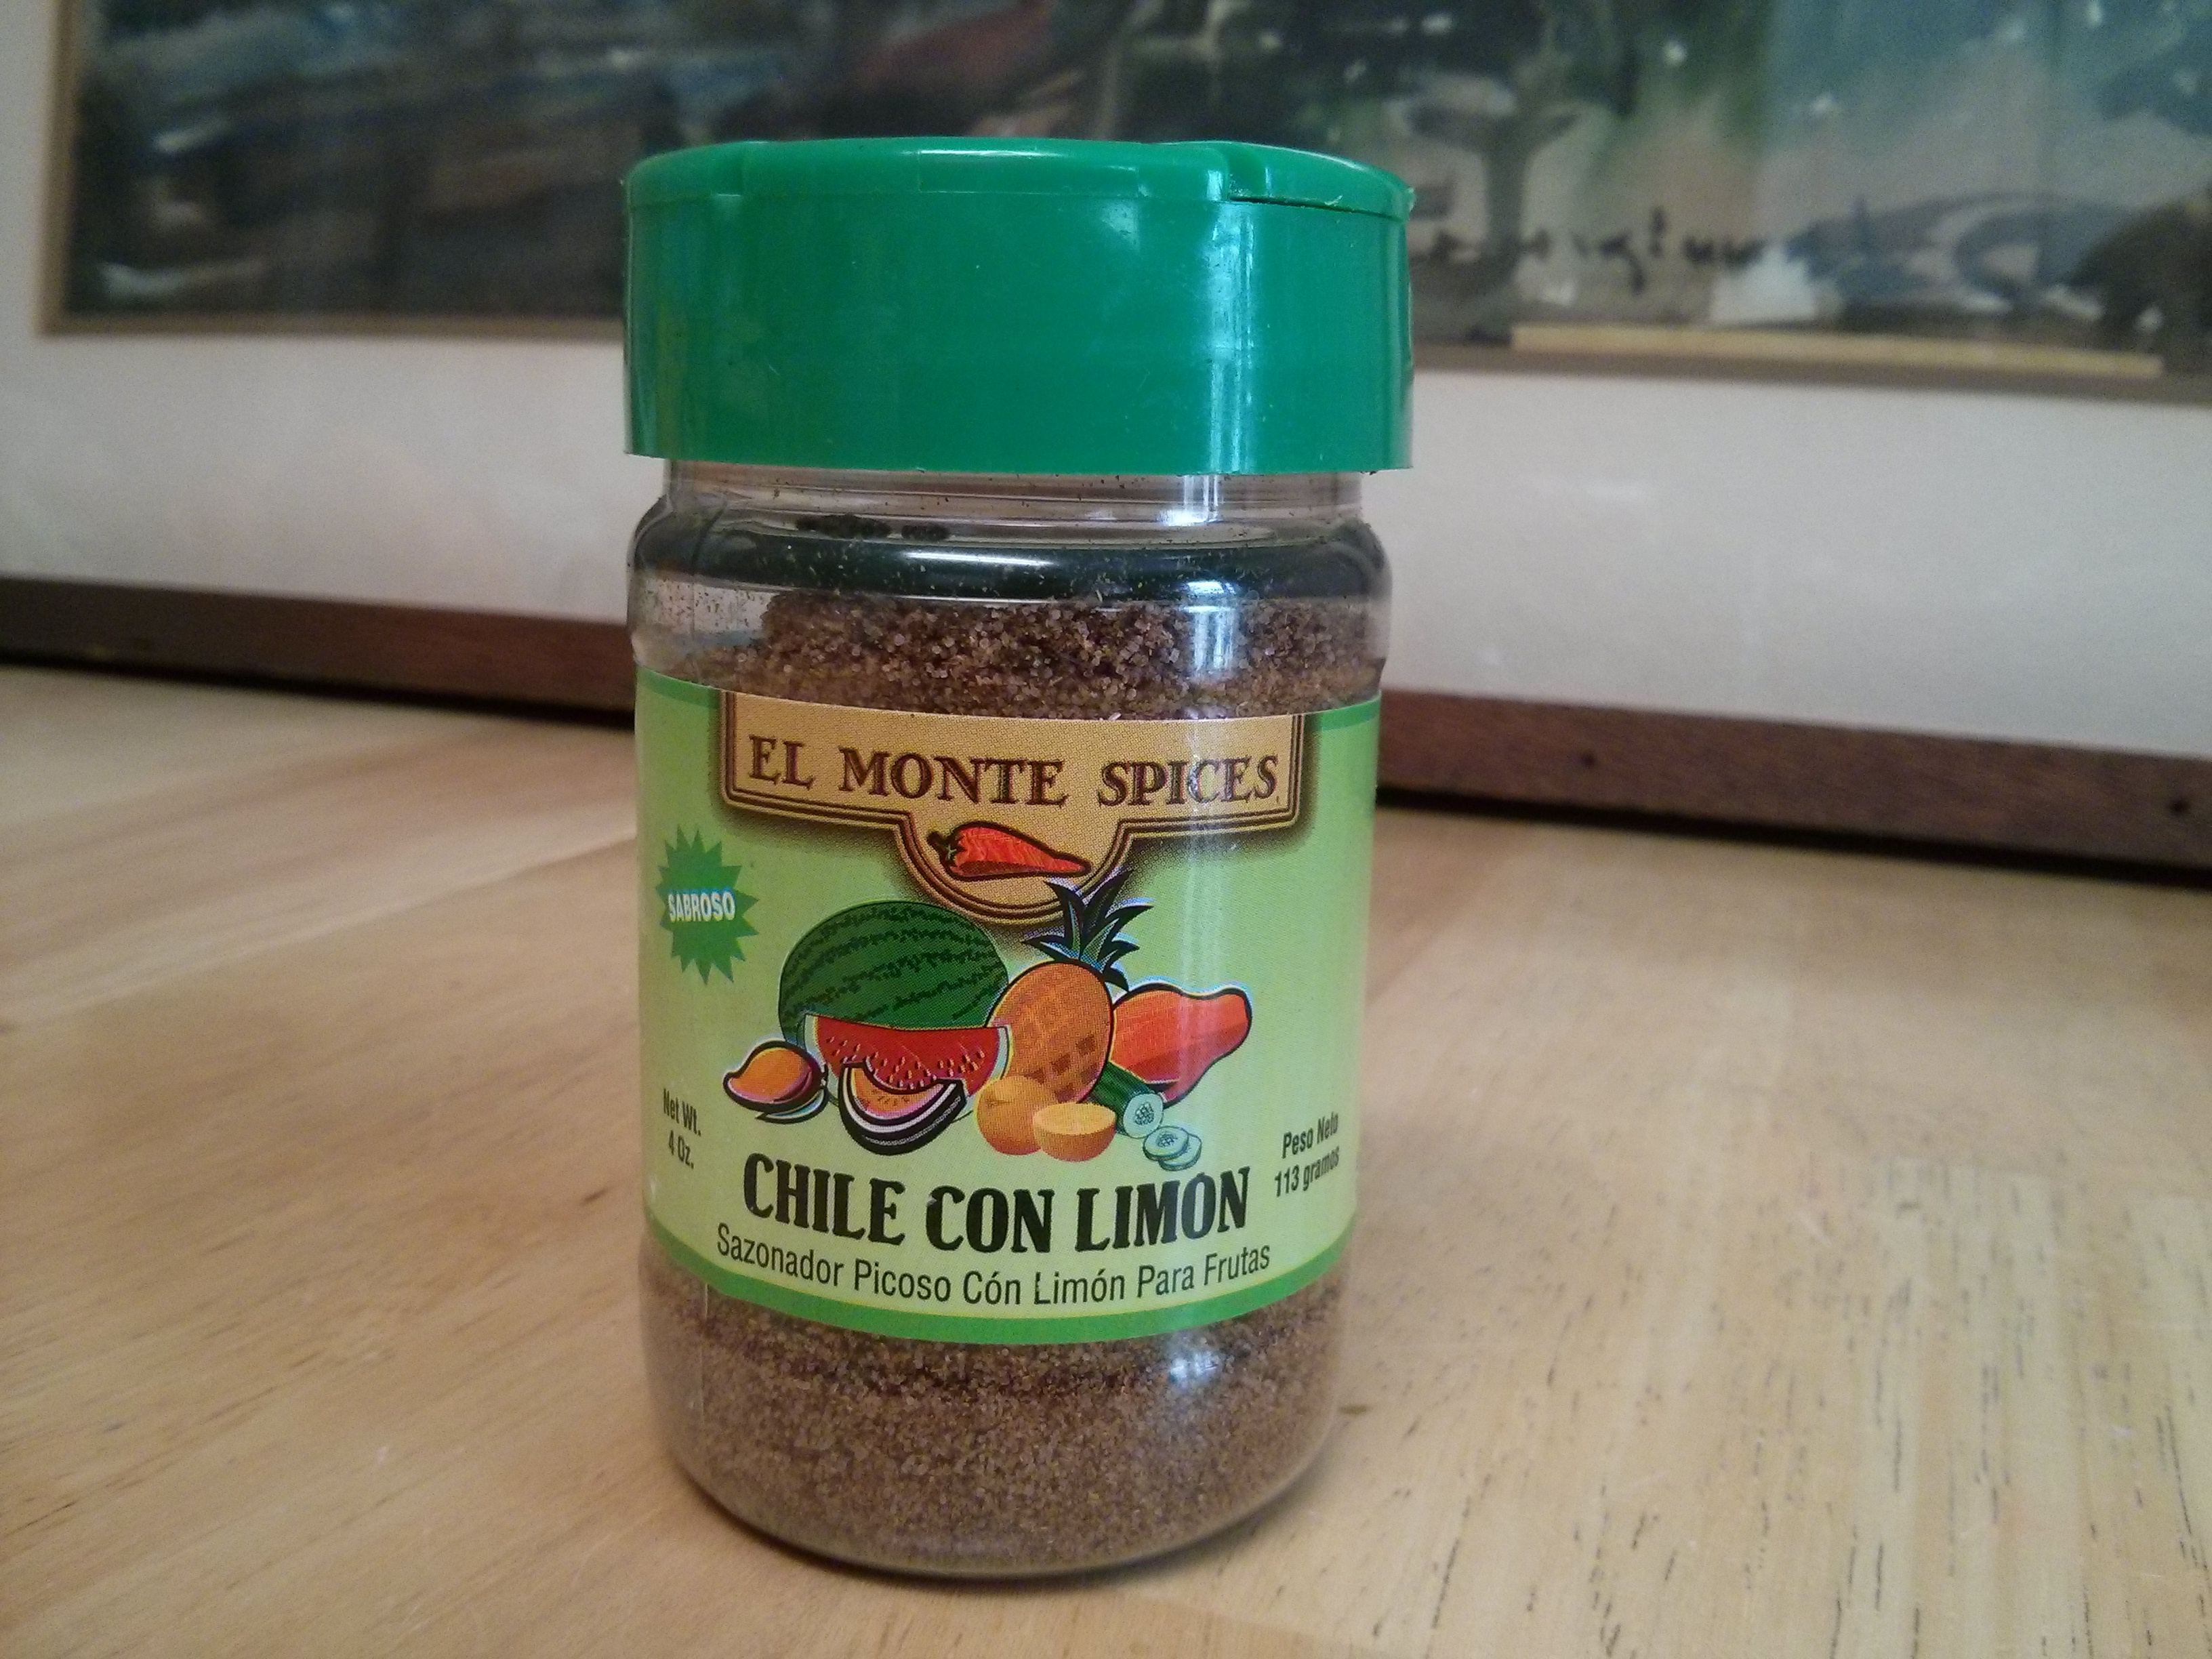
While I liked how the first version of the dish tasted, with the second version I decided to try another type of Chile Con Limon:

My main reason was I wanted to use more whole ingredients, like real lemon juice in place of what I saw on the El Monte Spices Chile Con Limon label (citric acid, dehydrated lemon, lemon juice, lemon peel, and natural flavors). Of course, as I’m writing this now, it occurred to me that I should also take a look at the ingredient list on the McCormick Chili Powder label. Well, it looks like my Hot Not Tabbouleh, version two, has a small amount of silicon dioxide. Maybe, like the beans, tofu, and spinach also in it, it’ll help make certain things, if you know what I mean, more free flowing? Like it’ll loosen things up and help give a different air?

Oh, stop, I’m just bean funny.
With my selection of a real lemon, maybe I was also channeling the recipe’s second cousin, actual tabbouleh, for which lemon juice is a standard ingredient.
Whatever the case may be, the second coming of Hot Not Tabbouleh turned out pretty good. I’ll probably make it again at some point in the future – or to be more precise, I’ll make a similar but slightly different version again – and that as before, it’ll be good again, and possibly better.