Category Archives: Uncategorized

On time, and in time, in the garden

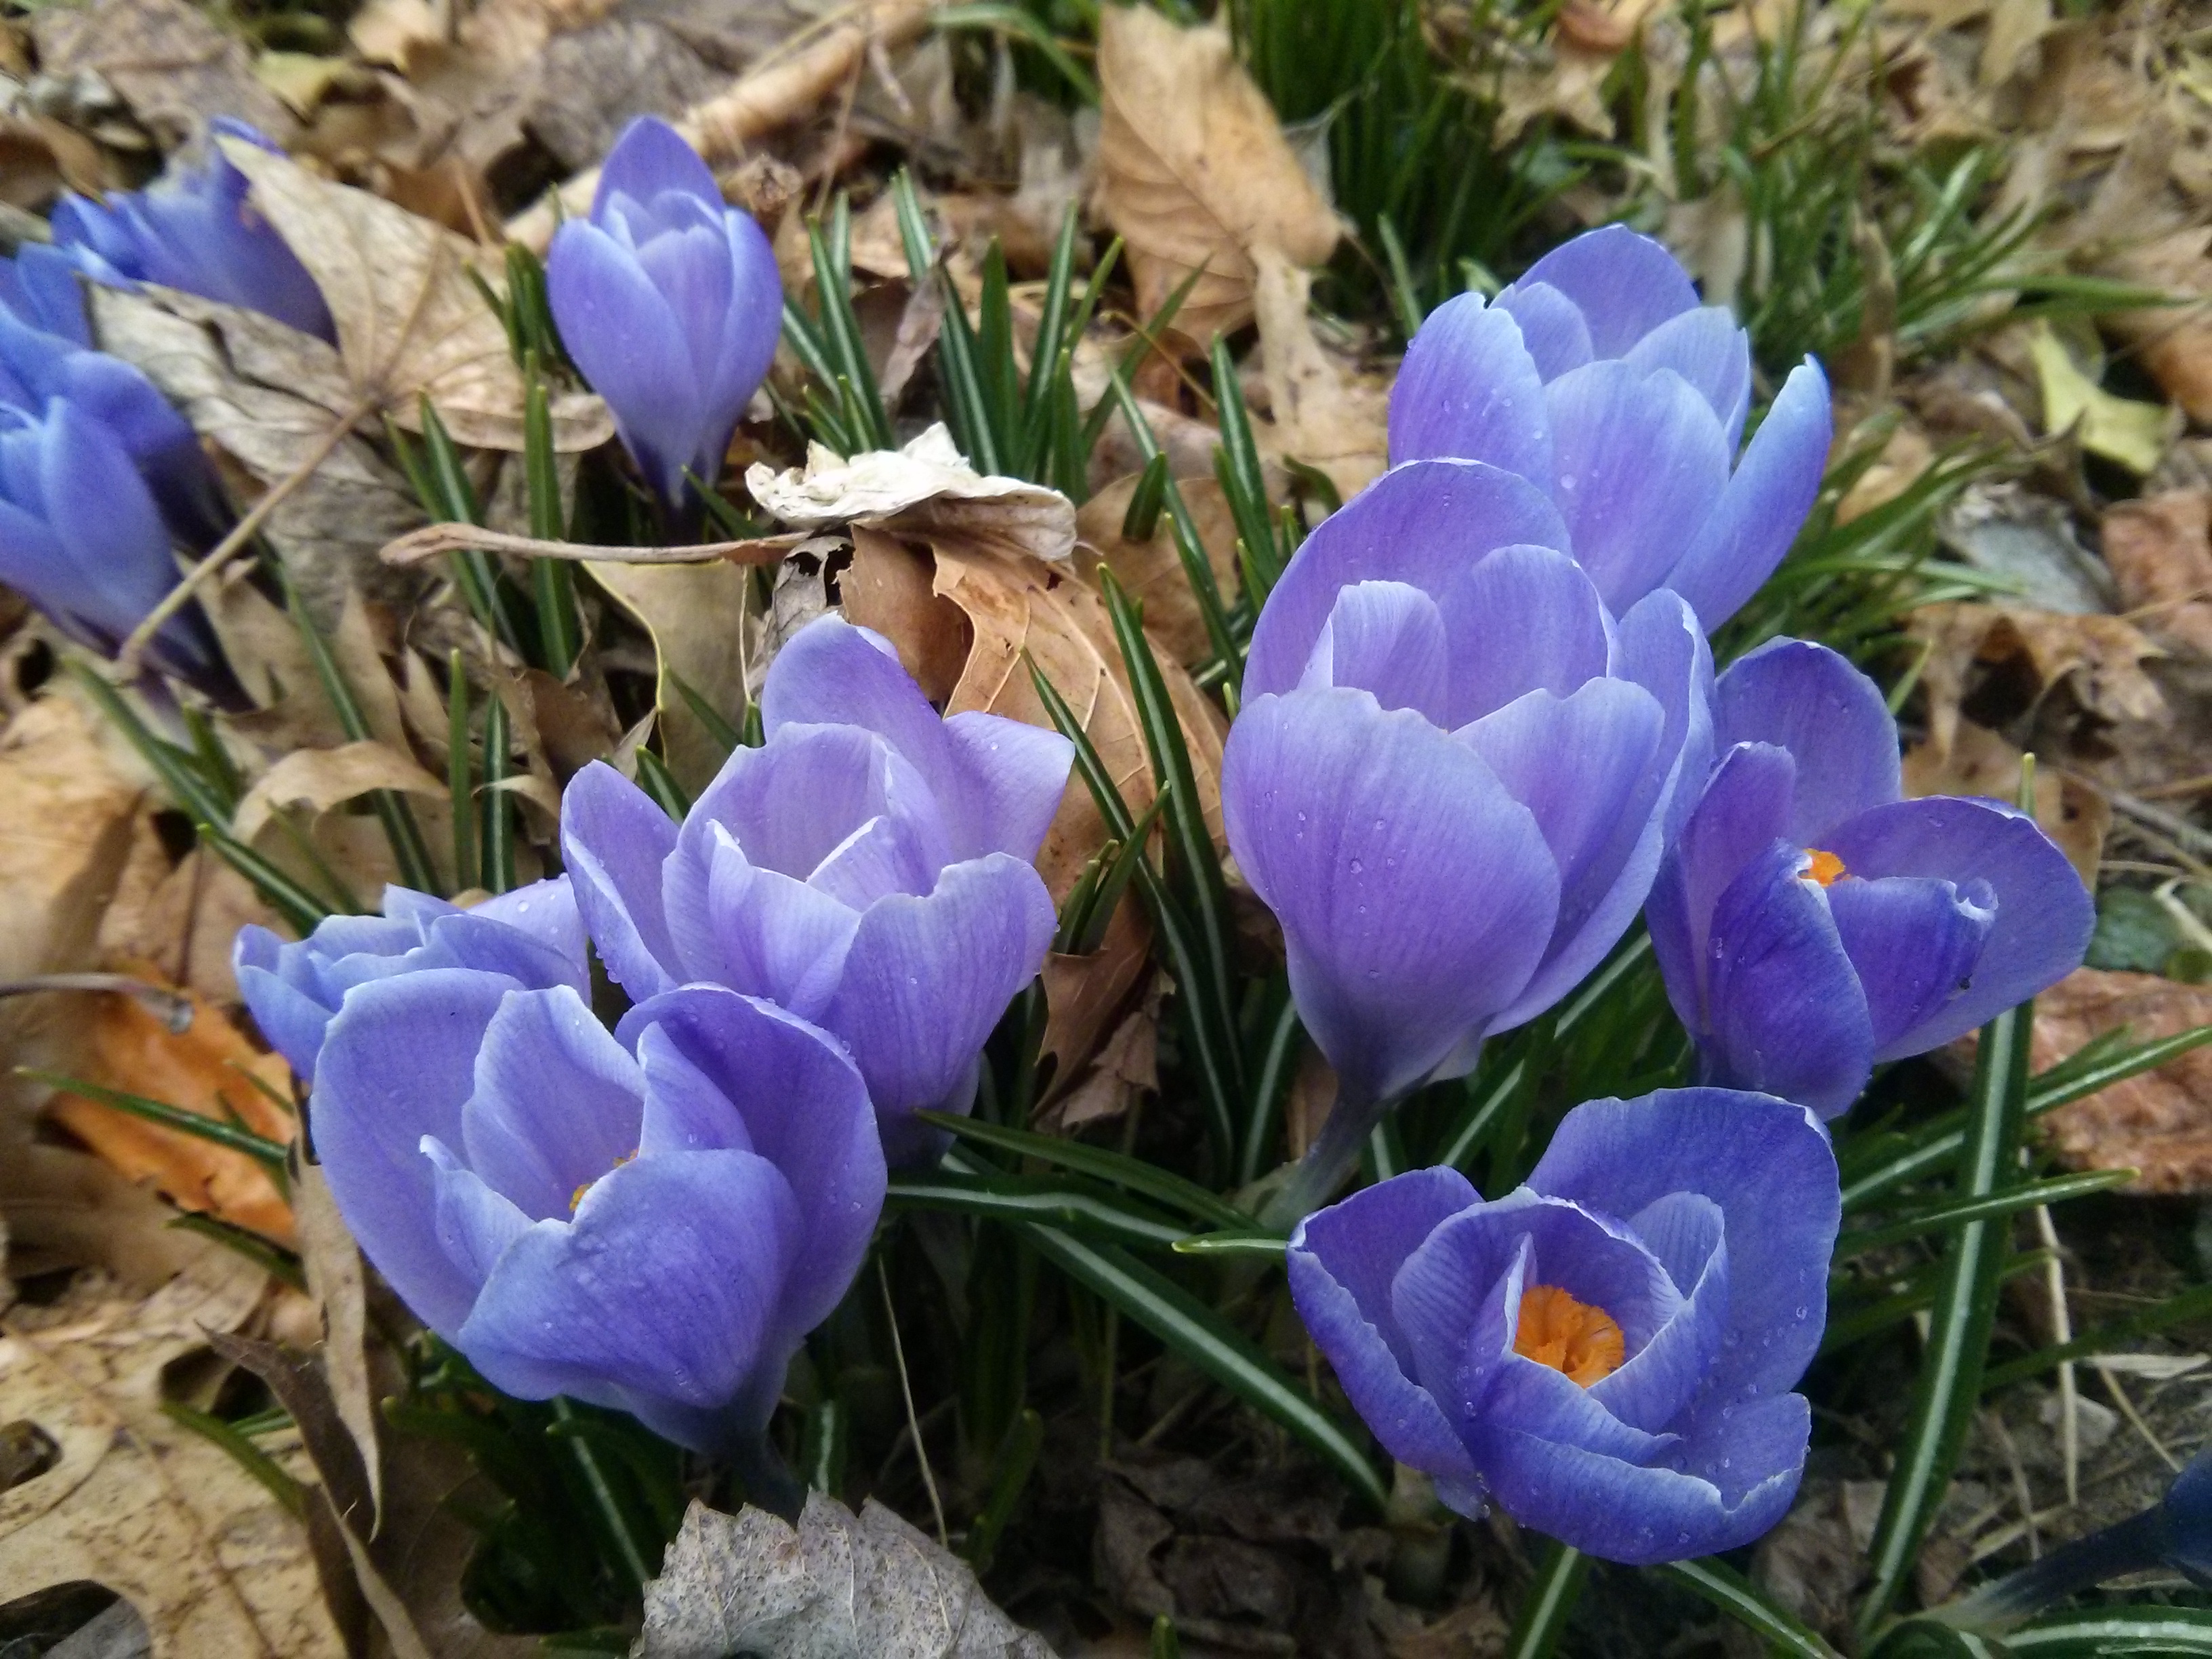
The community gardening season is back! Actually it’s been back for a month now, with the recreation department having prepared the plots and let us know we could get started on May 1st. I’ll admit that my initial reaction to the later start was to be annoyed (late March/early April would have been better for peas and other things), but when I did finally make it there on May 9th (yep, more than a week after I could), it turned out alright. Like it always does 🙂

Had I gone right away, I wouldn’t have seen the small plants coming up from the seeds left behind by last year’s plants – sunflowers, morning glories, and radishes! Apparently there were some strong little seeds that made it through the winter and the recreation department’s roto-tilling.

wpid-img_20150509_175730.jpg

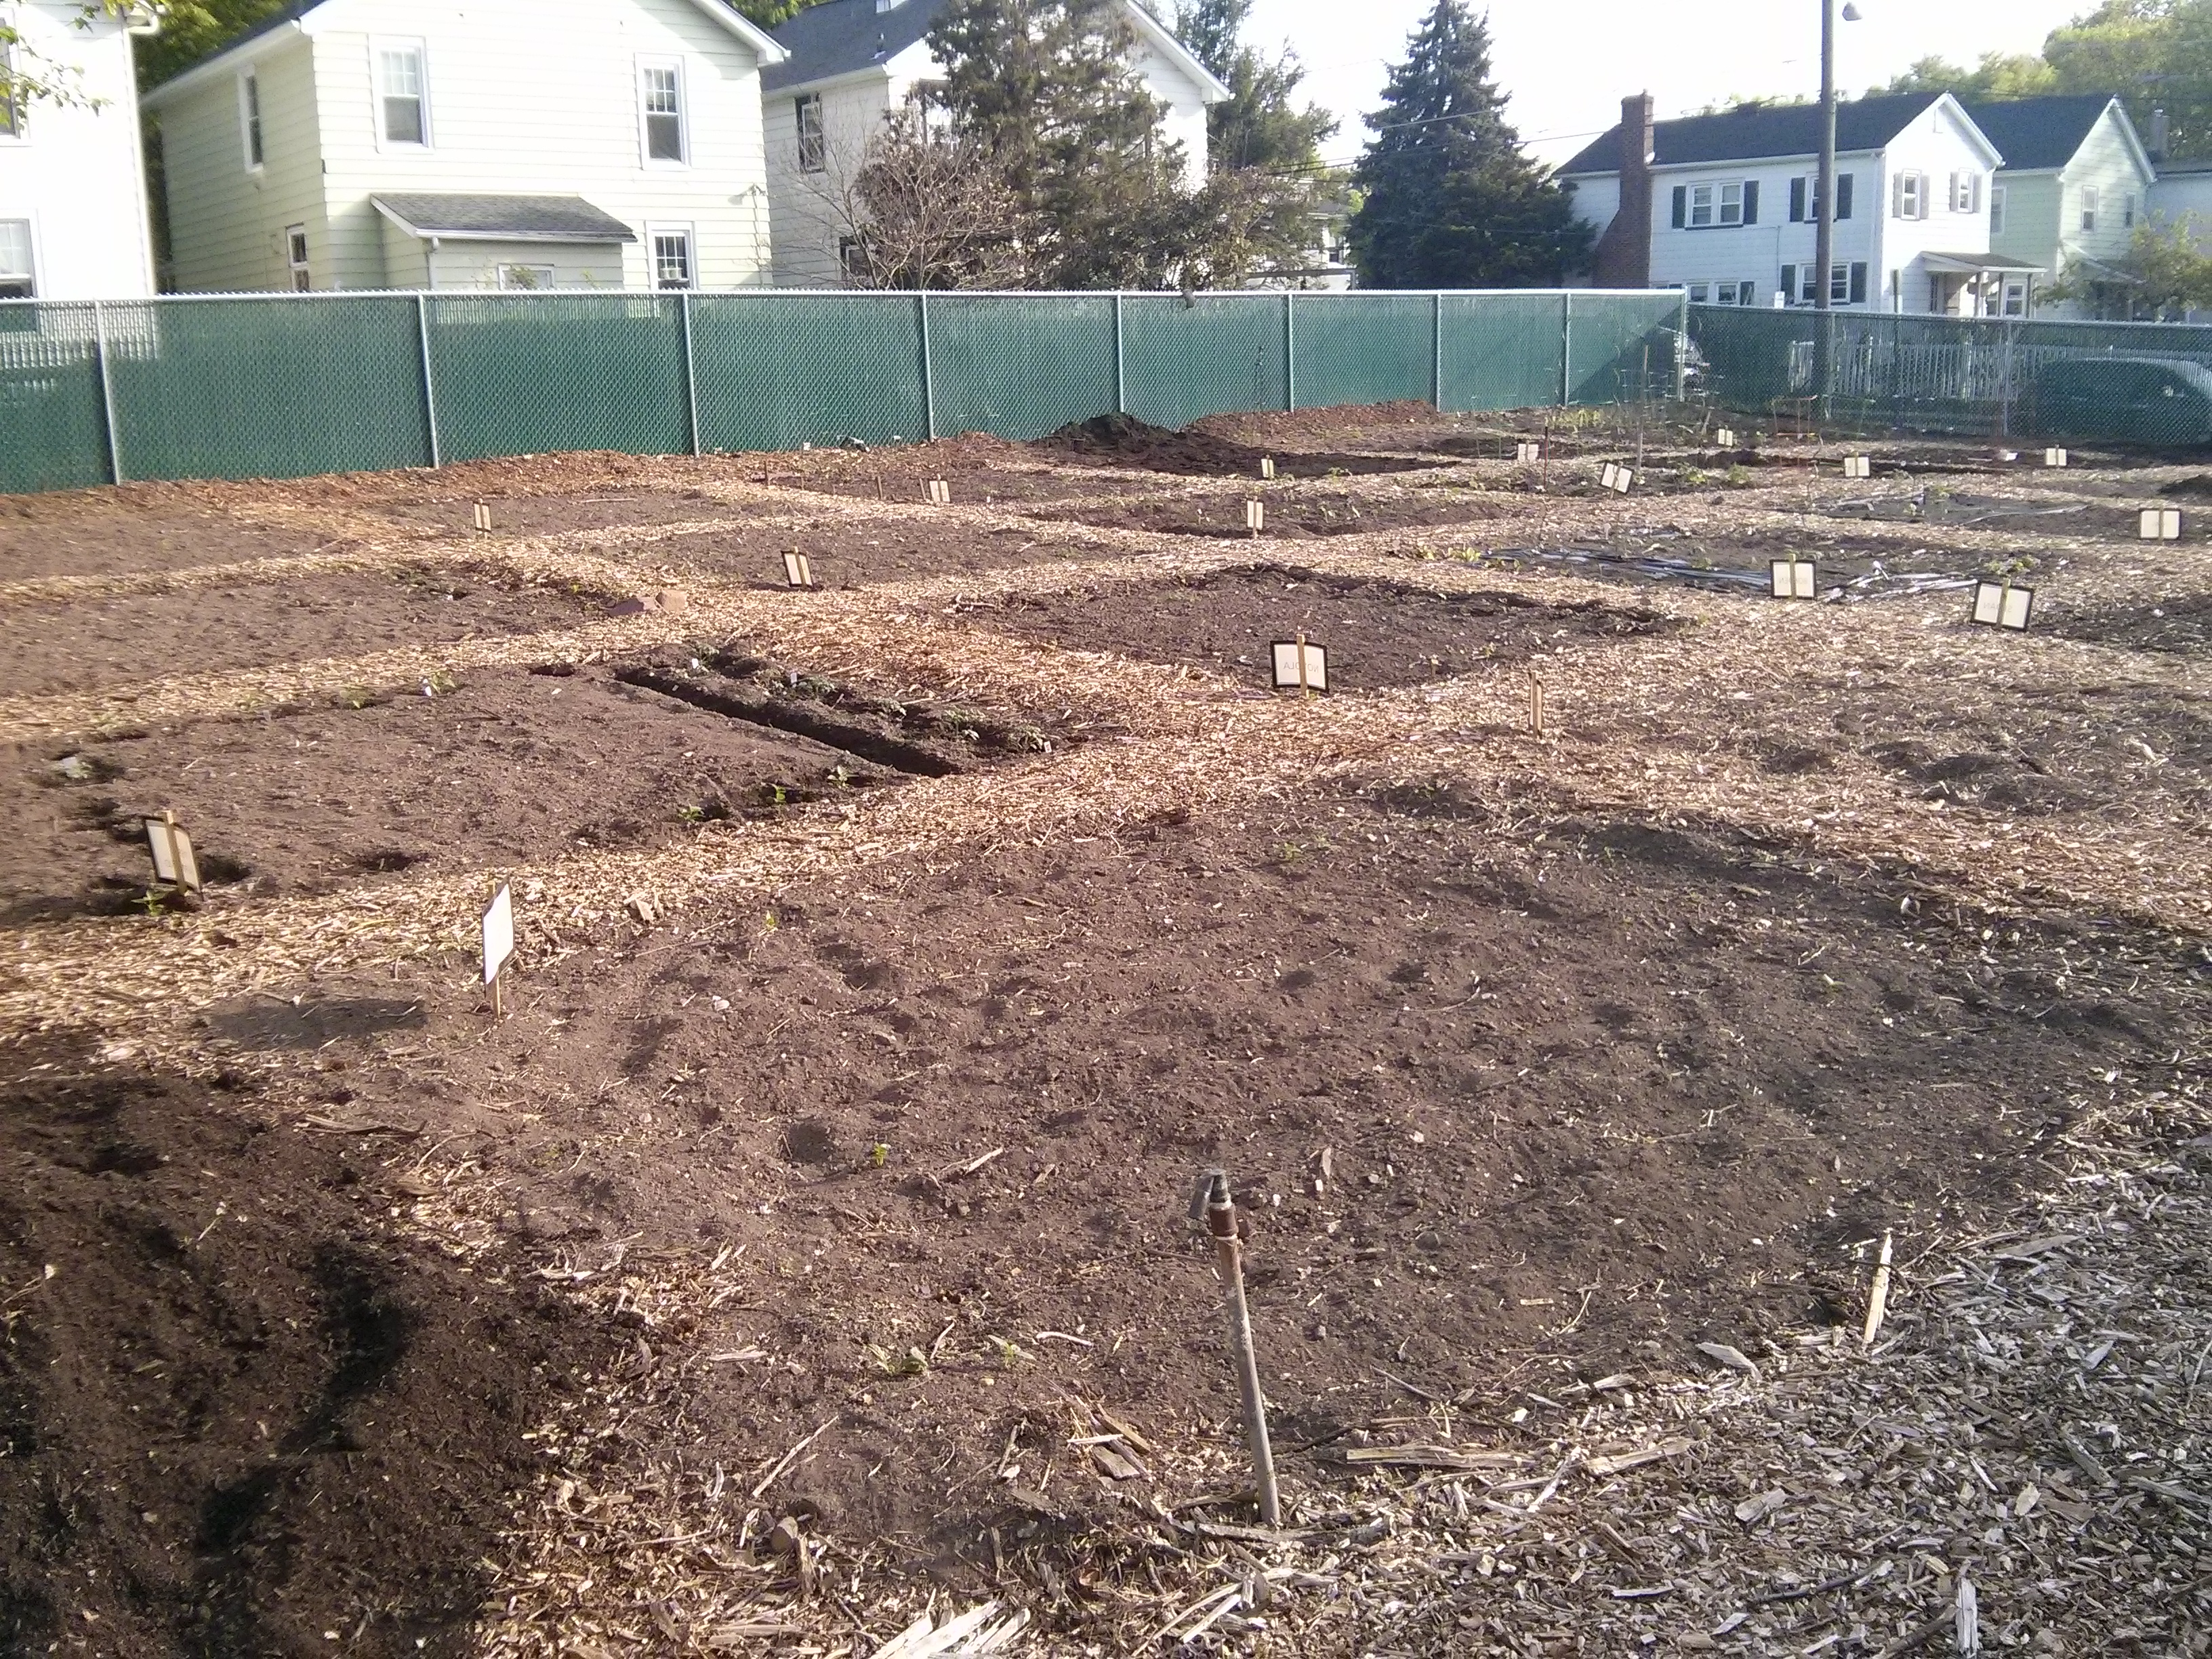
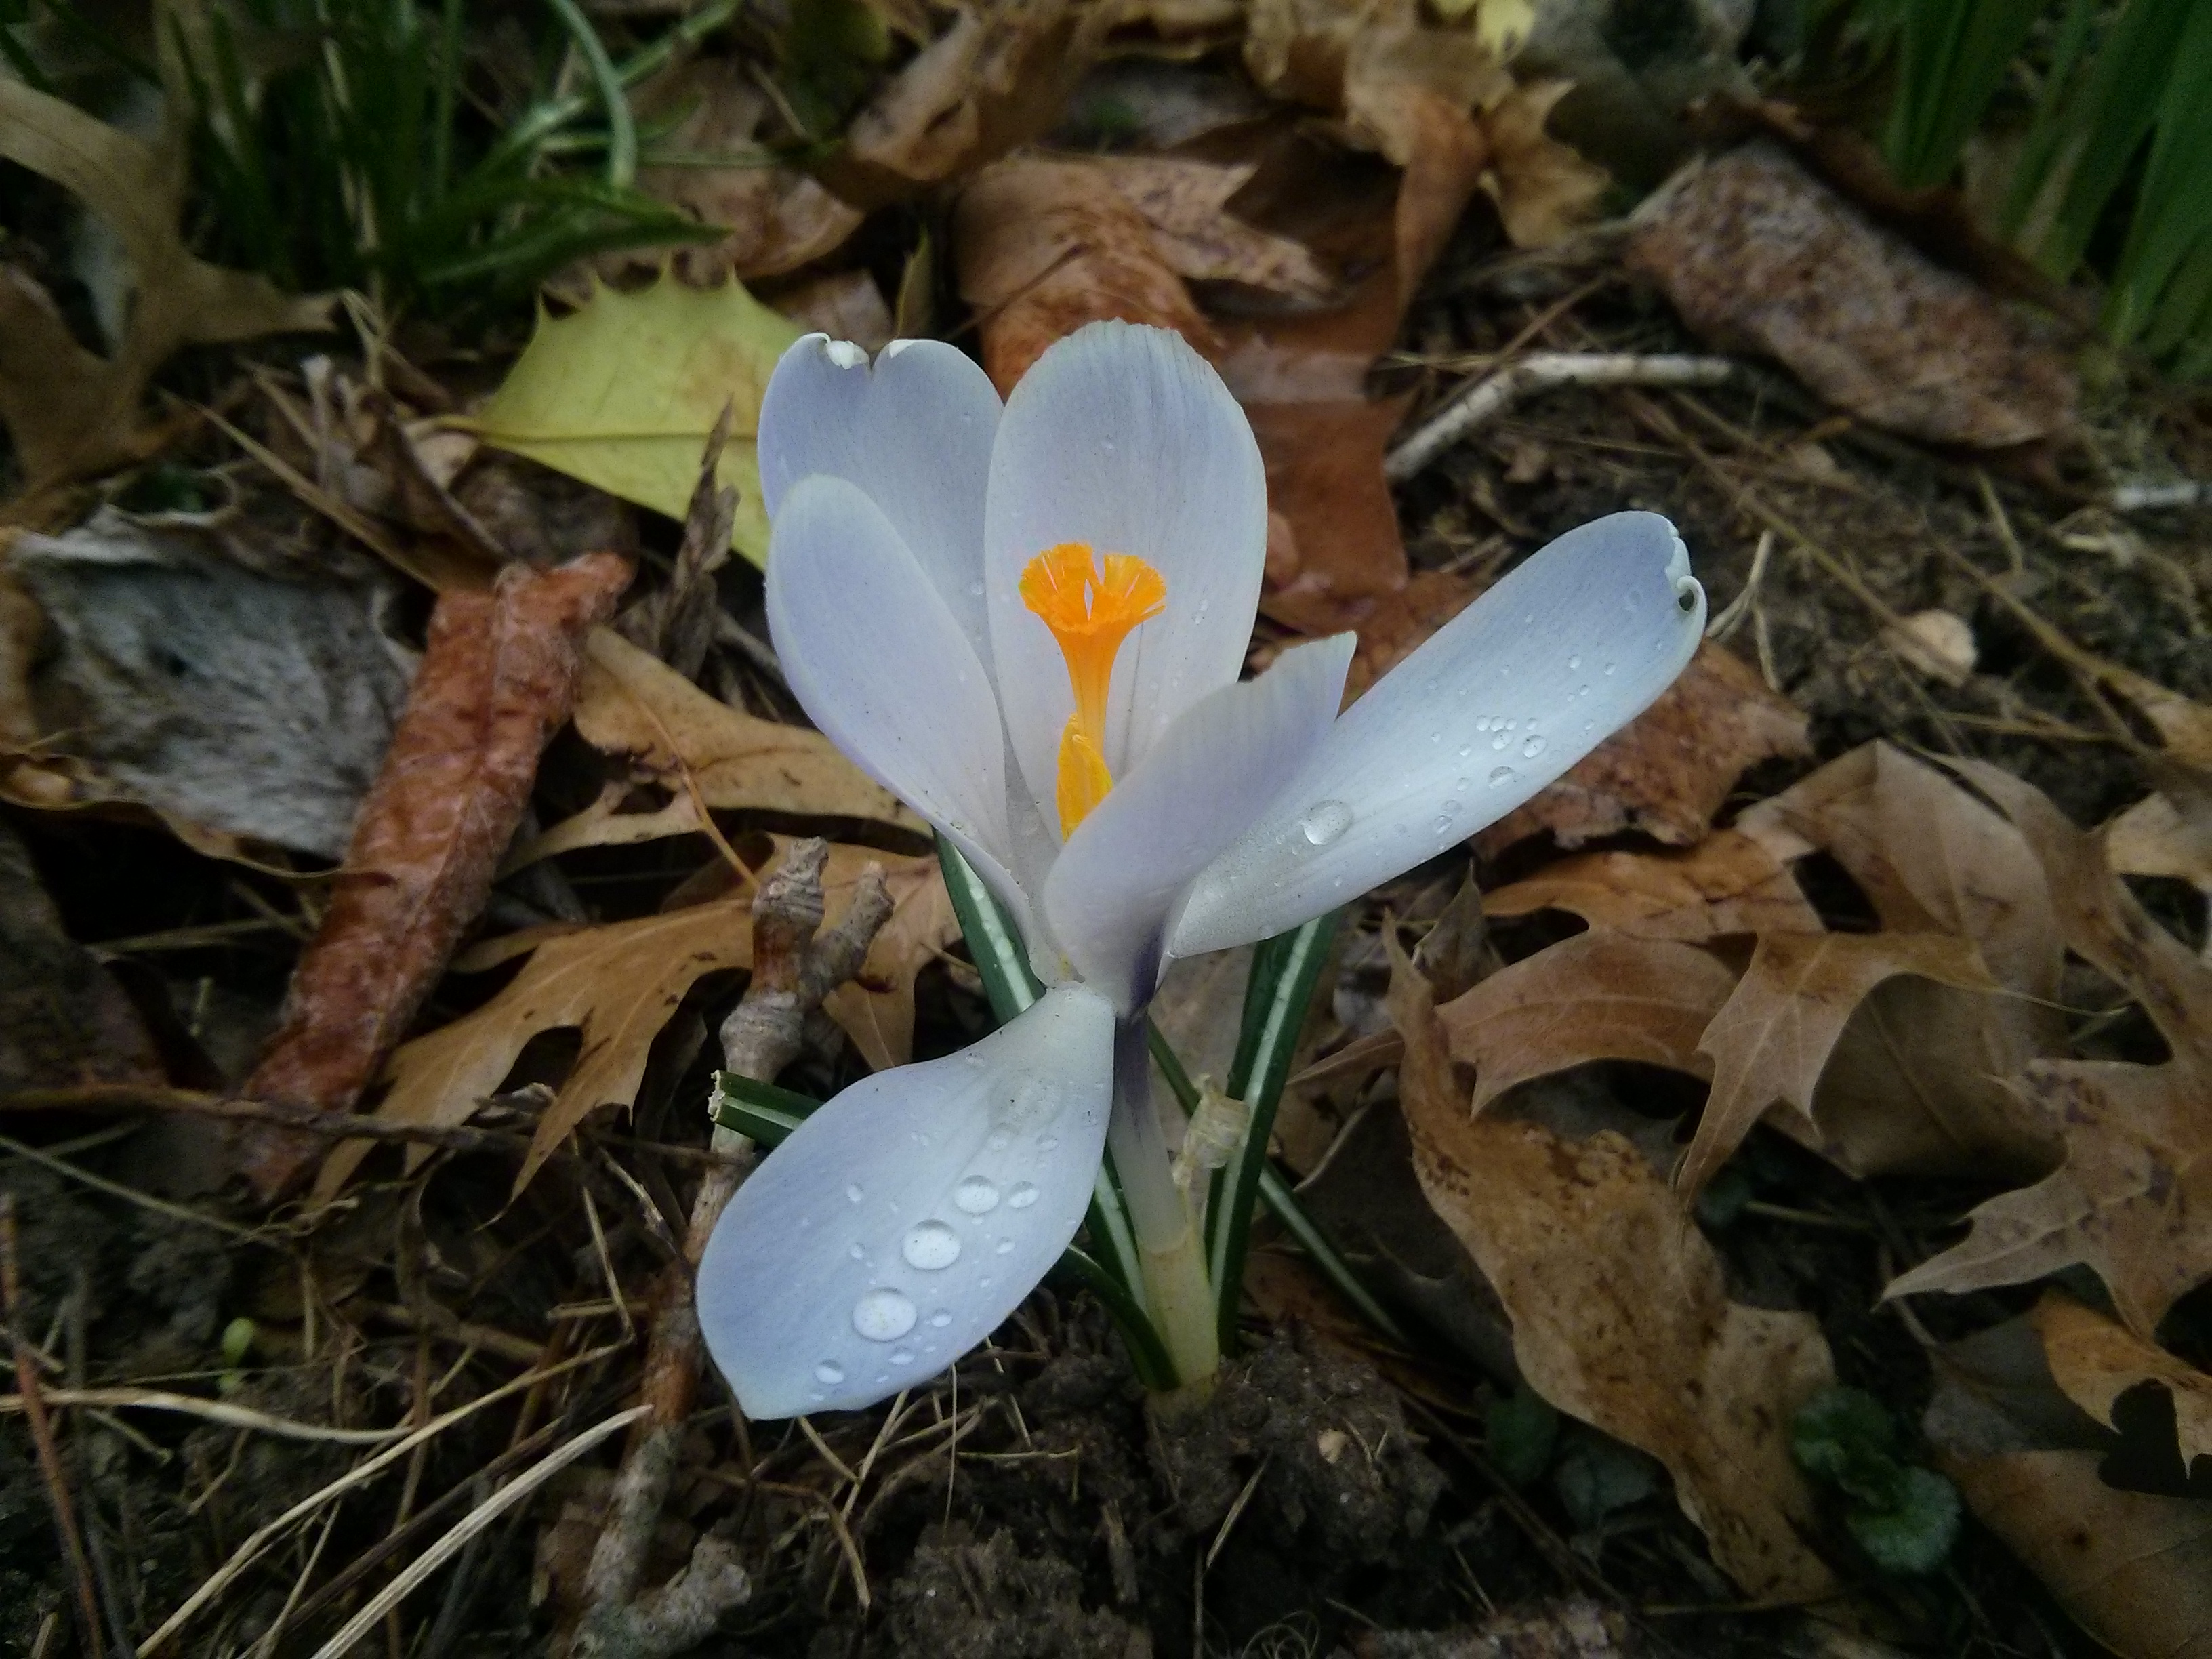
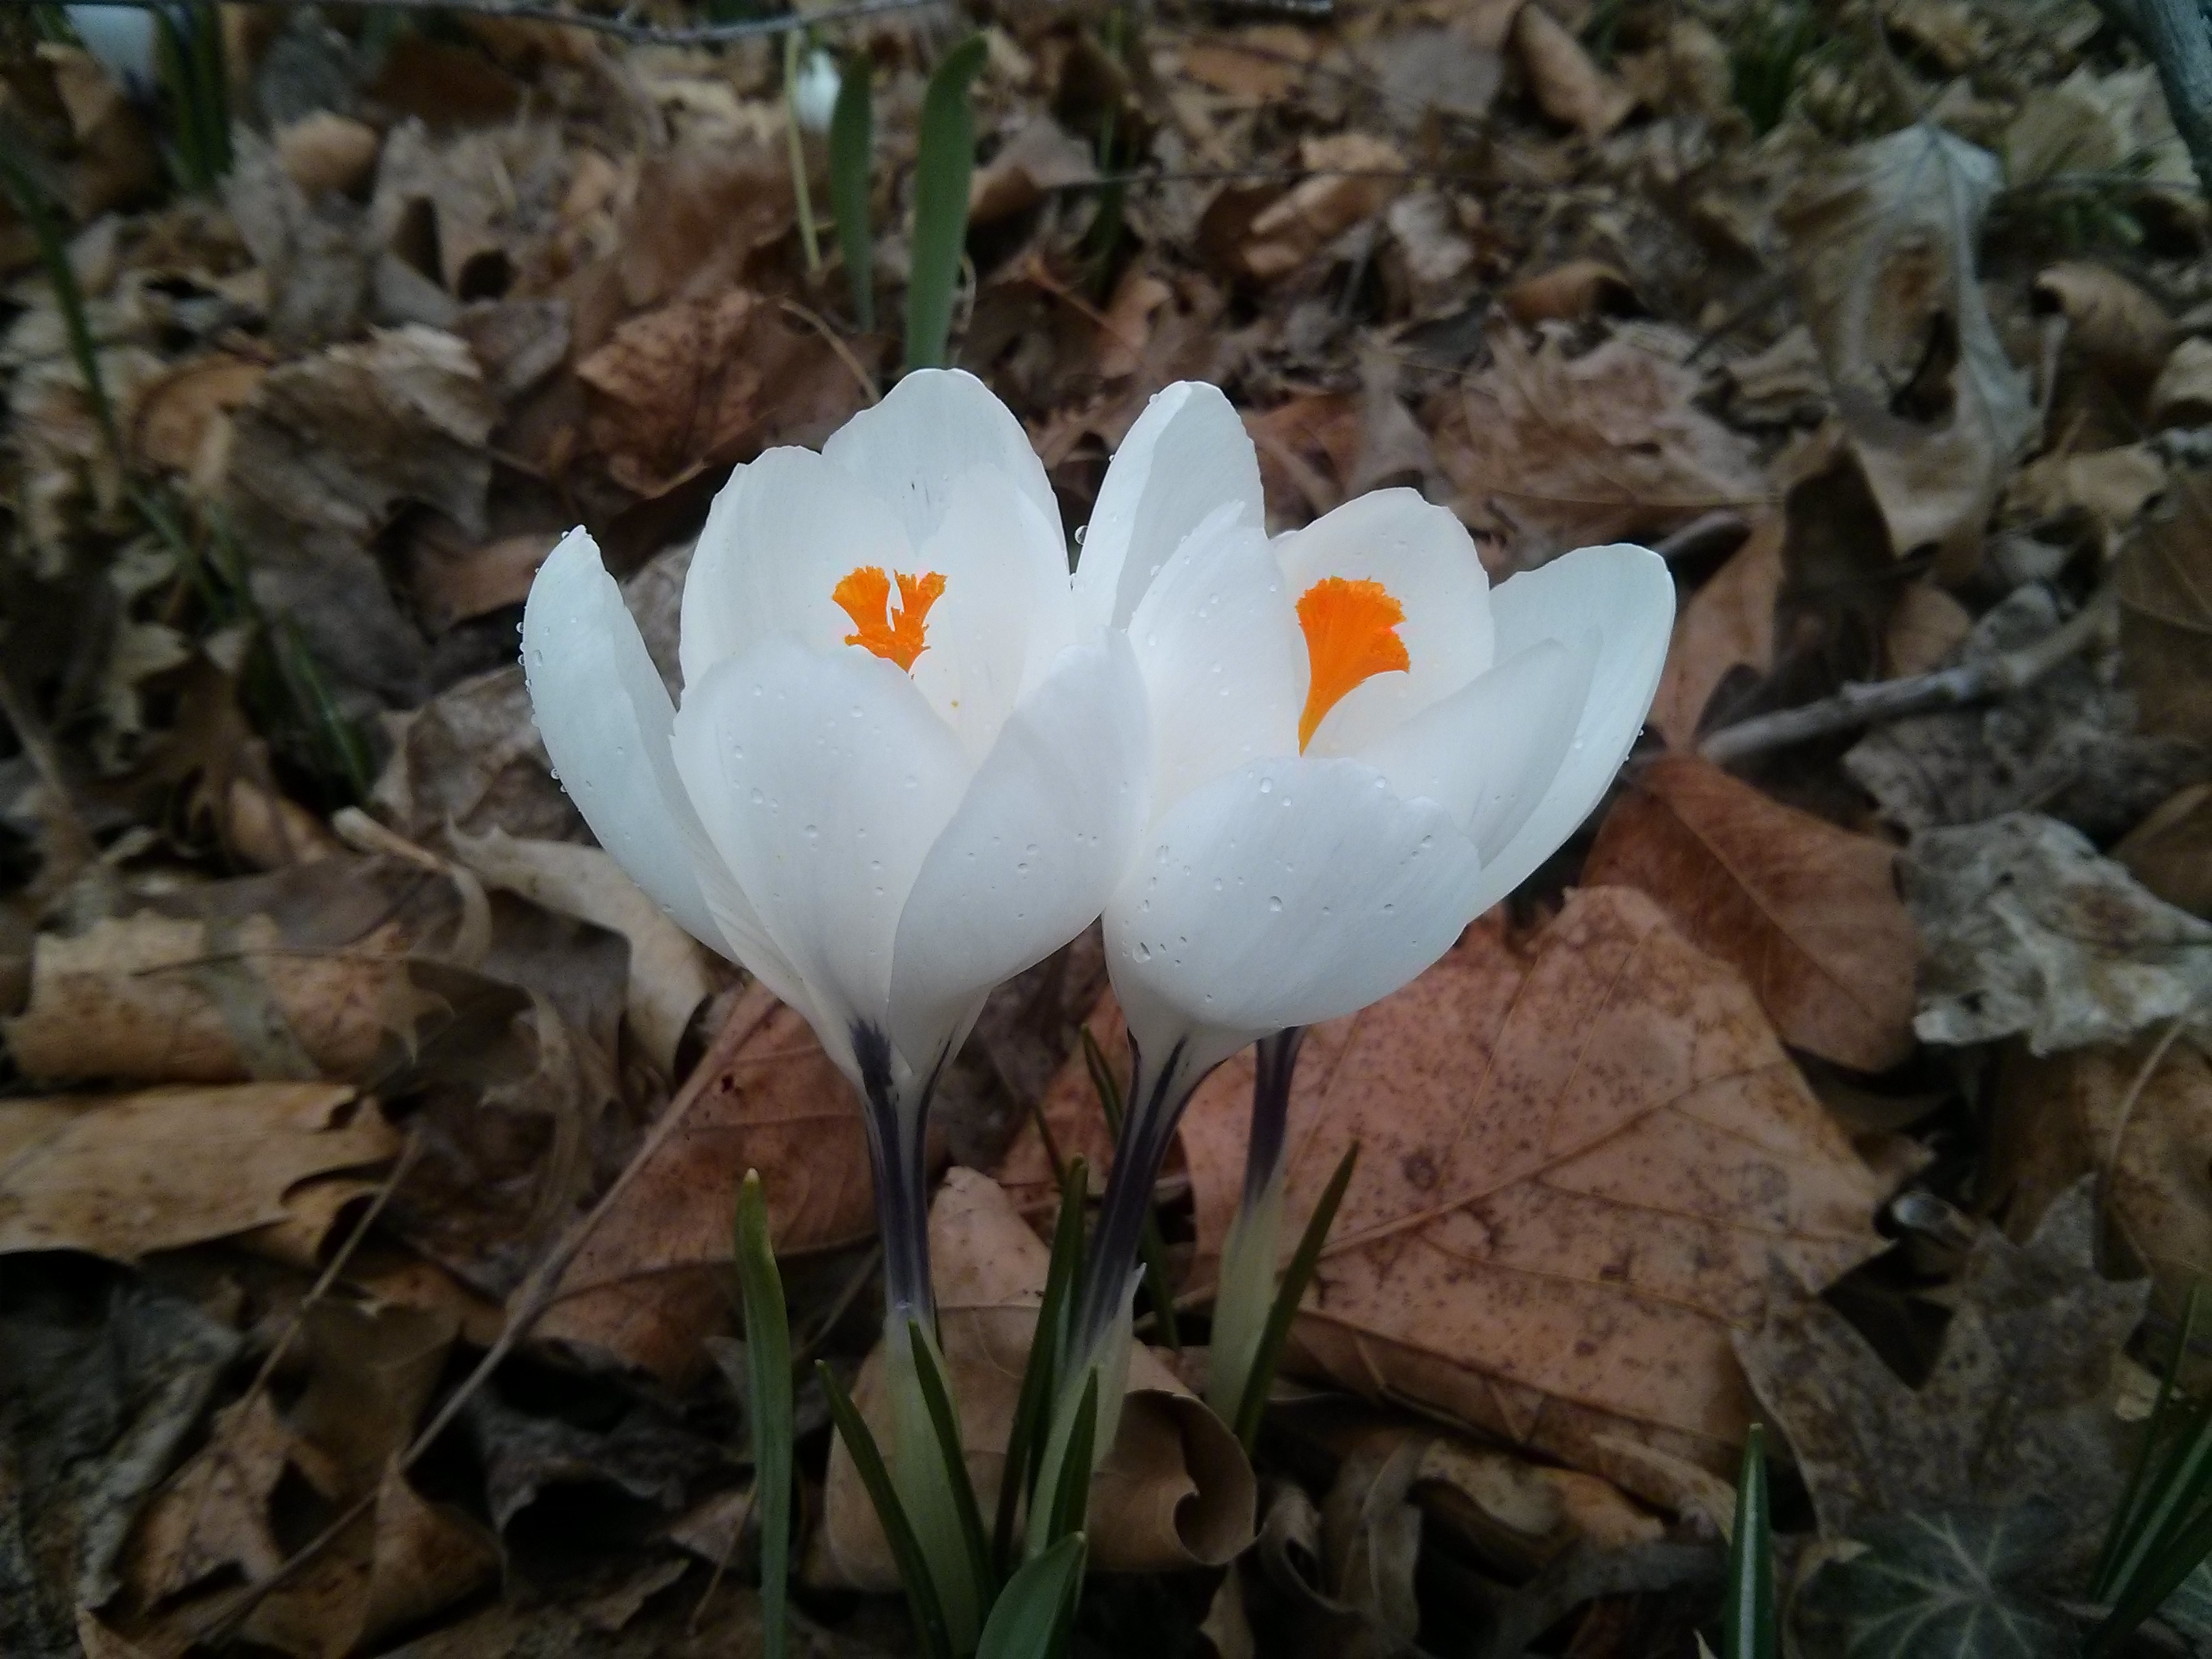
Upon initial inspection, seeing a lot of brown

wpid-img_20150509_180459.jpg

But then after looking more closely, some green

wpid-img_20150509_180437.jpg

And some more

wpid-img_20150509_180158.jpg

And more! Here, a radish seedling.

wpid-img_20150509_180252.jpg

A cilantro plant said hello as well

It was a reminder that timing is everything. And that also important is how you respond. This time (and lately more times than not, I believe) my response was (and has been) one of more going with it and seeing the beauty and appreciating what’s there. I wouldn’t call it a laissez-faire attitude, which would imply a lack of action and responsibility, but rather more of a forward-moving, active one, with ownership acknowledged. I can control and act on what I can, like getting started in the garden and planting things (tomatoes, basil, hot peppers, summer squash, cucumbers, corn, edamame, and more sunflowers, cilantro, and radishes!, so far), but you never know how it’s going to turn out. So you go with it and adapt along the way. Like, for instance, how it looks like I’m going to be planting some more seeds or buying more transplants (I actually just got some cucumber and tomato transplants at the farmers’ market yesterday) for the places where the cucumber, edamame, and cilantro seeds didn’t come up. And that’s okay. And like, for instance, how I can take more classes, write more, draw more, apply for different jobs, go on dates, meet more people, and do whatever, and we’ll see how it goes and figure it out.

When you have the right mindset, things also seem to happen at the right time. A friend of mine, who read a number of foodnsight posts recently, remarked how a lot of them were about time, and I think he’s right. I’d thought about starting the blog for a while, but it didn’t actually happen…until it happened to be right time.

A coconut falls when it’s ready.

You can’t say your mother’s soup is the best until you’ve stepped out of her kitchen.

Proverbs add spice to language.

I think, but I’m not completely sure, that’s how these three food / life / thought proverbs go. That’s how I remember them at least, having heard them in lecture and in conversation by a bouncing, full of life college professor who was originally from Ghana and who you could tell truly enjoyed what he was doing both in school as a professor and outside of school as a minister, which in general was teaching, connecting with people, and adding a lot of energy and spice all around.

It’s always the right time to do what you want to do, and to do what feels right. The coconut for the inception of this blog fell a little over a year ago, and more have been falling since, at different rates. Sometimes it’s a chance encounter with a special rutabaga (and a day off from work, and the deadline of a family gathering), or sometimes it’s a neighbor’s gift of plantains (and a good run, plus a friend’s general suggestion to let the words come more easily), and then it falls more quickly. Other times it’s the lessening shelf-life of a winter squash, or that the gravity (and levity) simply builds up, and then it’s time. In any case, the cumulative result is also a chronicle of time passing, a certain curated version of my life that also, I hope, comes with bits of art, truth, and beauty mixed in with the radishes, pumpkins, and risotto. It’s also great when the fun, funny, and creativity are all flowing.

Given the timing of this post, more than a month after the last one, I say we also take a little time and a quick look at some of the food highlights and time-points from May.

wpid-img_20150514_231912.jpg

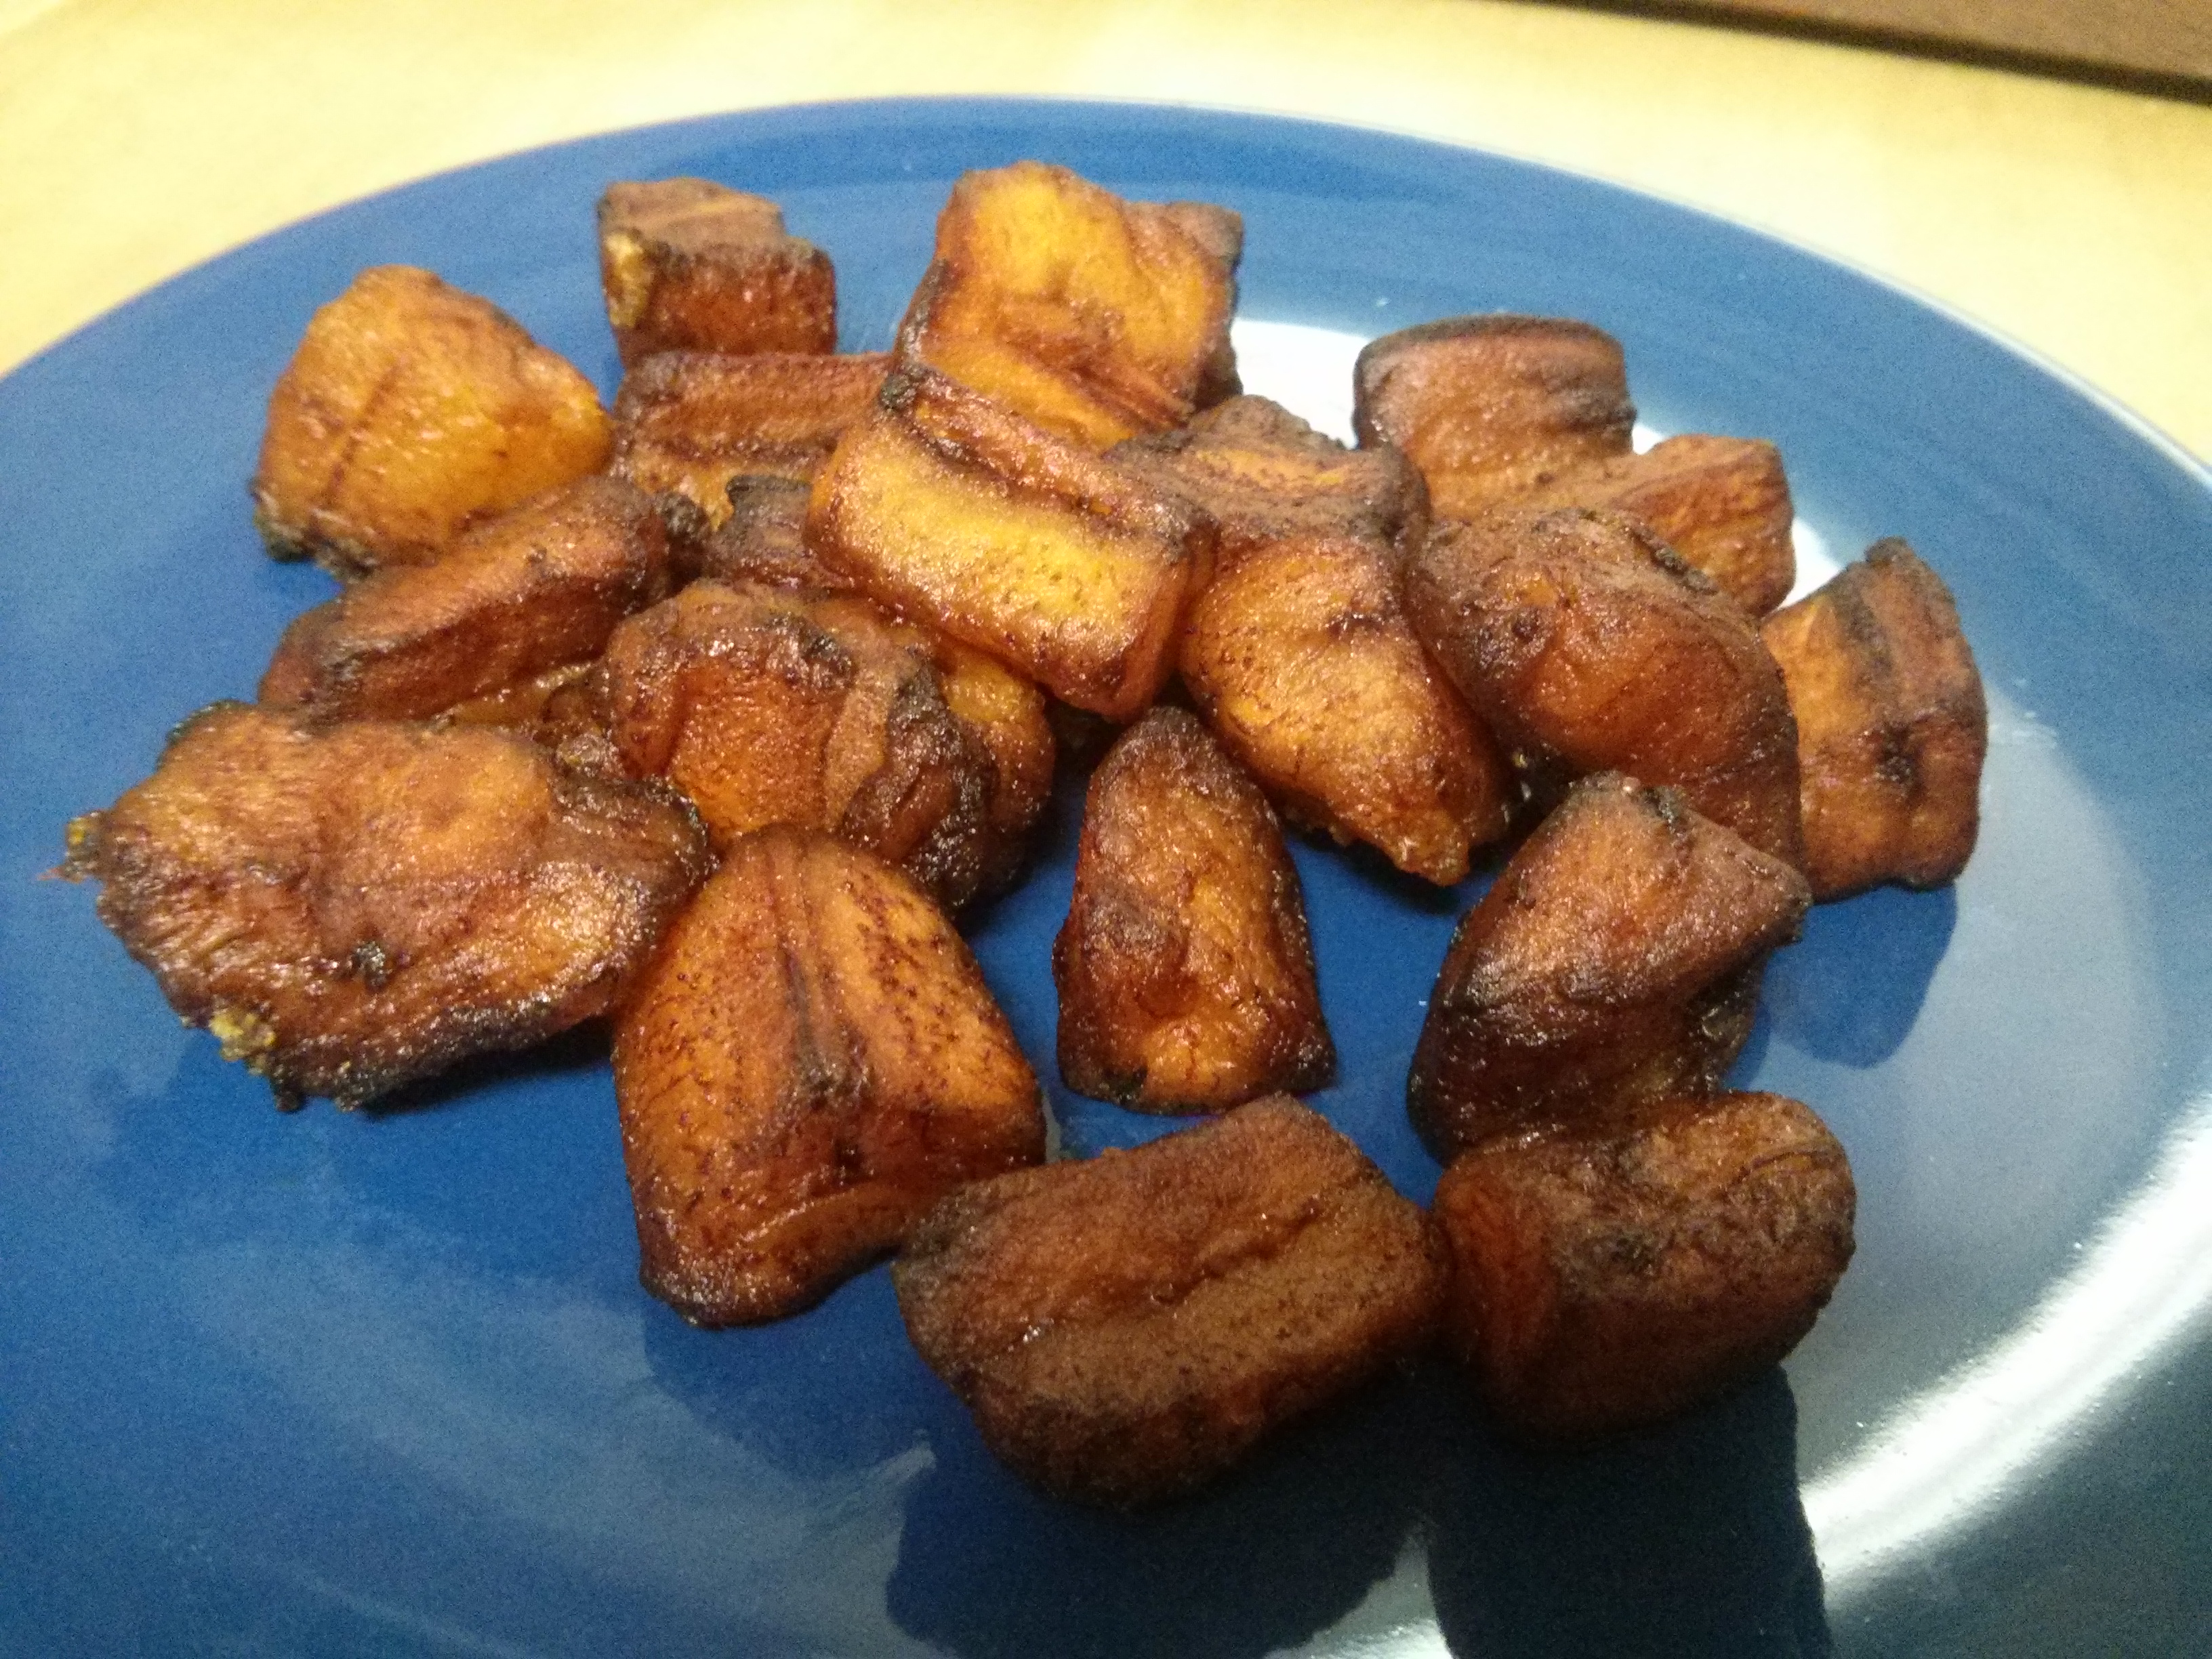
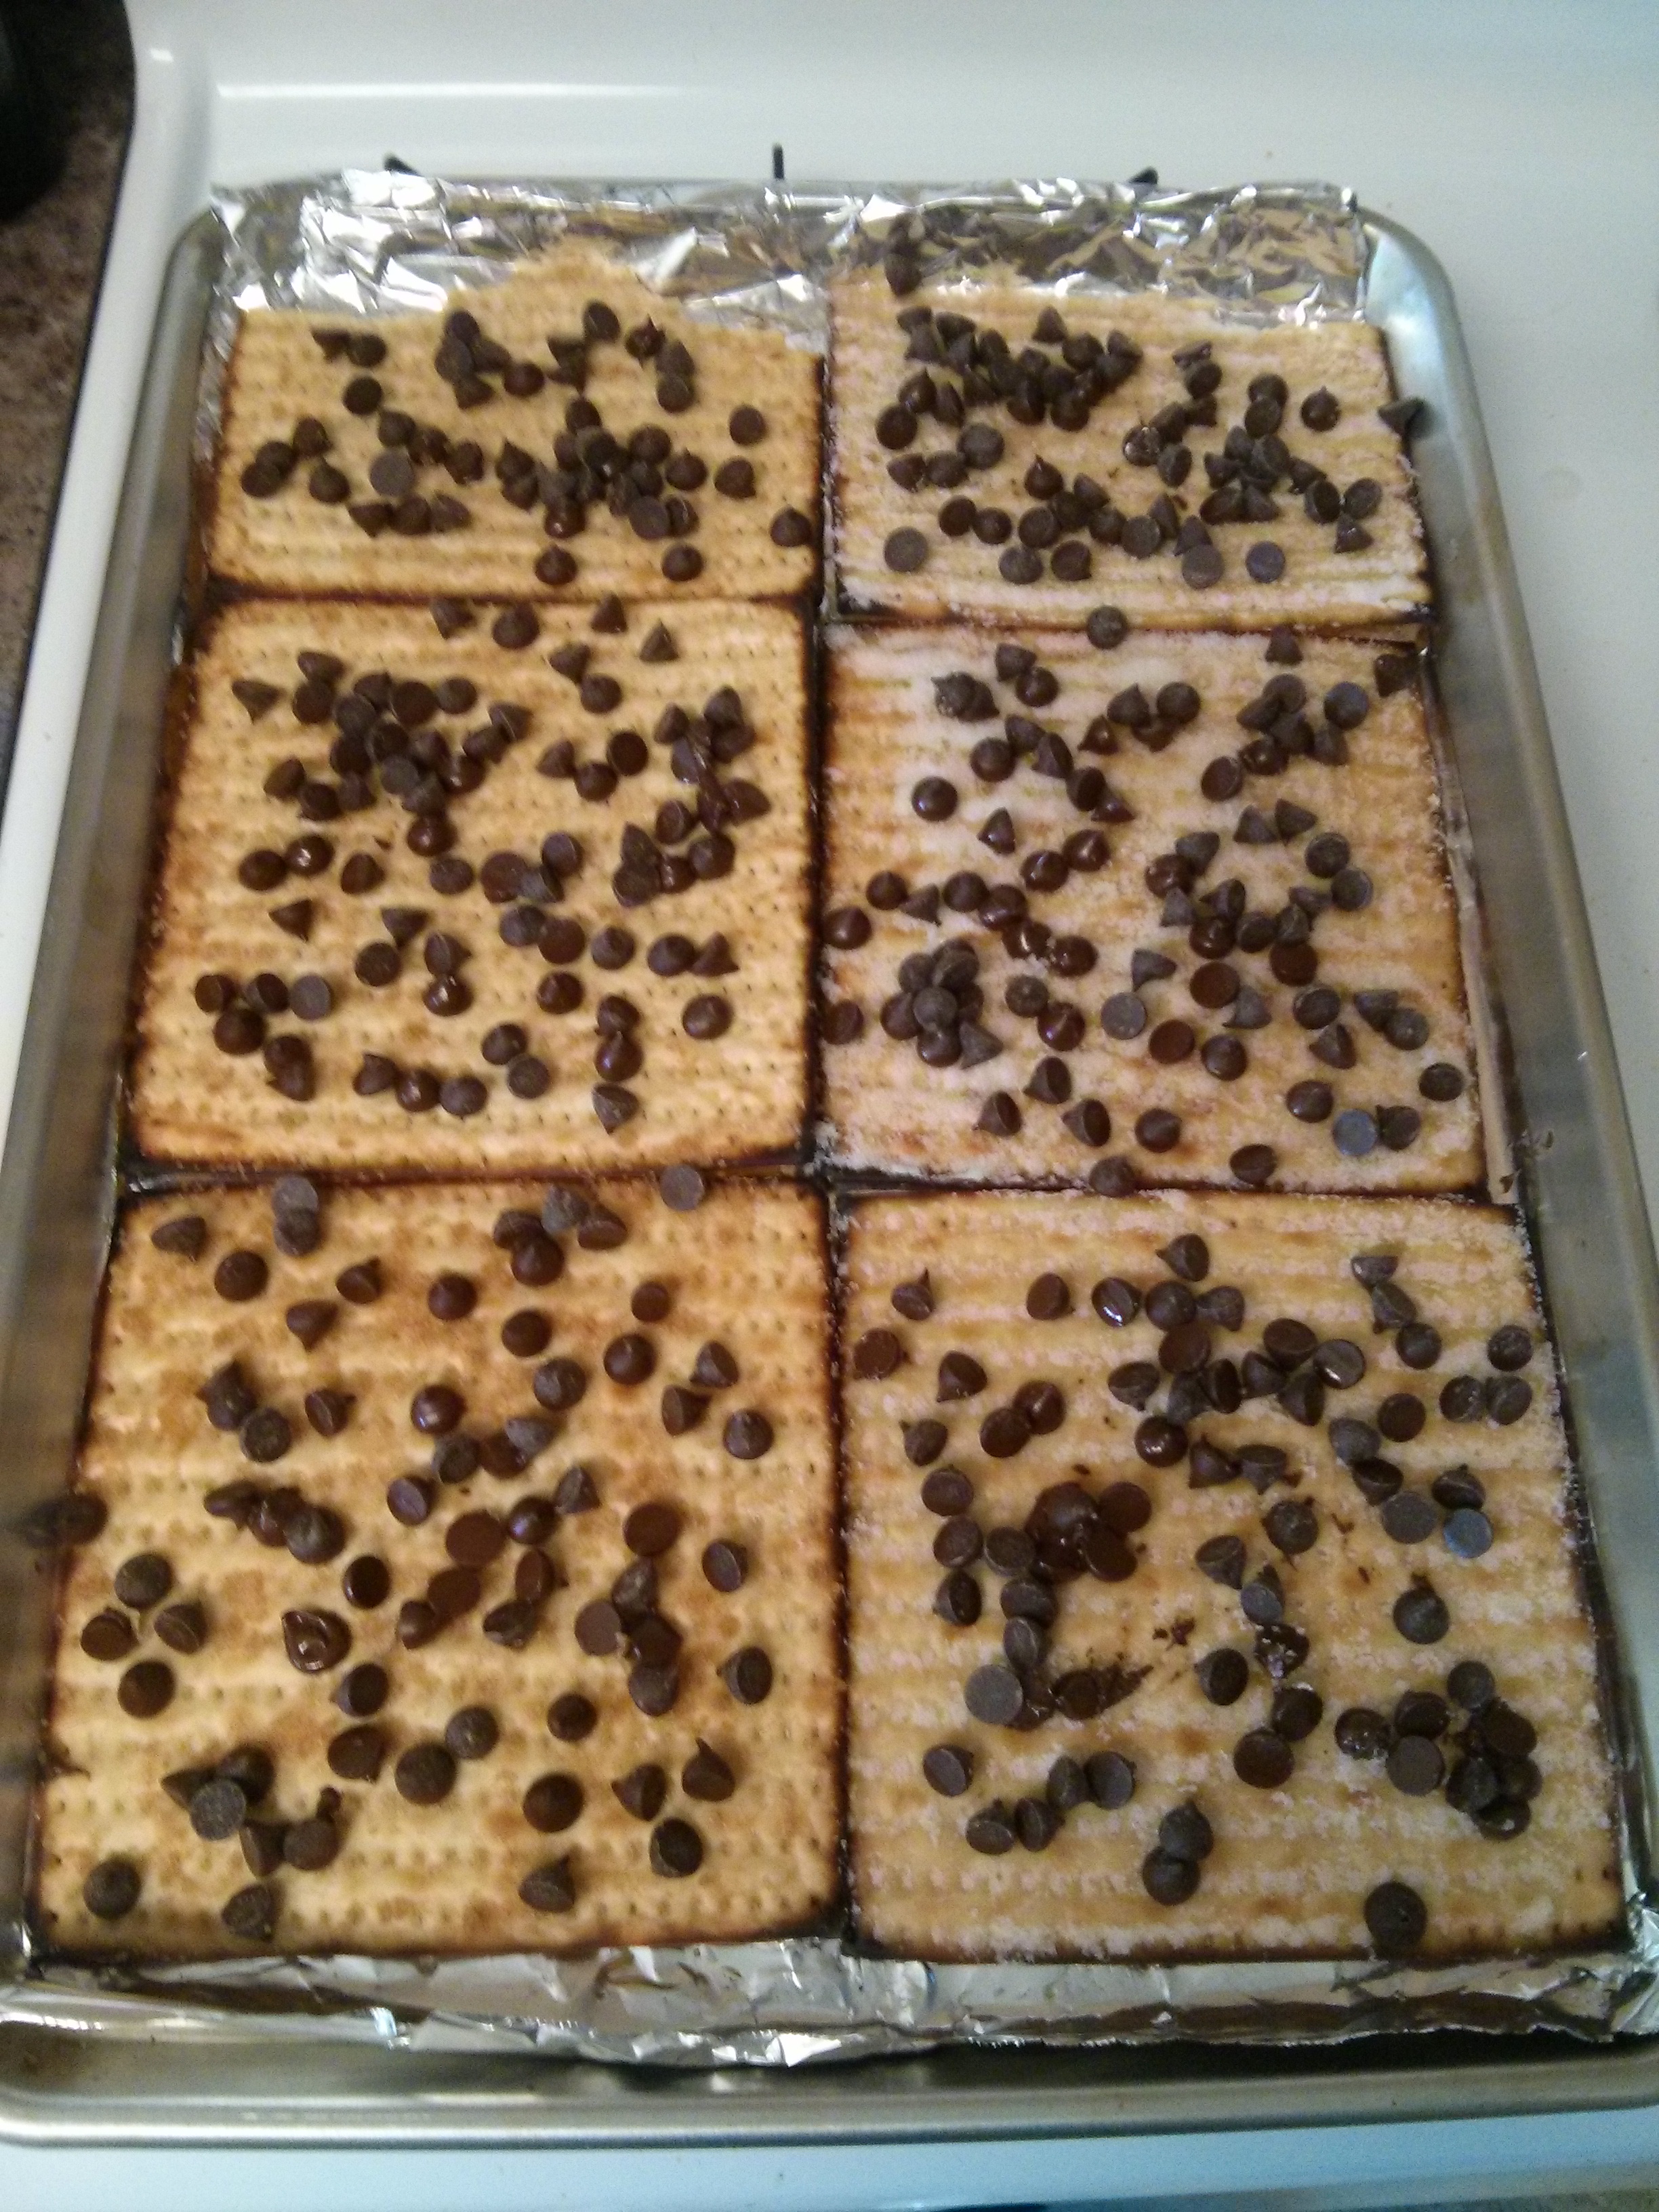
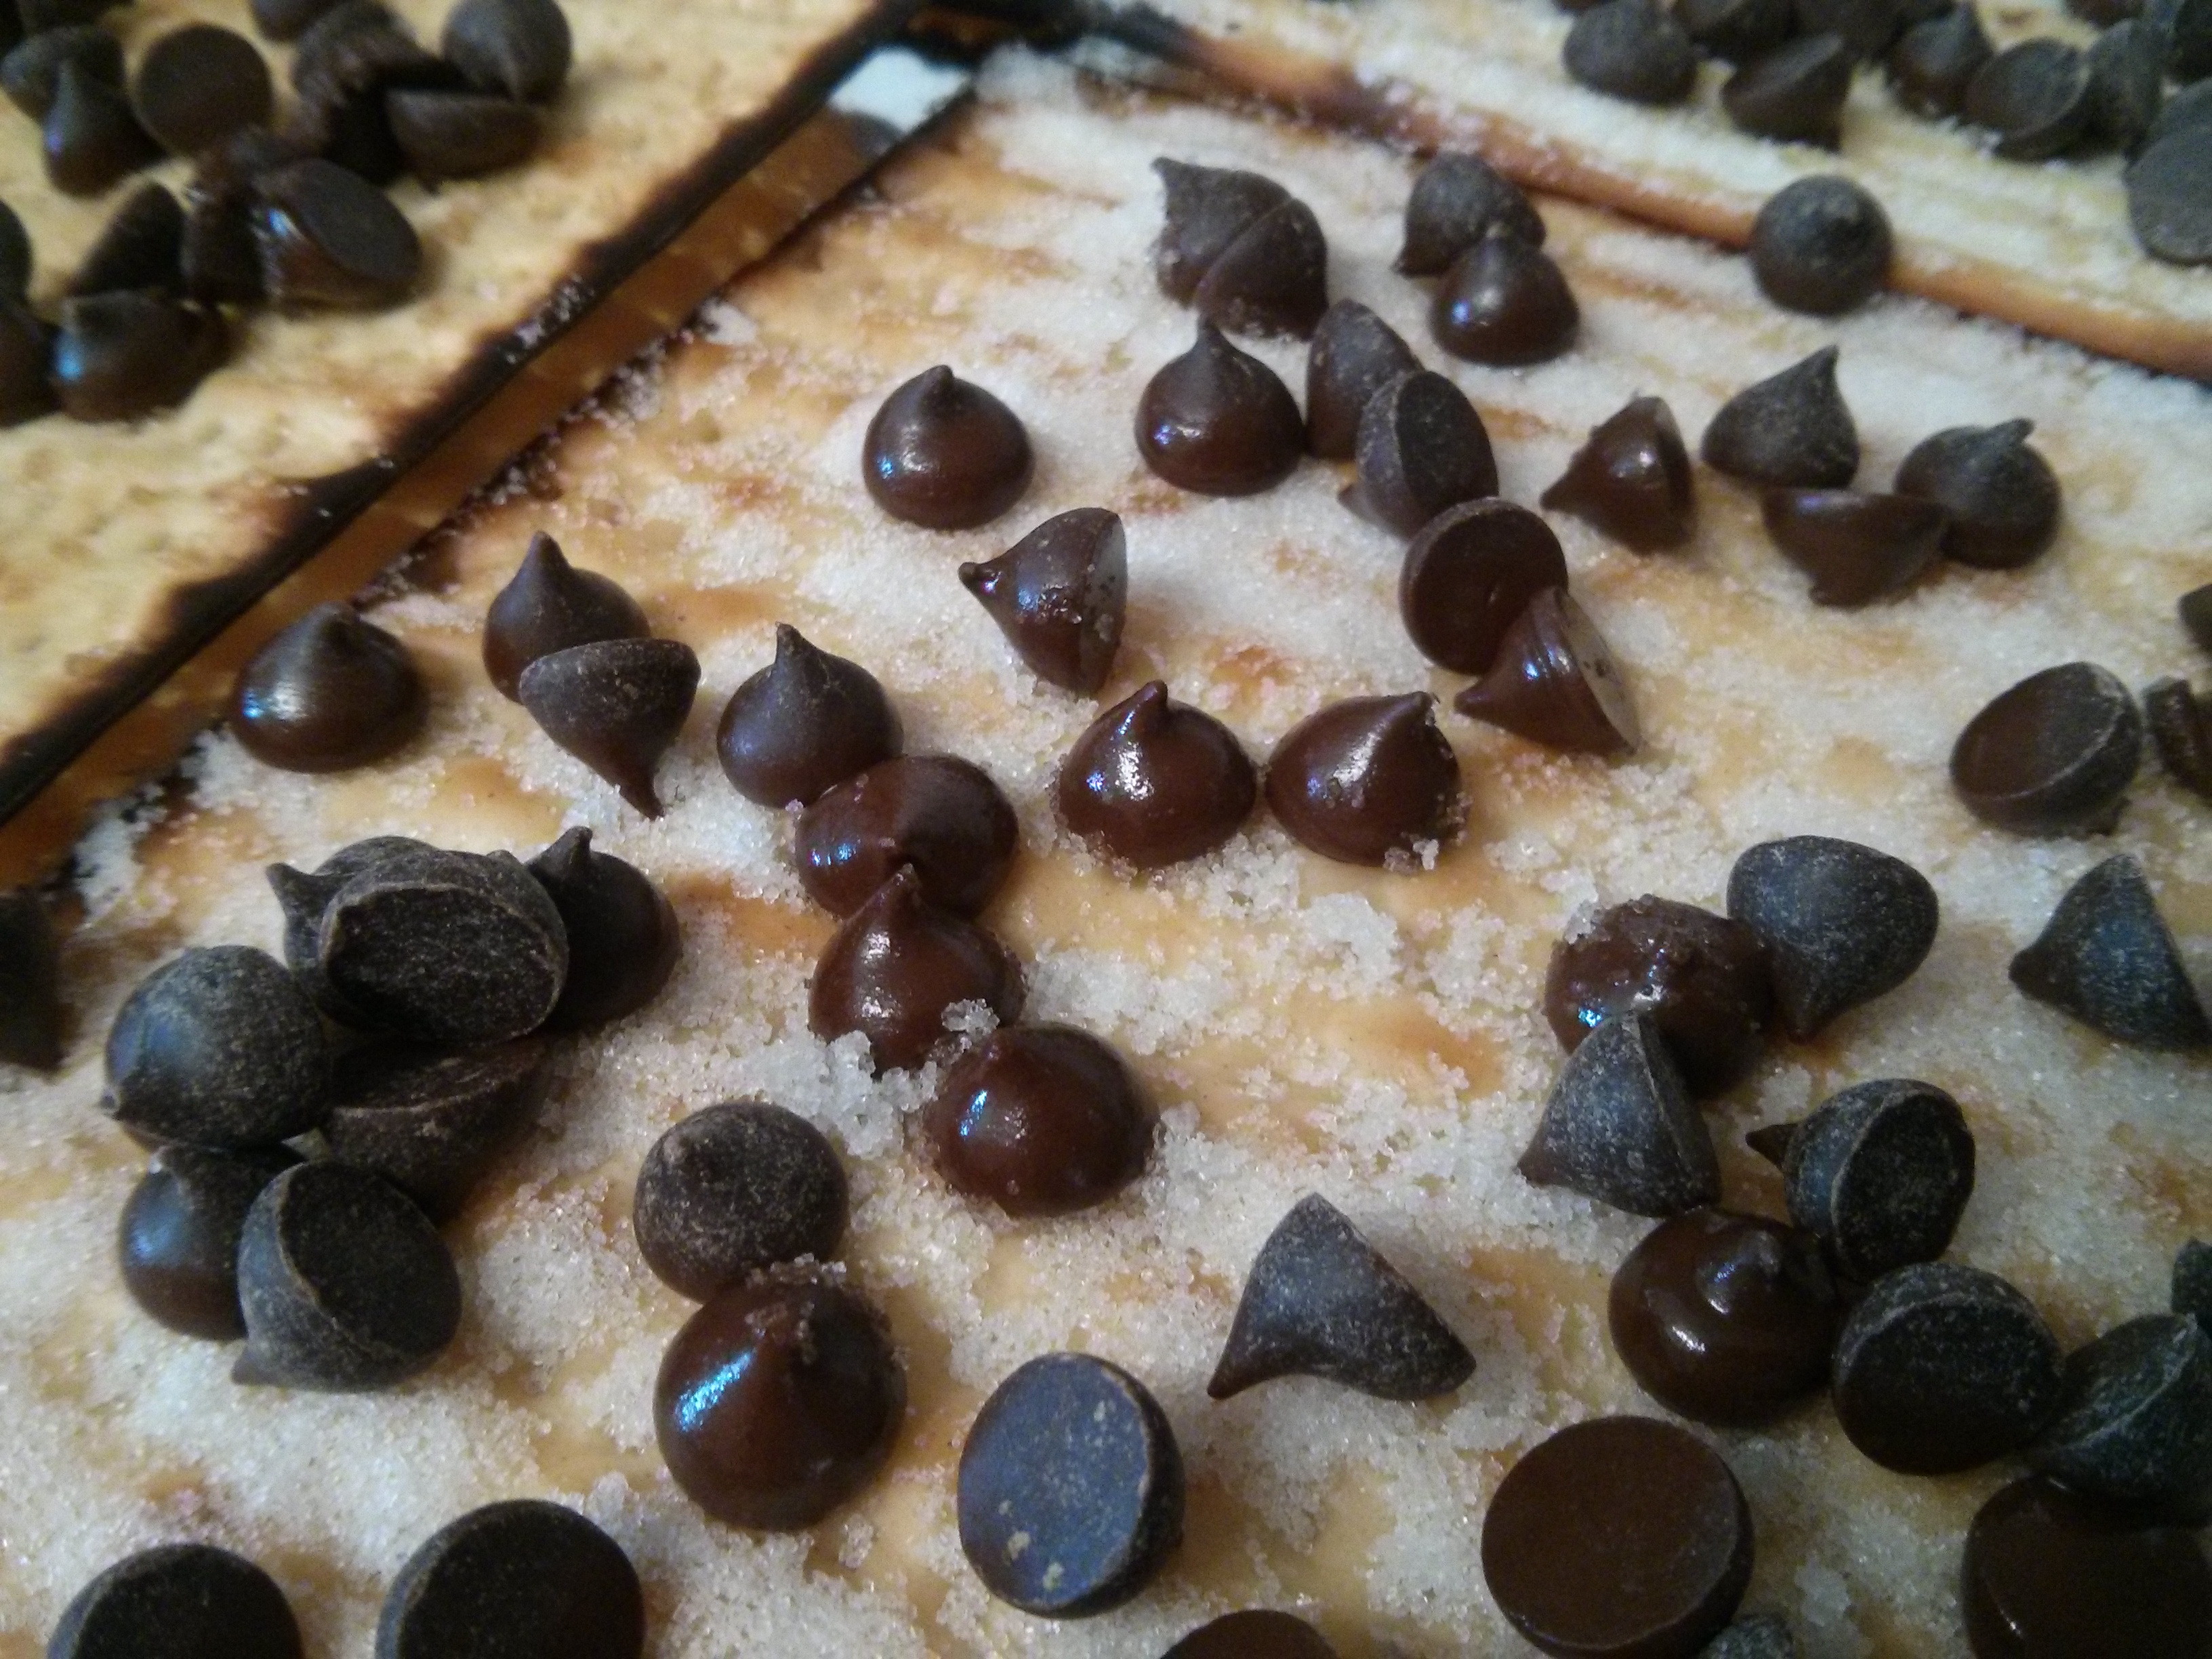
Plantains – I made them, and they were awesome! I more or less followed my neighbor’s recipe, which in my case turned out to be the following: after letting three yellow plantains ripen (after about a week they softened a bit and the outsides turned somewhat black), I peeled them, sliced them into coins, and fried them for 5-10 minutes (flipping them halfway through) in an oil mixture of 2 cups canola oil and 2 Tbsp palm oil. I also let the oil heat up first before frying them (medium heat), and when they were done I placed them on a plate with a paper towel to dry.

wpid-img_20150519_211654.jpg

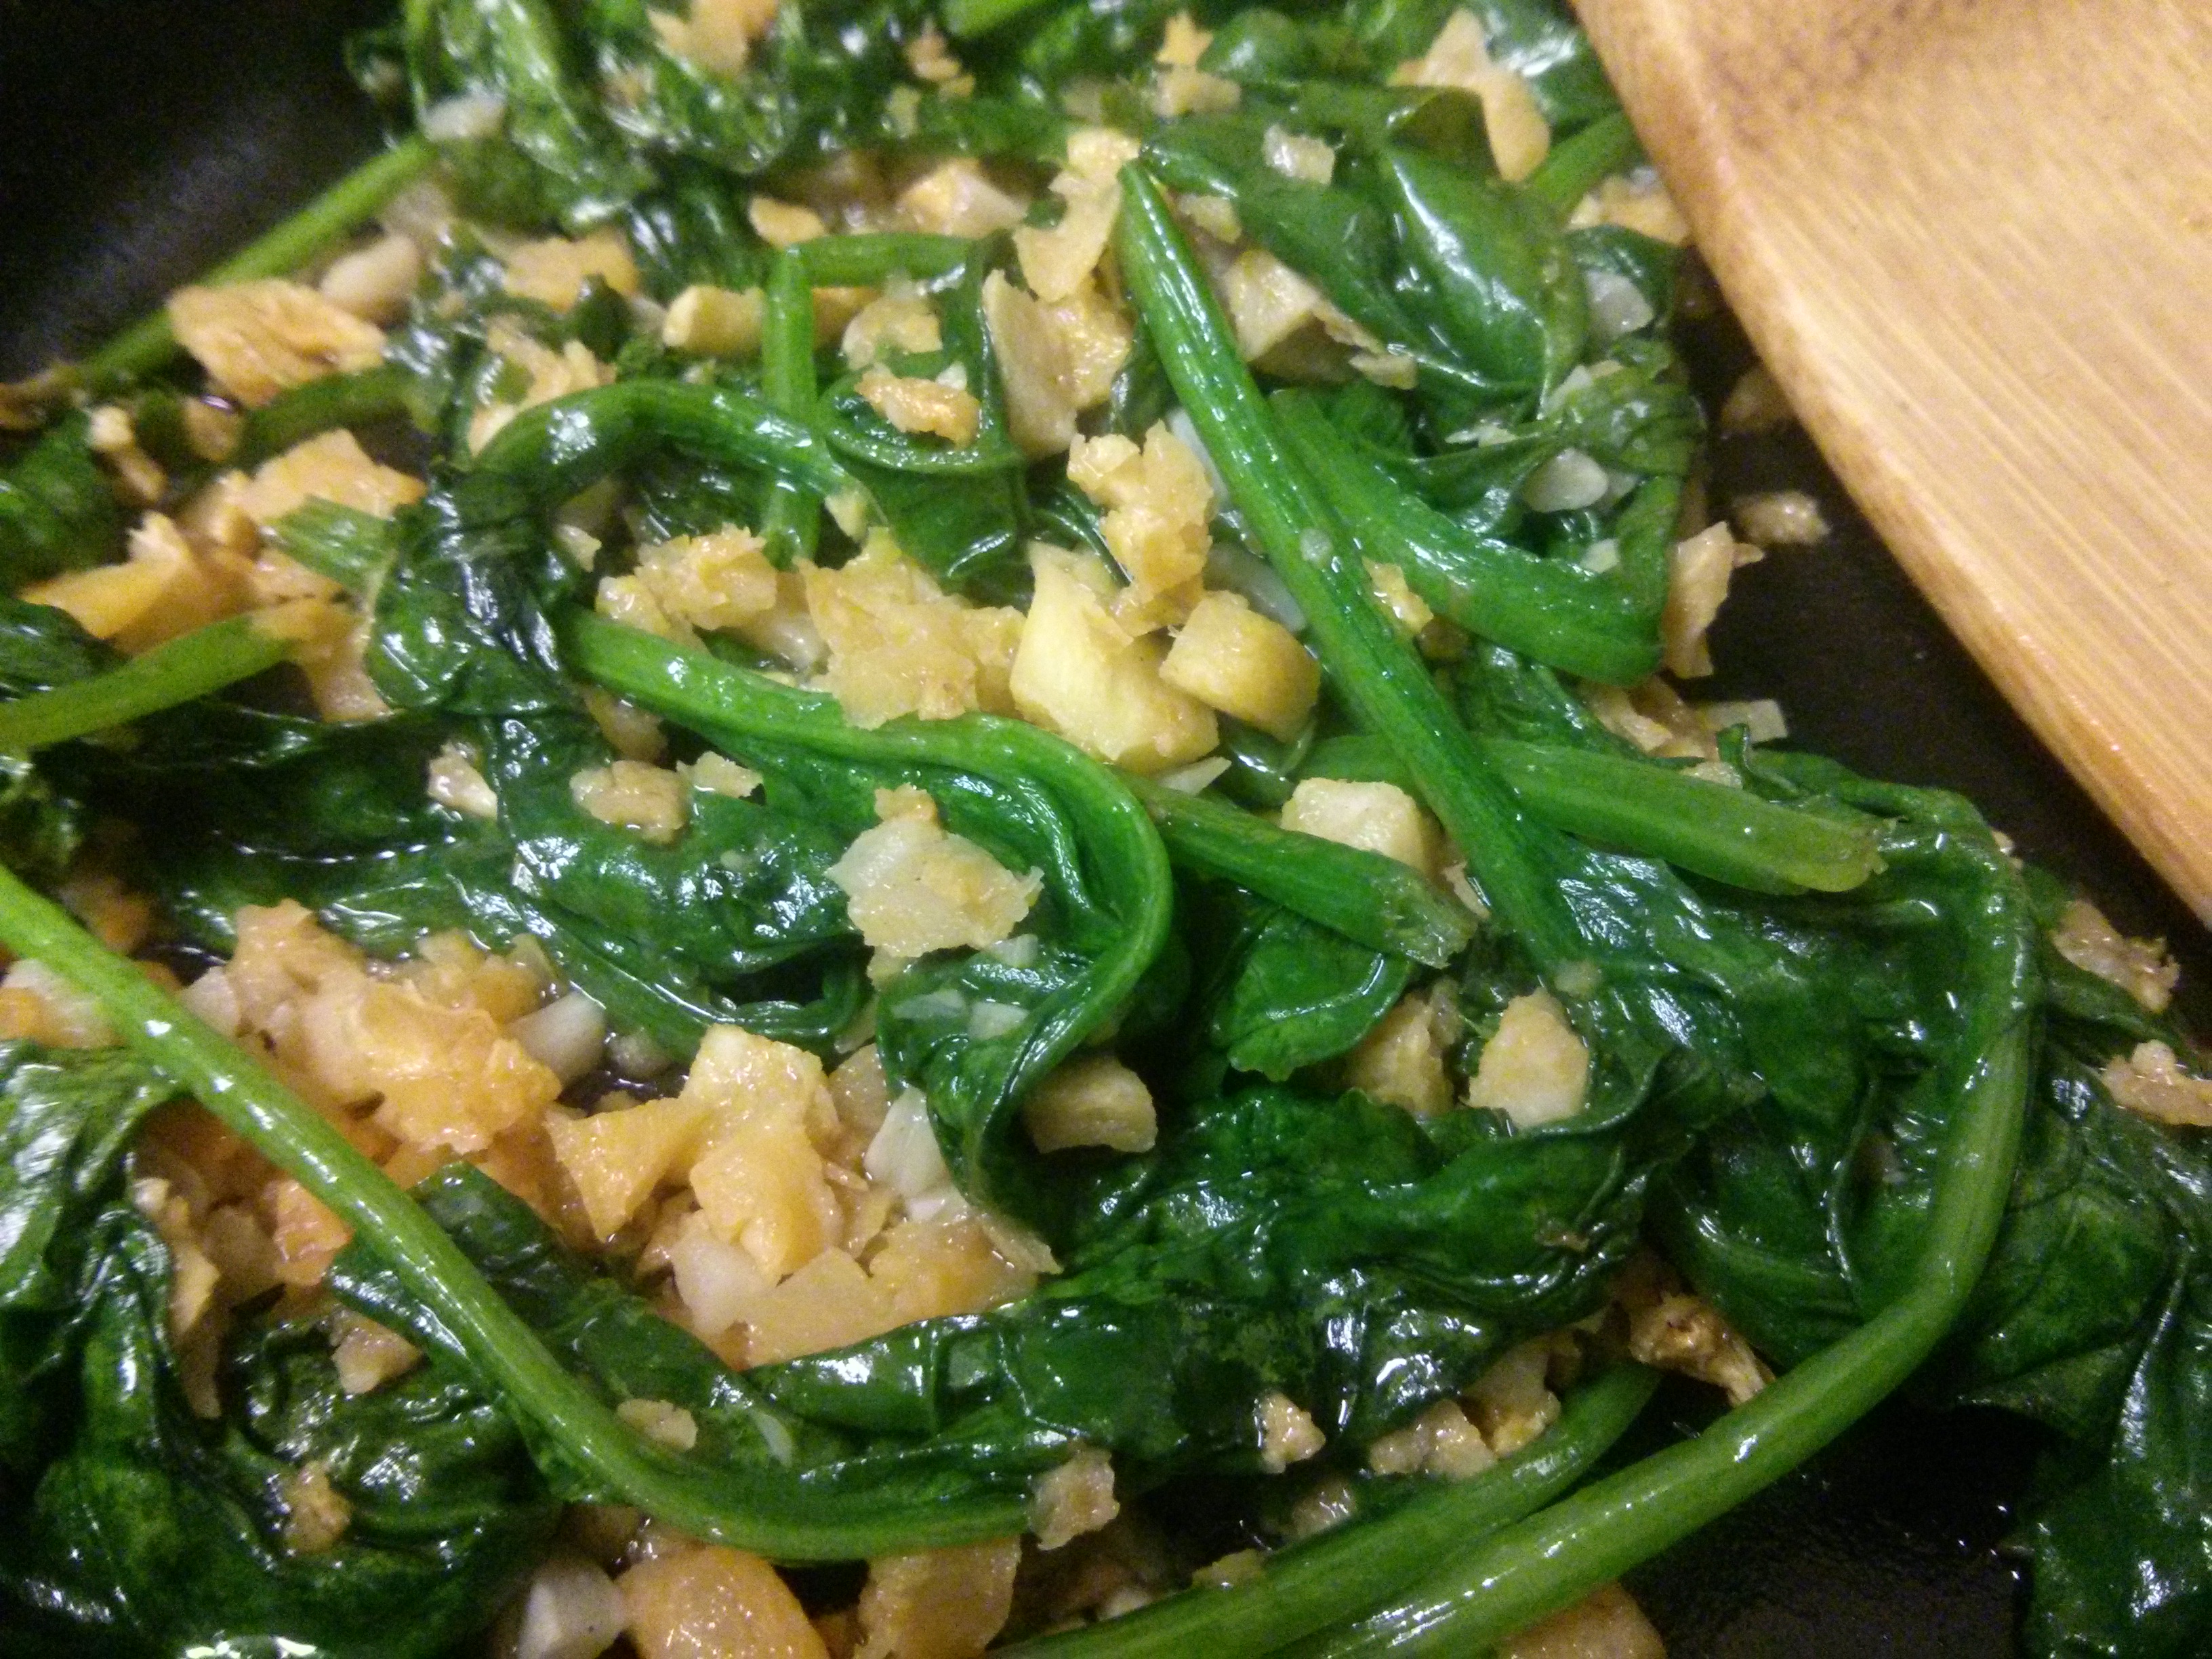
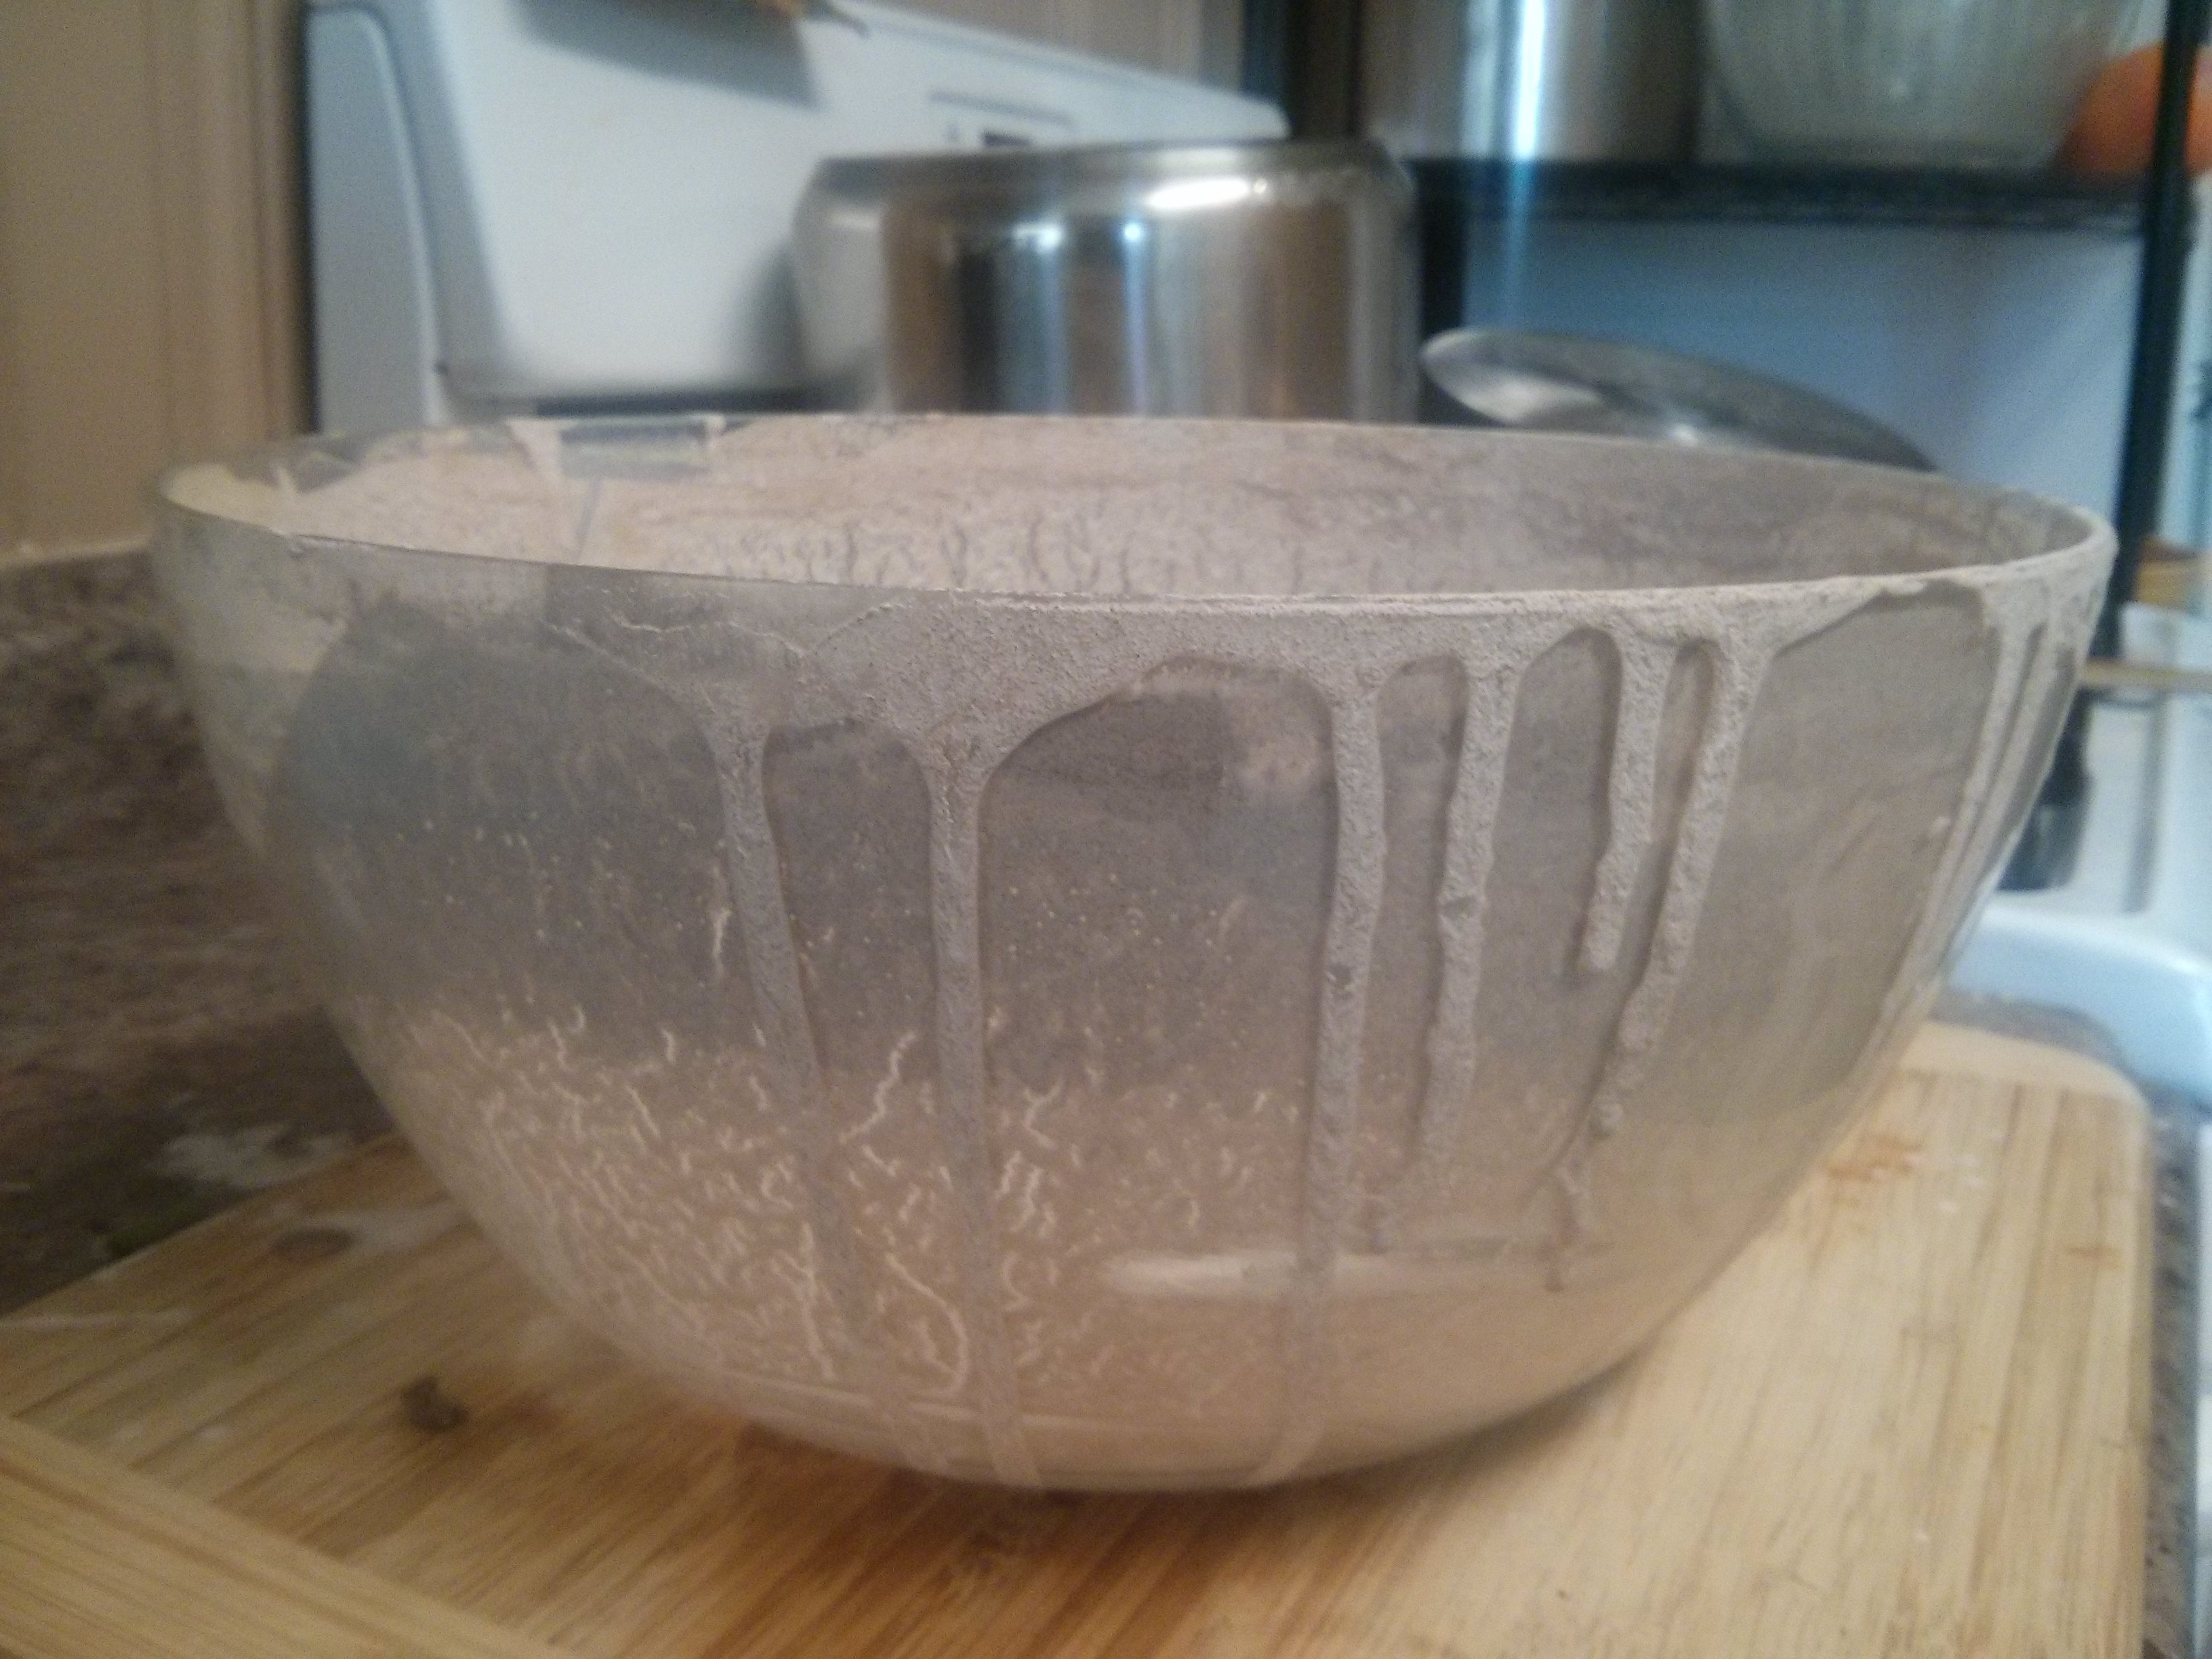
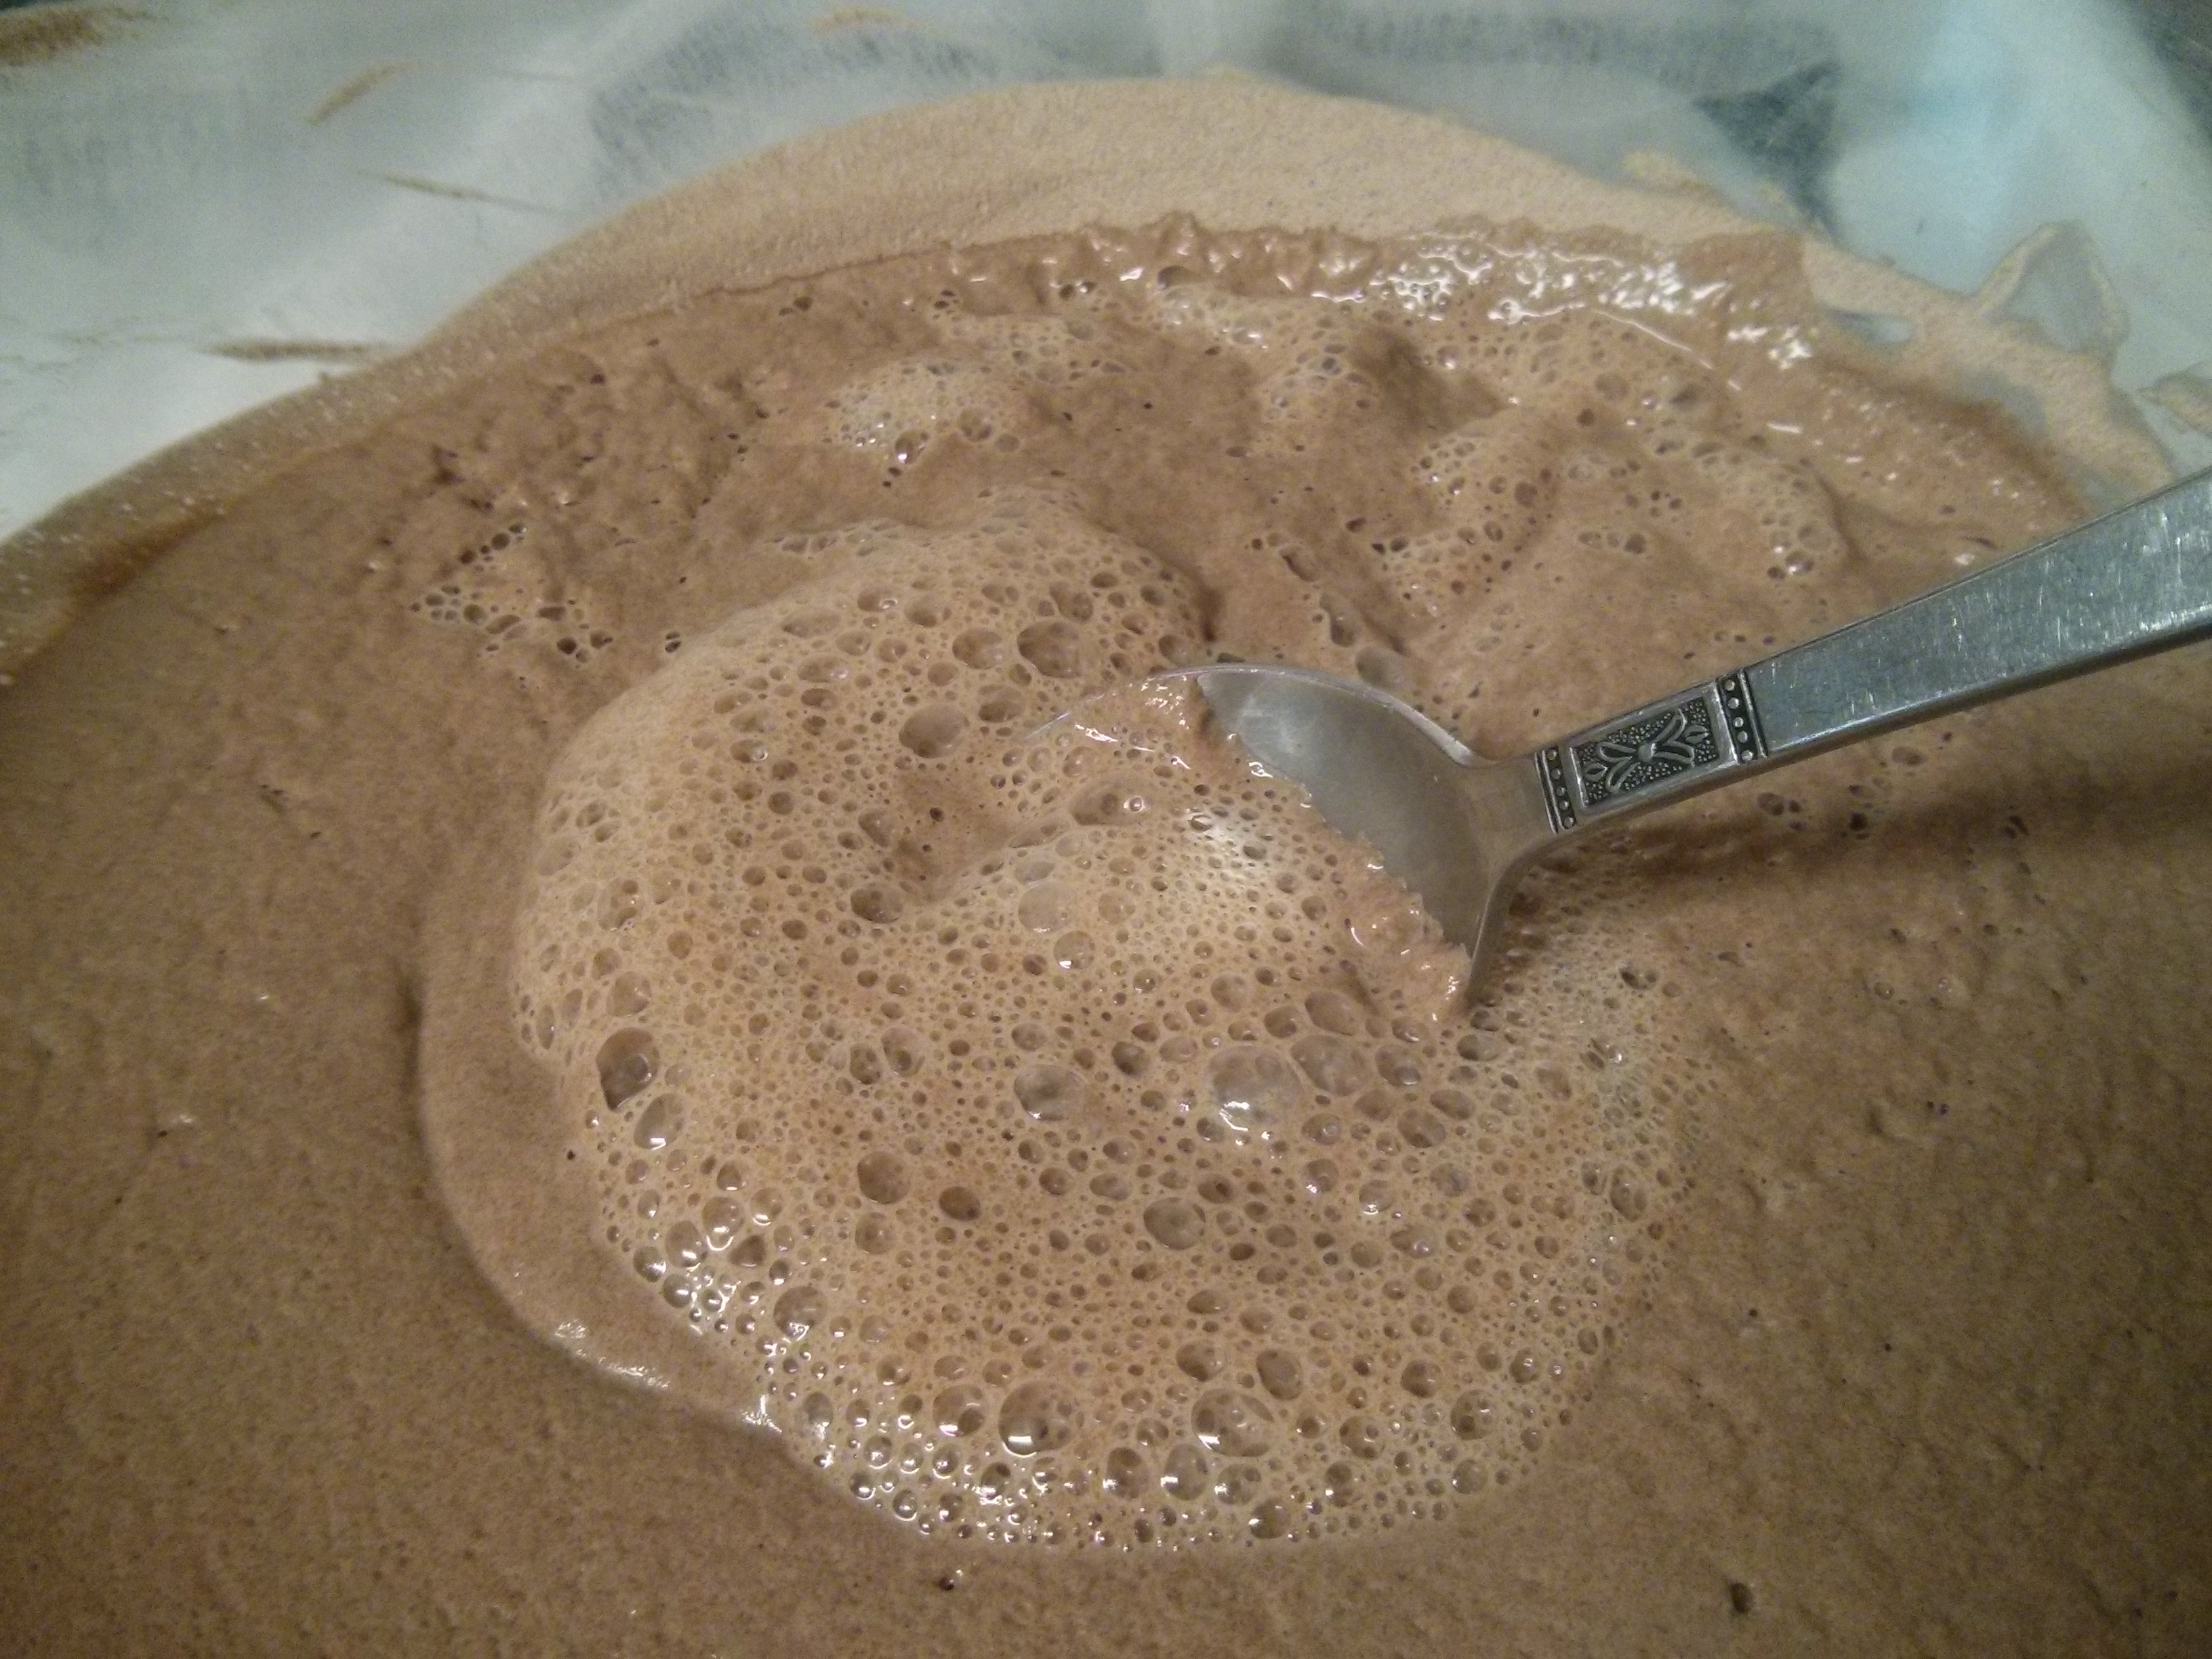
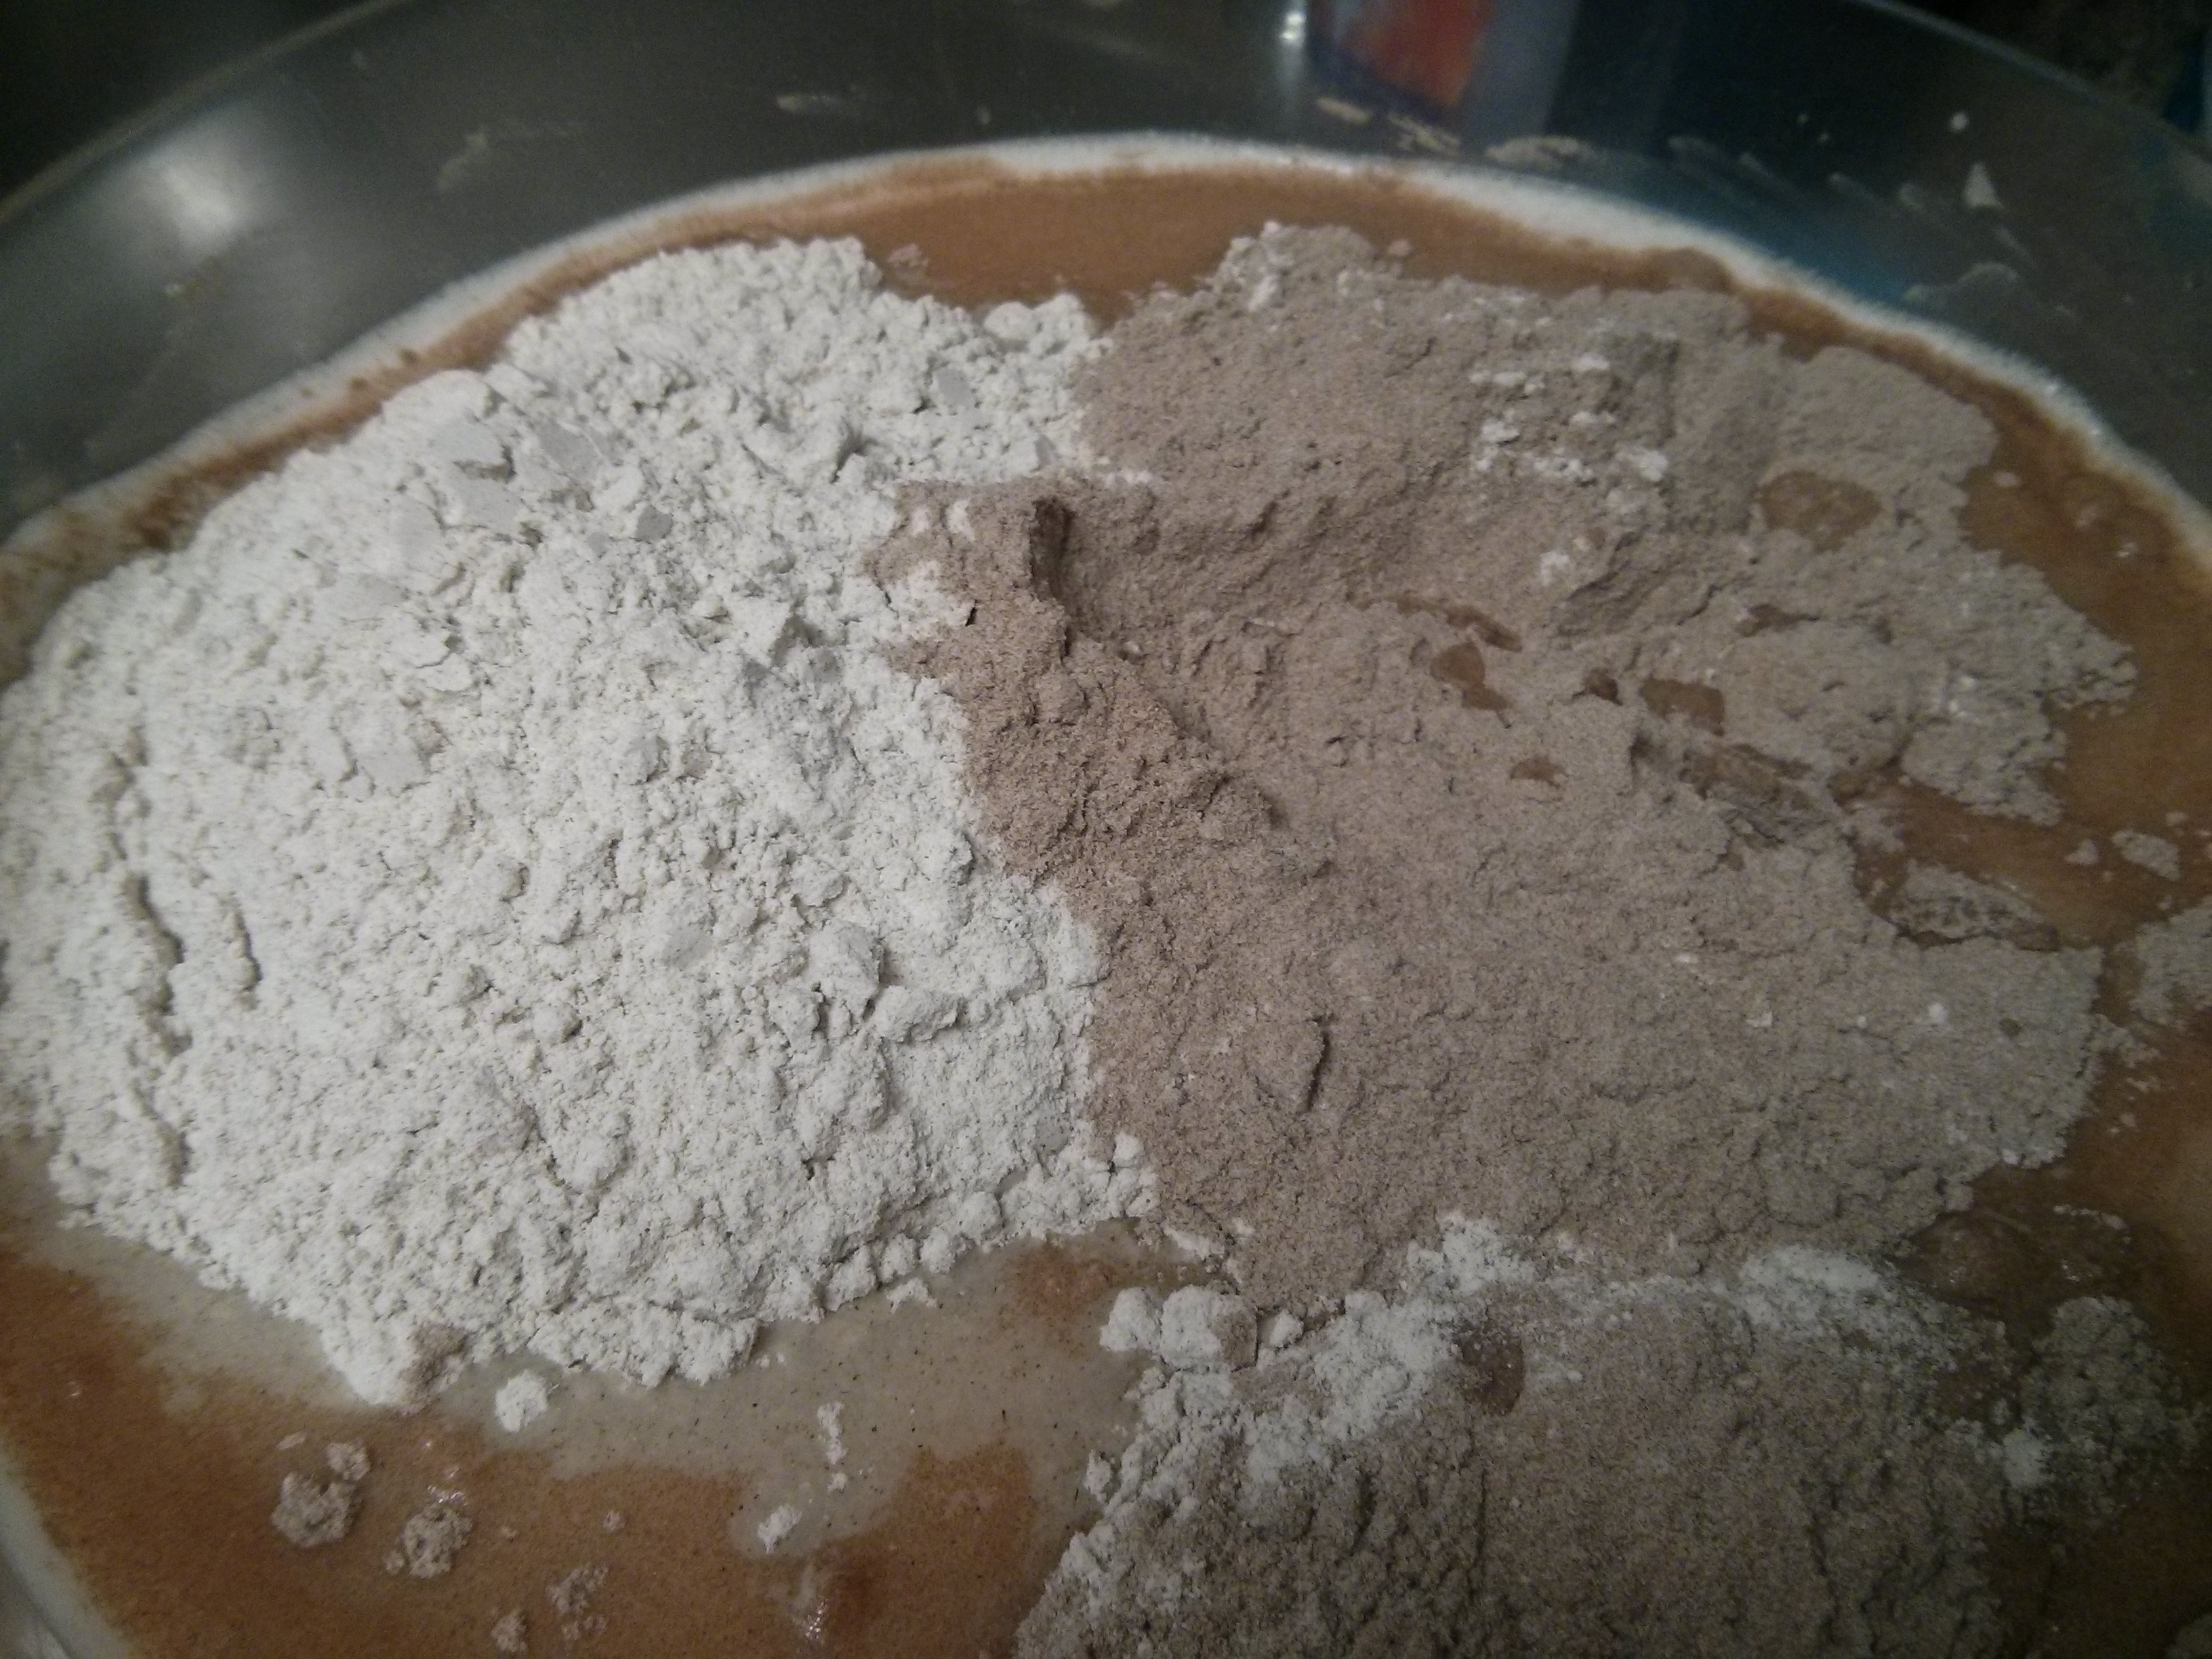
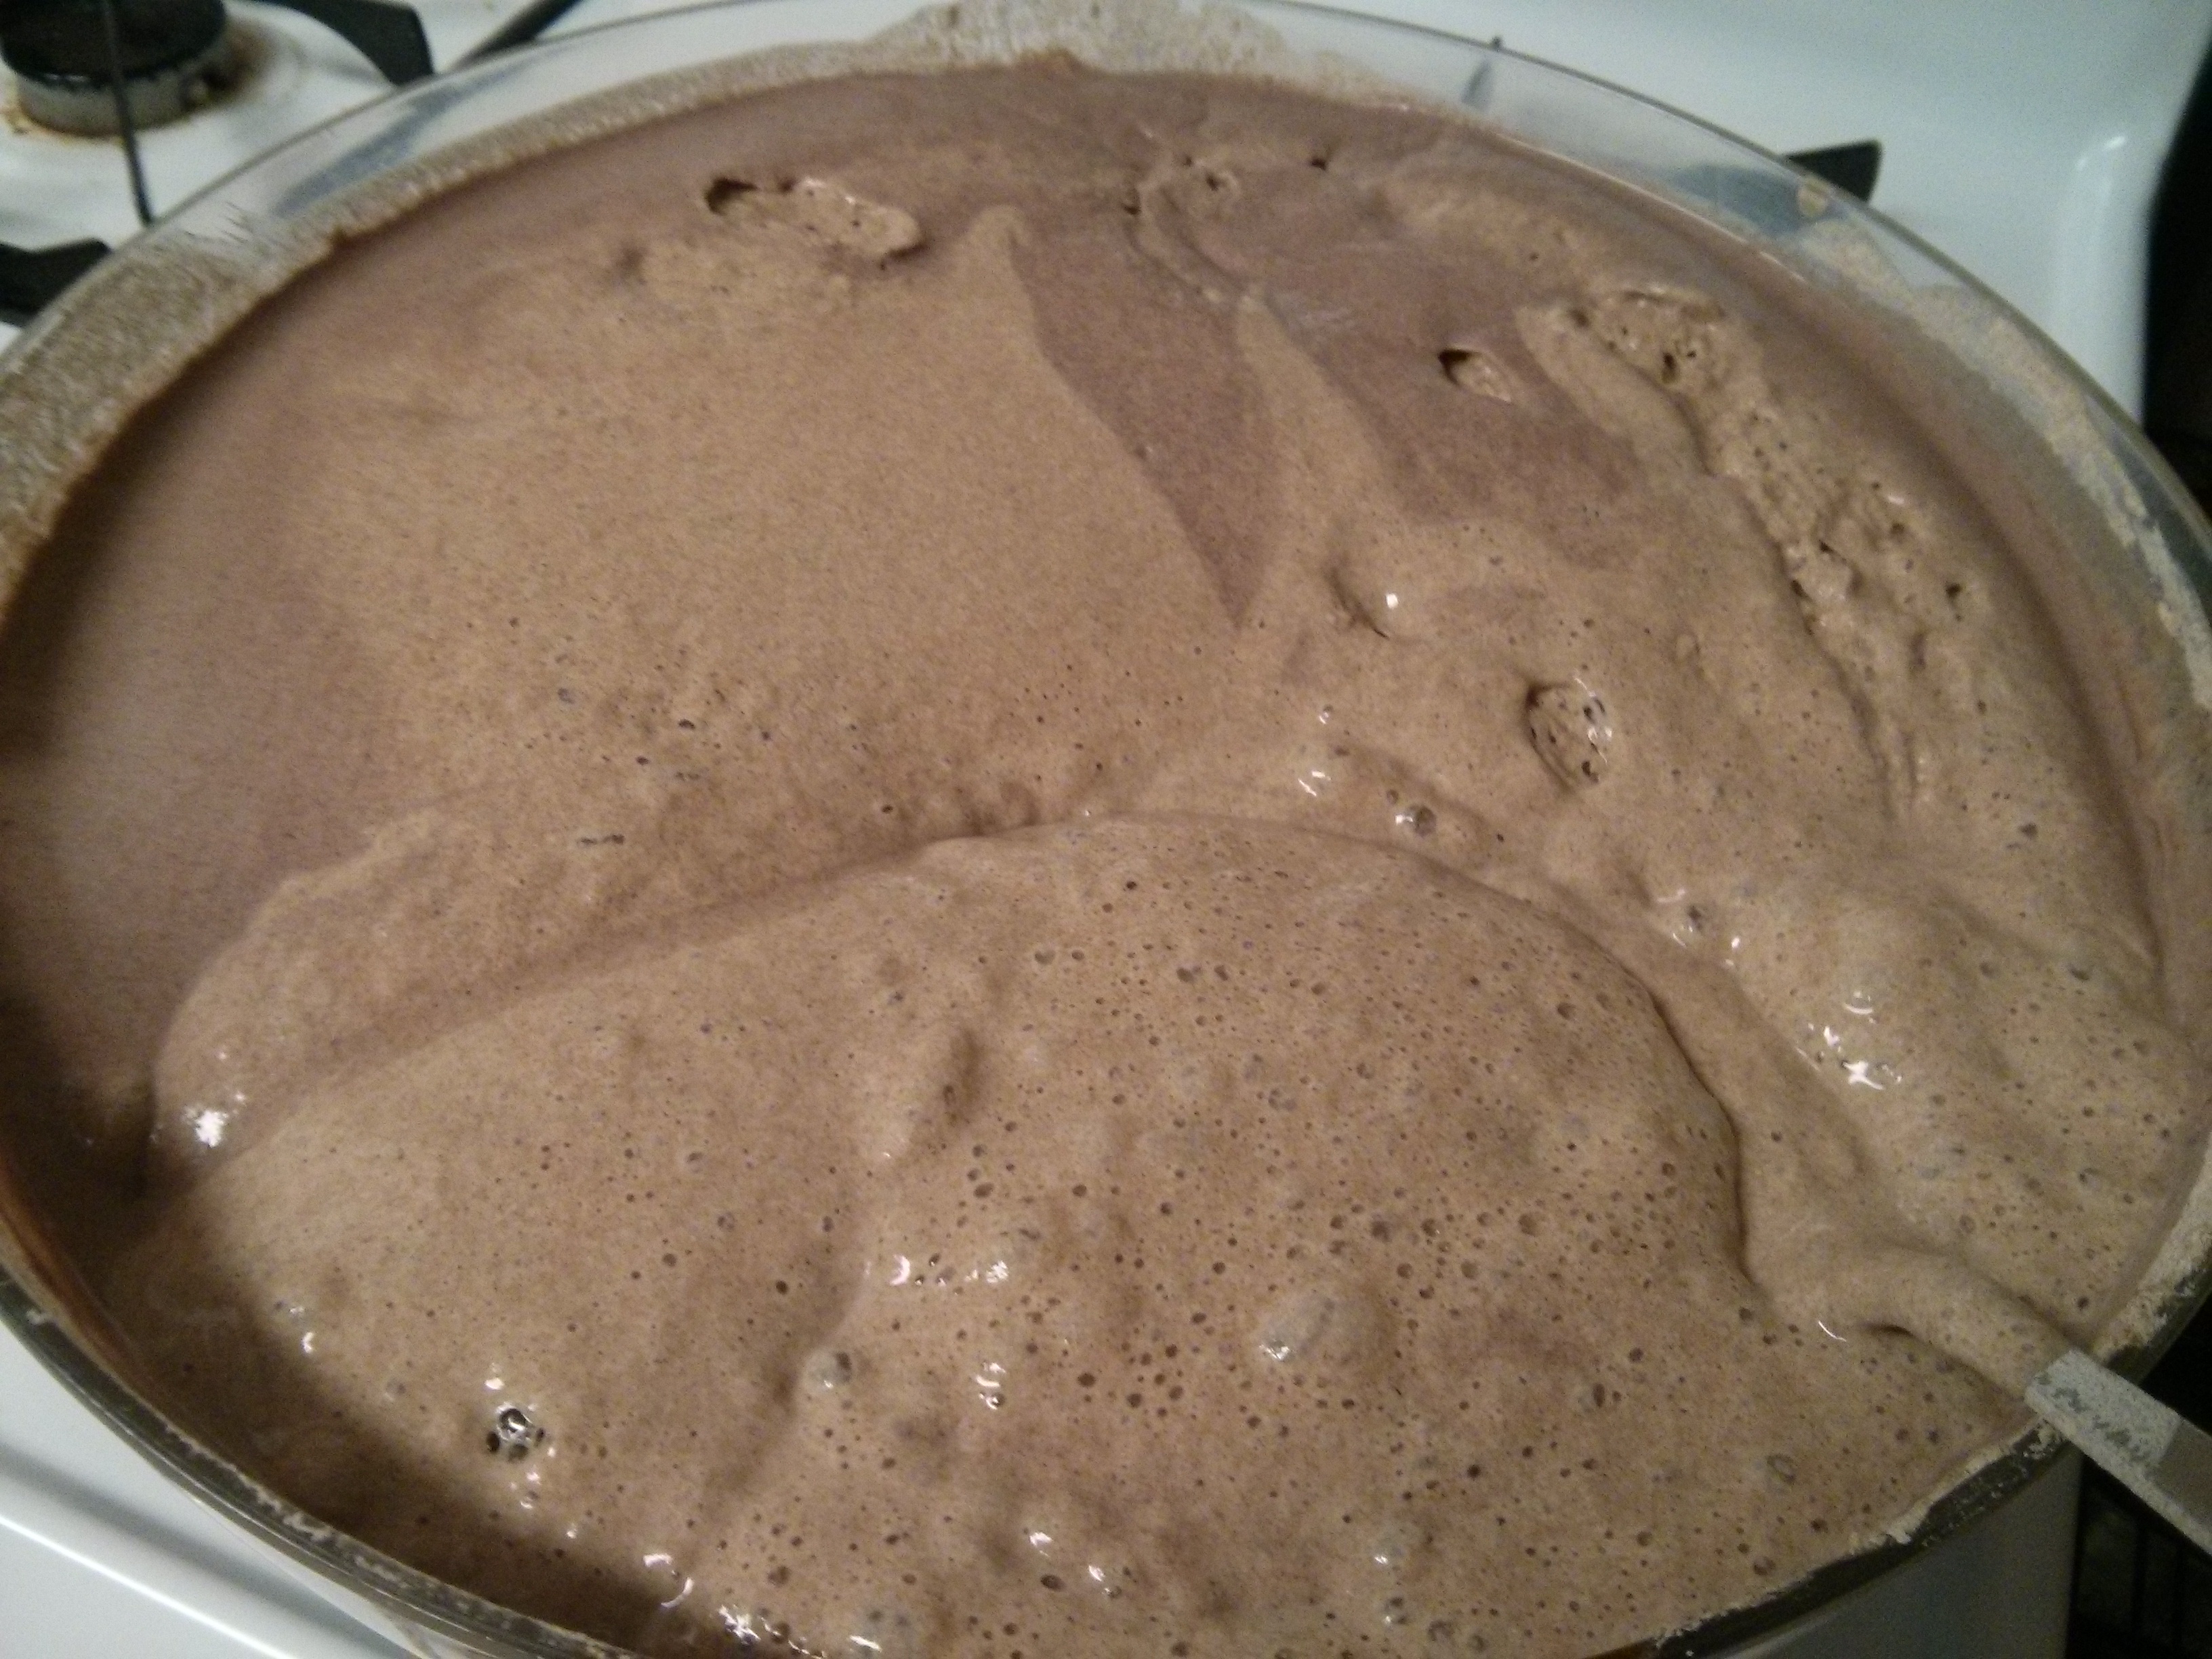
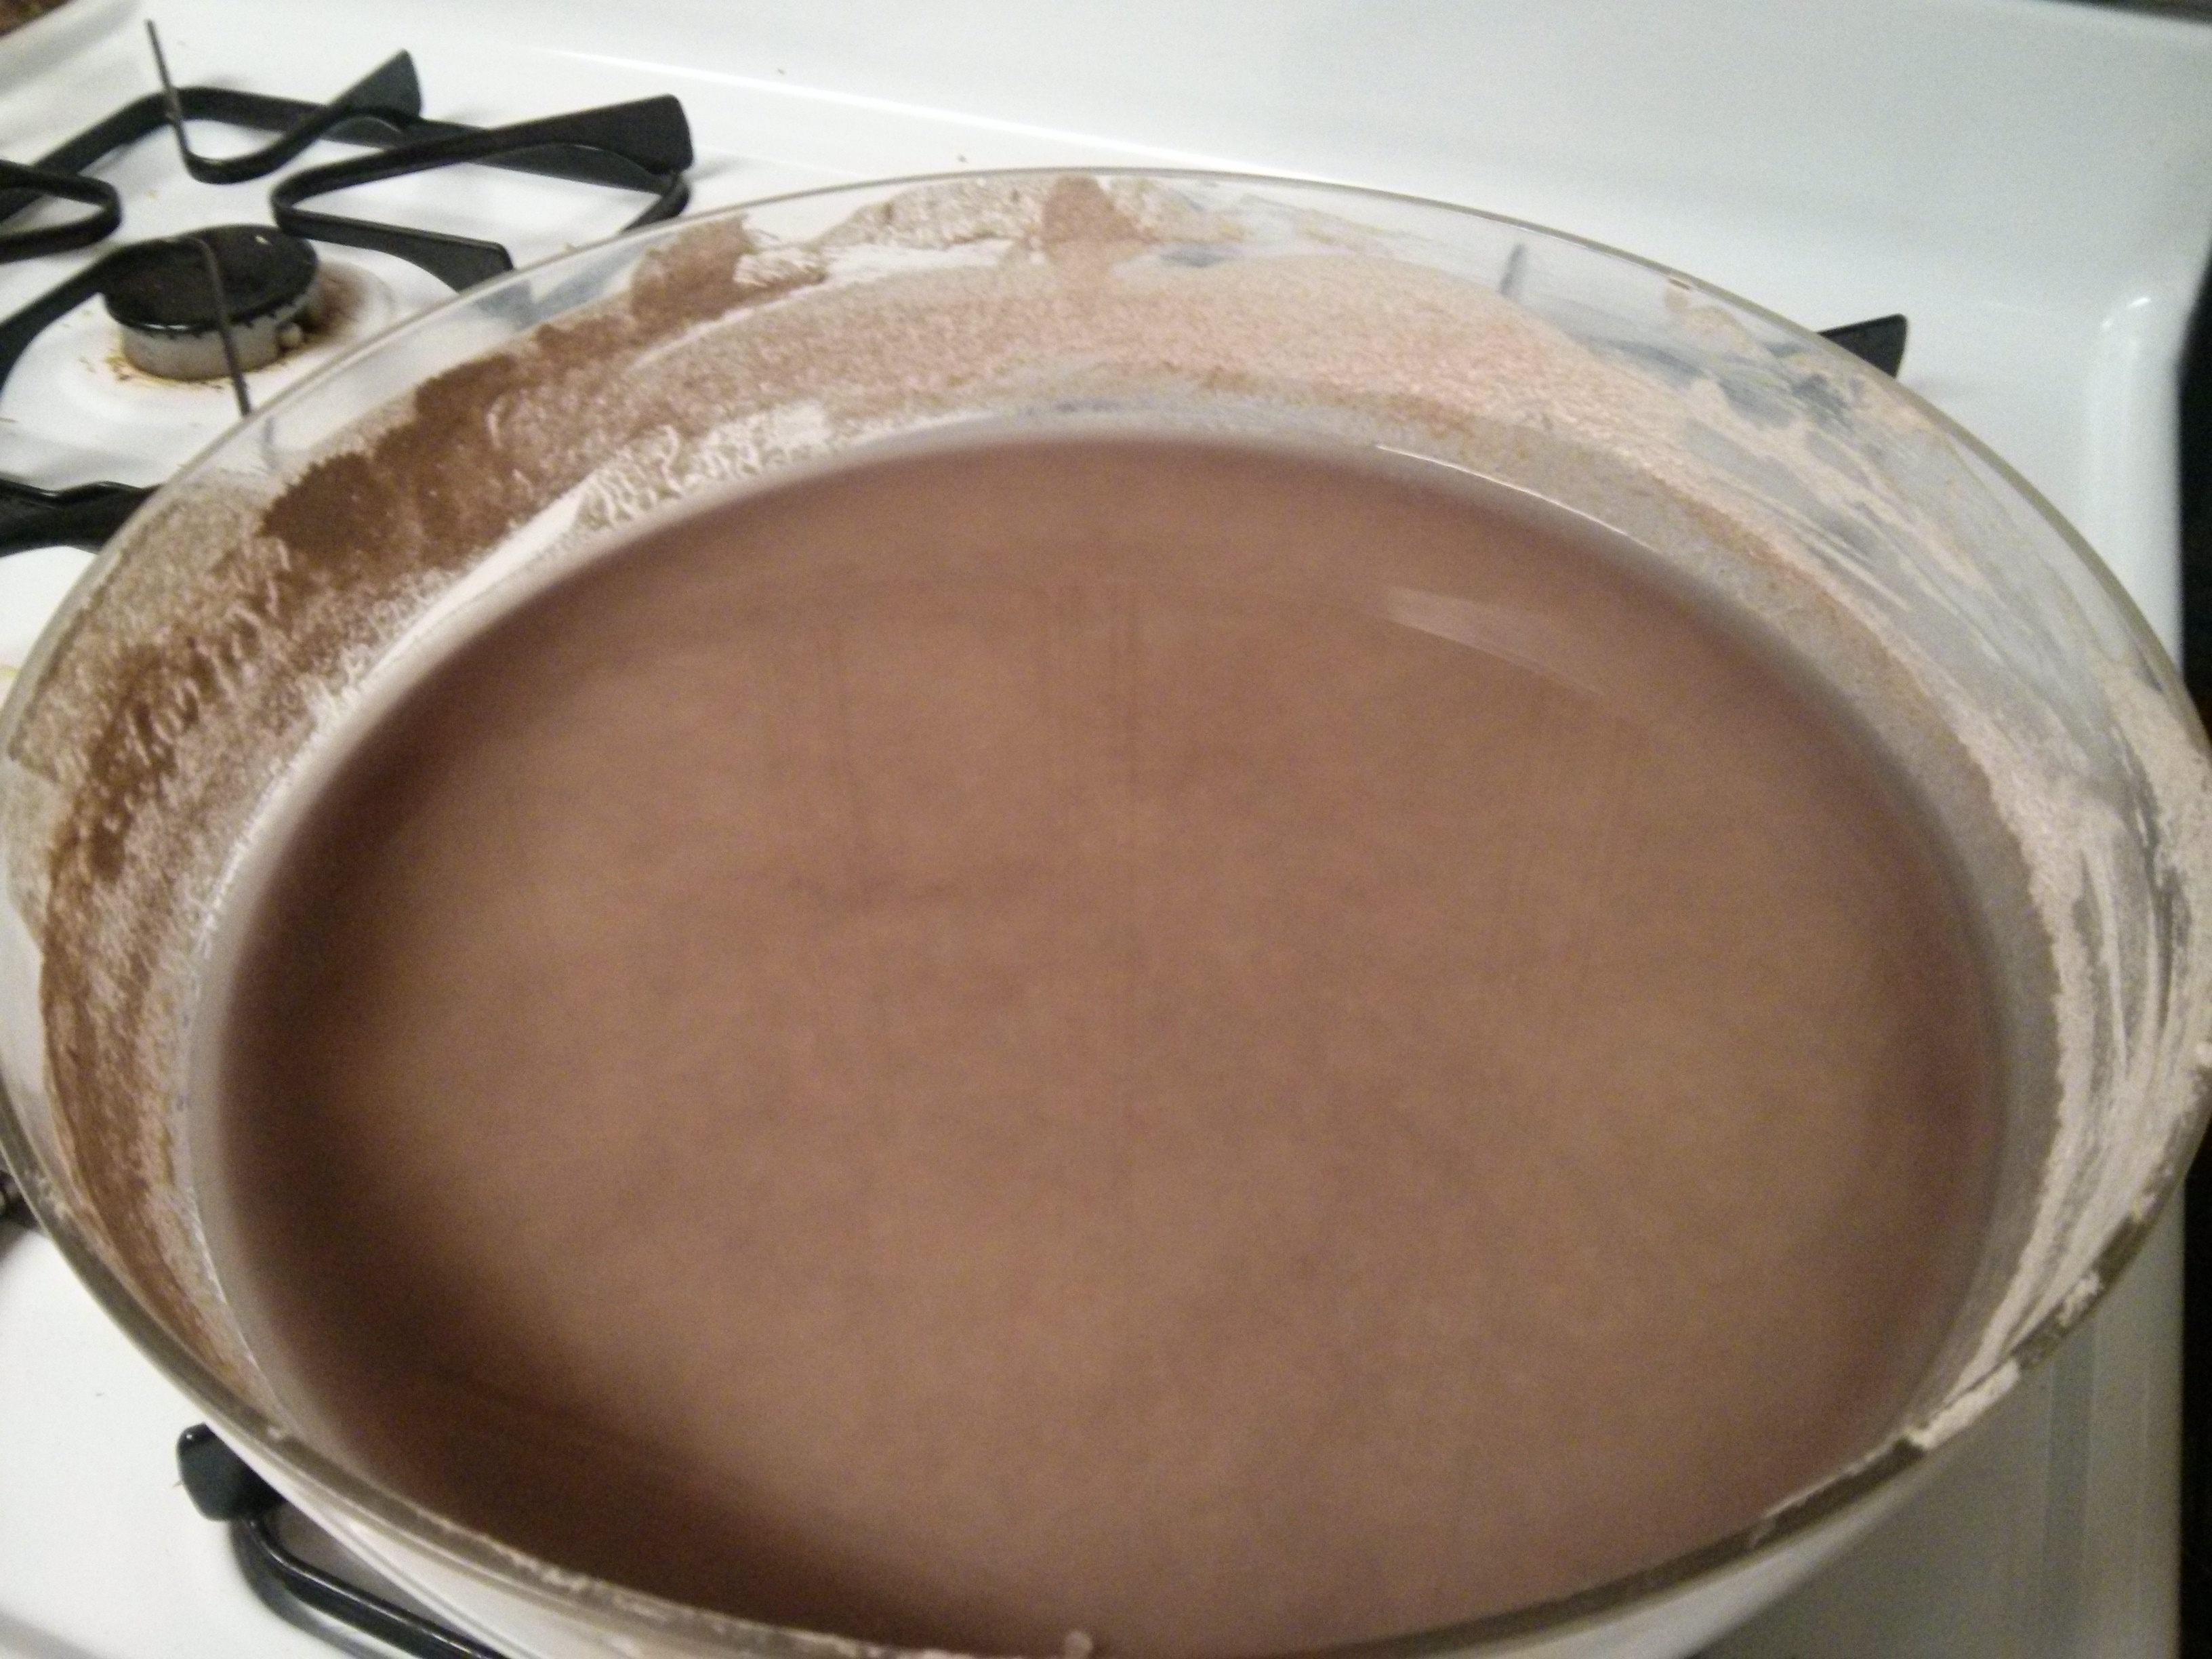
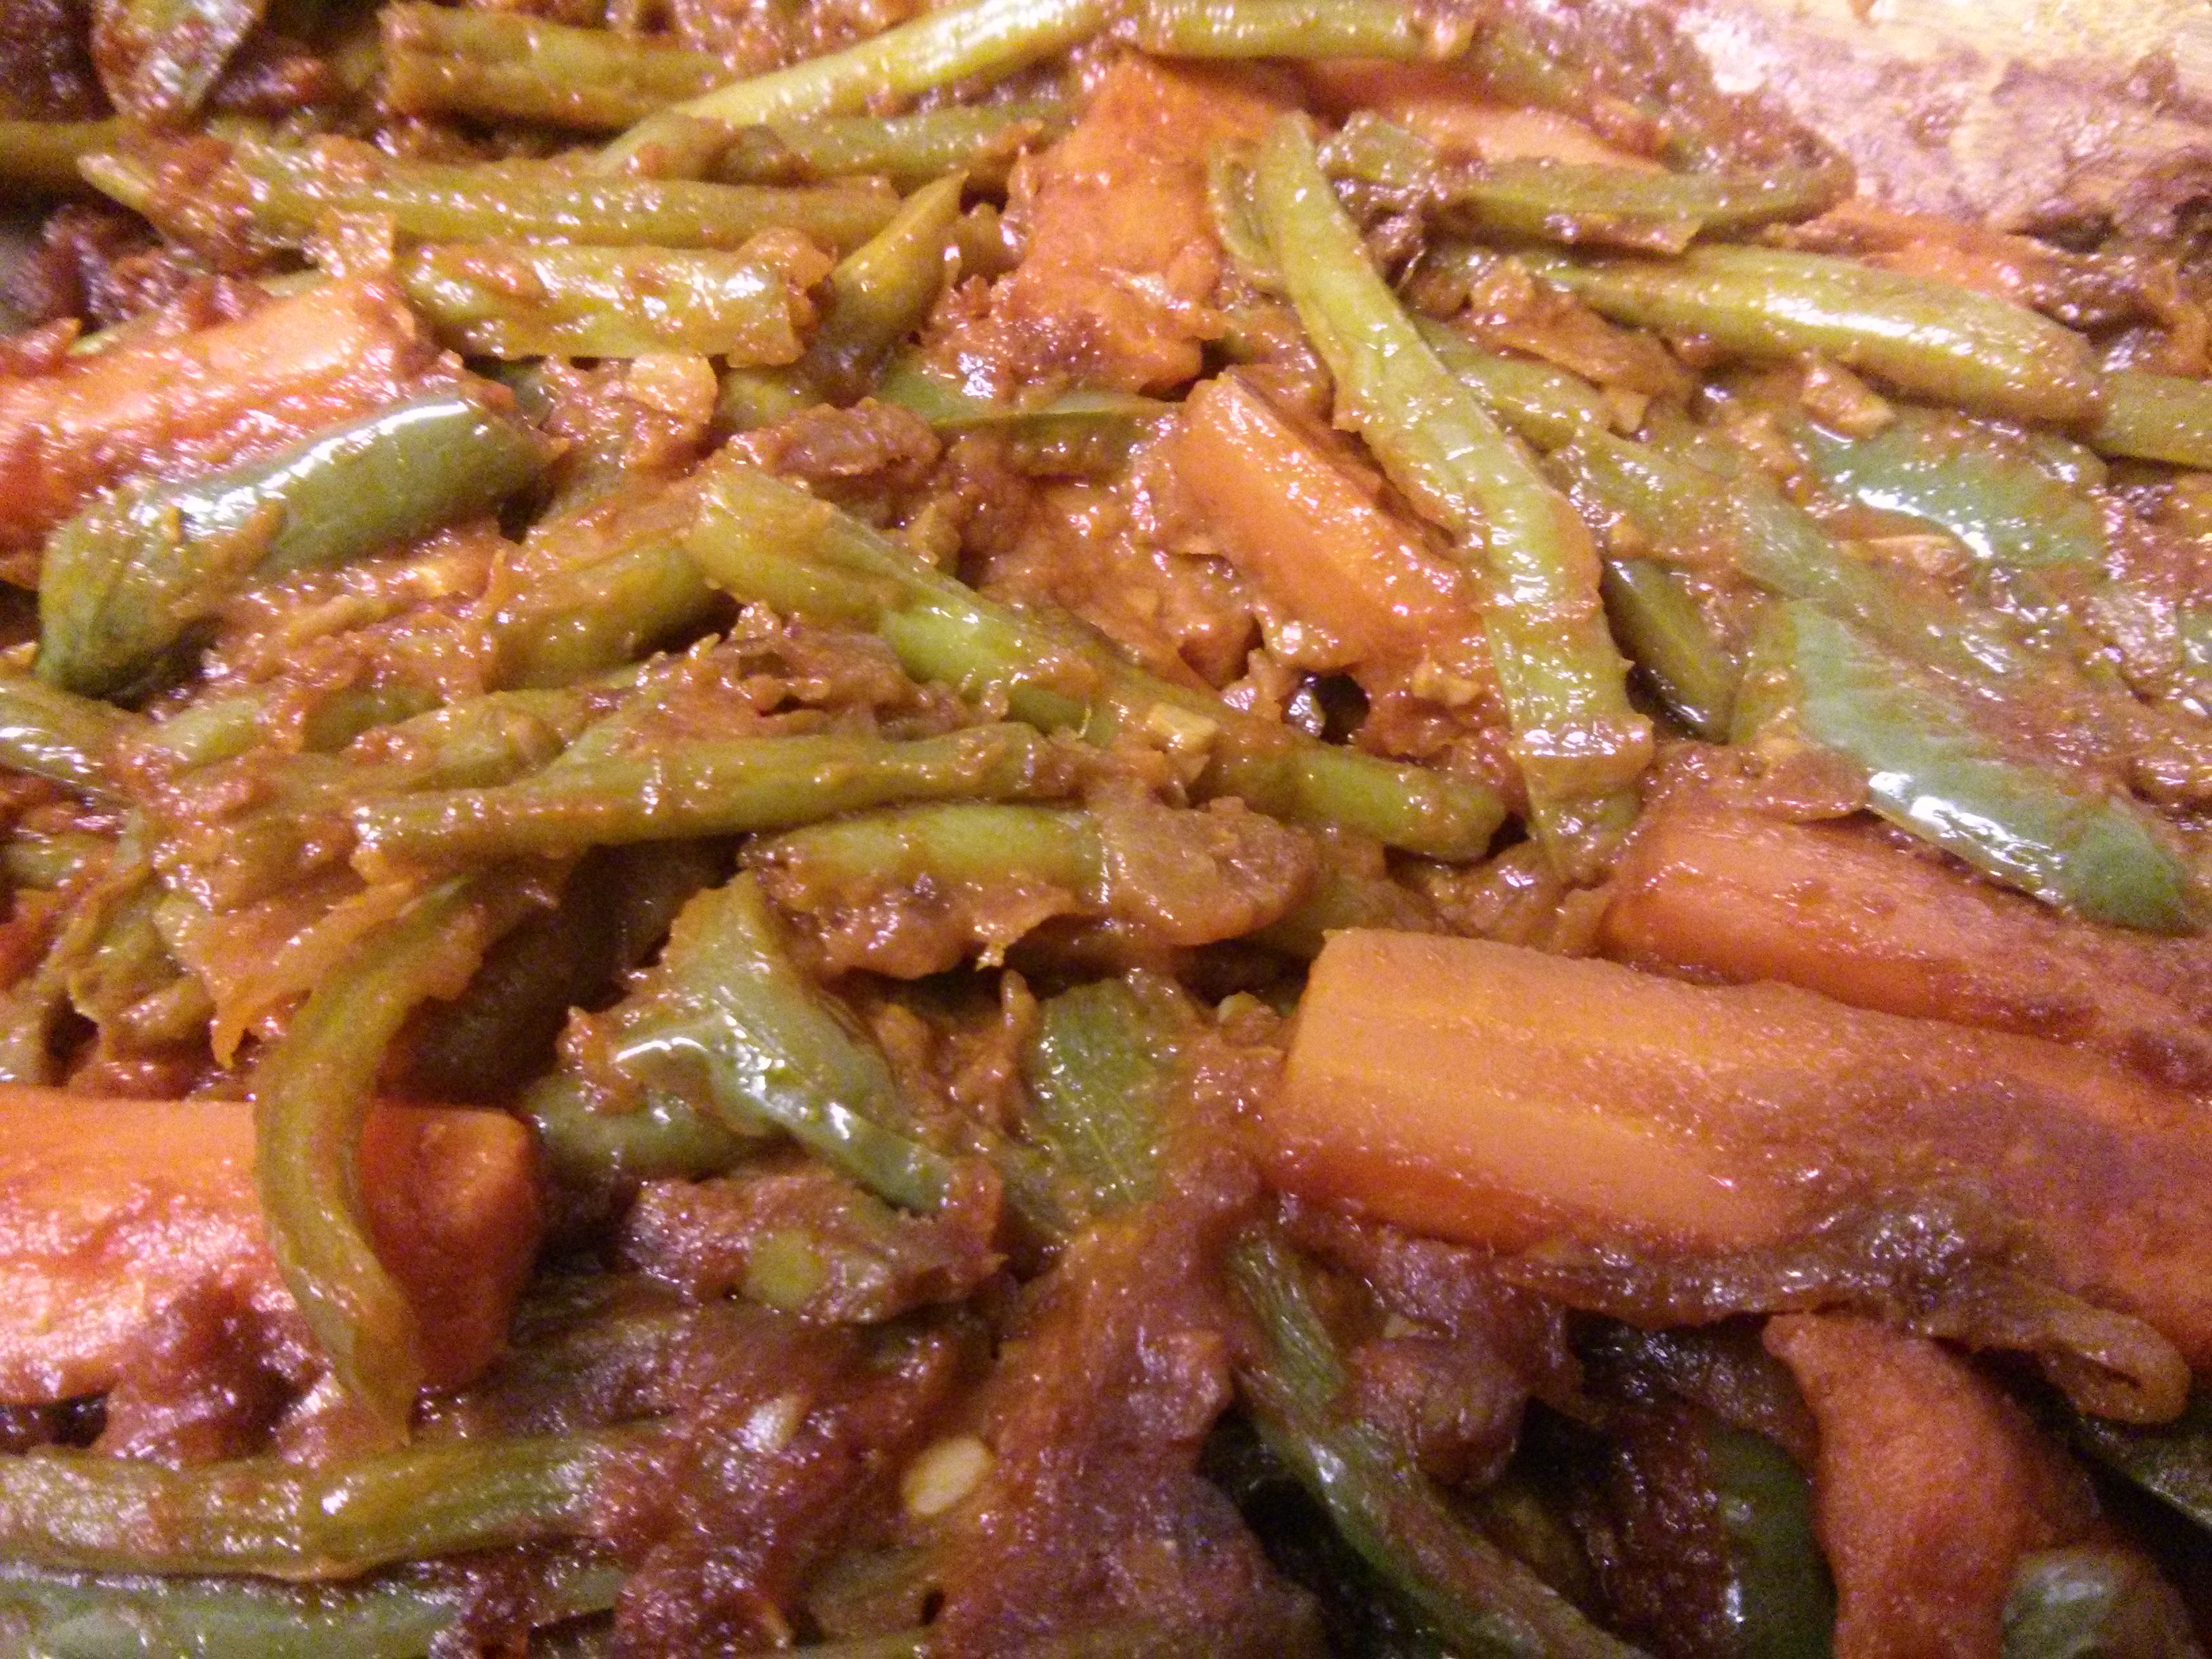
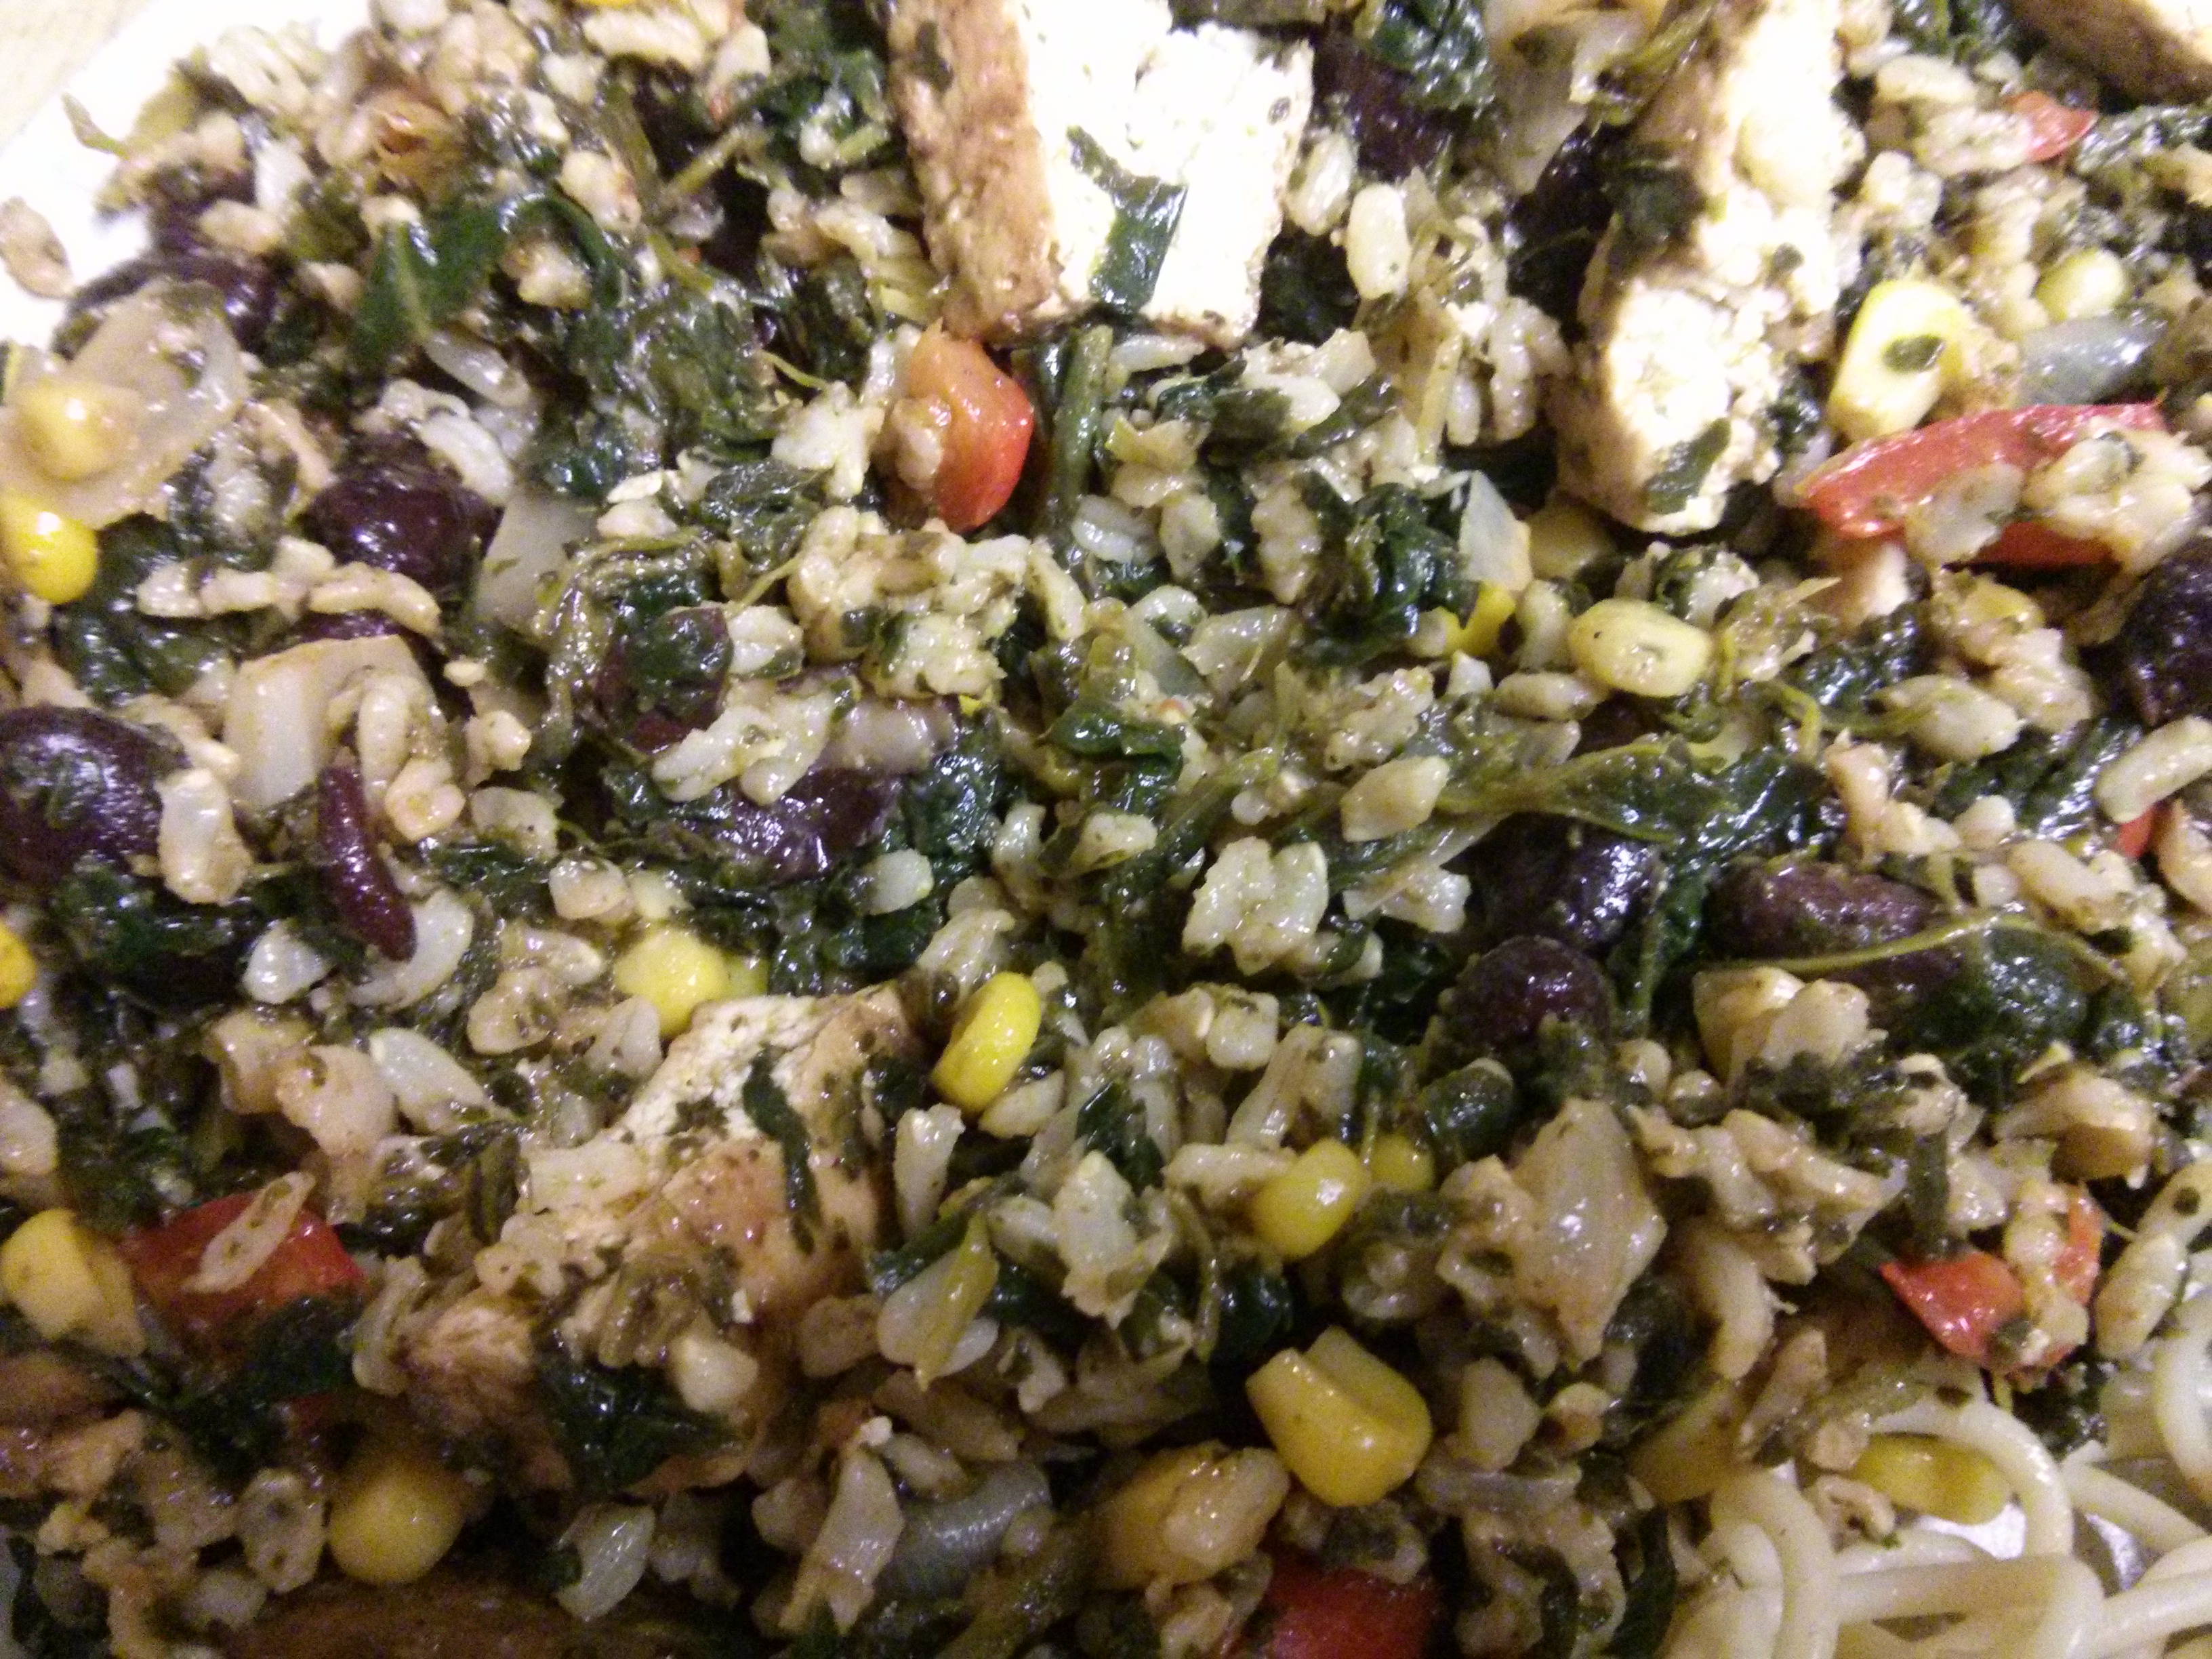
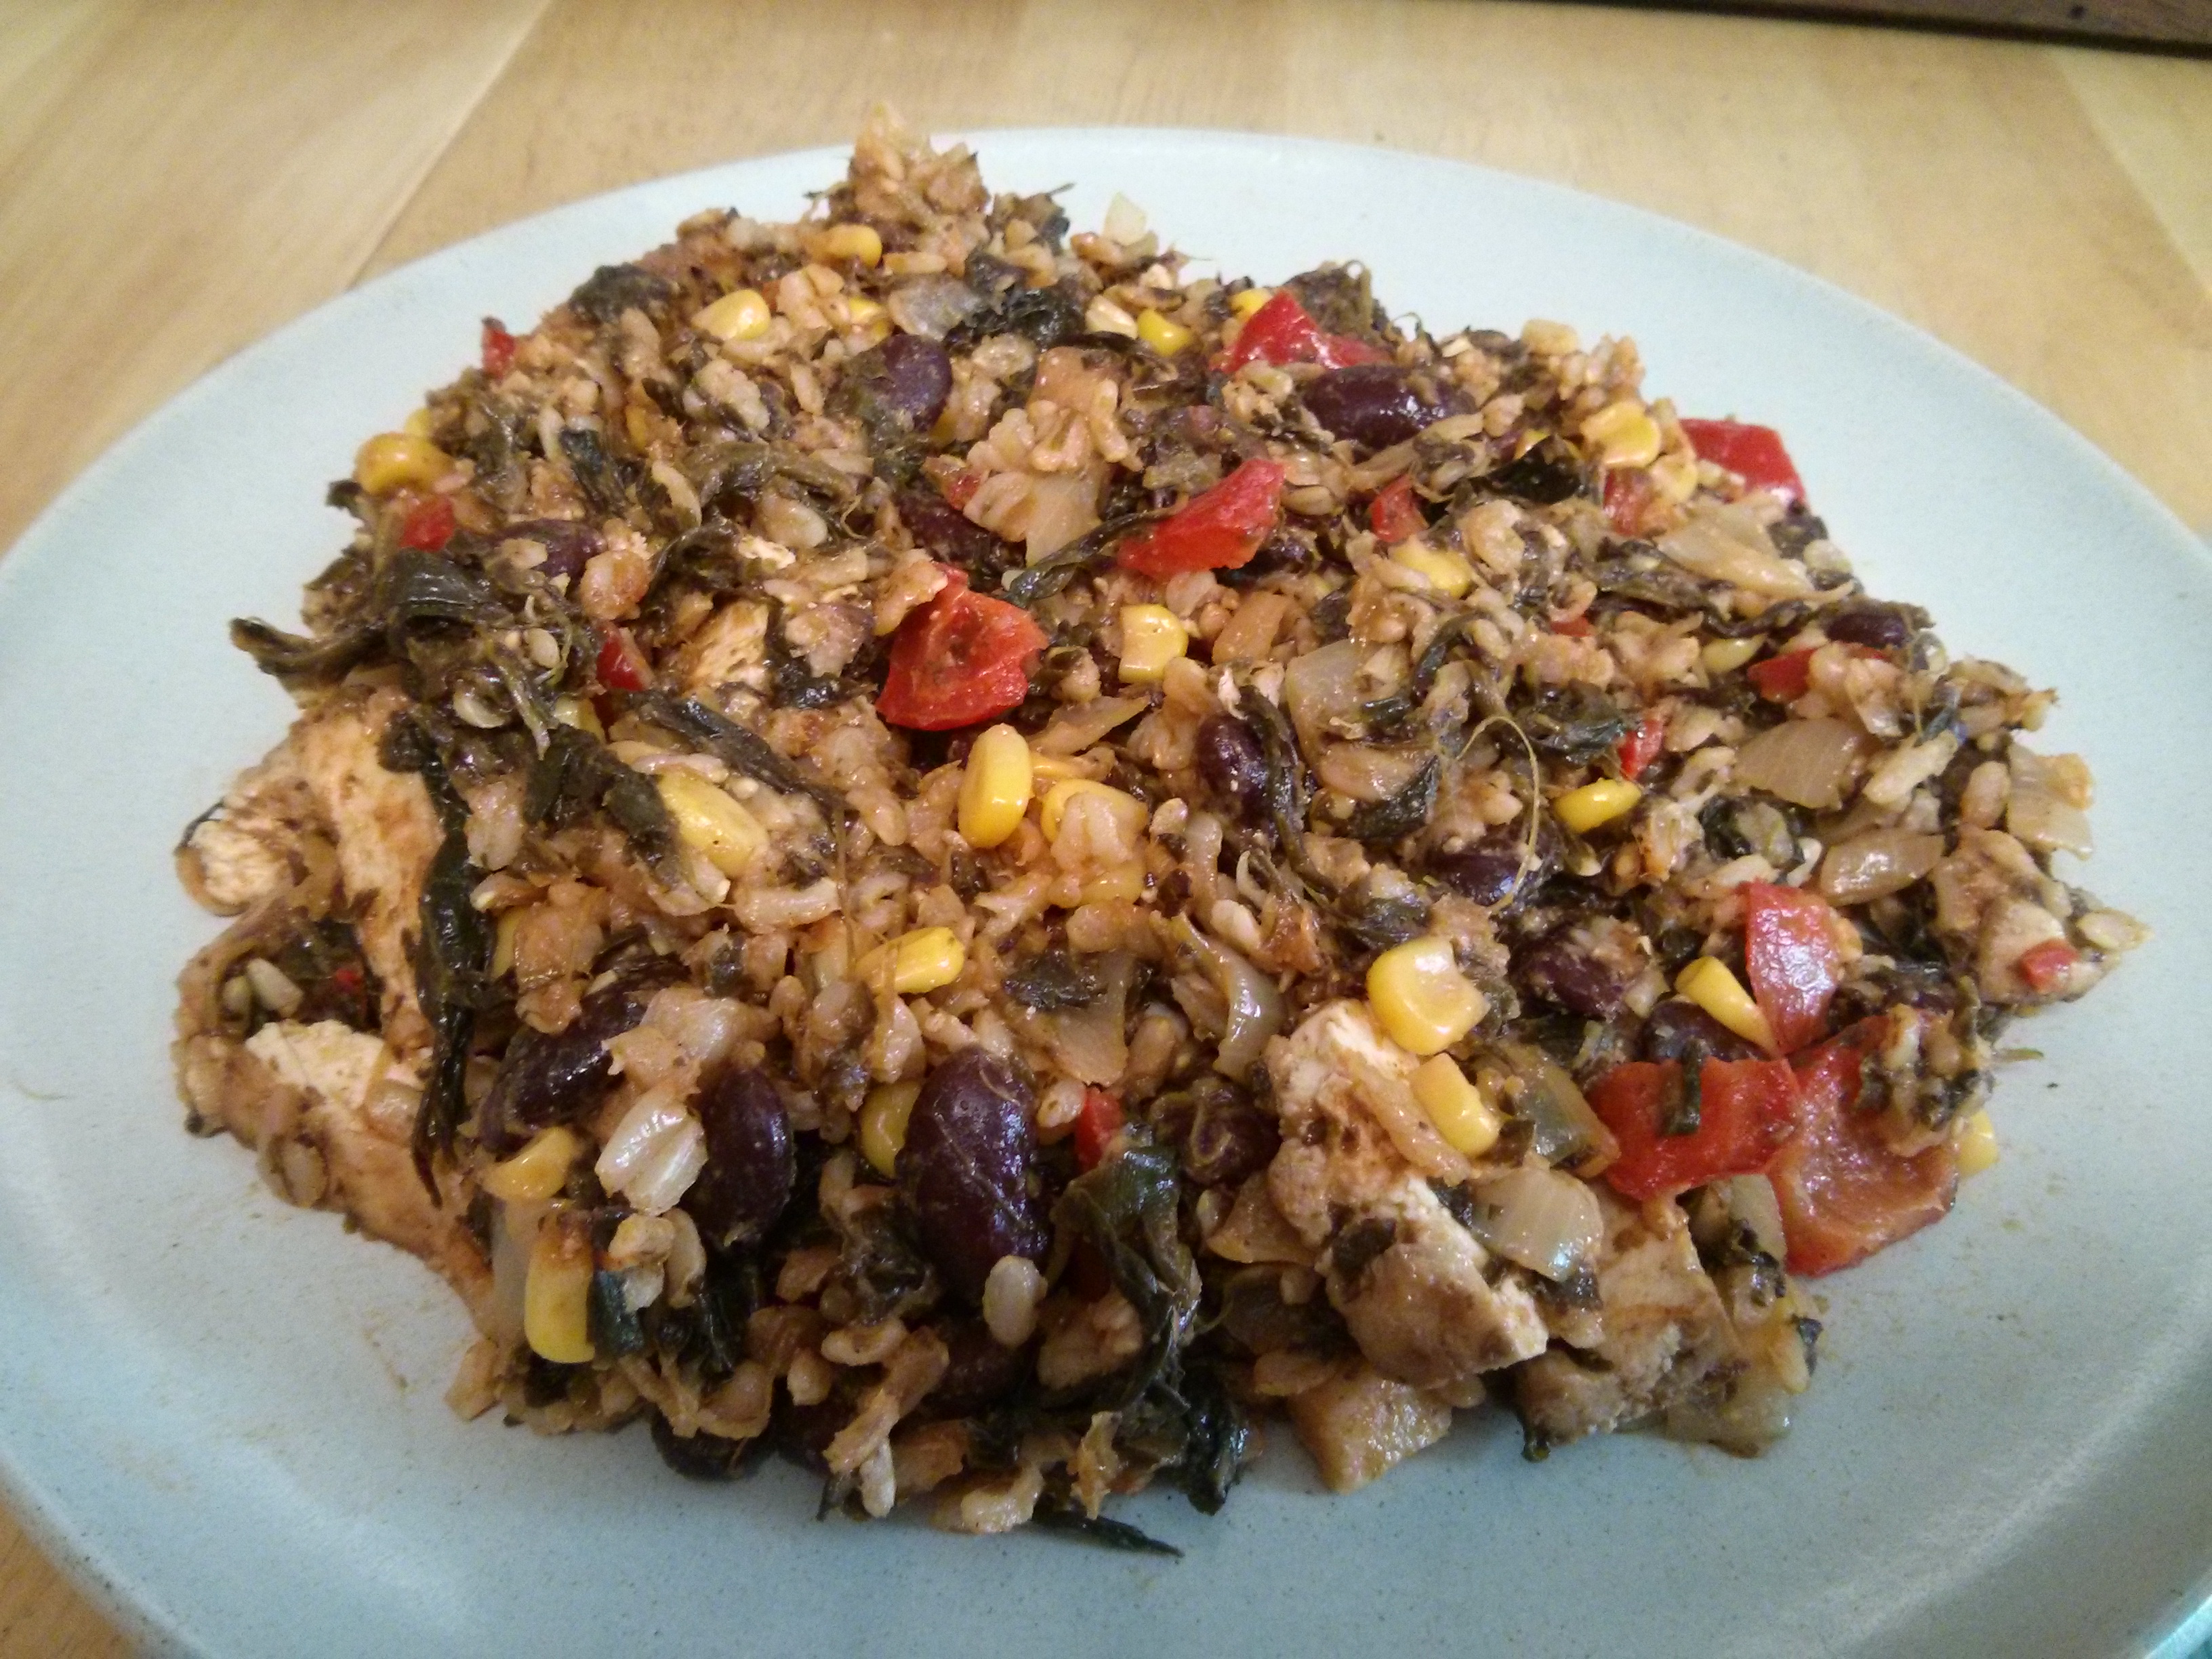
Spinach – This one also deserves an exclamation point. Sauteed spinach with chopped garlic and rutabaga, made in a mixture of canola and palm oil! I could have eaten a plateful of this it was so good. It was easy too: I sauteed the diced rutabaga (about a cup’s worth) in a few Tbsp of oil over medium heat, then added the diced garlic (a few cloves worth) and sauteed that also until it was softened just like the rutabaga (this brought me to about 15 minutes now from the start), and then added the spinach (about 8 oz, but you can add more) and let it cook over low heat for a few minutes until the spinach was wilted (pictured above). As if that wasn’t good enough (though it was, believe me), I also tried the following: 1) adding a handful of chopped raisins and chopped sliced almonds, and 2) adding the chopped raisins and almonds, and also adding some finely shredded Parmesan cheese. Both ways, so good.

If the canola and palm oil mixture sounds familiar too, it should! It’s the same oil that I used for the plantains. And by the “same” oil, I do literally mean the same oil because, really, although plantains soak up some oil when they’re fried, the amount that remains from the original 2+ cups of oil when frying three plantains is…well, I didn’t measure it, but it looked something like 1-2 cups still remaining. So there was plenty left for me to use with everything I cooked for about two weeks afterwards 🙂 And the rutabaga! Like a squirrel saving a food-prize for later, I still had a softball-size piece of rutabaga left over from the original big one, tucked away in the back of the fridge, waiting for me to use. I had just gotten a fresh bag of spinach from the farmers’ market, and something in my head put the two together…spinach and rutabaga. Yes! It was time to cook the acorn. (I used the rest of the rest of the rutabaga, similarly diced and plantain oil sauteed, in a good tomato sauce the same day.)

wpid-img_20150523_131212.jpg

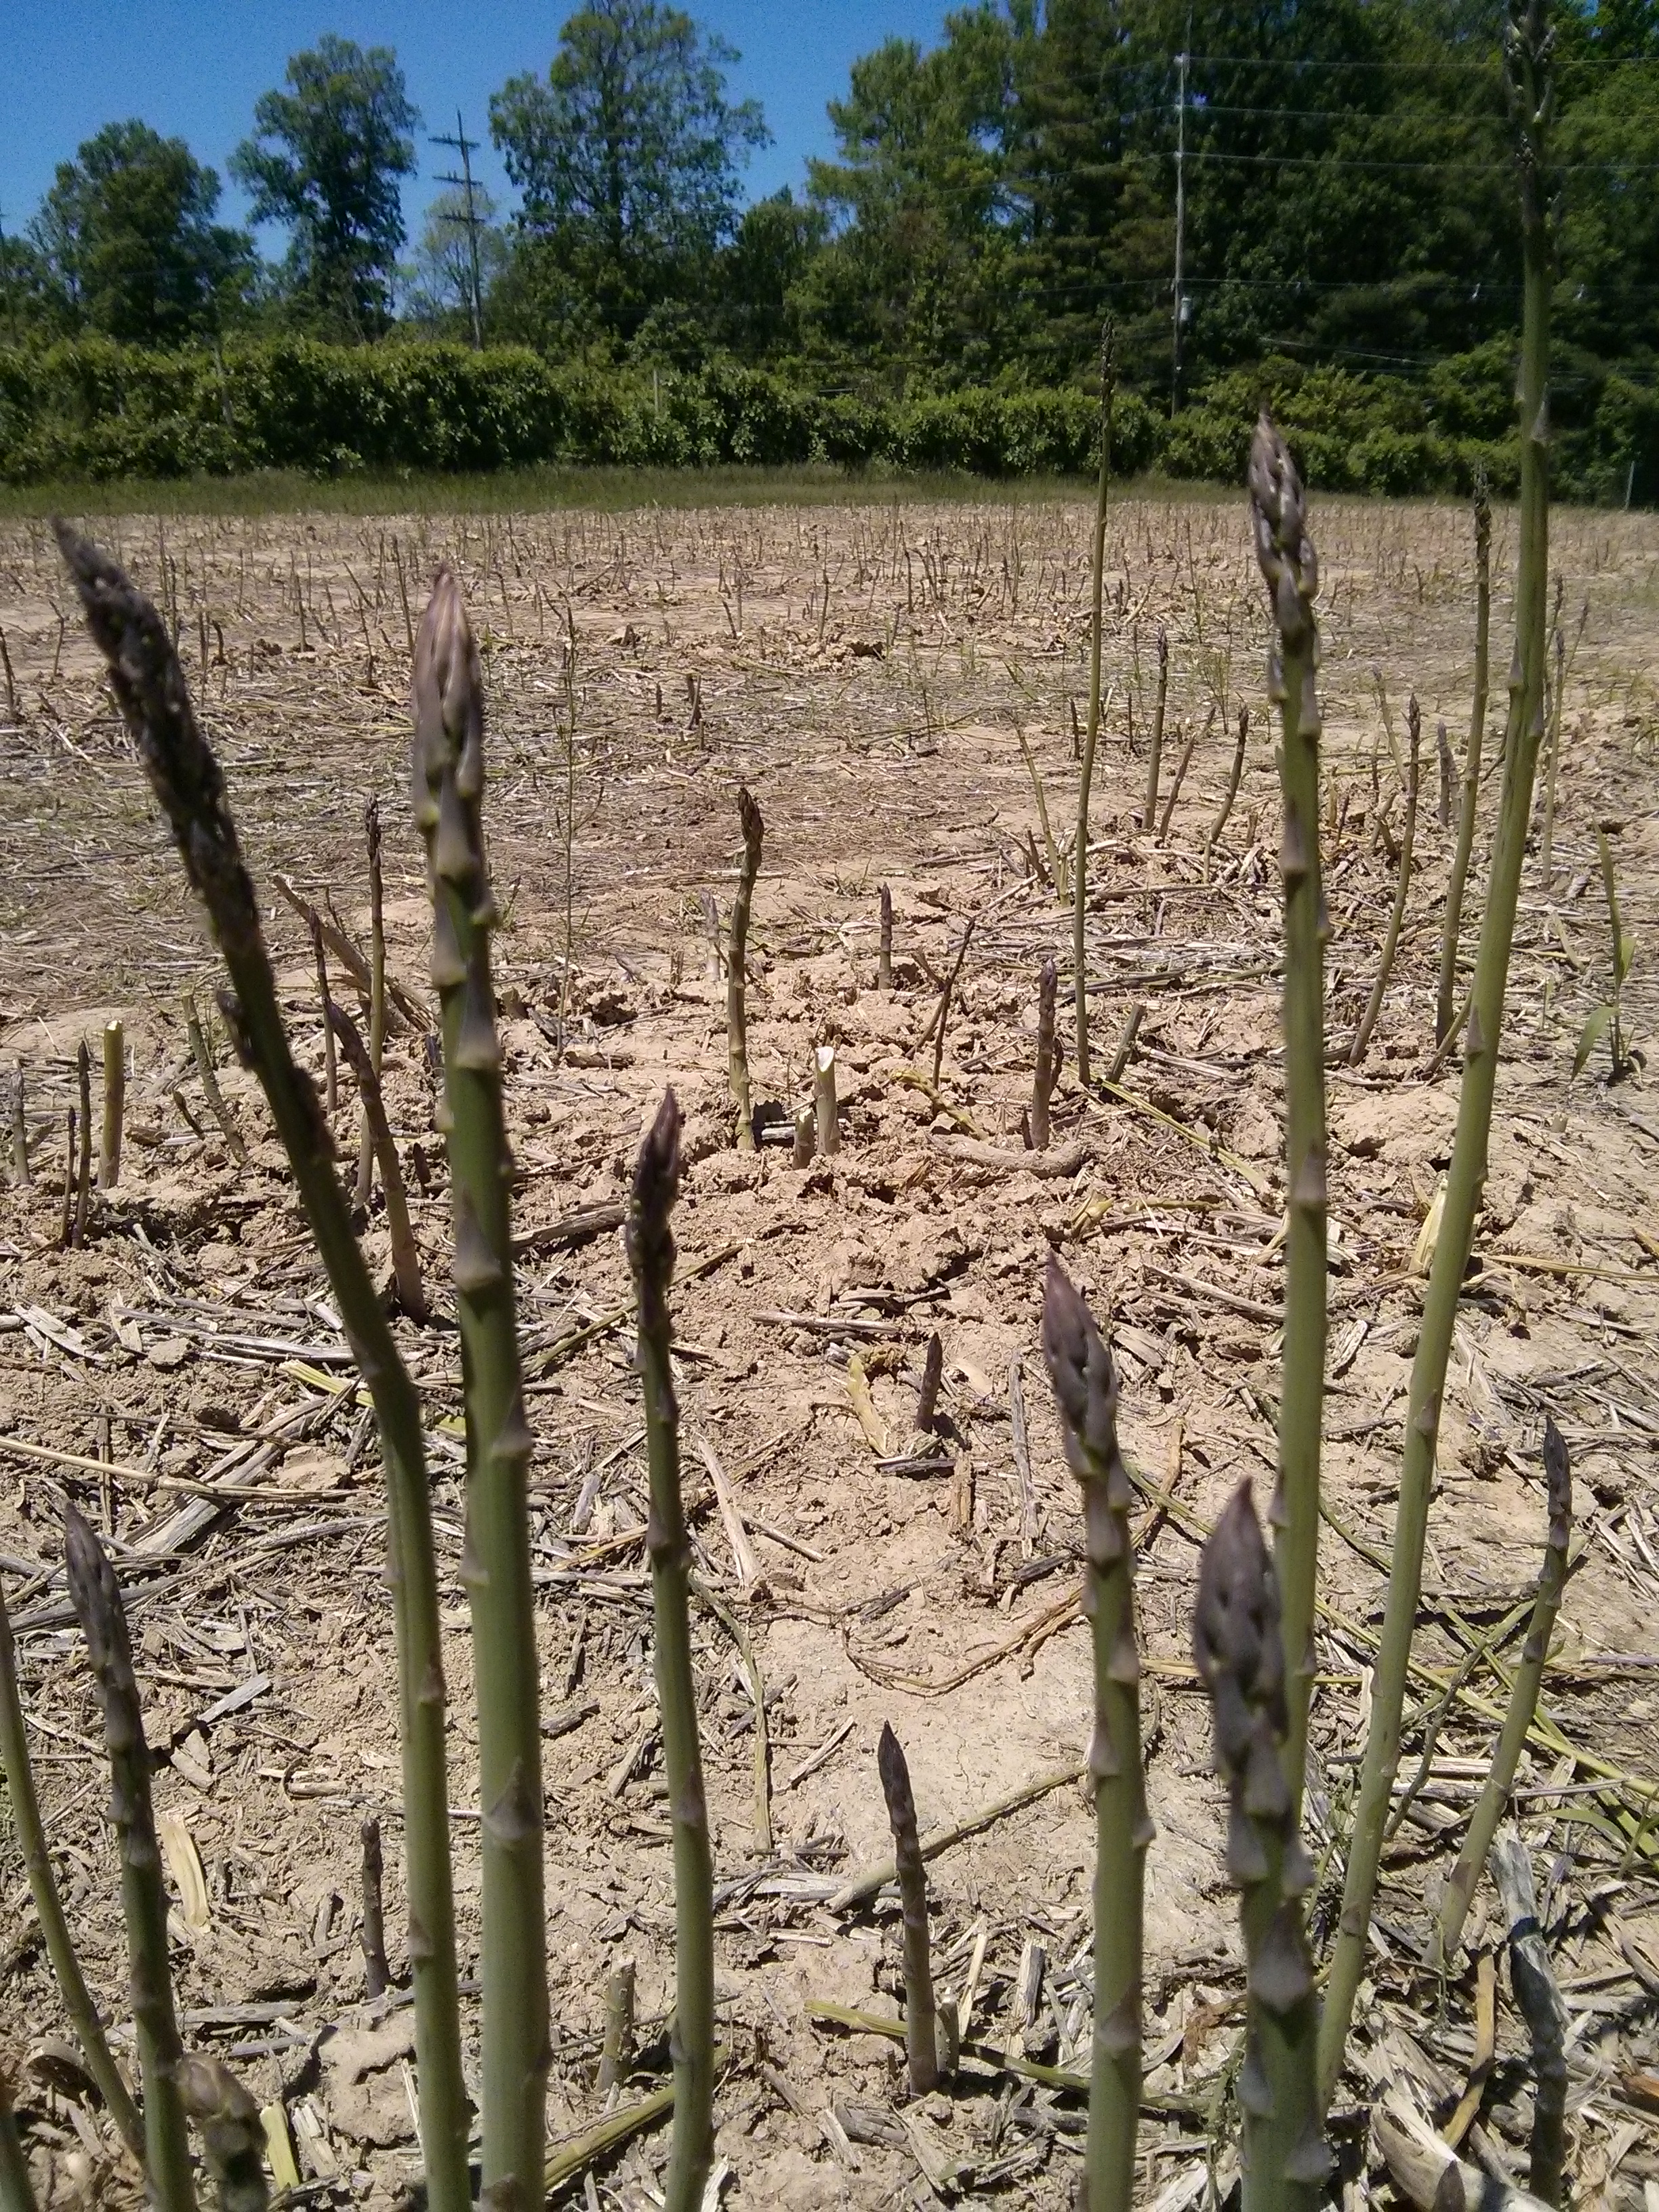
Asparagus – Spring time means not only fresh spinach, but also fresh kale, lettuce, strawberries, and asparagus! (and more). The picture above is from a few weeks ago, when I stopped at Terhune Orchards one afternoon after a bike ride and picked a few pounds of asparagus and several quarts of strawberries. Mmmmmmmmmmm, fresh local strawberries. I wish I had some right now… Yes, and asparagus too 🙂 Part of me also wishes that I had a good picture of the strawberries to use here, as a nice, sweet, juicy, red picture would look great following the yellow and green ones above. But that’s alright. And in the absence of such a picture, let’s give asparagus a little extra love. If you’ve never seen asparagus growing, that’s really how it looks in the field, the green shoots growing right up out of the ground (followed by tall ferns later if the spears aren’t harvested). To pick asparagus, you just snap the shoots off at the base. And then once you’re home, you can steam them, add them to pasta, put them in risotto, grill them, roast them with olive oil / salt / pepper and then add a little lemon juice right at the end!, and do lots of other things I’ll try sometime. Lately I’ve been steaming them since it’s quick, like 5-10 minutes, and then adding either a little salt or no salt. Easy and good.

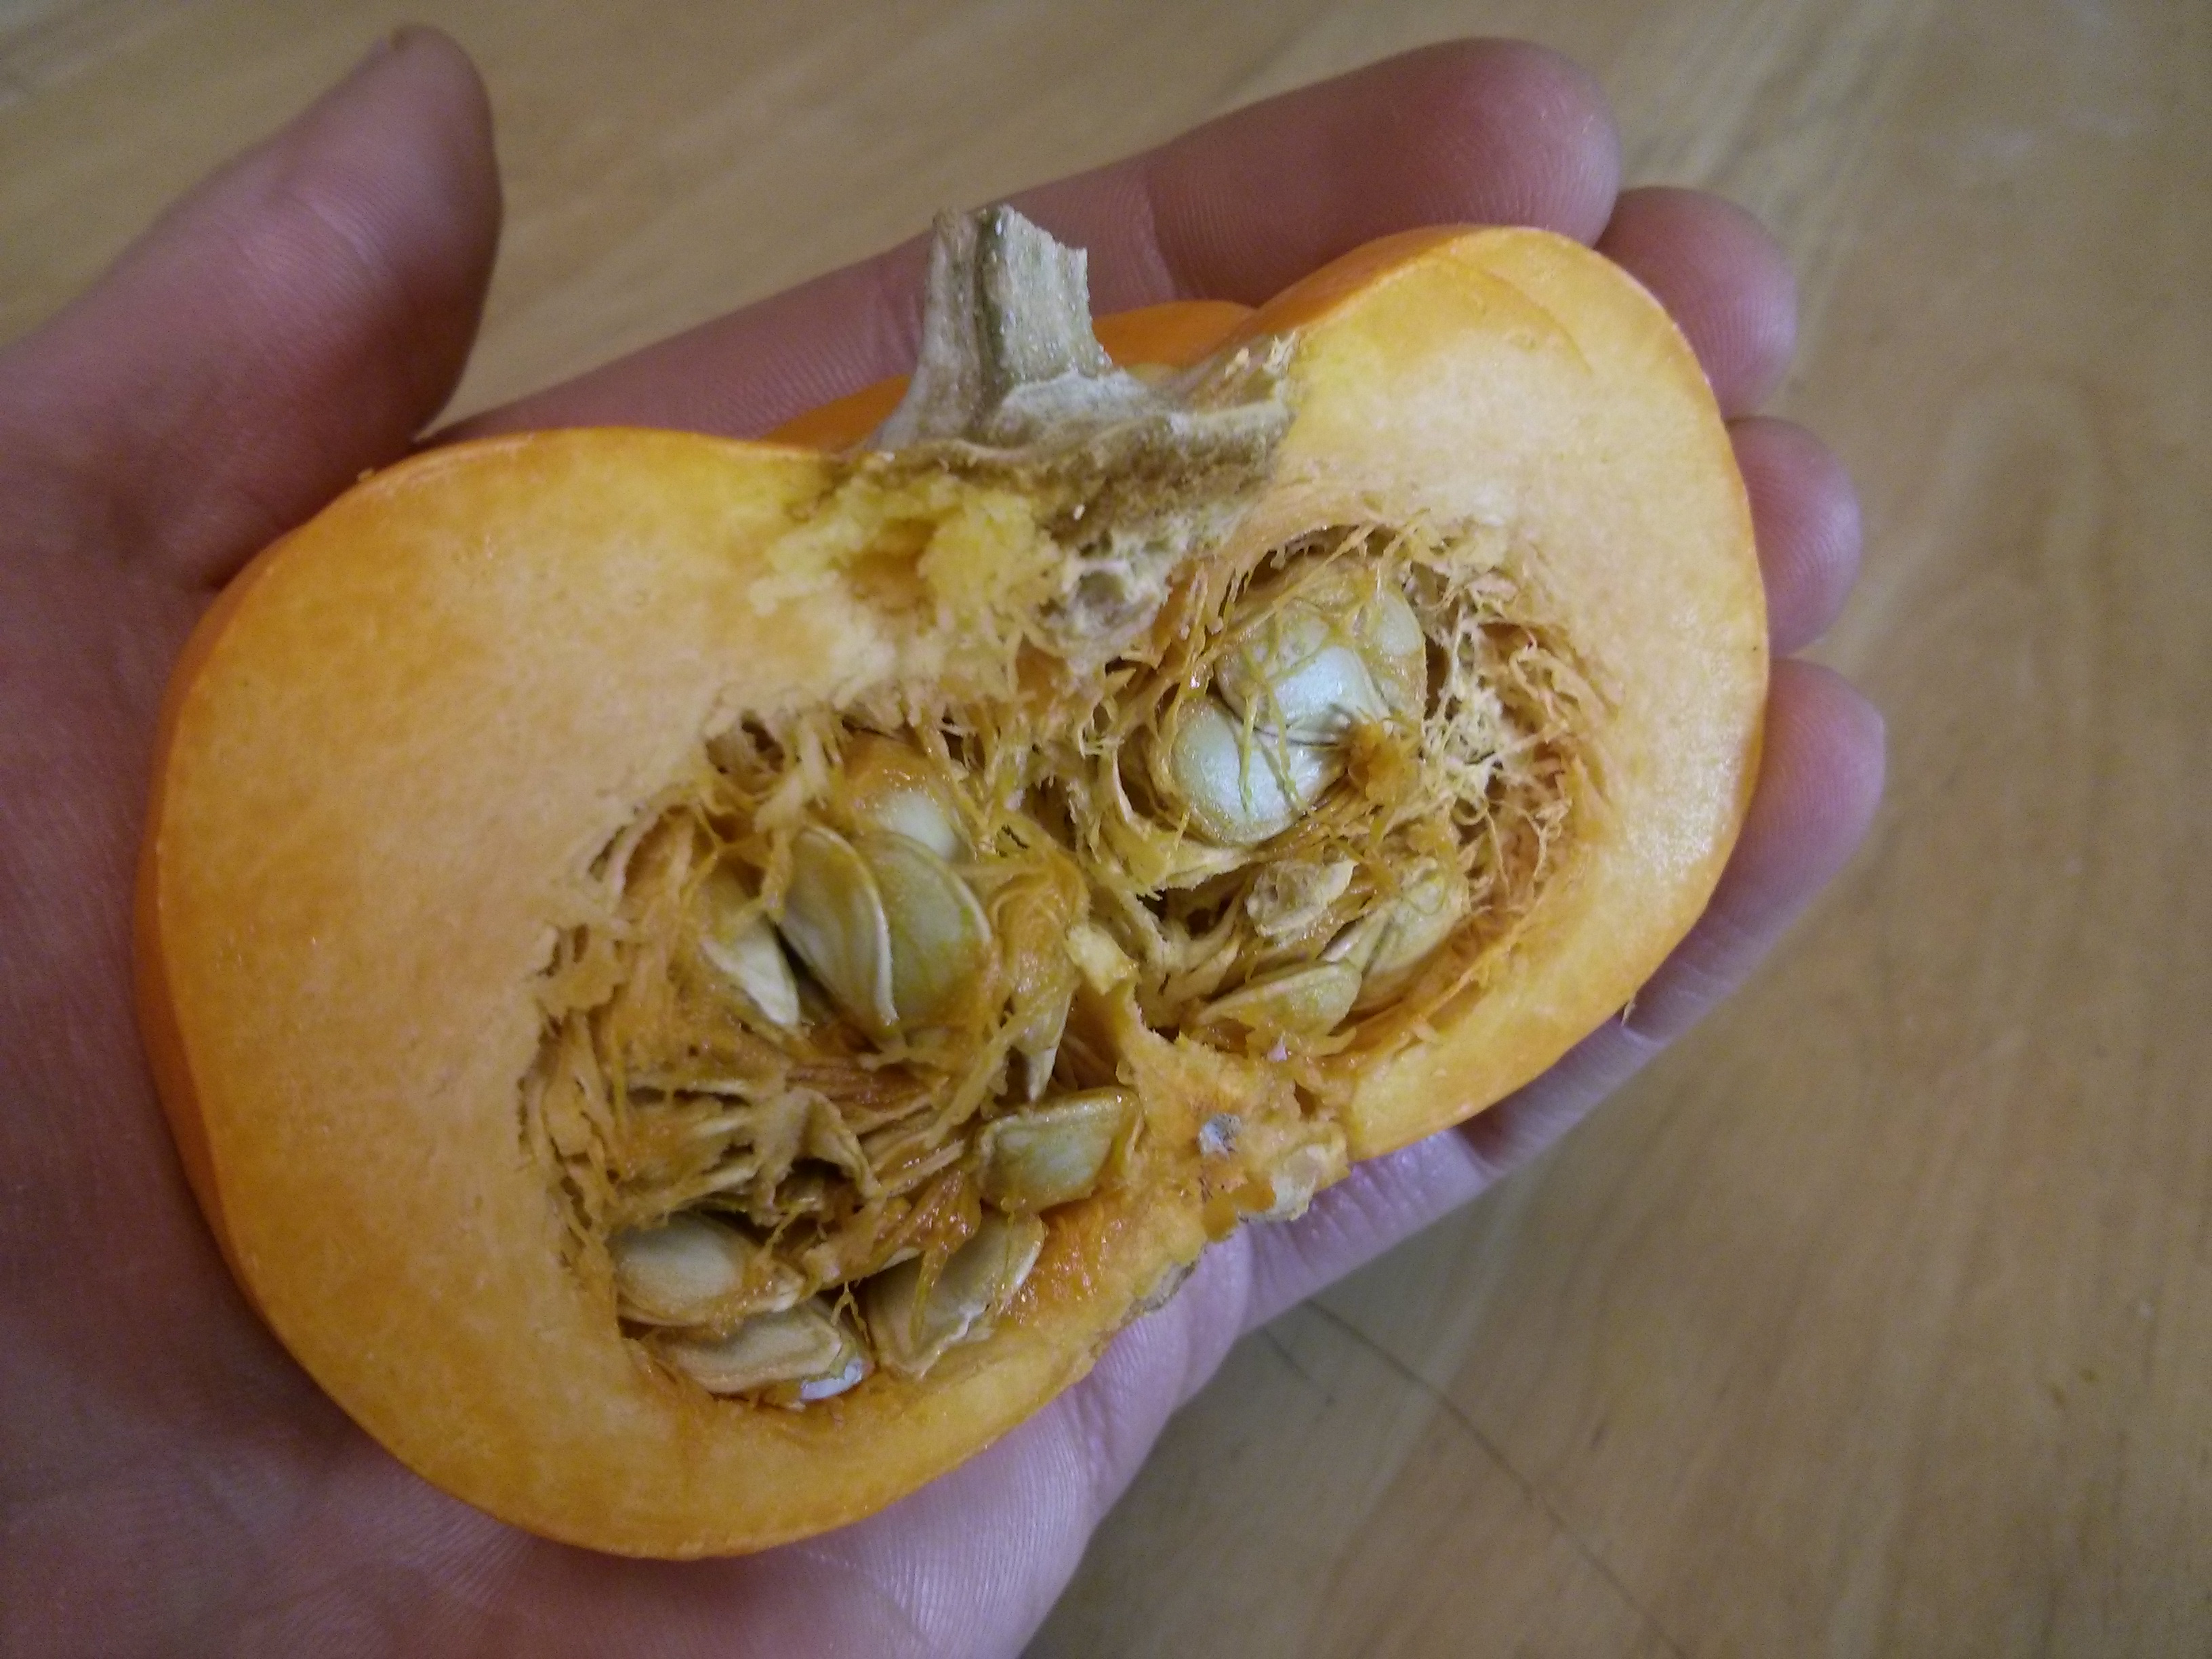
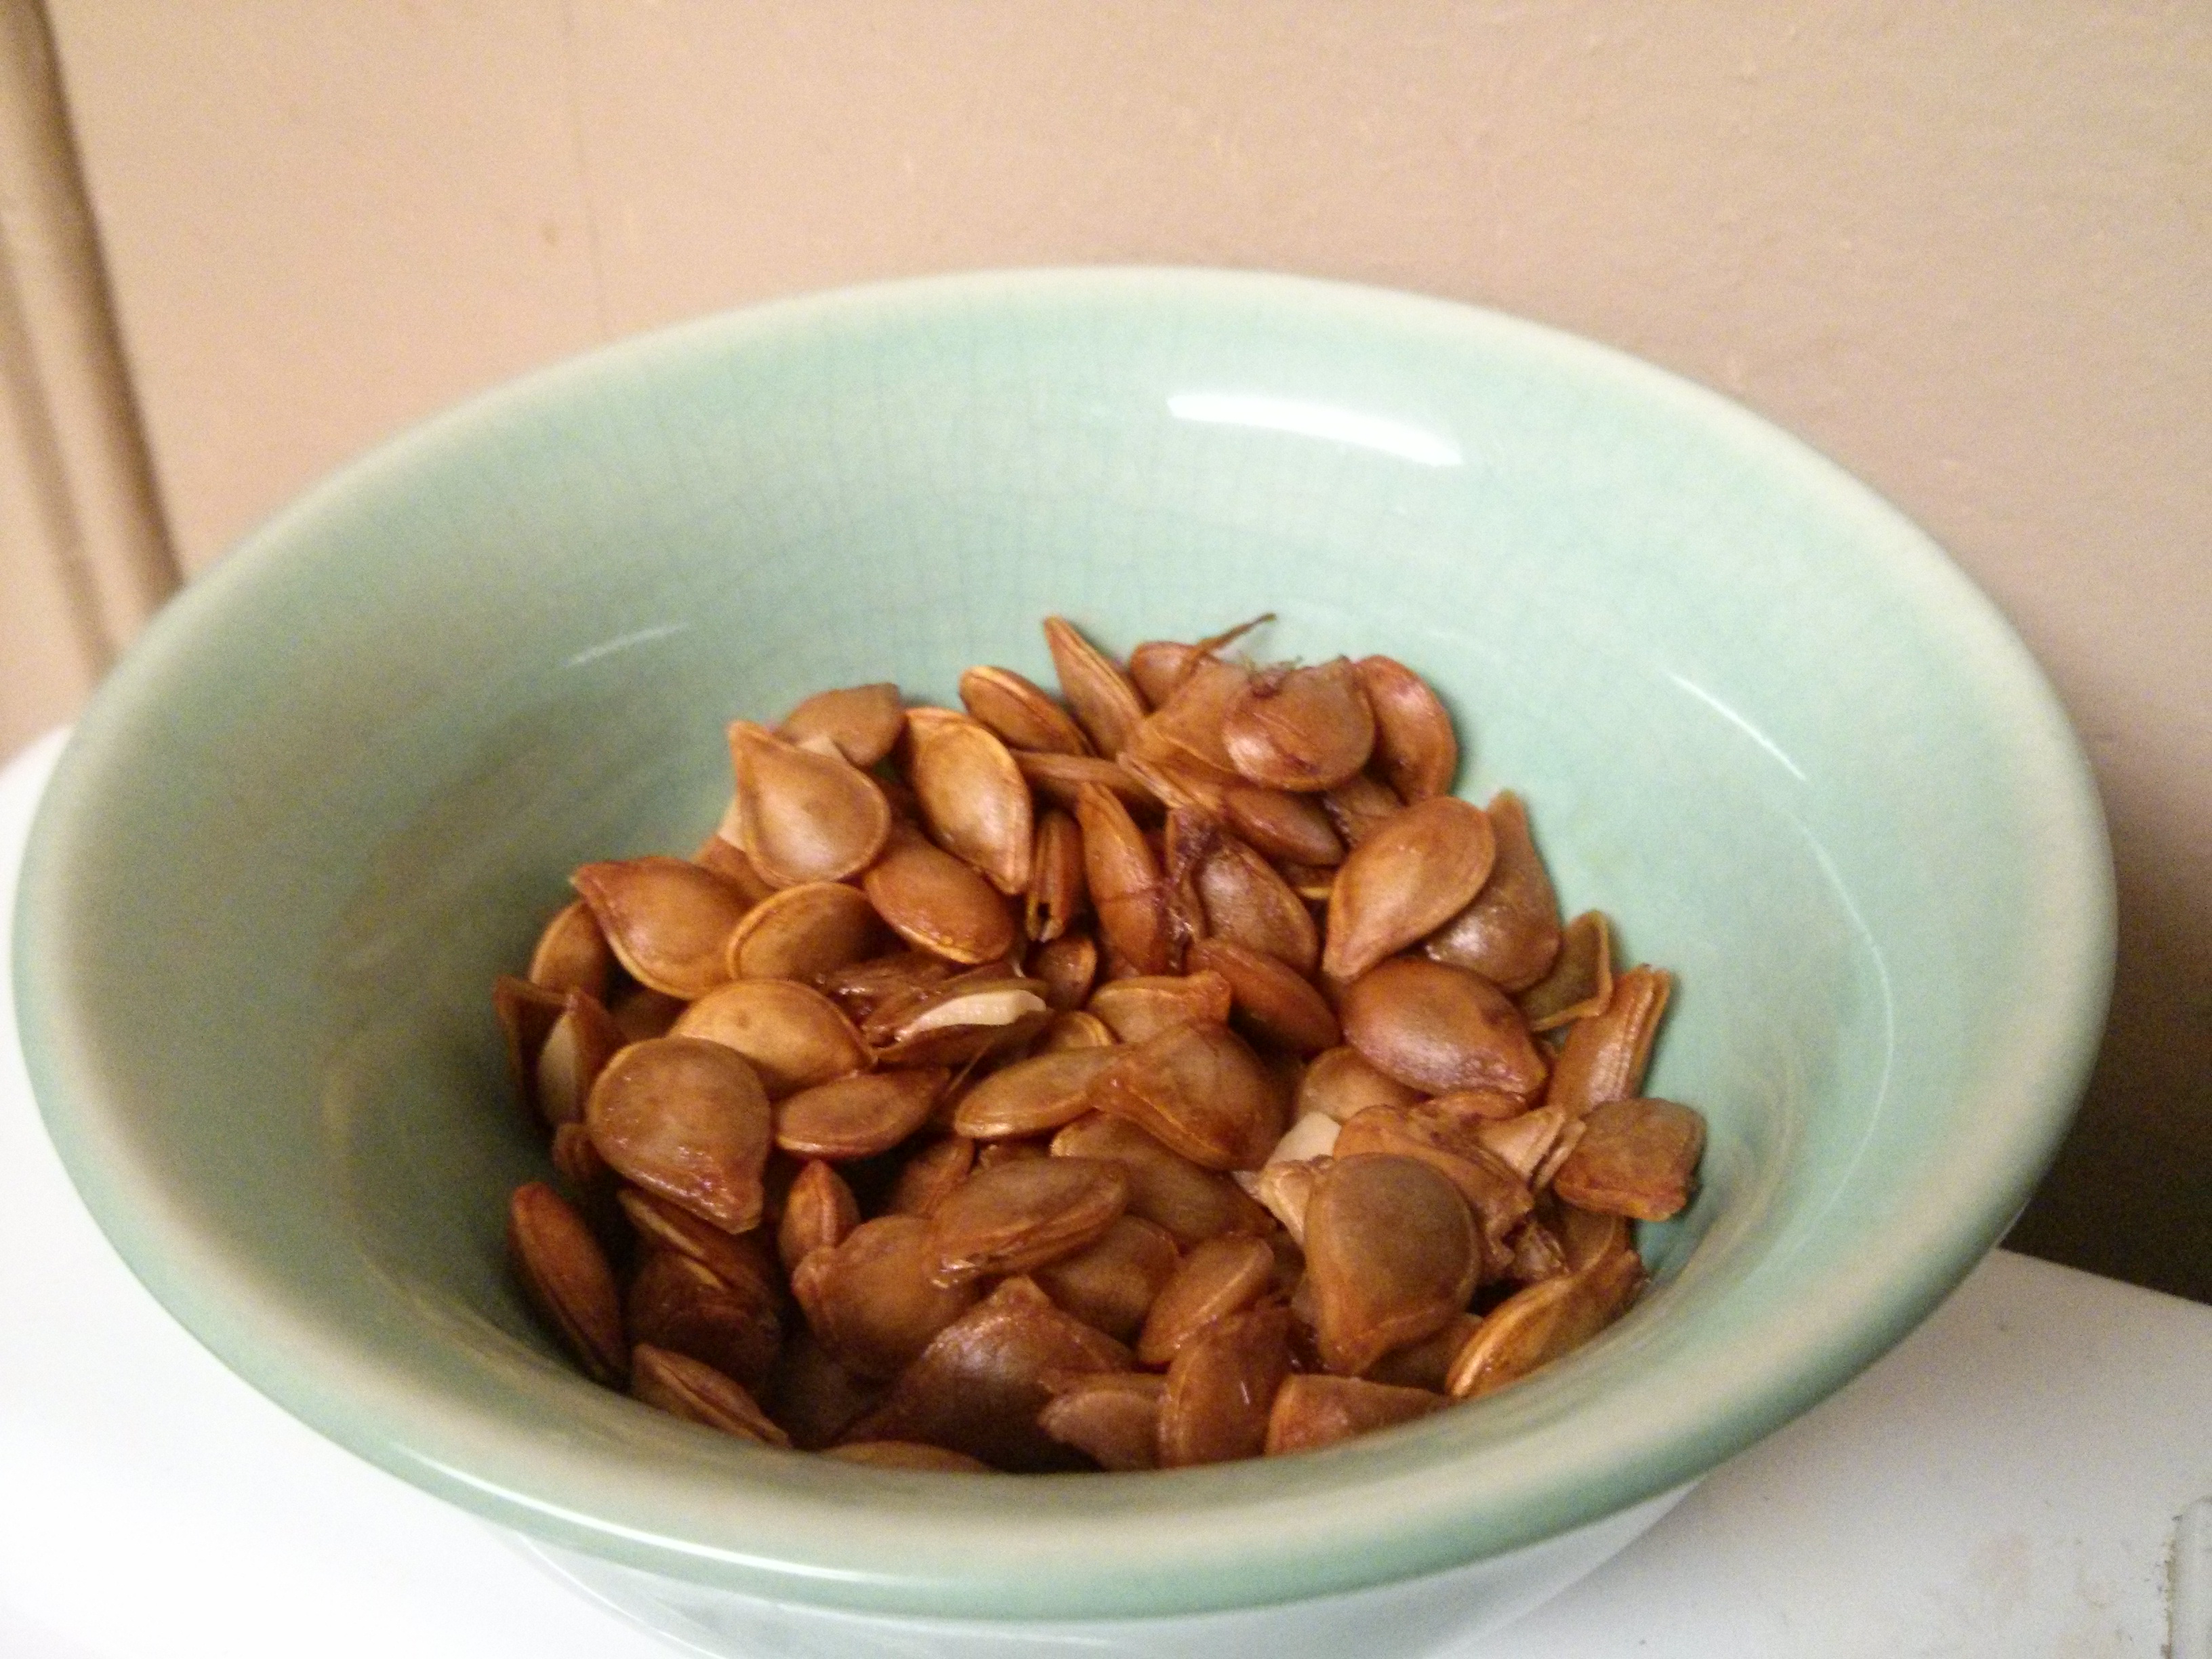
In the process of finding the rutabaga, I came across a few other things in the fridge that, shall we say, ran out of time. Usually I’m pretty good at using things up, but there were a few small things I had to toss this time. And in the world where food mirrors life, and combine, so too were there some ideas I thought I would use when I started writing, but that now I know I’m going to have to toss. In the process of writing, and now feeling where I’m at and the writing is at, I’m reminded again that not everything can make it into the soup. Ideas, people, and stories can’t be forced; it’s better when it all flows and happens naturally. As another friend once reminded too, if it’s important and needs to be felt or said, there’s always another post, another time.

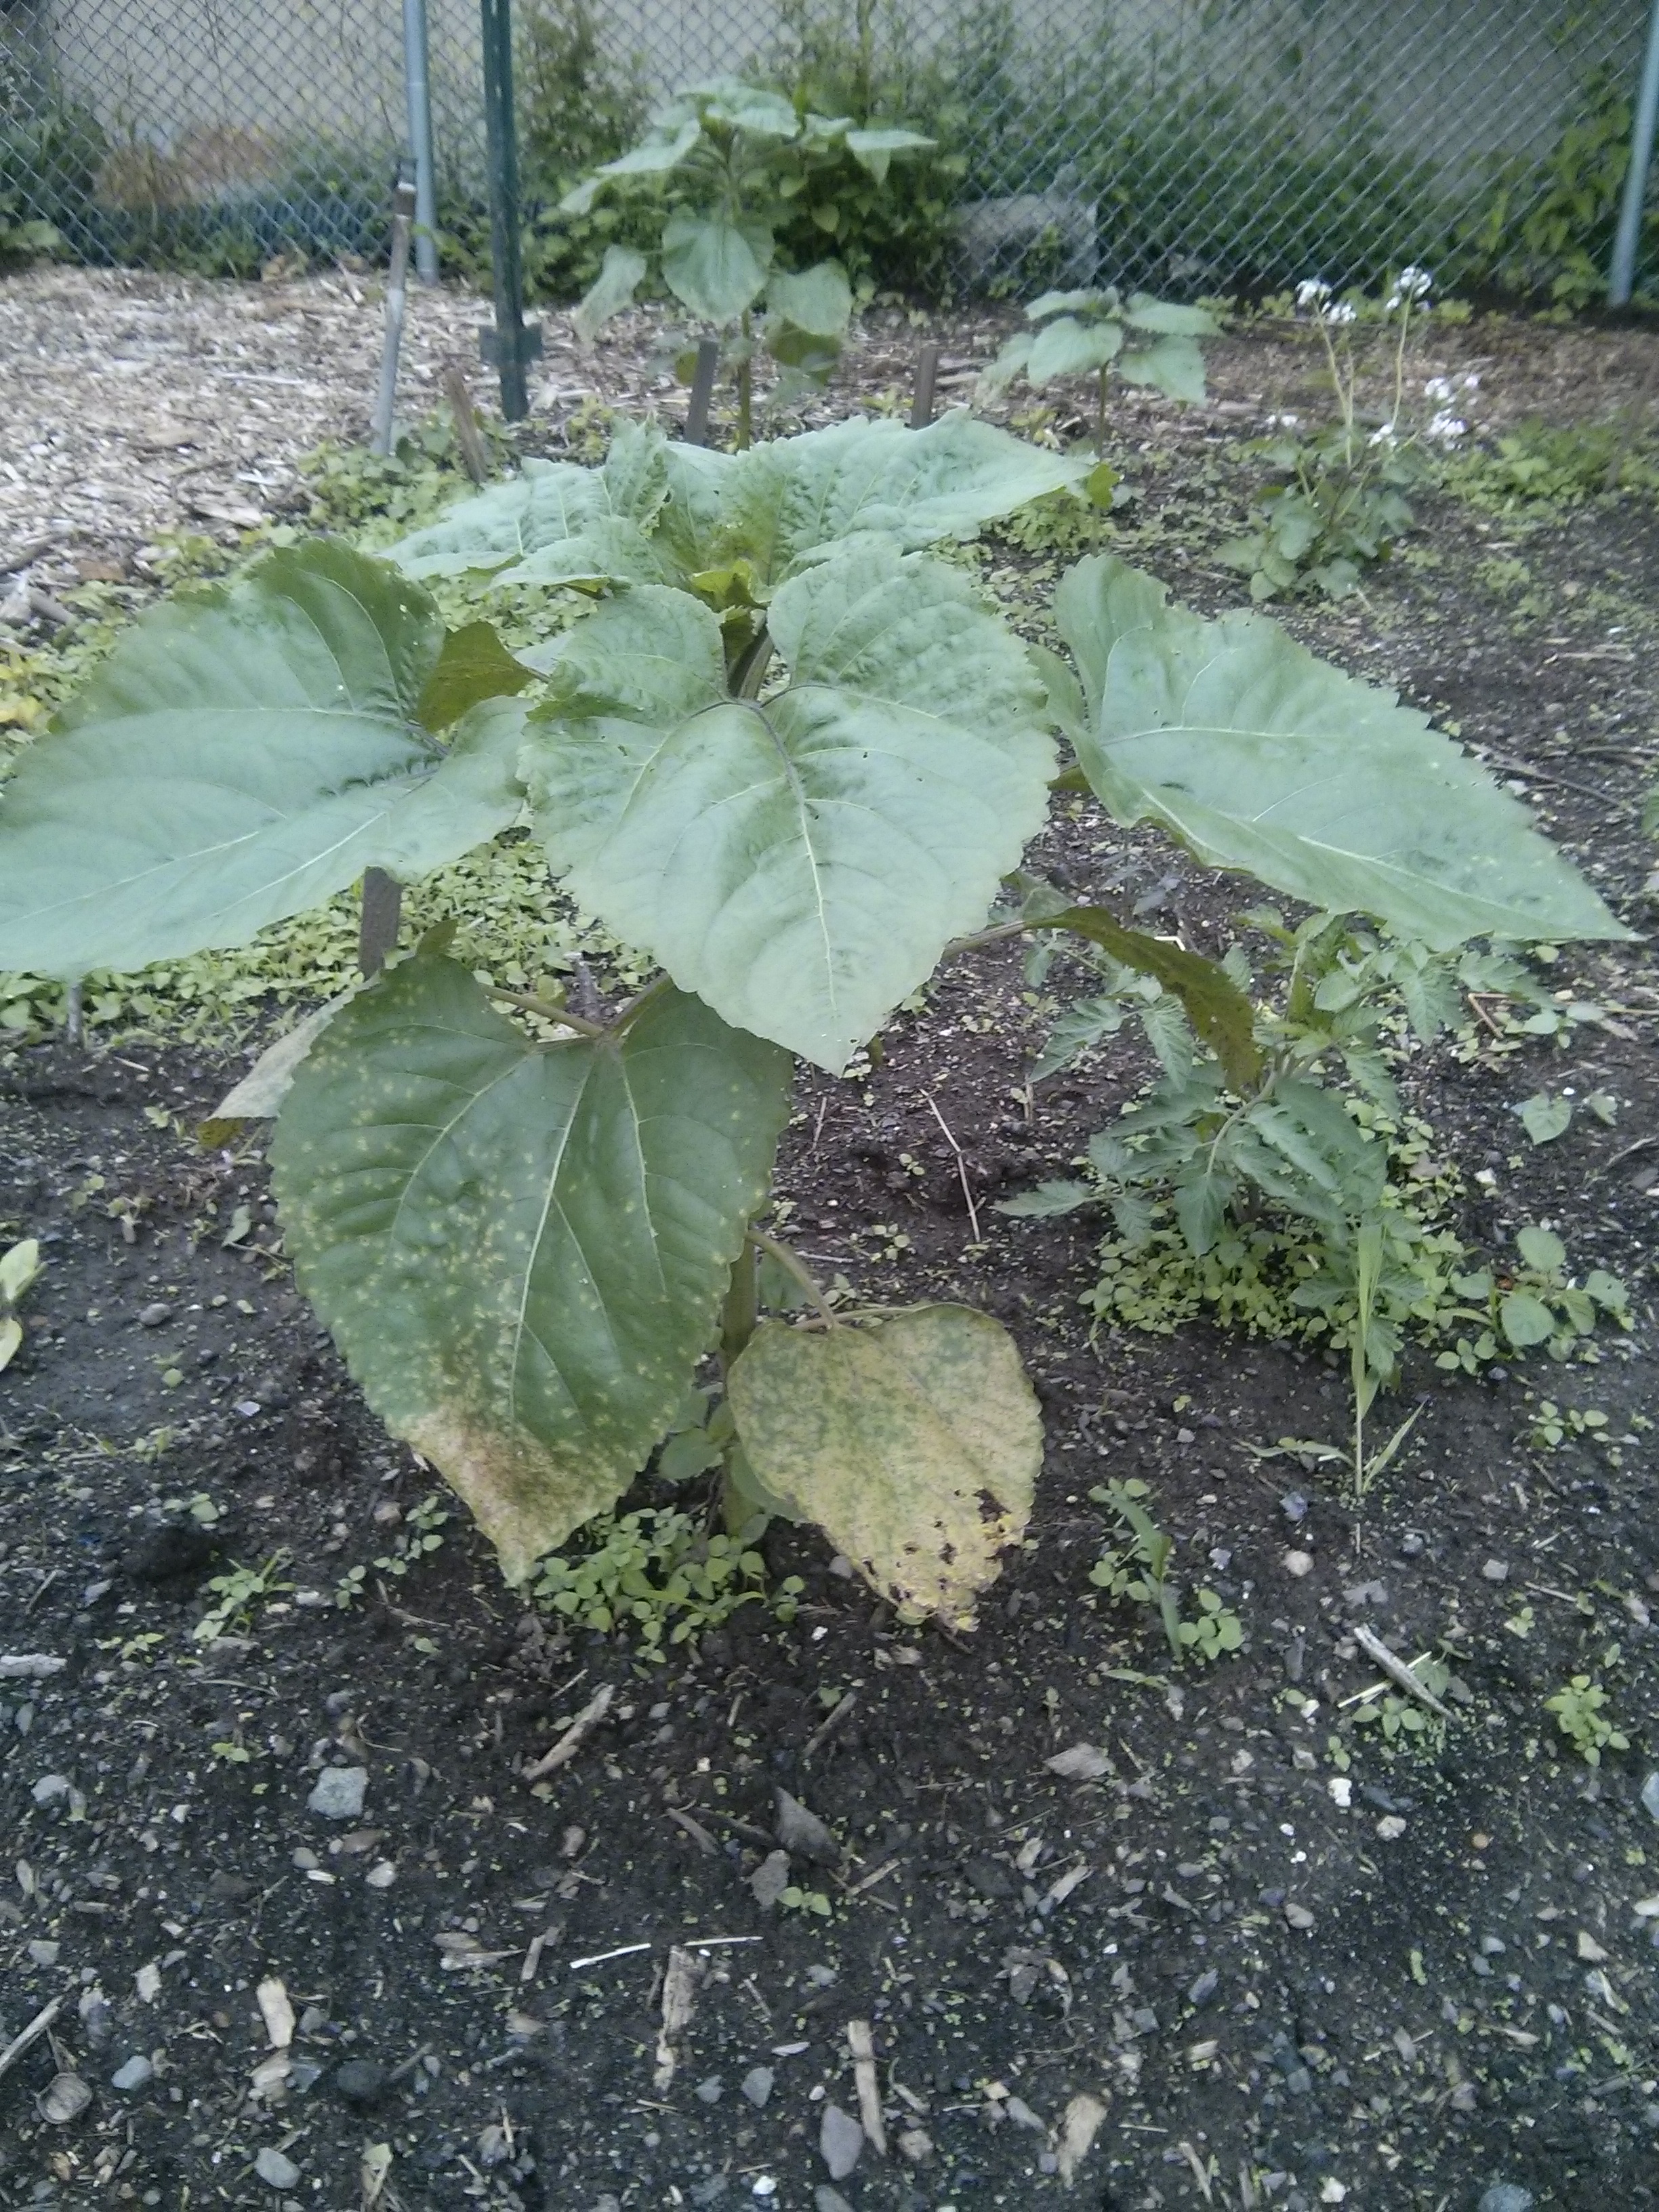
In the garden, things are growing. The passage of time, a month, allows me to share the following:

wpid-img_20150509_180459.jpg

May 9

May 16

May 16

wpid-img_20150523_175837.jpg

May 23

June 5

June 5

wpid-img_20140907_113204.jpg

Projected future outcome

Actual results may vary…

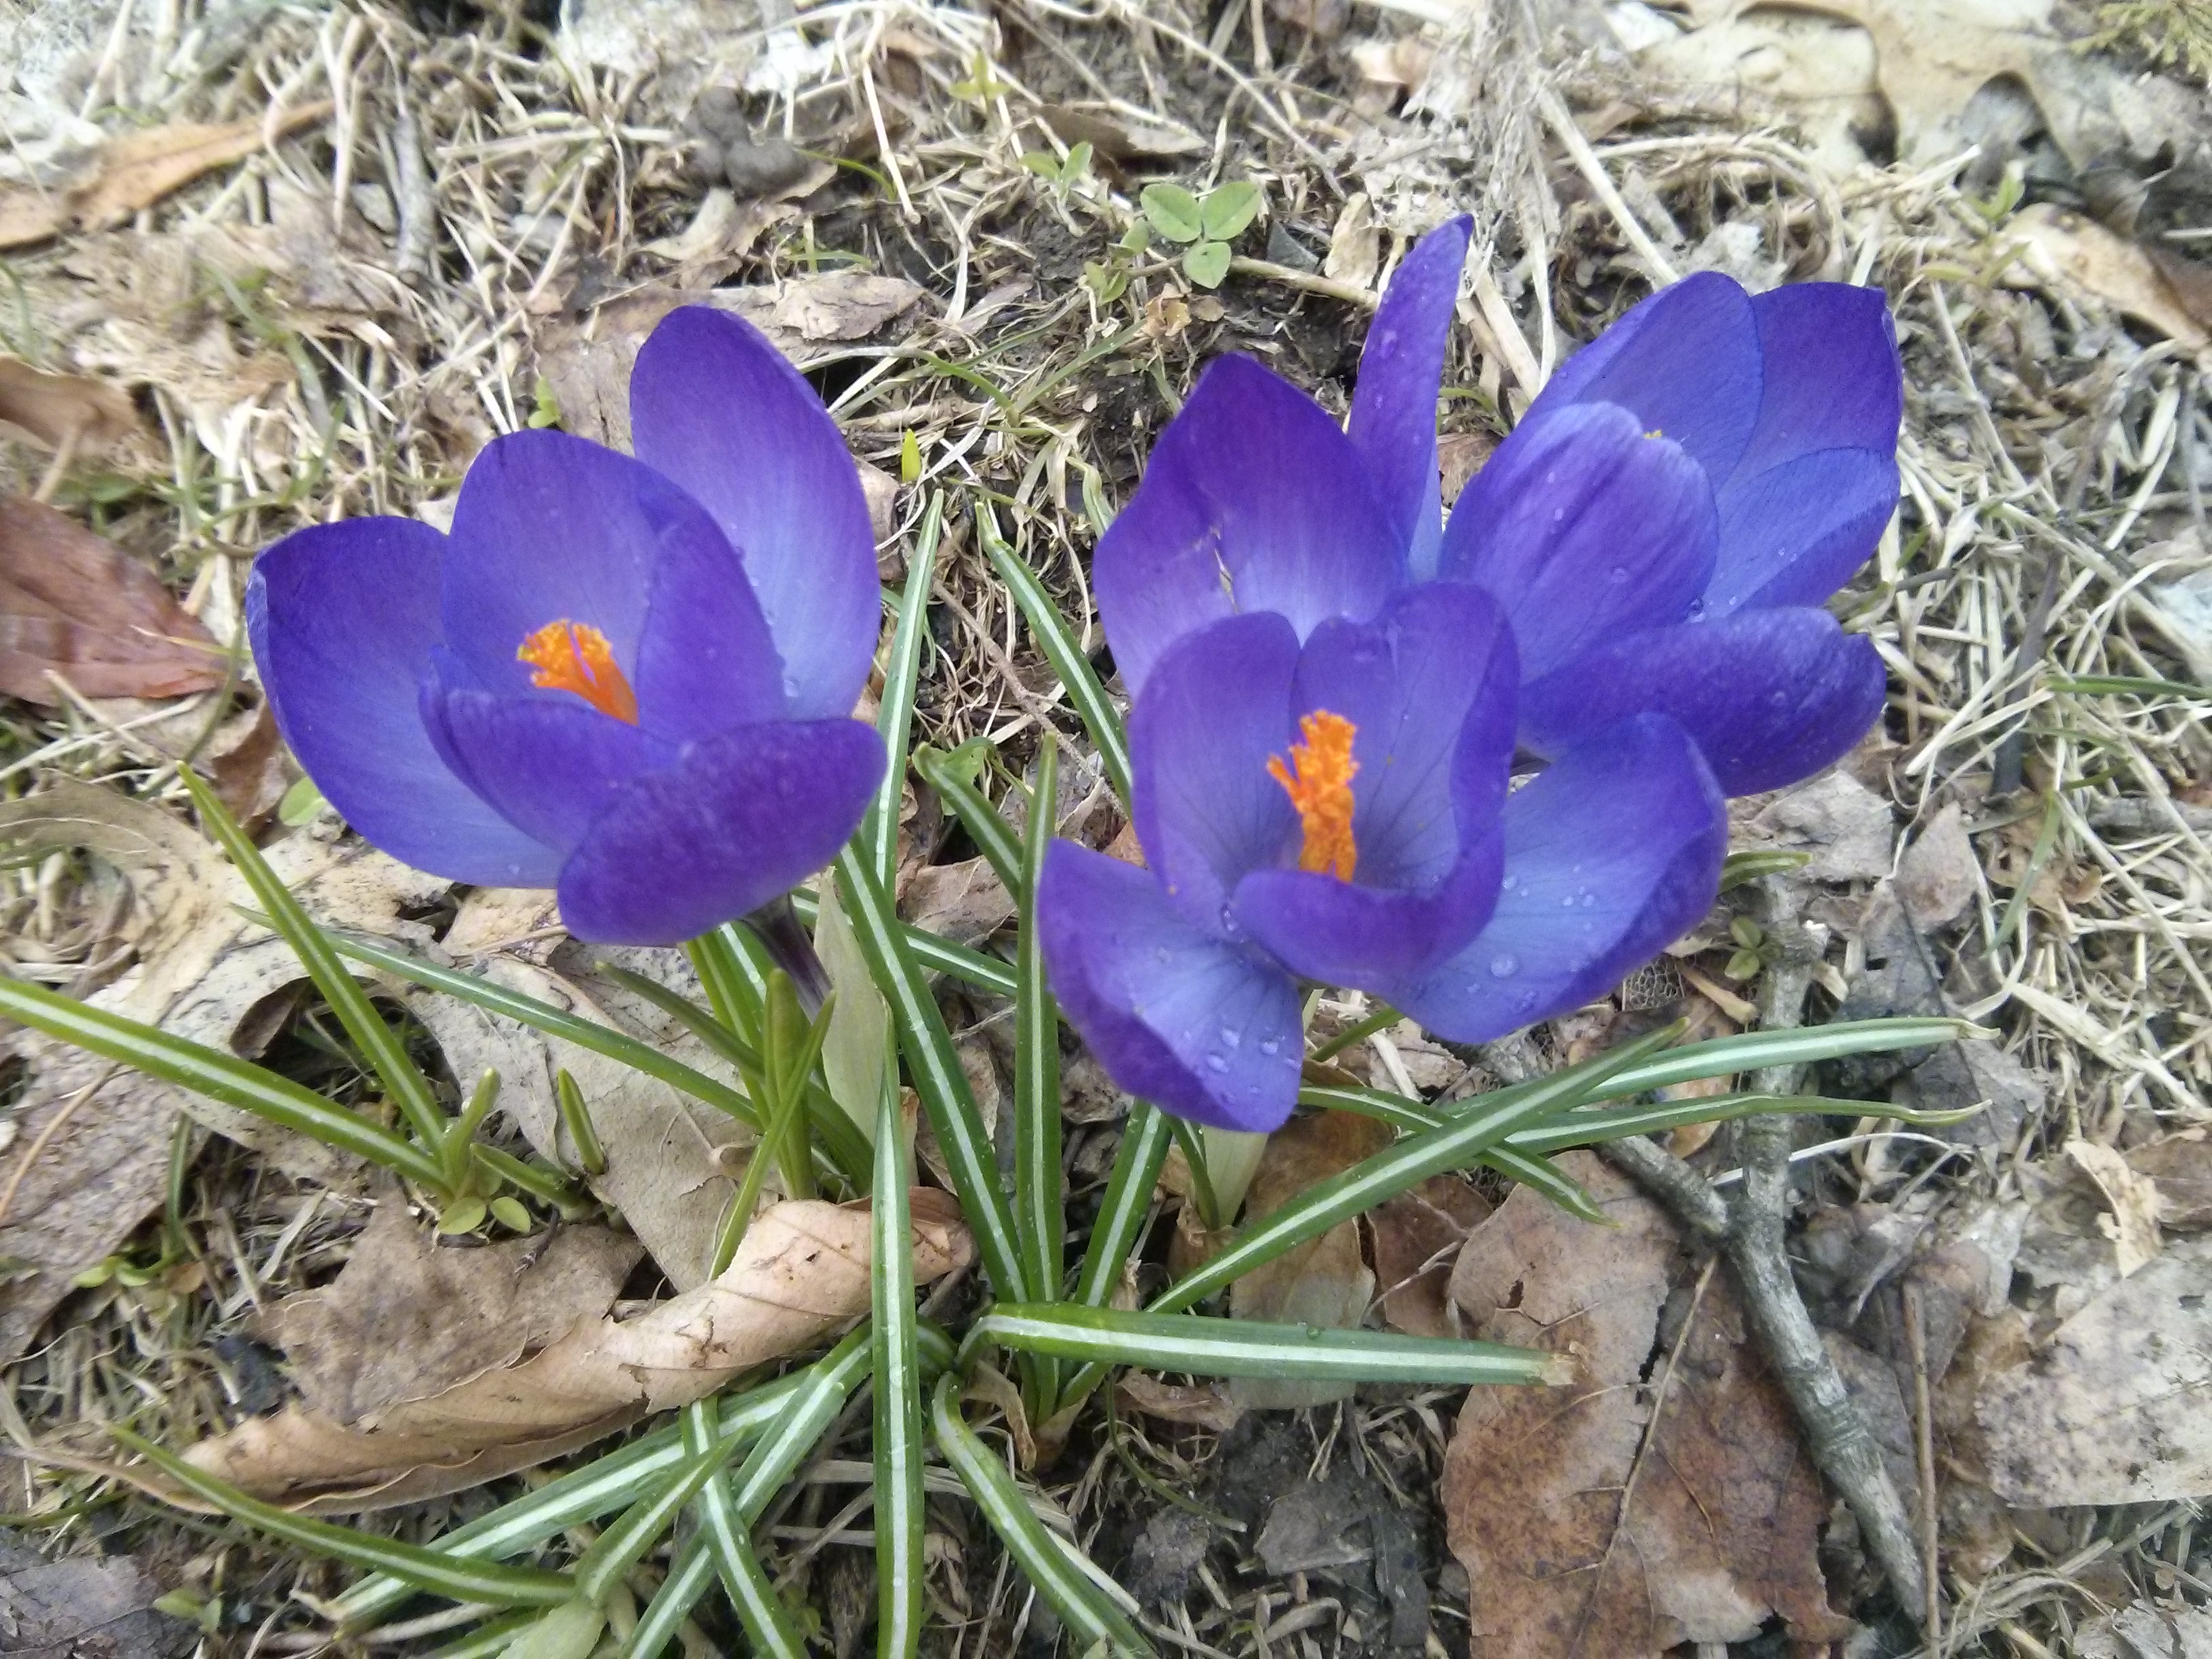
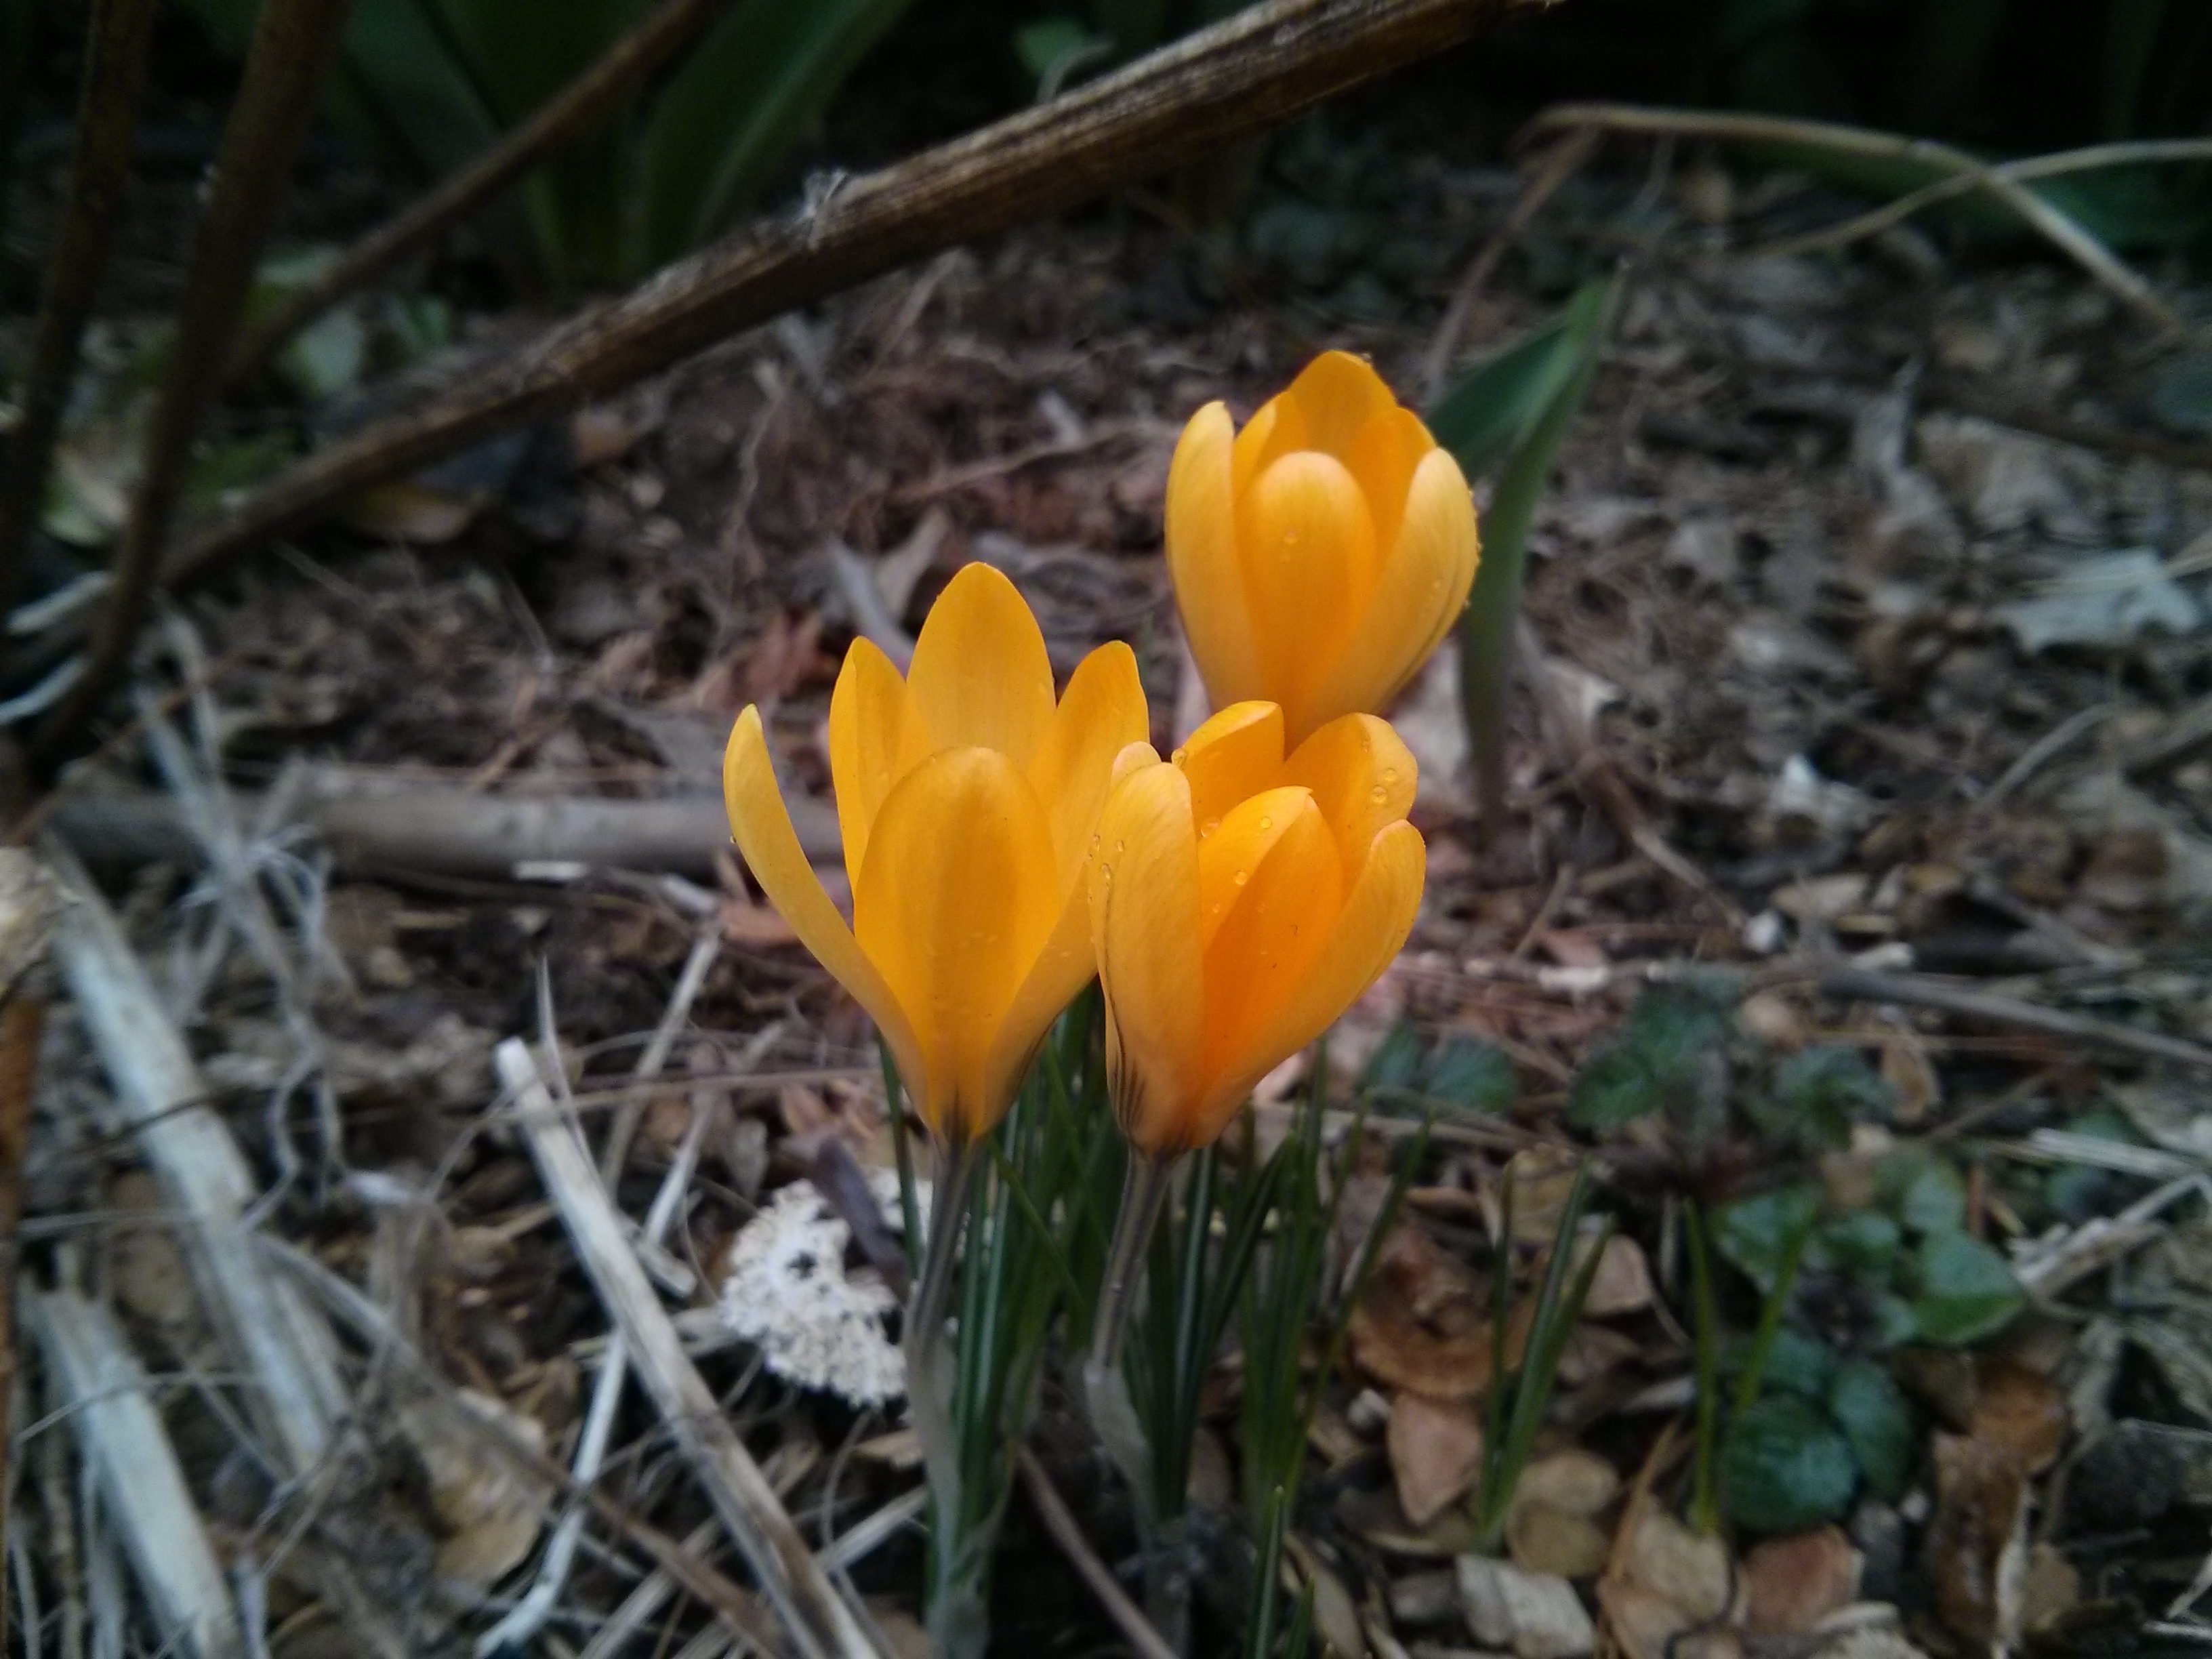
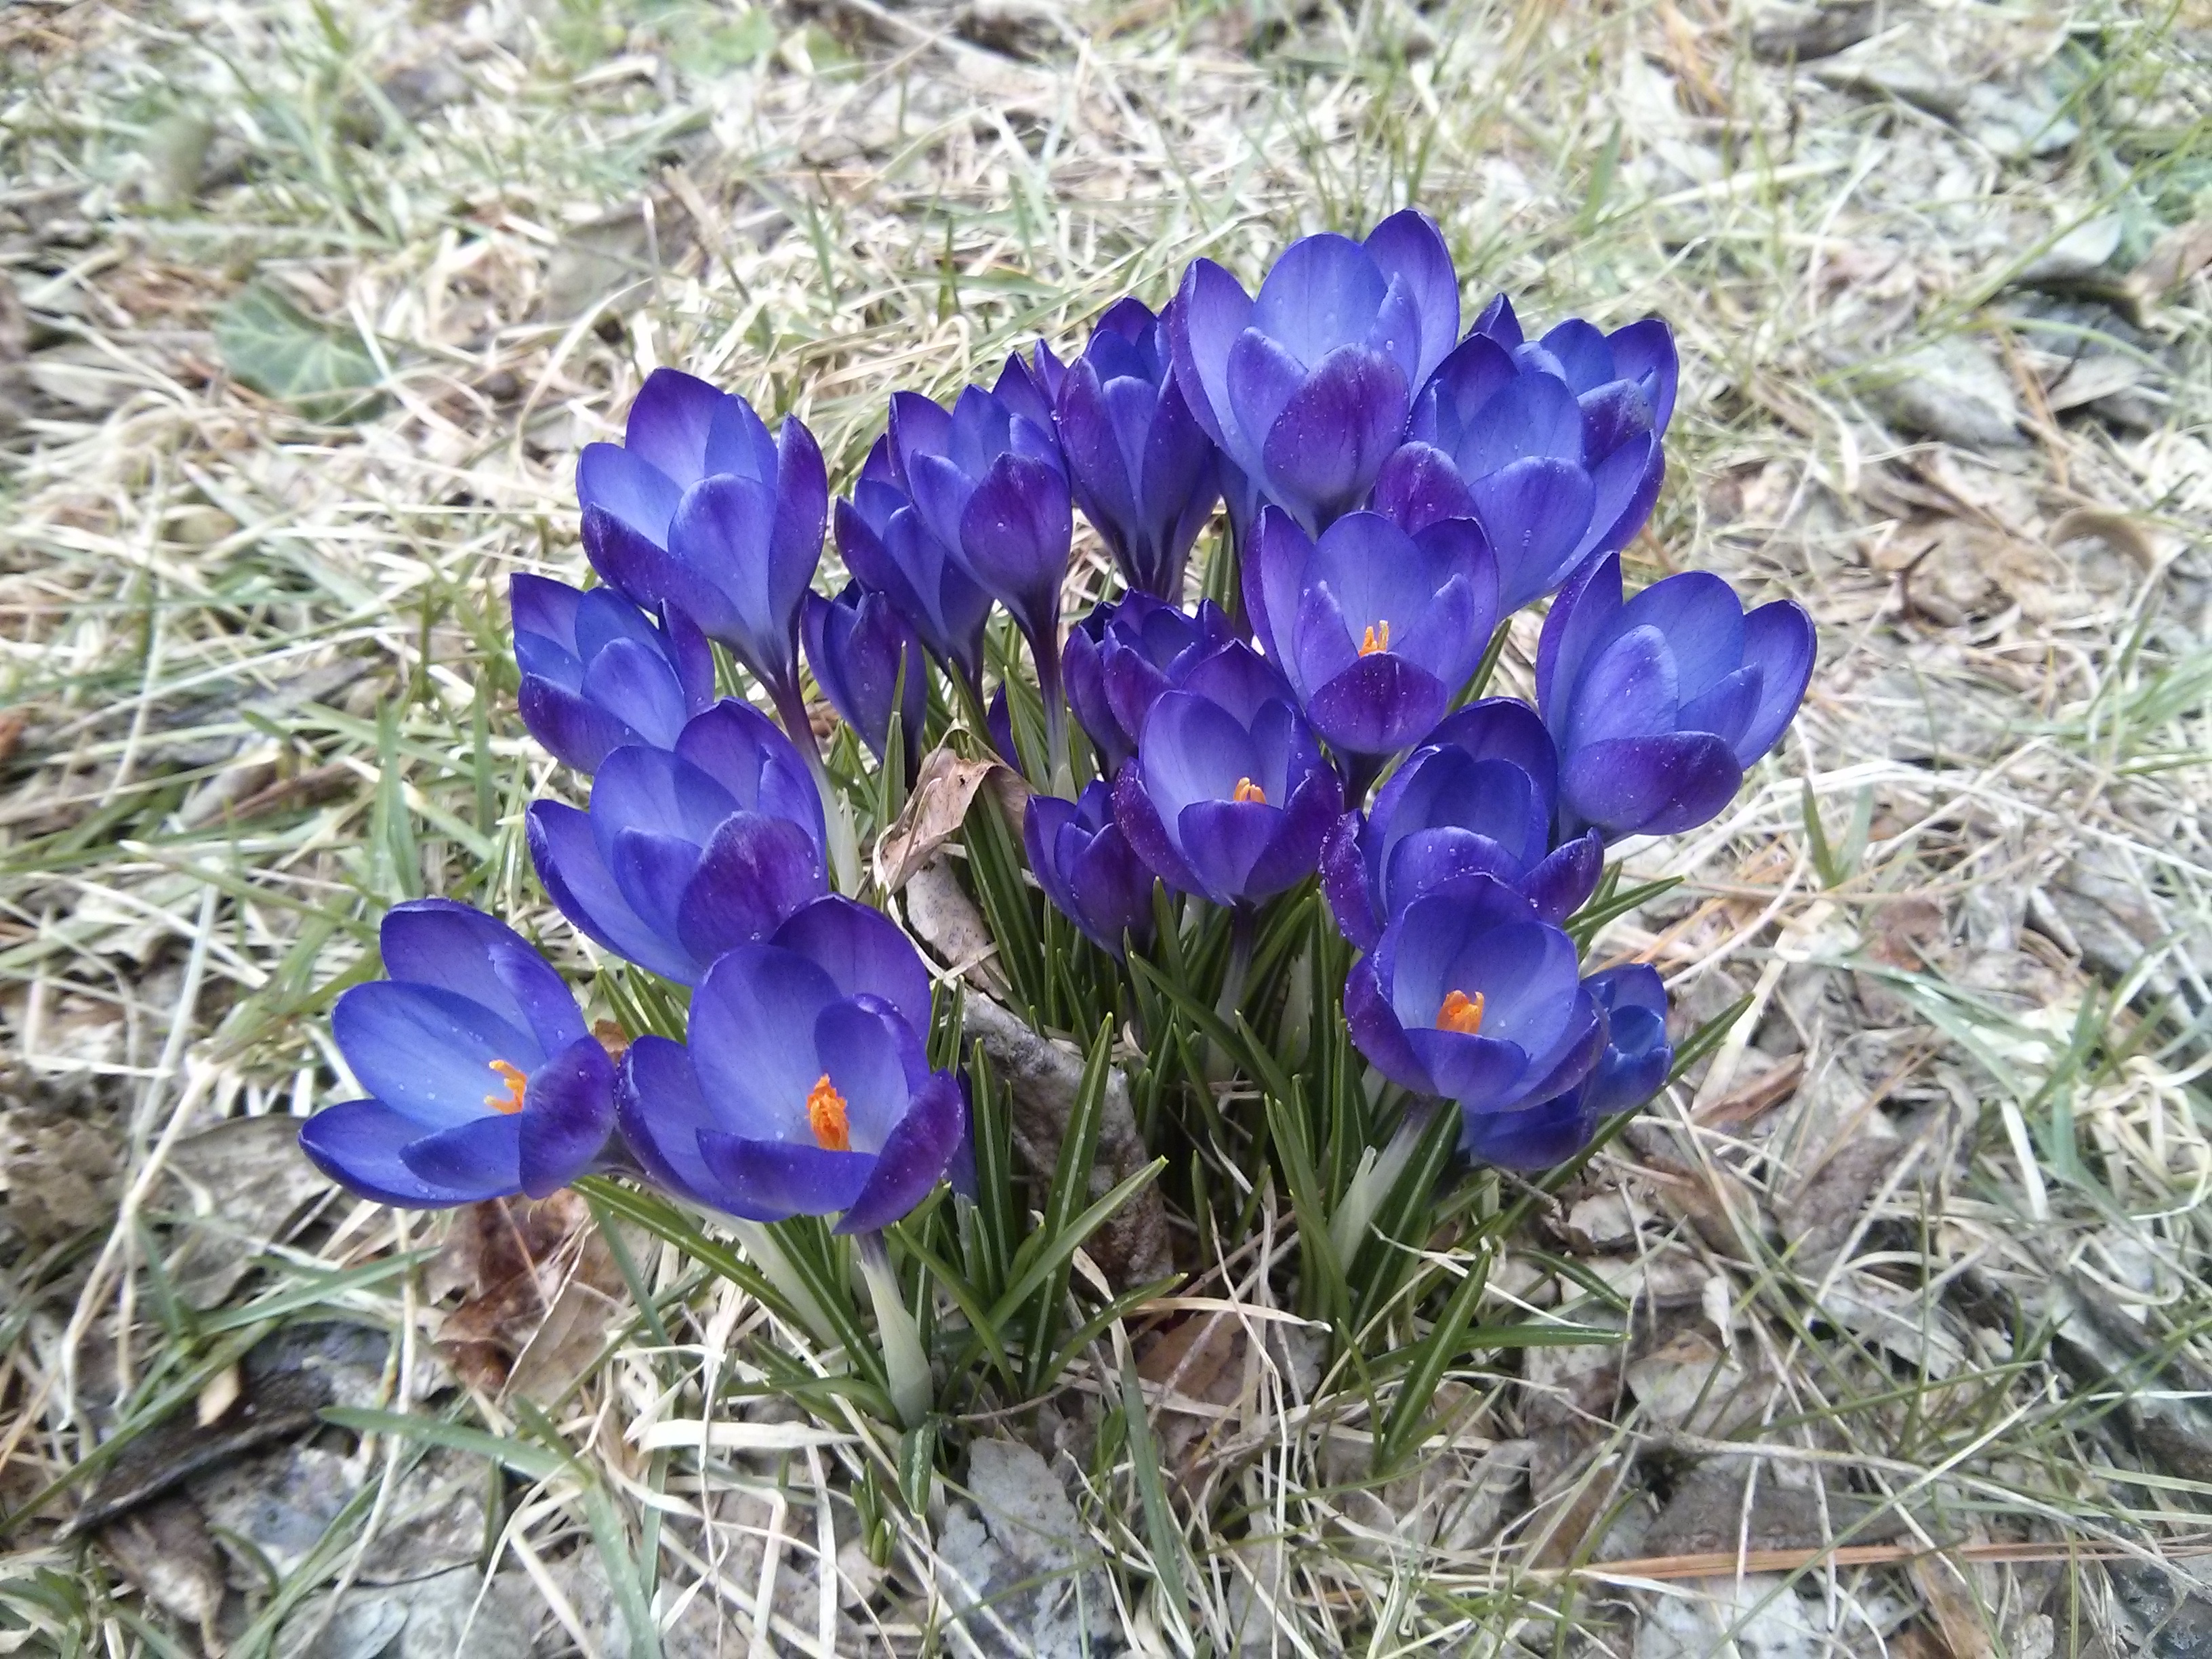
But where there are buds, flowers often follow 🙂

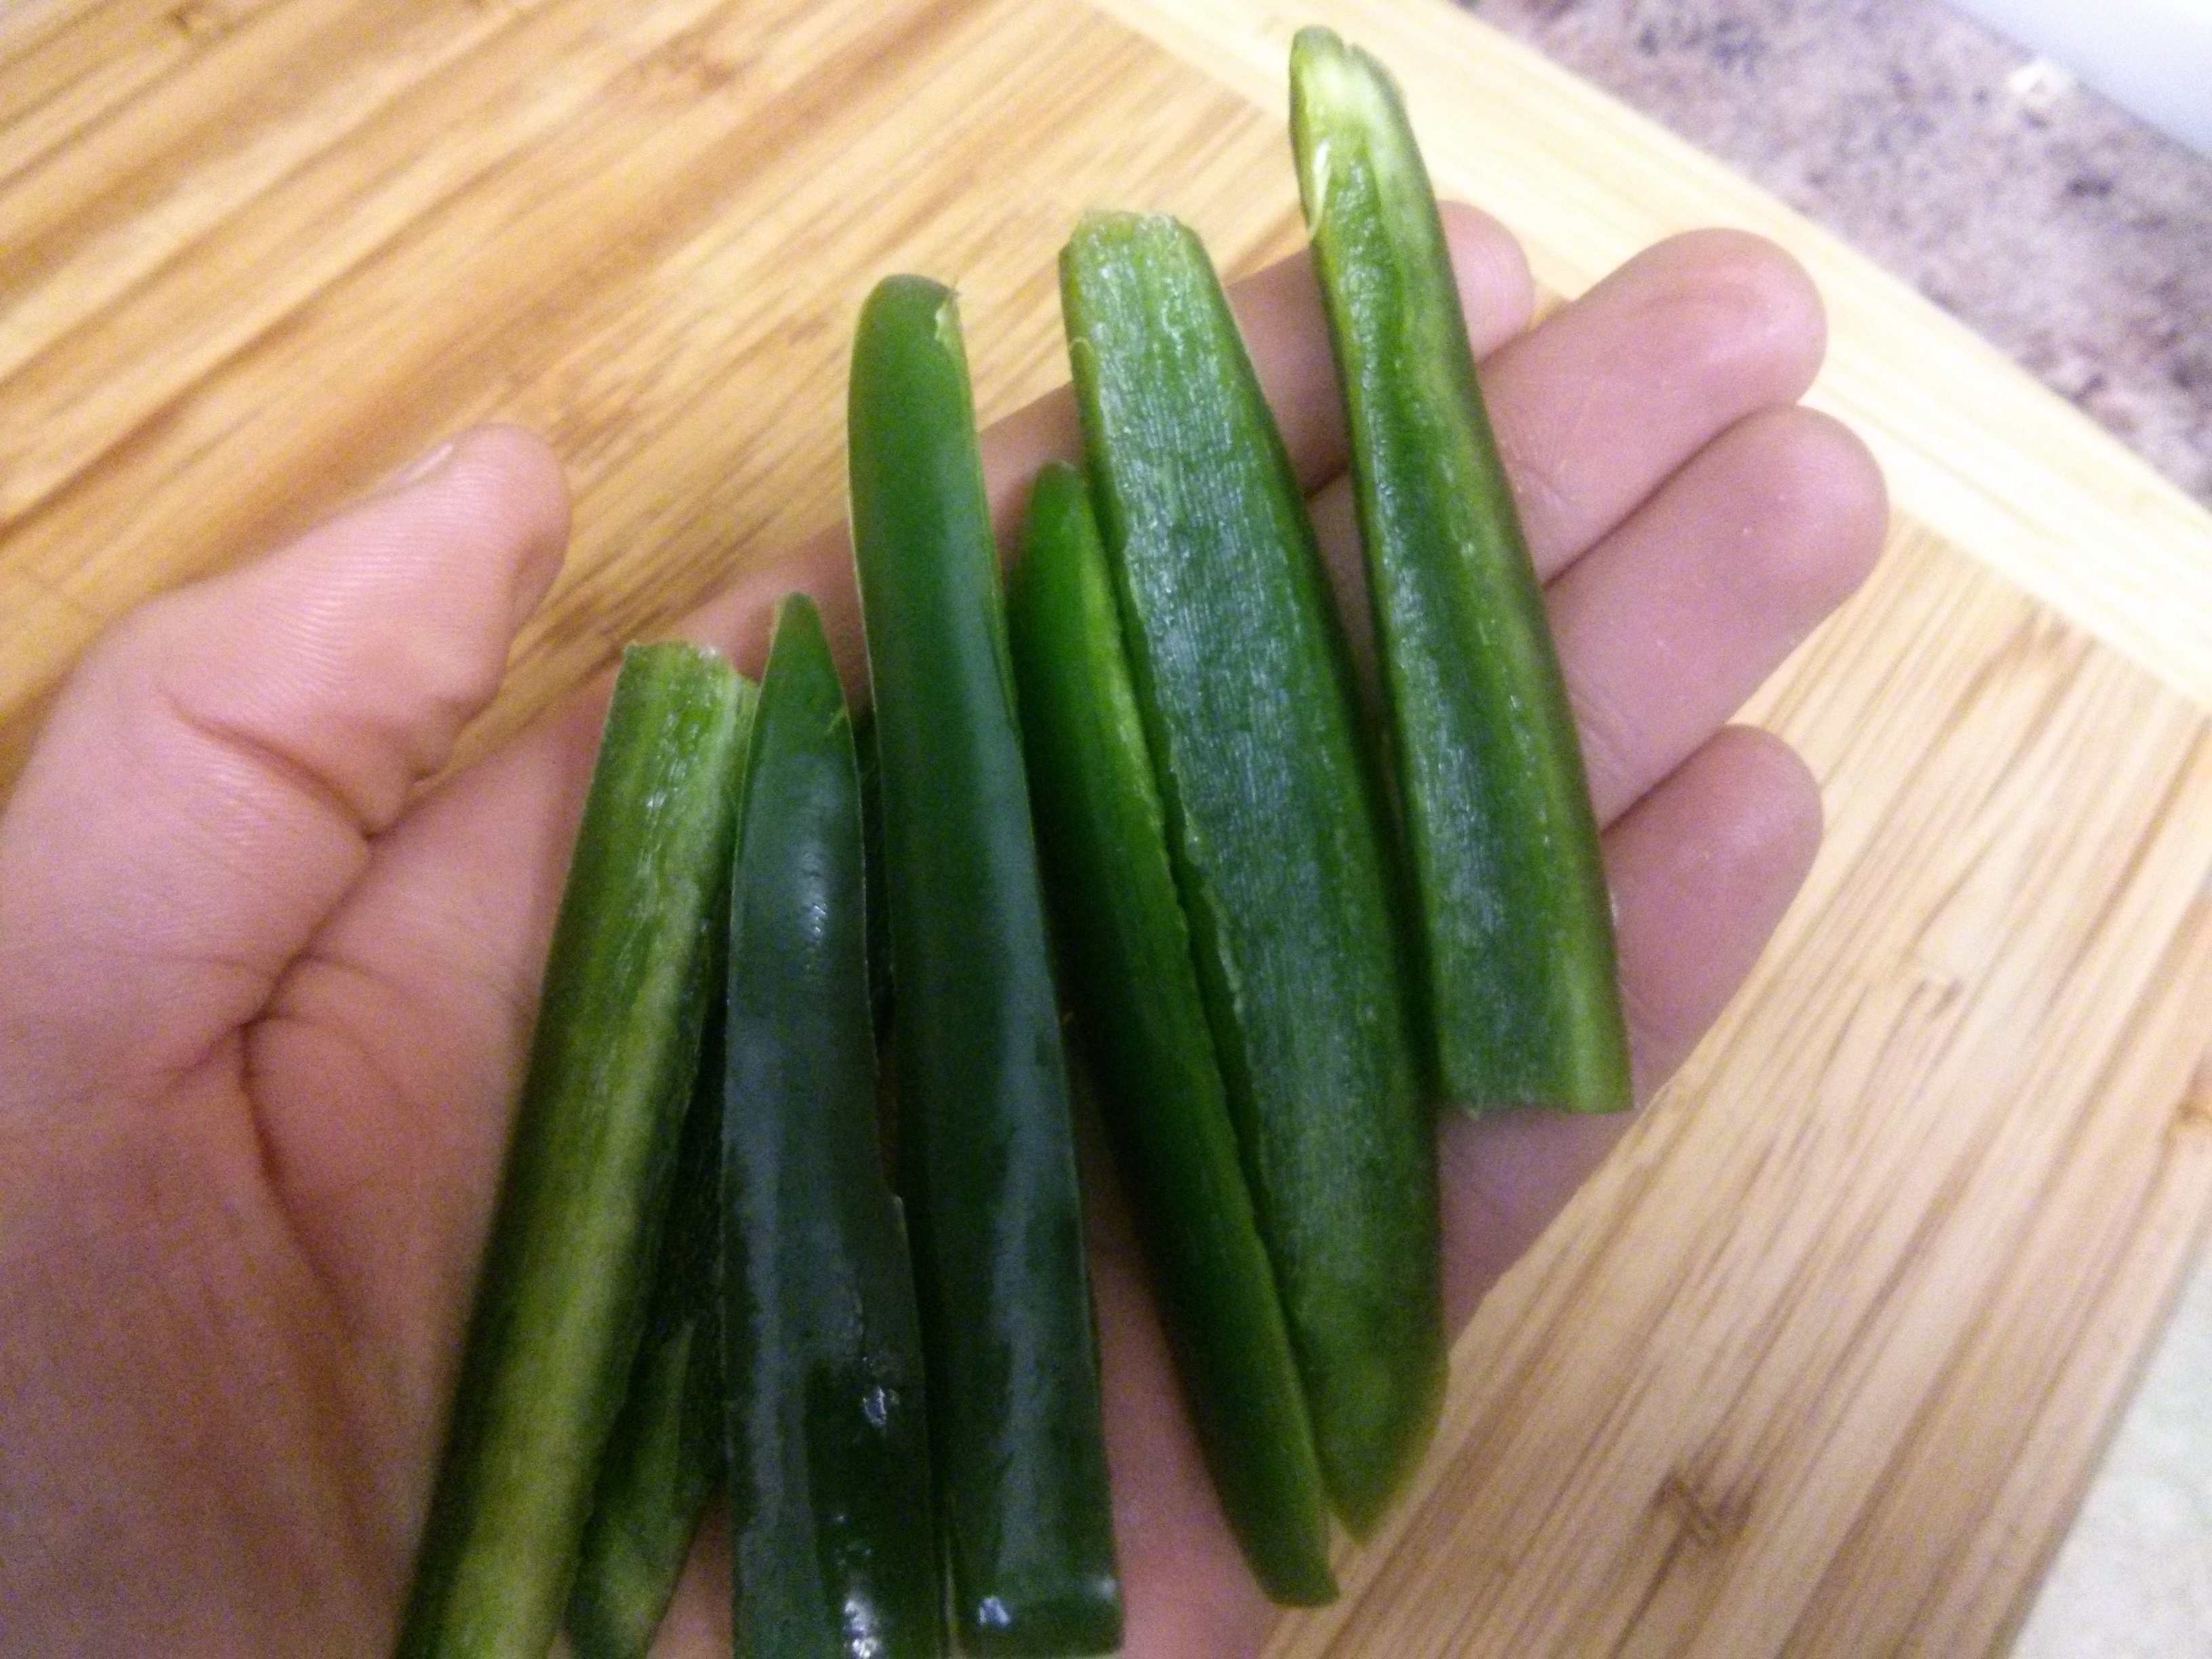
For now, I found some flowers of another kind, from thinning the radishes,

wpid-img_20150523_183629.jpg

Radish bouquet

and found some color, and neat patterns too, from underground.

wpid-img_20150605_222914.jpg

wpid-img_20150605_223110.jpg

wpid-img_20150605_223601.jpg

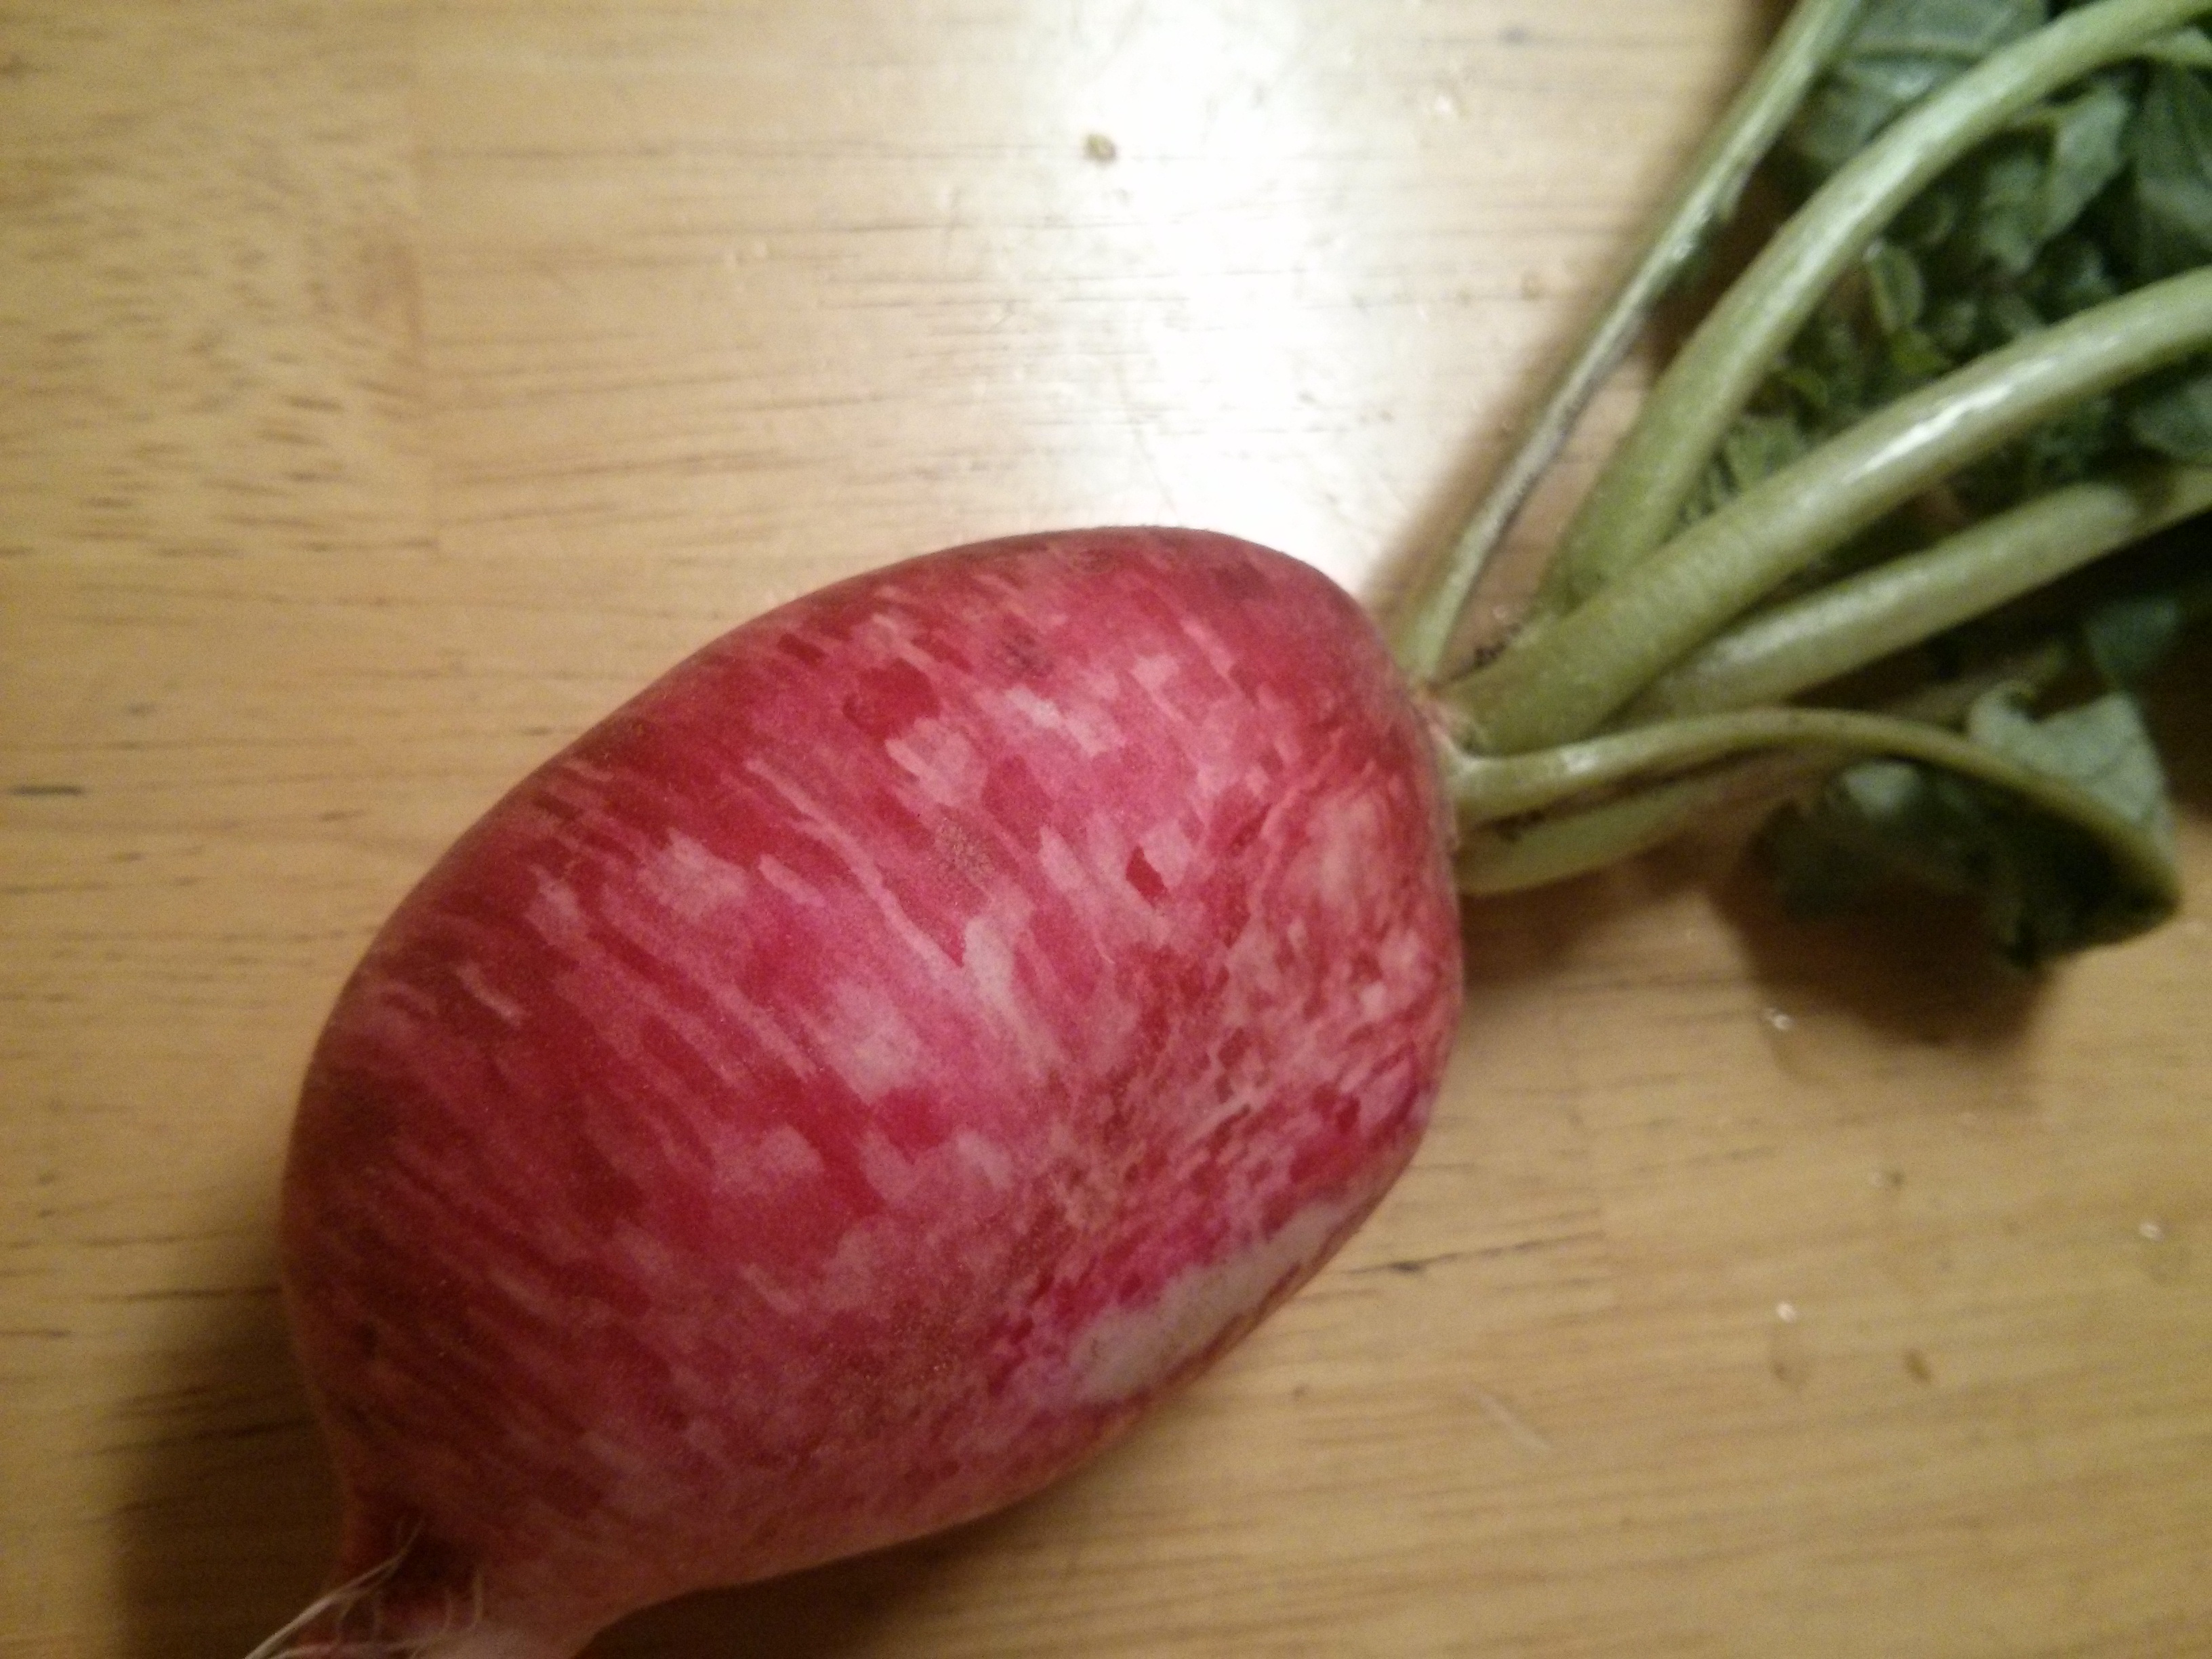
How about that for beauty? It’s like looking down at farm fields from an airplane, but with every shade of red instead of green (and with a lyrical inspiration nod to “The Hudson” by Dar Williams). I think I have a thing for radishes.

It’s on the calendar

It’s on the calendar.

Plantains.

Next week.

Them and me. And possibly some friends.

wpid-img_20150423_205116.jpg

I just had the best plain plantains, courtesy of my  neighbor, courtesy of me taking care of her mail while she was away.

It may actually be a week or two, since I’ll be at a conference for part of next week (Baltimore!), and according to my neighbor what you do is buy the plantains green and then let them ripen for 3-4 days (they should turn yellow). But this is definitely happening.

Between now and then, I’m sure I’ll look up some recipes (if you have a good one, let me know!), but this is how she does it: after the plantains are ripe, you cut them into small pieces and fry them for about 5, not more than 10 minutes in oil. The oil (she said she used a palm/vegetable oil mixture from Whole Foods) should be hot enough so it sizzles a bit when you add the plantains, and you use enough oil to cover the pieces. “I don’t usually fry things and use a lot of oil like that,” she said, “but this is way to do it.” I told her I wasn’t a big fryer either but was going to do it.

She added that another thing you can do is marinade the plantains for an hour first with salt and ginger, and then fry them. Sounds good to me too. It looks like I’ll have at least two recipes going when the time comes.

Today we answer the question: Munchkins: Can you eat them?

wpid-img_20150328_091602.jpg

Yes!

Wizard-of-Oz-w16

No.

wpid-img_20150405_180934.jpg

Maybe so?

The question was originally posed by a friend a few months ago, when I was giving a tour of the pumpkins in my hallway. My response at the time was, “I don’t know, but we’re going to find out!” The time for finding out finally came a few weeks ago, as one of my original three Munchkins had gone bad (the floor life on that one was apparently only 5 months) and another one was starting to show a little mold ring around the collar. Or you know, MRATC as they say in the business. Or as I just made up right now.

wpid-img_20150328_170542.jpg

MRATC, here visible with the Munchkin now right-side up. Its lack of a middle piece stemmed from my little niece having a good time moving it one day from the hallway to the kitchen, and back, on repeat 🙂

I figured the best way to answer the question would be to bake the Munchkins as if they were regular pumpkins. So I cut them in half, then cut them in half again, scooped out the seeds, and popped them in the oven for 25-30 minutes at 375 degrees.

wpid-img_20150405_183313.jpg

wpid-img_20150405_183542.jpg

wpid-img_20150405_184511.jpg

wpid-img_20150405_185051.jpg

After cutting away the MRATC, I wound up with six pieces to bake. I also baked them face down, as shown in the last picture above (the one with the pumpkin disco effect, #nofilter). When I took them out of the oven, they looked, felt, and……….drumroll…………tasted pretty much like regular-sized pumpkins.

So, Munchkins: Can you eat them??? Yes!!

They’re not just for decoration anymore.

wpid-img_20150405_193207.jpg

Munchkins with Maple Syrup, Mmmmmmm.

If you’re feeling the fiber, you can even eat the skin, which is fairly thin. I baked the mini seeds too, and they also turned out well. I added a little olive oil and salt, and put them in the oven until crispy. I actually liked the Munchkin seeds better than the regular pumpkin seeds that I had made recently – the mini ones were less woody, more crispy, and easy to chew. I’ll try this again in the fall come pumpkin time, but I think we’ve found a keeper, in particular for the seeds. Good and crunchy. Has anyone else ever cooked with Munchkins? If you have some great uses or ideas, let me know!

wpid-img_20150407_233927.jpg

Chocolate Covered Matzoh

Chocolate covered Matzoh!

wpid-img_20150404_134914.jpg

This is one of those recipes where the name is 100% descriptive of the final product. And how about that final product.

Sweet, chocolatey, easy, and yes, there is matzoh there, but now it’s sweet, chocolately matzoh. Eating a piece for the first time is like discovering Cocoa Krispies after having eaten plain Rice Krispies your entire life.

I was the last of my relatives to sign up for which Passover dessert to bring to the second seder on Saturday, which meant that twelve others had already selected their category by the time I got the website. Waiting for me when I got there was the following: “Kosher for Passover, non-dairy cake, cookies or something else.”

I figured I’d figure it out Saturday morning, which is what I did in terms of the recipe and the production, but the actual idea came on Thursday during our weekly group run. I mentioned my pending Passover dessert duty, and the girl I was running with said something like, “Chocolate covered matzoh is really good and easy,” to which I said, “That sounds great! I’m going to do that. How do you make it?” to which she said, “You just melt some butter and sugar, brush it on the matzoh and bake it for a few minutes, and then add the chocolate,” to which I said, “Oh, that’s going to be good, I’m going to win the desserts!” Then I assured her that it wasn’t a contest but rather just a lot of people bringing something, and that it was the first time it was a little more organized. I also noted that to my knowledge, no one had ever made chocolate covered matzoh before, which meant that my contribution would have the potential of being not only good, but new.

I was feeling good about the pending baking experiment, and on Friday while I was hanging out with my brother and his girlfriend, we got to talking about the desserts we were going to make. Up for them was the following: homemade macaroons dipped in chocolate, and with chocolate drizzled on top (it’s a good thing I don’t have a picture of these because you might like them more than my chocolate matzoh 🙂 ). It came out during the conversation that my brother hadn’t signed up for a dessert slot, which in no way deterred the macaroon-making that followed, and that I had glossed over a small detail about my dessert category, which in a large way would have left me embarrassed had I not realized it in time. Kosher for Passover, non-dairy cake, cookies or something else. “Ahhhhh, yes, so maybe it’s a good idea if I don’t use butter when making the chocolate covered matzoh,” I said to myself and out loud. “Or milk chocolate.” The result: a delicious vegan dessert.

Vegan Chocolate Covered Matzoh

Ingredients

  • 1/2 cup vegetable oil
  • 1/2 Tbsp sugar
  • 8-10 matzohs
  • 15 oz semi-sweet chocolate chips

Steps

  1. Mix the oil and sugar
  2. Brush and coat the top side of each matzoh with the oil and sugar mixture (I used a spoon for this step)
  3. Arrange the matzohs in single layer in your baking dishes
  4. Bake for 15 minutes at 375 degrees (or was it 400 degrees? I’m missing this detail in my notes. What is important is taking the matzoh out before the edges start turning black. The rest of the matzoh will have a golden look.)
  5. Now take the baking dishes out of the oven, and add a handful of chocolate chips to each matzoh (about 1.5 oz per piece). Once the chocolate chips have melted (this may take about 5 minutes or more), spread the now-melted chocolate chips over the matzoh to cover the entire top side (I used the back of a spoon to do the spreading).
  6. And then put the matzohs in the fridge for about 15-20 minutes (for the chocolate to cool and harden)

When I made these this past Saturday, I also played around with a few different oil and sugar ratios. The first one was 1/2 cup oil with 1/4 cup sugar, which turned out to be a lot of sugar (and sweeter!):

wpid-img_20150404_122506.jpg

I also tried 1/2 cup oil with 1/4 cup brown sugar, which likewise turned out to be a lot of sugar. On the matzohs where I used these mixtures, you could see extra grains of sugar sitting on top of the matzohs after the 15-20 minutes of baking.

wpid-img_20150404_124759.jpg

How everything looked after adding the chocolate chips to the baked matzoh

wpid-img_20150404_124821.jpg

And a close up: chips melting, sugar showing

I also tried the following with the oil and sugar, in a second batch that I made:

  • Using and brushing on the same oil and sugar mixture as above, but scraping away the excess sugar before baking
  • Brushing some of the matzohs with plain oil and then sprinkling a small amount of sugar on top, and then baking

The results for these sugar-lighter pieces seemed as good as the results for the ones I had made earlier with more sugar, so I went with the sugar-lighter version for the recipe above. The 1/2 Tbsp of sugar is a good estimate for what I’d sprinkled on (if you do the math, that’s 3/16 tsp sugar per piece of matzoh..want more or less sugar? Go for it! The semi-sweet chocolate chips also already have sugar in them). In the recipe, the first two steps are, ‘Mix the oil and sugar, and then brush this mixture on,” but as noted here, another option is you could also brush the oil on first and then do a sugar sprinkle.

wpid-img_20150404_131655.jpg

Here in mid-spread: Some soon-to-be chocolate covered matzoh (L), and chocolate covered matzoh (R)

In the end, assuming that everyone who had signed up for a dessert brought a dessert, plus my brother and his girlfriend, we had 14 desserts altogether to choose from. If you figure that each dessert had about 15 servings and that about 30 people came altogether, that’s a whopping 7 dessert servings per person! There’s always room for dessert, though, from the fresh fruit to the sponge cakes to the apple kugel to the macaroons and to the chocolate covered matzoh and all the rest.

One day, I’ll probably give the butter version of Chocolate Covered Matzoh a try. Maybe I’ll also try adding salt, cinnamon, or various nuts, as I saw in some recipes, or adding something simple like orange zest. A fresh hint of orange to go with the chocolate? I have a feeling that would be even more chocolate-covered-matzoh-y good.

wpid-img_20150404_134935.jpg

An Ethiopian Double – Injera and Ye Atakilt Alicha

wpid-img_20150329_112054.jpg

Let us see, what here do we have… A large bowl, used for something. The contents – empty, with a film remaining, dried. Used recently, a batter of some type, yes last night! A cutting board, similarly splattered, an upturned pot and pan behind. But why upturned? The shelves past the stove, full, a recently used bowl, close, yes the dishes! Not cooking now, but the morning after, the dishes all done but one, a bowl to go. Dish rack full, pots inverted, pots in place, pots not in place, yes pots drying! The bowl, posing, waiting, take my picture, speaking what? To the brim, over, no more, no matter, well used, well spent, alive, and dried.

Yes, two nights ago I made an Ethiopian dinner and had my parents over, and the night before that I went to McCarter Theater and saw Ken Ludwig’s Baskerville: A Sherlock Holmes Mystery. As you may have deduced. 🙂

Injera, the Ethiopian spongy flatbread, was on the menu Saturday night, as was Ye Atakilt Alicha (Green beans and carrots), Misr Wat (Red lentil stew), and Ayib (Cottage cheese). That’s four items, so yes, actually it was an Ethiopian quadruple, but it’ll be a double here for recipe-writing purposes. I shared the cottage cheese recipe last month, and I’ll do a write-up the red lentils later after I make it again.

Like the cottage cheese recipe, I got the other recipes from the Ethiopian cooking class I took in December and January. I made them all during a 3-4 hour window on Saturday afternoon (except for the first part of the injera, which you have to start earlier), and it turned out pretty good. I also got two good reviews.

wpid-img_20150328_1816492.jpg.jpeg

This is how everything looked on my plate right before I ate it. The injera was actually lighter in color (more pictures below), and yes, the shiny metal thing at the top left corner was a fork. Whoops! I played with cropping out the fork, but then the rest of the picture didn’t look balanced. We actually didn’t use forks – gotta use just your fingers and the injera! – but the forks were there on the table, at least for a minute anyway at the beginning before I remembered to put them away. The place-settings were the product of my pace-setting, that is, of my efforts to finish and bring the final few things together at the same time, and timely. Coming up after dinner was Café Improv at the Arts Council.

I wouldn’t call the injera recipe complicated, but it was a two-pager – page 1 was how to make the irsho (sourdough starter), and page 2 was how to make the injera once the starter was ready. Here are the recipes and how it all worked out.

Irsho (Sourdough starter)

  • 2 cups teff flour
  • 2 cups warm water
  1. Mix the teff flour and water in a large bowl
  2. Cover the bowl with cheesecloth, and store in a warm place with good circulation
  3. Stir the batter well at least once a day
  4. The starter will be ready in a few days (depends on environmental factors). When you see tiny bubbles forming at the surface, it’s good to go.

Injera

  • Sourdough starter (the mixture from above)
  • 5 cups warm water
  • 2 cups teff flour (plus 1 Tbsp more)
  • 2 cups buckwheat flour (if you want gluten free) or barley flour
  • 1 tsp salt
  • 1 tsp baking soda
  • 1 Tbsp teff flour
  • Oil for coating the frying pan (I used a 12″ non-stick pan)
  1. Mix the starter, water (5 cups), teff flour (2 cups) and buckwheat flour (2 cups). It should have the consistency of thin pancake batter.
  2. Cover the bowl with cheesecloth, and store in a warm place to ferment for at least a day.
  3. During this time, stir the batter a few times.
  4. Then, once you’re ready to cook the injera, add the salt (1 tsp), baking soda (1 tsp), and extra teff flour (1 Tbsp). Mix together, and then let the batter sit for five minutes.
  5. Heat the frying pan over medium heat, and lightly coat with oil.
  6. Pour the batter (about 1/2 cup at a time) into the pan, and quickly turn the pan around as if making a crepe (so the batter is spread as thinly as possible and covering most of the pan).
  7. Cover the pan with a lid as the injera cooks.
  8. Cook until holes appear all over the injera. Around the same time, you’ll notice the outer edge of the injera also beginning to curl up from the pan. Together, these mean the injera is done (you only cook the injera on one side – no flipping).
  9. Remove the injera, and place on a clean cloth to cool (I stacked them on a single plate, with paper towels between each one).

As I keep trying this and make injera again in the future, I have a feeling I may tweak or combine the two recipes in some way. Some of the injera recipes I’ve seen online seem to omit the starter step, so that’s one thing I want to ask our instructor about. I also forget why we included some buckwheat/barley flour rather than using all teff flour – another question to follow up on with her. On the flip side (remember, no flipping the injera when you cook it), you know what making more injera means, right? That’s right! It means also making more Ethiopian dishes to go with it! And sharing them with friends and family. The recipe handout from the class was 17 pages long.

wpid-img_20150311_214336.jpg

The starter at step 1 – the teff flour and water, doing a good imitation of chocolate pudding mix.

wpid-wp-1427683165851.jpeg

The starter after two days (also after having sat unmixed for 8 hours overnight) – a frothy top, plus bubbles bubbling up when mixed.

wpid-wp-1427683088705.jpeg

The starter ready, so now time to add the (additional) teff flour and buckwheat flour and to make the batter bigger.

wpid-img_20150327_184428.jpg

The injera batter, half a day later – with a thick, chocolate mousse-like consistency (until I mixed it).

wpid-img_20150328_072312.jpg

And the injera batter a day after the initial mixing – temporarily settled in anticipation of the cooking step.

wpid-wp-1427676967542.jpeg

It was the best of injera times

wpid-wp-1427676975351.jpeg

And not the best of injera times

But overall it was a good time. One note to self for the next time: Remember to cover the frying pan when cooking the injera. My mom and I were trying to figure out why the injera wasn’t cooking evenly, and one by one and by trial and error, we settled on the following as the optimal system: use about a 1/2 cup to 5/8 cup of batter at a time, do a quick swirl-turn of the pan to spread the batter out (and do the swirl-turn fast so as to not have the pan off the burner for too long), and also move the pan around as needed to give more heat to certain parts. But the cover! I forgot about that. That may have been the single key to the question of ‘how to cook the injera evenly, and easily.’ The recipe above made about 15 pieces of injera. Together I think we ate 5. Good, spongy, slighty tangy: injera.

At this point, I know there might be another question out there: “Yes, there’s been a lot of talk about injera, and those bowls of brown liquid look lovely, but how hard is it to find flour?”

To this question, I will say, It’s not as teff as you think.

If you live in the greater Princeton area, you barley have to go far at all.

You could even ride your bike to the store, if you’re a young buckwheat like me.

Okay, maybe that last one wasn’t the best, but you gotta admit, the first one’s a good starter.

Pero en serio, we have some options. Store-wise, the best one-stop options for flour are the Whole Earth Center and Whole Foods. Both have teff, buckwheat, and barley. The rest that I checked out were kind of hit and miss, yes-this and no-that. Wegmans has teff and buckwheat, McCaffrey’s has buckwheat, and Shoprite has barley. Wegmans had the lowest-priced teff, but otherwise the prices were about the same – a little more here, a little less there. So unless you really like food-shopping and driving around (or perhaps biking or walking, if you’re buck-wheating the trend), hitting up one of the W stores should work fine for all your injera needs.

wpid-wp-1427676939887.jpeg

Ye Atakilt Alicha (Green beans and carrots)

  • 3 red onions, sliced
  • 1/2 cup olive oil
  • 1/2 tsp salt
  • 6 oz tomato paste
  • 2 Tbsp ginger, minced
  • 2 Tbsp garlic, minced
  • 2 pounds green beans, ends trimmed and cut into two pieces
    (or 1 small cabbage, chopped into pieces)
  • 1 pound carrots, peeled and cut into 2″ long pieces
  • 4 jalapeños, seeded and sliced
  • Water, added as needed to prevent sticking
  1. Heat the oil a in pan over low heat.
  2. Add the onions and salt, and cook until soft or browned.
  3. Add the tomato paste, ginger, and garlic, and cook for about 10 minutes.
  4. Add the carrots, and cook for about 10 minutes.
  5. Add the green beans, and cook until the carrots and green beans are mostly tender.
  6. Add the jalapeños, and cook for 5 minutes.
    Note: if the mixture is sticking to the pan along the way, add a little water. You can also cover the pan to have the carrots and green beans cook more quickly.

This is one of those recipes that is simple, easy to make, and tastes great. I’ve made it twice now with green beans (pictured below) and also twice with cabbage.

wpid-img_20150321_232556.jpg

Even when I played around with the recipe – like by cooking the onions without the oil (just with a little water) and adding the oil later, or by cooking the onions in half the oil, or by cooking the whole recipe over medium heat and adding more water as needed along the way – it always turned out good.

When we made it during the class, I also realized the following: you don’t need to chop off the bottom ends of the garlic – you can mince everything and then toss it all in! I’m not sure why I had never thought of that before, but doing that is awesome – several seconds saved, and my sense of conservation satisfied. In the class, we also sometimes used a grater/shredder for the ginger and garlic. So that’s an option too if one day, you know, you find yourself in an extra grate mood.

In any case…here a few final notes and pictures on the alicha. For the carrots, first I cut them into pieces about 2″ long. Then I took the fatter pieces (the ones that had come from the big ends of the carrots), and I split them in half the long way to make them closer in size to the rest. They don’t have to be perfect – any size is fine – but this made the pieces about the same size.

wpid-wp-1427674584612.jpeg

The green beans don’t have to be perfectly uniform, either. And in fact you (or perhaps some helpful friends or kids) can do this step with just your (or their) hands – no knife necessary. That’s how we did it in the class – we snapped the ends off and then snapped the beans in half.

wpid-img_20150328_170227.jpg

With the jalapeños, if you like things a little hotter, you probably know what to do. I didn’t add any seeds to the alicha, but they’re there if you want them, and the jalapeños can also cook for more or less time at the end.

wpid-wp-1427674592171.jpeg

And that’s it! An Ethiopian Quadruple Double. Give them a try, and see what you think. It’s no mystery I think they’re pretty good 🙂

Hot Not Tabbouleh

Let’s file this one under hearty, midweek, easy, and good. I made an initial version of it earlier in the week, and I was like, “Hmmm, this is pretty good for being pretty simple,” and then I made it again yesterday so that I could give it to a friend and also refine it/write about it.

wpid-wp-1425576585213.jpeg

While the first goal will be a goal-postponed – given the snow, my friend and I decided to connect on another day – the second goal is in the process now of being a goal-realized. 🙂

As many a cook knows, many times or perhaps most or even all of the time, what you make often turns our a little different every time. This is especially true when you keep the ingredients (mostly) the same and don’t worry (too much) about the exact amounts. In this case, I knew the ingredients that I’d used the first time but not the precise amounts. I also decided to make a small spice swapperoo at the end. The result? The second version was indeed different from the first, and better.

The dish’s slightly different appearance the second time I made it also moved it a little further from how it reminded me of tabbouleh (the dish’s brown rice and spinach looked a little darker this time, I think because I used a little more tomato paste), but no matter for the name. I like the original name I gave it; it’s more interesting than calling it, say, vegetable-bean-spinach-baked-tofu rice; and in the end, it’s still a hot version of something somewhat reminiscent of tabbouleh, yet something else.

wpid-img_20150303_182245.jpg

First version

wpid-wp-1425576326478.jpeg

Second version

Hot Not Tabbouleh

The igredients

  • 1/4 cup olive oil
  • 2 onions, chopped into small pieces
  • 3 garlic cloves, diced
  • 1 red pepper, chopped into small pieces
  • 16 oz (1 can) light red kidney beans
  • 1 1/4 cup corn kernels
  • 16 oz spinach
  • 2.5 cups cooked brown rice (1 cup uncooked)
  • 3 oz tomato paste
  • 1/2 cup white wine
  • 1/2 cup water
  • 2 tsp salt
  • 3/4 tsp pepper
  • 1/2 tsp chili powder
  • Lemon juice from 1/2 lemon
  • 16 oz extra firm tofu
  • 2.5 Tbsp soy sauce

[Wow, 17 ingredients! That might be the longest list in this space so far. It’s possible you have all or most of them already, though. The only things I didn’t have until that first day were the spinach and the corn, which I happened to buy (frozen) on a whim while wandering Wegmans.]

The steps

  1. Make the rice. (I used a rice cooker.)
  2. Bake the tofu. (Press out extra water, cut into small slabs (I made them about 1/2″ x 1″), mix with the soy sauce in a bowl, and bake on a baking sheet at 400 degrees for 40 minutes, flipping them once half-way through.)
  3. Then do the rest. Start by sauteing the onions and garlic in a large pan over medium heat. Sauté until mostly soft.
  4. Add the red peppers and sauté until mostly soft
  5. Add the beans, corn, and spinach
  6. Add the rice, tomato paste, wine, and water. If there is any soy sauce left in the bowl, add that too.
  7. Mix everything together and cook for 20-30 minutes, stirring occasionally to keep it from sticking to the bottom.
  8. Add the salt, pepper, chili powder, and lemon juice
  9. Cut the baked tofu pieces in half lengthwise, and add them to the pan
  10. Mix everything together and cook for another 10 minutes
wpid-wp-1425576294748.jpeg

Most of the ingredients

Partial progress (just after the sauté)

Just after sauteing the onion, garlic, and red pepper

wpid-wp-1425576313923.jpeg

The tofu, baked

Tofu, halved

The tofu, halved

And all ready to go

And the final dish, ready to go

If you’ve never had Hot Not Tabbouleh before (and if you made it through that last dependent clause), let me tell you, it’s got some substance to it. There’s a touch of sweetness from the corn kernels in most bites, a hint of smokiness from the chili powder, and a spinach smoothness that makes you wonder if there isn’t some melted cheese somewhere in there too.

As I was making it the first time, my general thinking was that I wanted to try new combinations of ingredients (using what I had on hand) and ultimately make something new. This included using a spice that I had only used once in a while – Chile Con Limon.

wpid-wp-1425576343544.jpeg

While I liked how the first version of the dish tasted, with the second version I decided to try another type of Chile Con Limon:

wpid-wp-1425576348222.jpeg

My main reason was I wanted to use more whole ingredients, like real lemon juice in place of what I saw on the El Monte Spices Chile Con Limon label (citric acid, dehydrated lemon, lemon juice, lemon peel, and natural flavors). Of course, as I’m writing this now, it occurred to me that I should also take a look at the ingredient list on the McCormick Chili Powder label. Well, it looks like my Hot Not Tabbouleh, version two, has a small amount of silicon dioxide. Maybe, like the beans, tofu, and spinach also in it, it’ll help make certain things, if you know what I mean, more free flowing? Like it’ll loosen things up and help give a different air?

wpid-img_20150305_165917.jpg

Oh, stop, I’m just bean funny.

With my selection of a real lemon, maybe I was also channeling the recipe’s second cousin, actual tabbouleh, for which lemon juice is a standard ingredient.

Whatever the case may be, the second coming of Hot Not Tabbouleh turned out pretty good. I’ll probably make it again at some point in the future – or to be more precise, I’ll make a similar but slightly different version again – and that as before, it’ll be good again, and possibly better.

Have a party, invite milk and vinegar, and simmer

It was about six years ago, a warm Saturday morning in late-spring, and I was out riding with a small group that I’d had the fortune to start riding with around that time. We were doing something like 45 to 60 miles, and we were our way back from the deli, on take-your-pick of Back Brook / Van Lieus / Larsen / Welisewitz Rd.

wpid-img_20150212_175544.jpg

As we were slowing down for a stop sign, someone noticed something on my legs. This would have been relatively unremarkable had it been a chainring tattoo, which those who ride know occasionally comes with the riding, and which those who know the people I was riding with know could very well be accompanied by good-natured ribbing. The conversation that followed went something like this:

Me:  “Yeah, I did a group run last night, and there was a little mud.”

Other rider:  “Nice! And then you didn’t take a shower and slept in your bed all dirty like that.”

Me:  “Well, I was tired and I was getting up early to ride today, so I figured I’d just do it later. It’s okay, it’s all dry.”

Other rider:  “You’re single right?  That’s how it’s going stay.”

Another rider (ftw):  “I have solution for you. Have a party. Invite soap and water, and have them meet.”

Recalling this last line, along with the mental image of its deadpan delivery, never fails to bring a smile to my face. So yes, thank you, Brian, for the suggestion that day. I’ll add for the record that back then, I did usually take showers after exercising like that. And that since back then, the ‘usually’ has gone on to become ‘more than usually.’

All of which, of course, brings me to the following:  If soap and water can make for a good party, what can milk and vinegar do?

wpid-wp-1424233810634.jpeg

They can meet, simmer in a pot for 30-60 minutes, and make cottage cheese. I know!  Two ingredients! How about for a that party.

It’s a simple recipe and one that I got from the Ethiopian cooking class I took in December and January (three sessions, lots of good leftovers each time, and about 10 new recipes to try; so far I’ve tried three of them). The recipe actually has a third ingredient, rue, which is a not-so-common culinary herb that can be added as an option at the end. As I was lacking in rue, I skipped it this time, and the cottage cheese turned out fine.

Another option, which wasn’t in the recipe but which I got from searching online, is to add salt. I added a sprinkling of salt this time, and I liked how it brought out the flavor in a subtle way. Salt’s good at doing that, right?? In the end, whether you add salt or not may depend on your ultimate plans for the cottage cheese. As part of the full meals we prepared during the class, the cottage cheese side dish served as a cooling and unsalty counterbalance to the main dishes that had a decent amount of heat and salt to them. So that’s just something to think about. Here’s the recipe.

Cottage cheese

  • 1 gallon milk
  • 1 cup white vinegar
  • Rue (optional), a few sprigs
  • Salt (optional)
  1. Add the milk and vinegar to a large pot and let stand for 5 minutes
  2. Simmer for 30-60 minutes over low heat, to allow the curds to form (simmer until you have soft curds (less time) rather than rubbery curds (more time))
  3. Strain most of the liquid out using a fine mesh colander or cheesecloth (you can strain more of less liquid, depending on your preference)
  4. Add rue (optional)
  5. Add salt (optional)
  6. Store in a refrigerator and serve cold (or serve warm if you want it right away!)
wpid-img_20150217_192046.jpg

Two ingredients in a pot

wpid-wp-1424664768773.jpeg

Two ingredients in a pot 30 minutes later

Prepping one of my star colanders with cheesecloth

Getting ready

wpid-wp-1424664794146.jpeg

Cottage cheese on cheesecloth

wpid-wp-1424664802438.jpeg

Cloth in action

wpid-wp-1424664809435.jpeg

Fresh cottage cheese

In class, we did the full recipe (1 gallon of milk and 1 cup of vinegar) but when I made it at home, I cut the recipe in half so I could try making it more often (three tries so far!). Making a half-recipe worked out fine, no problem. I also used different types of milk each time. When using a lesser percent, non-organic milk, the cottage cheese that resulted had a little more tanginess to it, while the version that I made using whole, organic milk (what I did this time) had a little less tanginess. One side note: I also used different brands of milk each time, so let my initial observations here be not the final word in milk-for-cottage-cheese selection. Try it out and see what works for you, and I’ll keep trying, too, and maybe more scientifically. See what amount of simmer-minutes also works best for you. The recipe from class didn’t specify a time.

And that’s cottage cheese! The appearance and texture are similar to the kind from the store, and the taste is cottage cheesy good, not to mention also unique if you’ve made your own before. There are also ways to make it that involve a few more ingredients and alternative coagulating agents (or so the internet and a public library tell me), but this one’s good for now. 🙂

This time, I used some of the cottage cheese right away in a salad: baby spinach, cottage cheese, raisins, chopped walnuts, and a balsamic vinegar, olive oil, salt and pepper dressing.

wpid-wp-1424664835910.jpeg

Mmmmmmmmm, looks good tastes good.

The reason is in the risotto

There are times to plan, and there are times to just take a step and go. This past Tuesday in the kitchen, it was one of the latter.

I hadn’t thought about what to make for dinner, and as I walked past the pumpkins and into the kitchen, I saw it. There, still sitting on the shelf and still in the box, was the new, Oxo Good Grips shredder that my bother and sister-in-law had given me for the holidays and that I hadn’t opened yet… despite having had numerous cheese shredding opportunities in the past month… because I was waiting for the perfect occasion and dish that would not only involve shredding, but would also taste great and make for a great story. I know, such a burden to place on a kitchen implement!

As I stood in there in front of the box, with the kernel of these thoughts in mind, I made the following decision in a matter of seconds, almost without thinking: “I’m going to make risotto tonight and use the shredder, and however it turns out, I’ll write about, and it’ll be fine. It’s time.”

wpid-wp-1423795284878.jpeg

Oxo box on Oxo spinner

There is simple-risotto, and there is more-complex-risotto, and I decided to try a version more towards the simpler end of the cheesy arborio rice spectrum. Which is to say, I decided to add carrots and red peppers to the mix. Doing so would add some color to complement the peas, a more traditional risotto ingredient (along with the rice, broth, wine, and Parmesan cheese), and it would be something new for me. Here’s the recipe, as I wrote it up afterwards.

Risotto with Carrots, Red Peppers, and Peas

  • 1/4 cup olive oil
  • 2 onions, chopped into small pieces
  • 4 garlic cloves, chopped into small pieces
  • 2 carrots, chopped into small pieces
  • 1 red pepper, chopped into small pieces
  • 2 cups arborio rice
  • 1 cup white wine
  • 32 ounces (4 cups) vegetable broth, heated
  • 16 ounces (2 cups) water, heated
  • 1/2 cup Parmesan cheese, shredded finely
  • 1/4 tsp salt
  • 1/4 tsp pepper
  1. Heat the olive oil in a frying pan over medium heat
  2. Add the onions and garlic, and sauté until soft
  3. Add the carrots and red peppers, and sauté until mostly soft
  4. Add the rice and cook for about 5 minutes, stirring occasionally
  5. Add the wine and  simmer until it’s absorbed, stirring occasionally
  6. Add 1 cup of vegetable broth and simmer until it’s absorbed, stirring occasionally
  7. Continue adding the broth and then the water, 1 cup at a time, until the rice is done (you’ll know the rice is done when it’s cooked but still has a slight crunch or chewiness to it).
  8. Add the Parmesan cheese
  9. And then add the salt and pepper

One of the great things about making a decision and just going with it is that it’s a lot more freeing than the alternative. There’s no agonizing over what the ‘right,’ best, or dare I say, perfect, thing to do is. And as it often turns out, that initial instinct or feeling often is a good guide. This is not to say I’m the greatest at doing this, and along the way I will have my share of second-guessing (darn you second-guessing!), but I know it’s there for me to access and to try using when I can.

In the kitchen that night, I wasn’t second-guessing my decision to use the shredder. And even though I was trying something a little new, I’d made risotto before, and I had faith that things would turn out alright.

And with that mindset, I began.

wpid-wp-1423619554474.jpeg

The first step was to sauté the onions and garlic:

wpid-wp-1423626426958.jpeg

Then I continued down the traditonal, basic risotto path by adding the rice, the wine, and the first cup of broth. It was only after the first cup of broth had been absorbed that I added the carrots and red peppers:

wpid-wp-1423626458753.jpeg

How about the early color, right??? Looks good! Color, yes! Correct order, however, no. There was a part of me that wanted to believe that it would work – that I could add the carrots and red peppers at this point and have them cook and soften during the the successive simmer steps, and that’s why I had decided to try it – but almost as soon as I added them to the rice, and definitely while I was stirring them in, I knew I had made a mistake (or rather, we might say, a *learning experience*). I should have sauteed them first. But now they would still be crunchy when the rice was done, and with risotto, it’s more the arborio rice that’s supposed to be the slightly crunchy star.

With nothing to do but smile and chuckle (and if I’m being honest, there may have been some eye-roll too), I then went about picking out, piece by piece, all of the little carrot and red pepper pieces I had just stirred all the way in. As I did this, I also continued cooking the rice, adding 1 cup of broth/water at a time. The piece by piece effort also reminded me of a good ninth grade summer memory of doing a 3,000 piece puzzle of Versailles, most of which involved a picture of the garden. It was steady family work, one piece at a time, and though sometimes it was hard to feel the progress along the way, the progress came, and the puzzle moved forward.

wpid-wp-1423698909449.jpeg

Yes, I picked this much out by hand, one piece at a time.

After sauteing the carrots and red peppers I’d removed – I’ll estimate I got two-thirds of them out – and returning them to the pan, the risotto was almost done. I bestowed the other third of them with ‘soft enough’ status, as they actually did cook a bit, and then I got the shredder out to do the Parmesan cheese. (You can do a vegan version too of course, without the cheese. If you do this, maybe use broth instead of the water, and adjust the salt and pepper accordingly to your liking.)

And then it was all done! And time for some portraits.

wpid-img_20150209_210737.jpg

The risotto

wpid-wp-1423618340890.jpeg

The shredder, with an interesting risotto color mimicry

wpid-wp-1423803675199.jpeg

A close up

wpid-wp-1423698915780.jpeg

Well, hello

wpid-wp-1423698921386.jpeg

Don’t back the cheese up or you’ll blow a tire

wpid-wp-1423698930249.jpeg

Sorry, can’t talk right now, I’m eating dinner

wpid-img_20150209_213254.jpg

And on the plate

In the end, the vegetable combination worked out pretty well – the risotto had good taste and good color. And it was the taking of a step, jumping in, and going with the experience that had worked to get me started and got me through. What’s that saying again? Yes. The proof is in the pudding. And the reason is in the risotto.

Rutabaga Rice and Beans

Rutabaga rice and beans.

I could also call it onion, garlic, rutabaga, tomato, salt, chili powder, cumin, and hot pepper flakes rice and beans, but that doesn’t have quite the same alliterative and exotic ring to it.

TFD dot com tells me exotic (adj.) means:

  1. From another part of the world; foreign
  2. Intriguingly unusual or different; excitingly strange
  3. Of or involving striptease

Sounds like a good a good fit!

Rutabaga is believed to have originally come from lands afar (Scandinavia and Russia), the idea of adding it to rice and beans is novel (intriguing! and excitingly strange!), and unless you like your rice and beans extra crunchy, you’ll need to strip the rutabaga first along the way (that is, you’ll need to peel off its outer skin; if the Swedish turnip’s feeling bashful, feel free to give it a gentle tease).

There are a lot of ways to make rice and beans. This is one. With the tomato and spices, it has somewhat of a Spanish Rice feel to it. The hot pepper flakes then add a touch of temperature, and the rutabaga and rest combine to give it a satisfying heartiness. This recipe also helps answer the question, “What should I do with all the rutabaga left over from Thanksgiving?” ‘Helps’ is the right word because, well, in my case I still have some left from the original big one.

wpid-wp-1422154602325.jpeg

Now only a few pounds left after making this recipe. Props again to the Yuengling for the size comparison.

Rutabaga Rice and Beans

Ingredients

  • 1 cup dried black beans (about 2 1/2 cups cooked)
  • 1 cup brown rice (about 2 1/2 cups cooked)
  • 4 Tbsp olive oil
  • 2 onions, diced
  • 5 garlic coves, diced
  • 2 cups diced rutabaga
  • 3 plum tomatoes, diced
  • 1/4 cup canned crushed tomatoes
  • 1 1/4 tsp salt
  • 1/2 tsp cumin
  • 1/2 tsp chili powder
  • 1/4 tsp hot red pepper flakes

Steps

(Pre-step: Soak the dried beans overnight in a pot of water. Then, right before cooking them, drain the soaking water, rinse the beans, and refill the pot with fresh water.)

  1. Cook the beans until they’re generally soft (about an hour in simmering or lightly-boiling water, covered)
  2. Meanwhile, sauté the the onions, garlic, and rutabaga in olive oil until soft (medium heat)
  3. At the same time, also cook the rice (20-30 minutes using a rice cooker)
  4. Once the beans are done, drain the water
  5. Then add the beans and rest of the ingredients to the sauteed onion/garlic/rutabaga mixture. Altogether, add: the tomatoes and crushed tomatoes, the cooked rice and the drained cooked beans, and the spices and hot pepper flakes.
  6. Cook over medium heat, stirring, until it starts to stick to the bottom (10-15 minutes). Scrape up and mix back in the parts that stick.

With this dish, I like the slight crunch that comes from dried beans that have been cooked. If you want, you could also use canned beans as another option.

wpid-img_20150119_1930572.jpg.jpeg

A cup of dried beans

Since the beans were cooking for an hour, I let the onions, garlic, and rutabaga sauté for the same amount of time. You could let these go for more or less time, but here’s how I did it this time.

  • I sauteed the onions and garlic for 20 minutes
  • Then I added the rutabaga and covered the pan for another 20 minutes
  • And then I did 20 minutes more uncovered

wpid-img_20150120_200733.jpg

Then I put the tomatos, rice, and beans in.

wpid-img_20150120_201648.jpg

And then I added the spices and mixed everything together and was done!

wpid-img_20150123_193407.jpg

I told some friends at the potluck I made this for that it had rutabaga in it. For everyone else, surprise! 

I also made lentil soup with butternut squash for the potluck (when it’s at your place, it’s good to have a big pot of something; and, progress on the pumpkin front!)

But rutabaga rice and beans. What more can I say but, from another world, different, and good hot or cold. I just finished the leftovers and want some more.