Peek-a-boo!


Yes, it’s true.

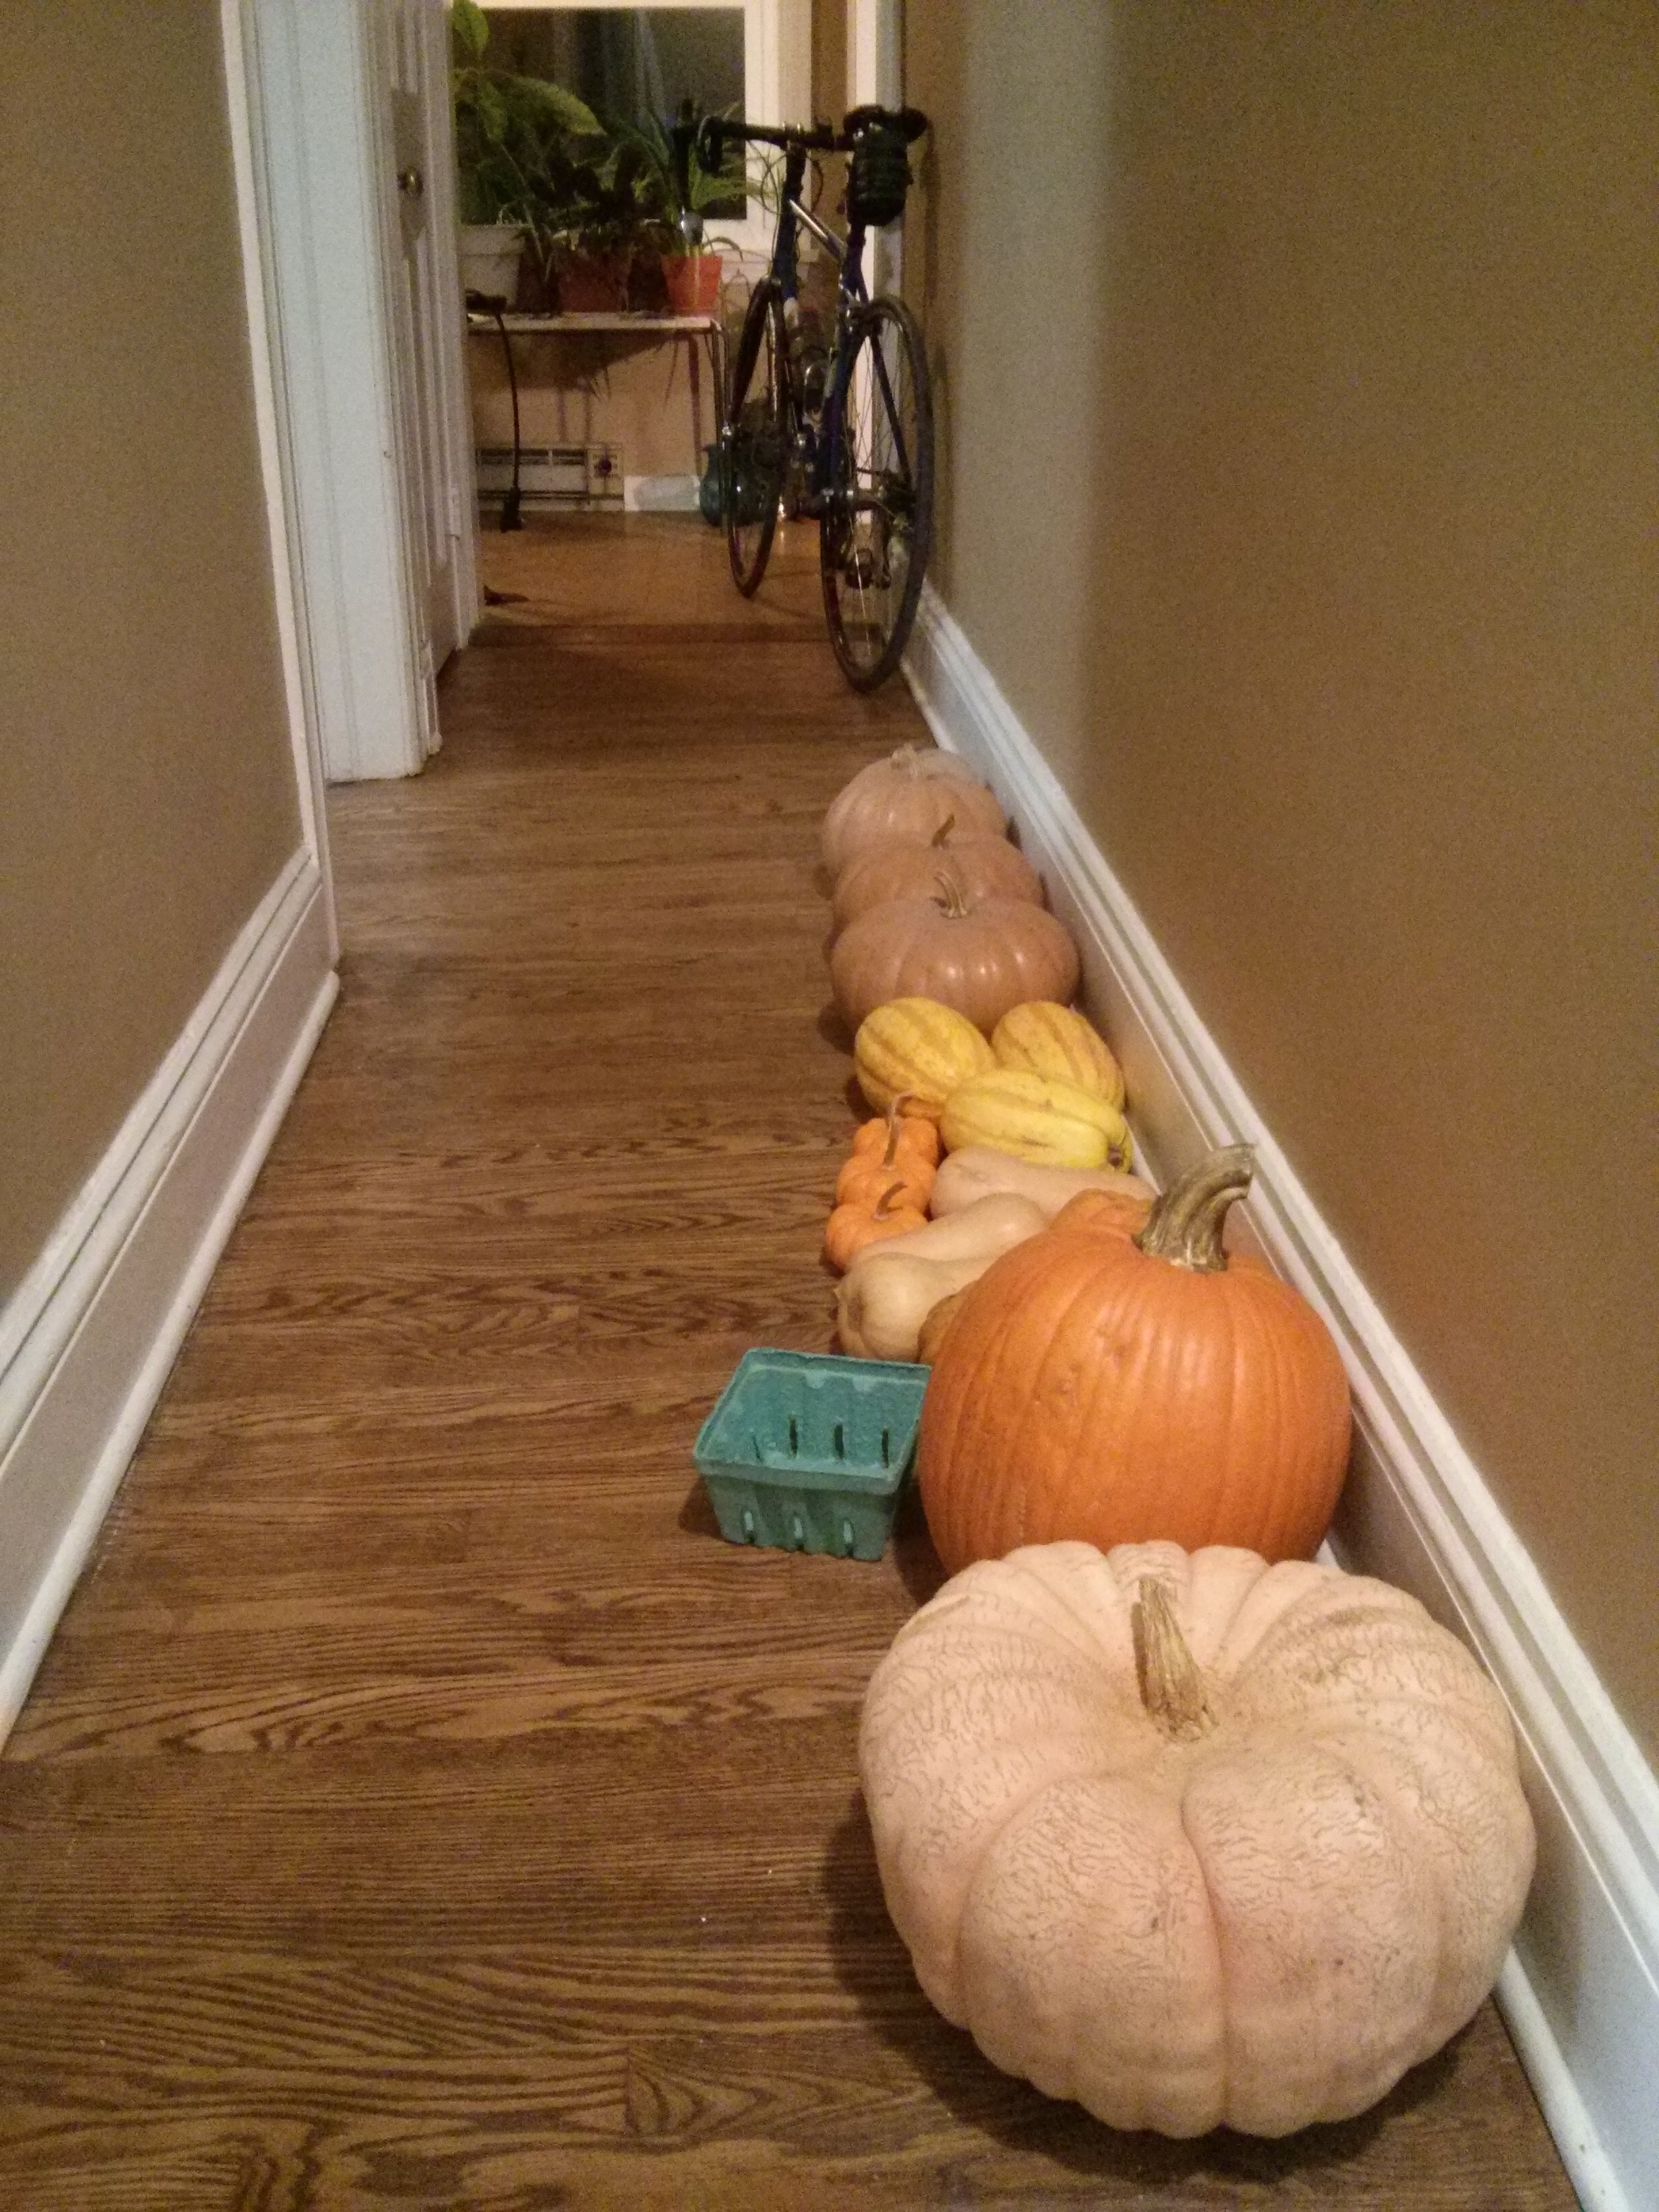
I have a hallway full of squash.
Look closely, and you’ll see:
- 1 Light blue pumpkin
- 1 Jack-o’-lantern pumpkin
- 3 Acorn squash
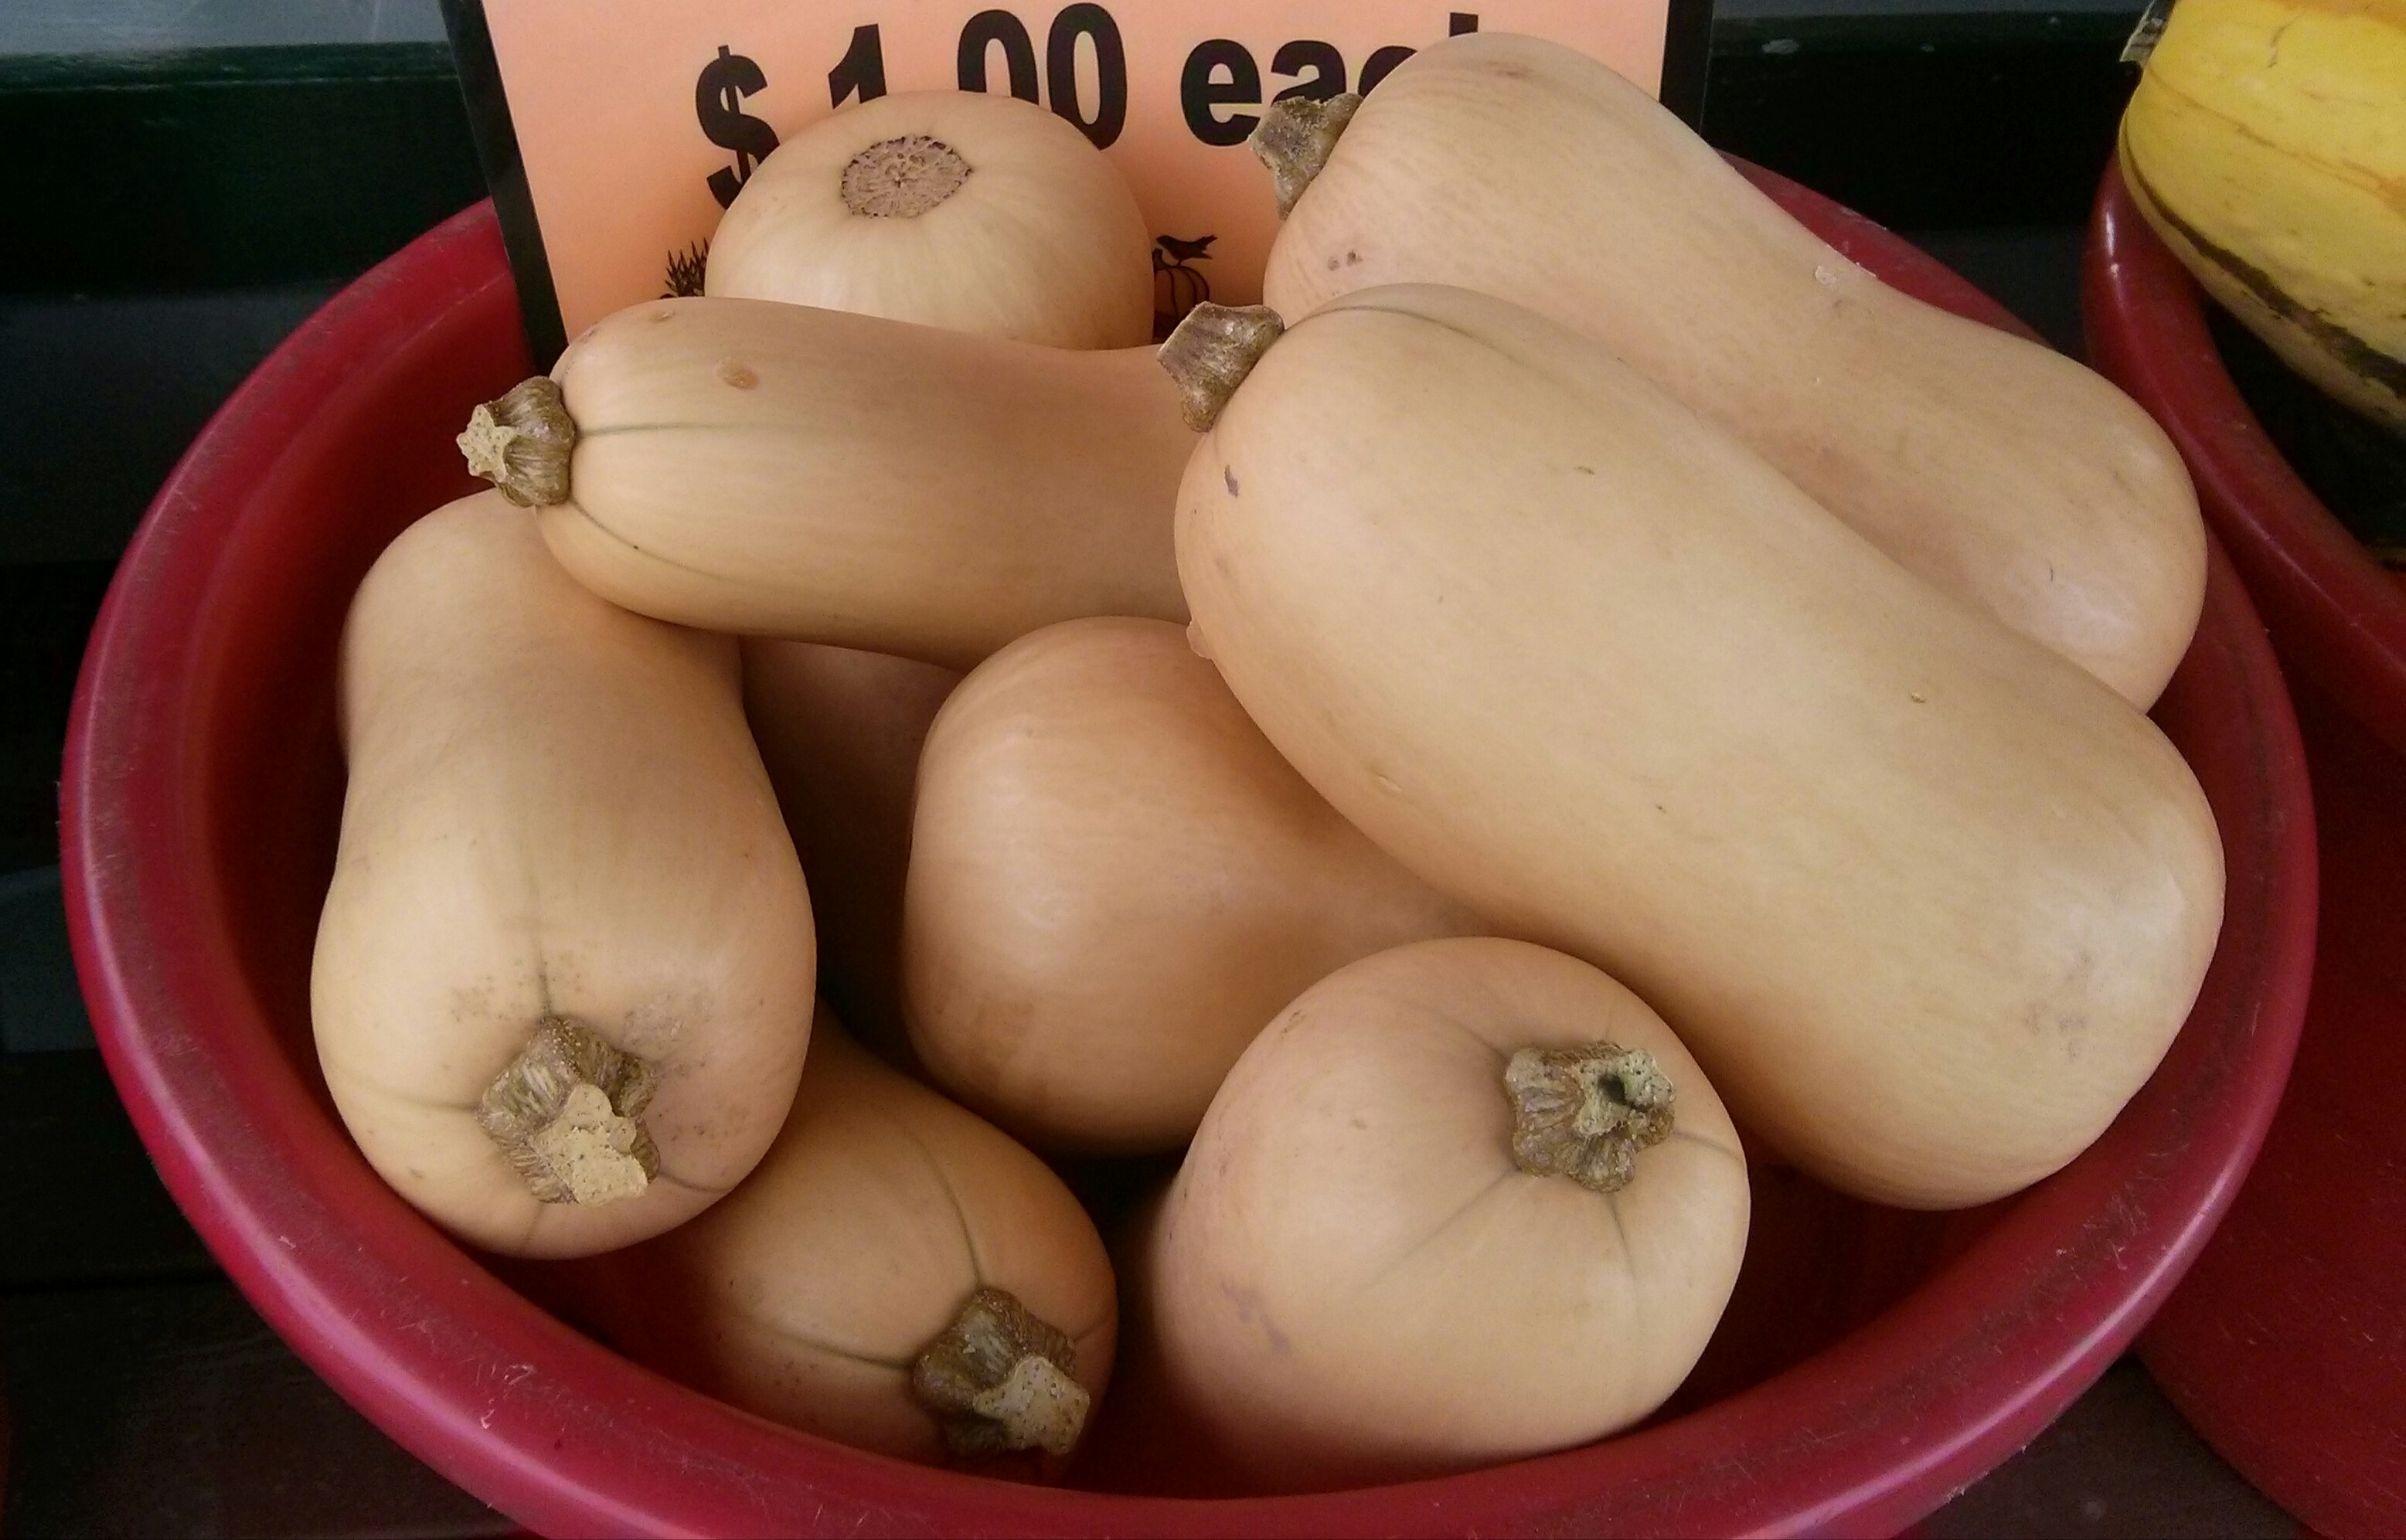
- 3 Butternut squash
- 3 Munchkins
- 3 Spaghetti squash
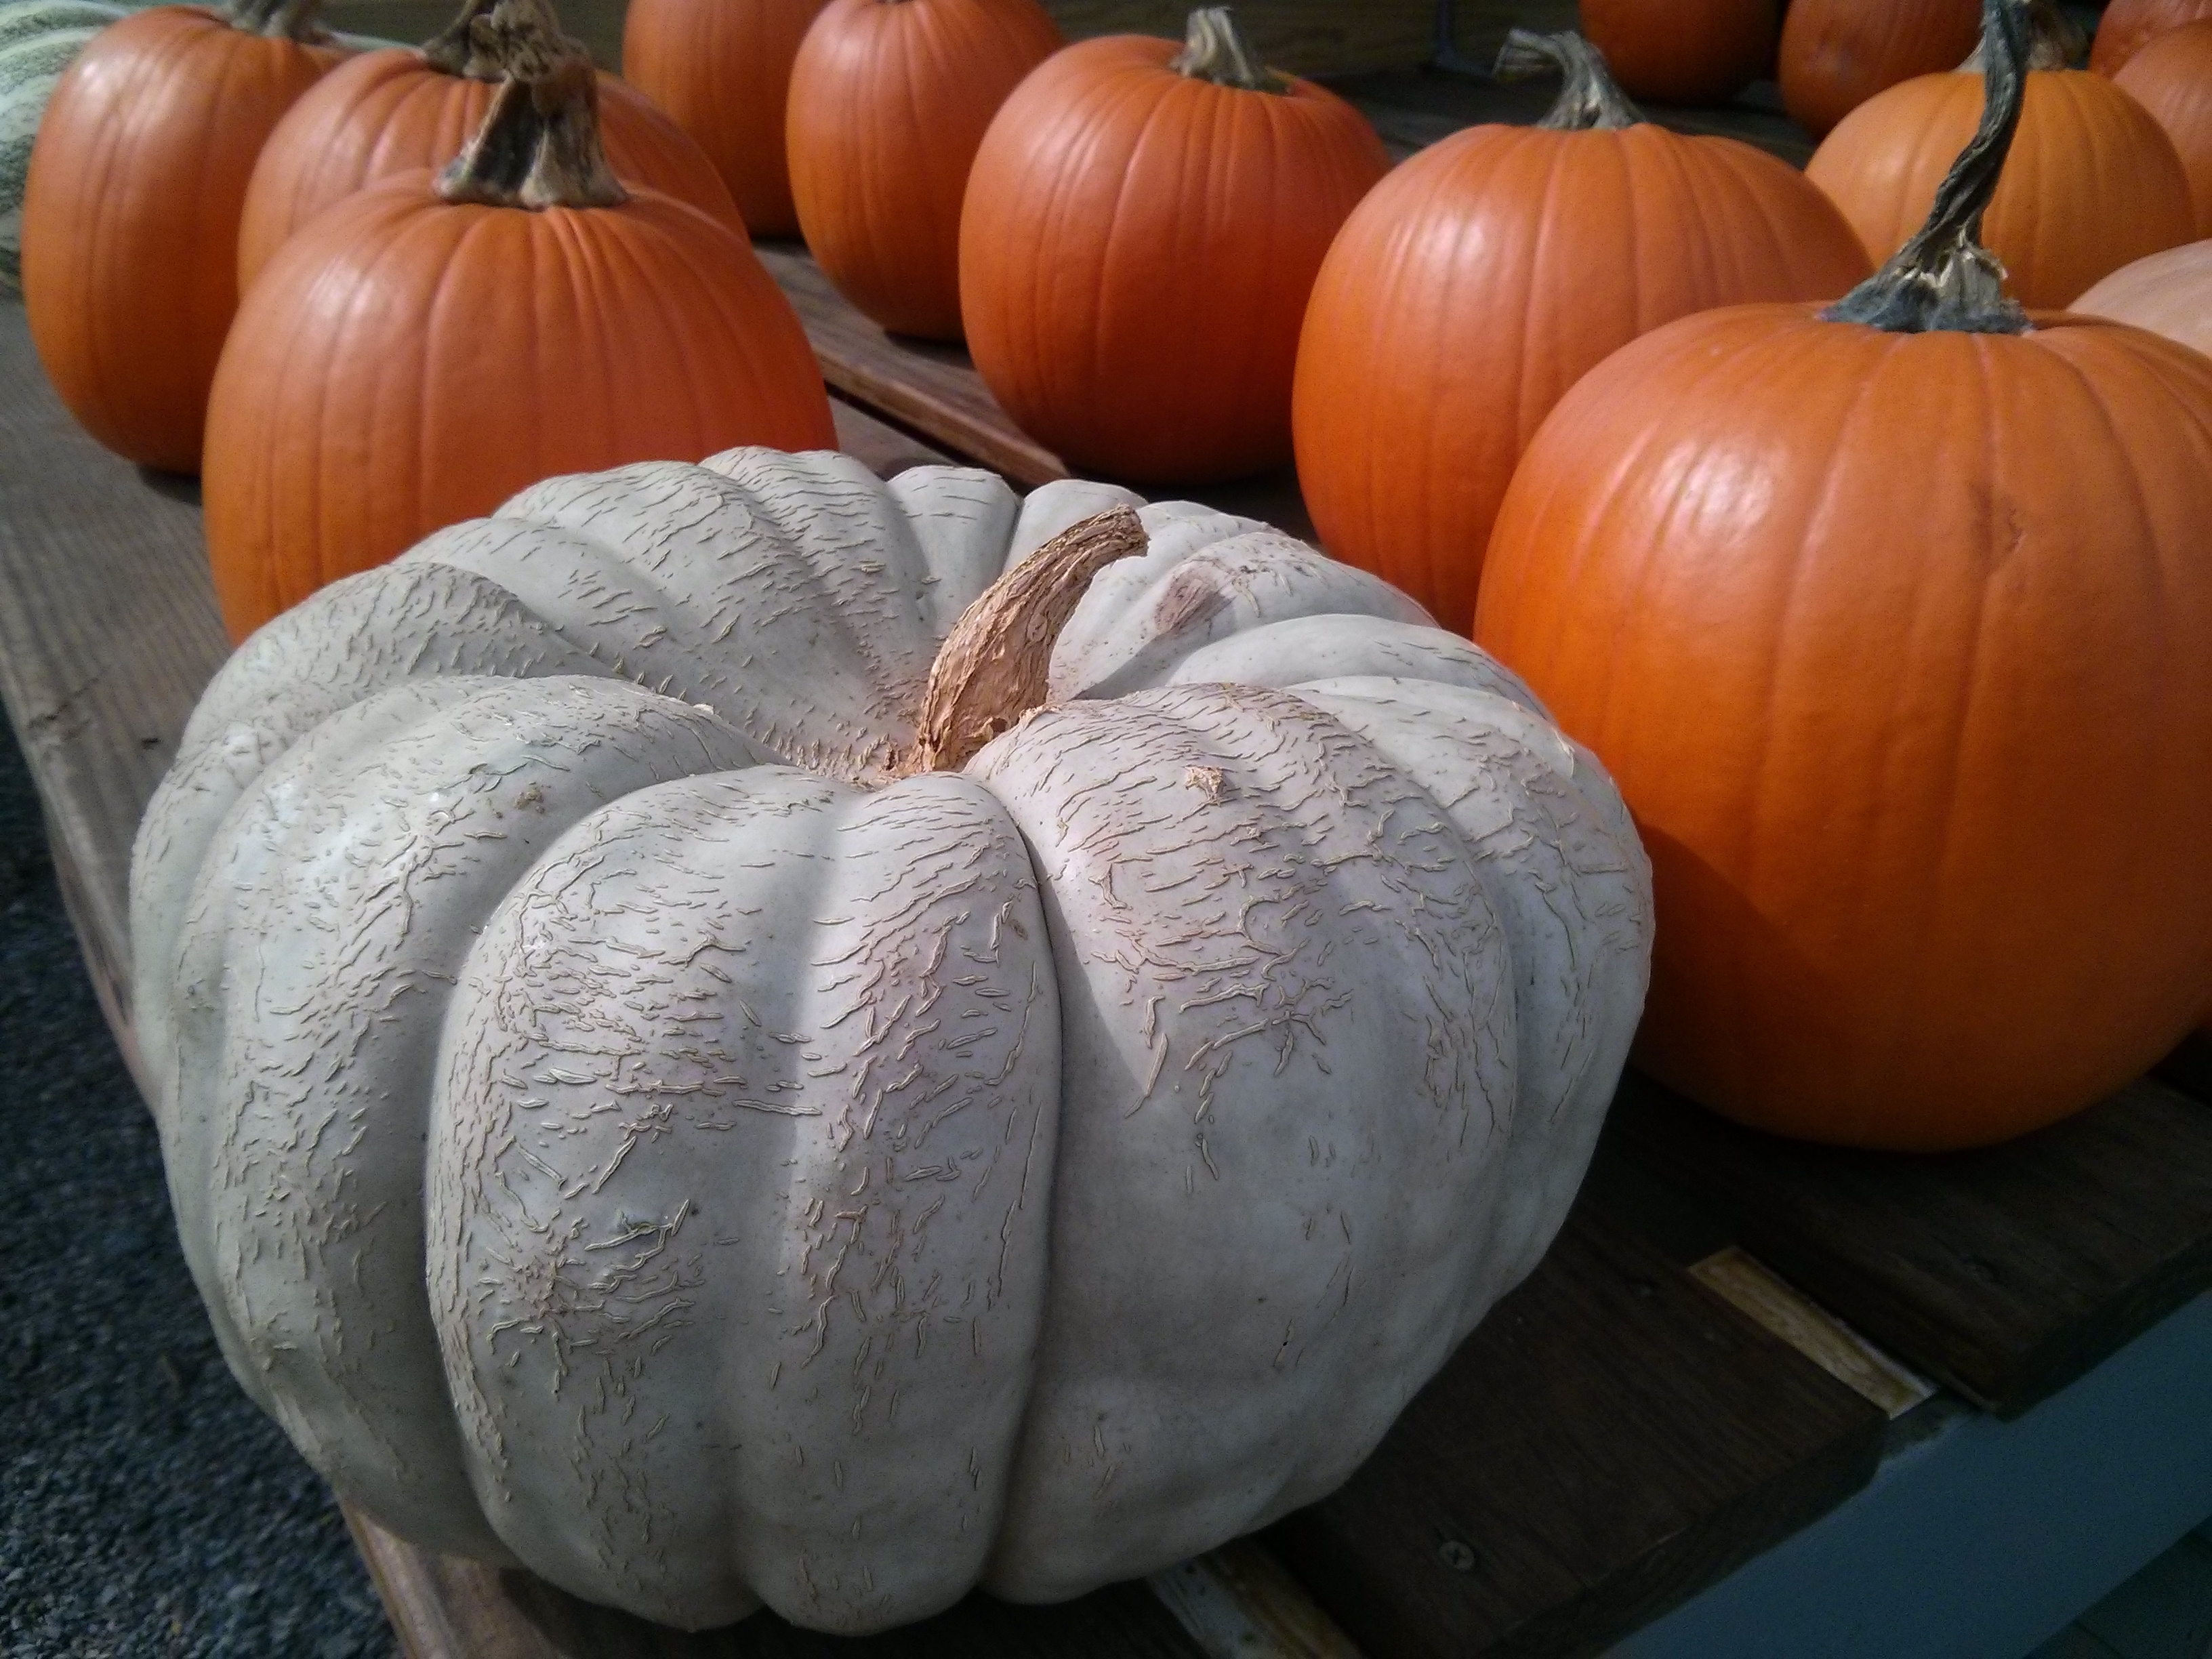
- 3 Cheese pumpkins
- 1 Light green pumpkin
Altogether, it was a $23.50 haul way back in mid-October. Yes, October! Can you believe that? It’s been three months, and each one of these pumpkins and squashies are still looking good, no soft spots or anything. In fact, the only thing that’s changed (for some of them) is the color.
The light blue pumpkin? From a cool blue to glow-in-the-dark orange.
The acorns? From a dark green to brilliant orange.


And the spaghettis and the light green pumpkin? Yes, them too! The spaghettis (now with orange stripes on their yellow skin) and the light green pumpkin (with slowly-spreading splotches of orange) also got in the game. The other guys, meanwhile, the jack-o’-lantern, munchkins, butternuts, and cheese pumpkins (orange, orange, beige, and beige), decided they were fine the way they were.
Normally when I have a higher-than-typical quantity of local produce, like when I have lots of pick-your-own plum tomatoes from the farm, I’ll arrange them on the table in nice rows so they’re pleasing to look at as well as right there when I need them. I don’t recall exactly how the pumpkins found their hallway home, but I remember that once they were there, the picture looked right. Every day, walking to kitchen, walking to the bathroom, and walking from the kitchen and from the bathroom, there they were, reminding me of how I knew it would be a good idea to empty my wallet that one day at the self-serve farm stand and bring home more squash (if I’m being technically honest) than I needed. I would have started cooking with them sooner if had they started going bad, but in the absence of rot and the presence of beauty, there was nothing to do but to let them sit where they were and feel myself smile as I passed.
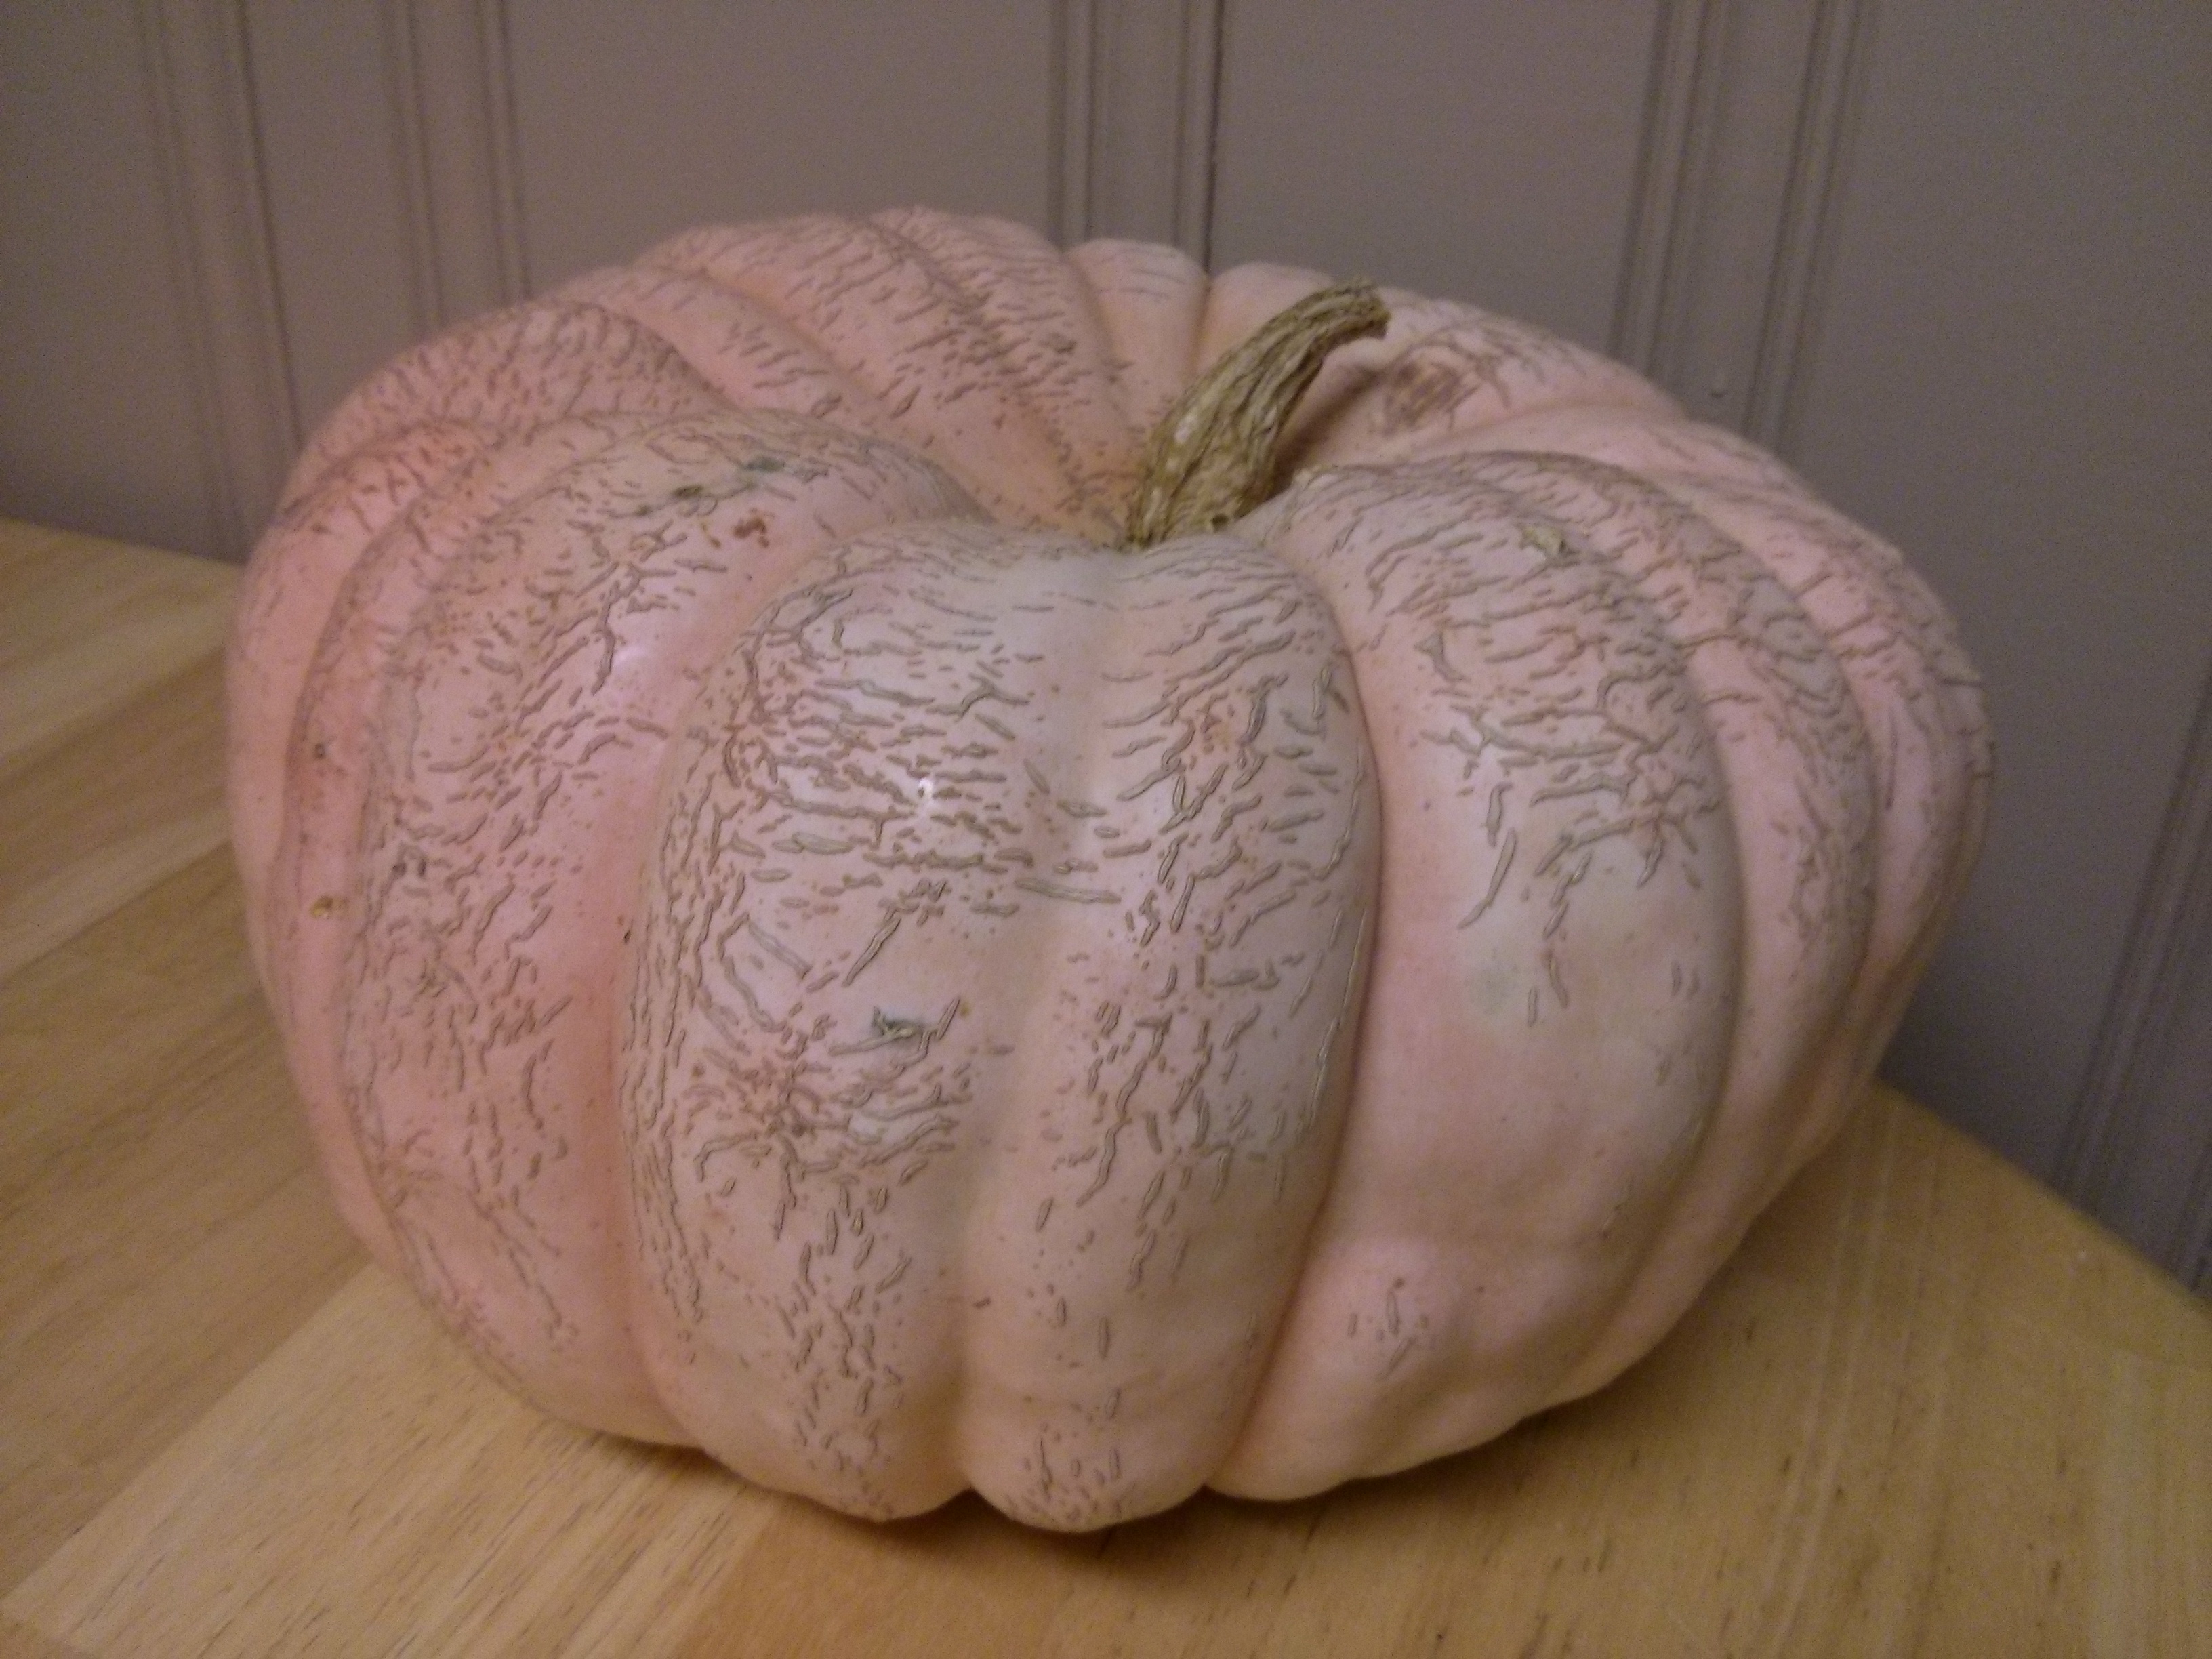
This is also a way of saying that the first step to making fresh pumpkin puree is to buy a good-looking pumpkin and think about cooking it one day. For me, the first one up from the October batch would be one of the cheese pumpkins. It was starting to get a few dark spots on its skin, and though they weren’t soft yet, I decided it was time.

Overall, the process is fairly simple: cut the pumpkin into pieces, remove the seeds, bake the pumpkin, let it cool, peel the skin, and process the flesh.
From my own experience and reading what others do, it seems the details that go with these steps depend largely on your preferences. Some people cut the pumpkin in half or into quarters, while others cut the pumpkin into eighths (or more). Generally, the smaller the pieces are, the faster they will cook. Most people remove the seeds and strings before baking, but not everyone does. The baking temperatures seem to range from 350-400 degrees, the baking times from 30-90 minutes, and the pumpkin-in-baking-dish arrangements from face-down to face-up (and for some people, also with 1/4 cup water in the dish along with the dish covered by foil). A sufficient cooling time seems to be 10 minutes (or whenever it’s cool enough to touch). And the options for processing the baked pumpkin into pumpkin puree range from cranking a good ol’ Foley Mill to plugging in a food processor and letting electricity do the work. I’ve also seen a few suggestions for using a potato masher.
For me and my pumpkin, here’s what I did.
First I cut the pumpkin in half.

Then, after pausing to enjoy the fresh pumpkin smell that comes with the initial cut (it almost smells like a cantaloupe, but distinctively pumpkin), I scooped out the seeds and strings.
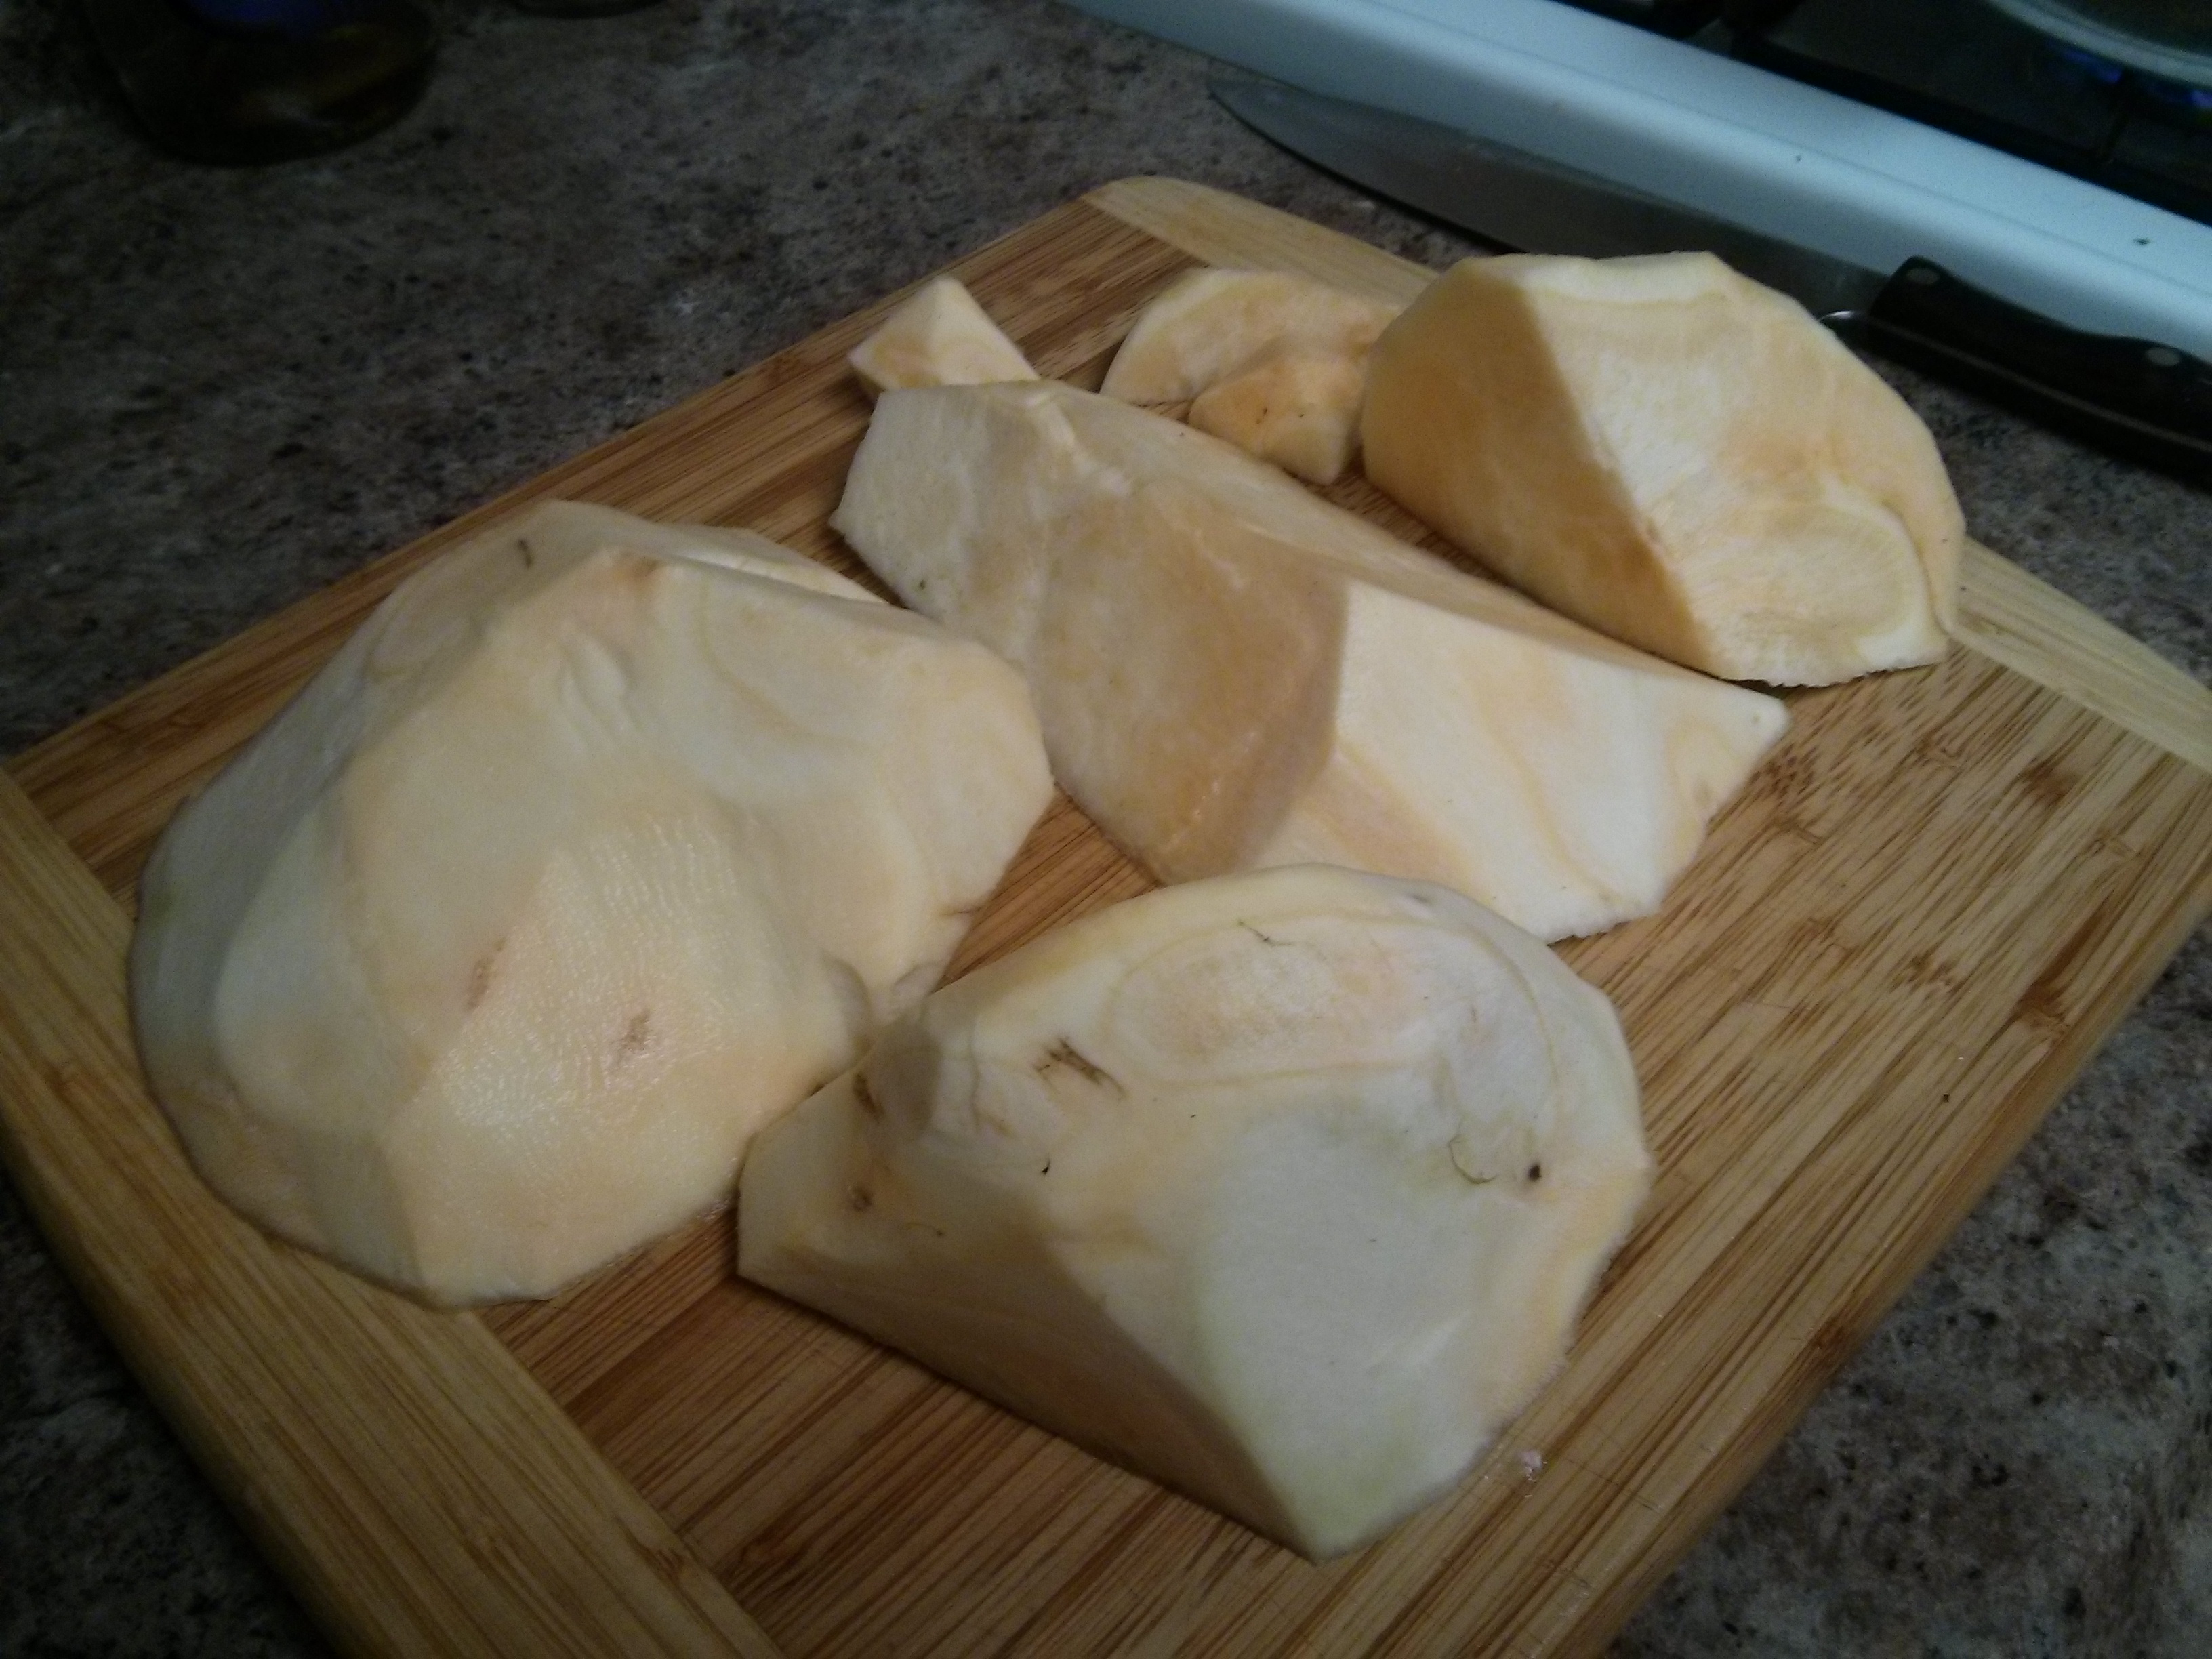
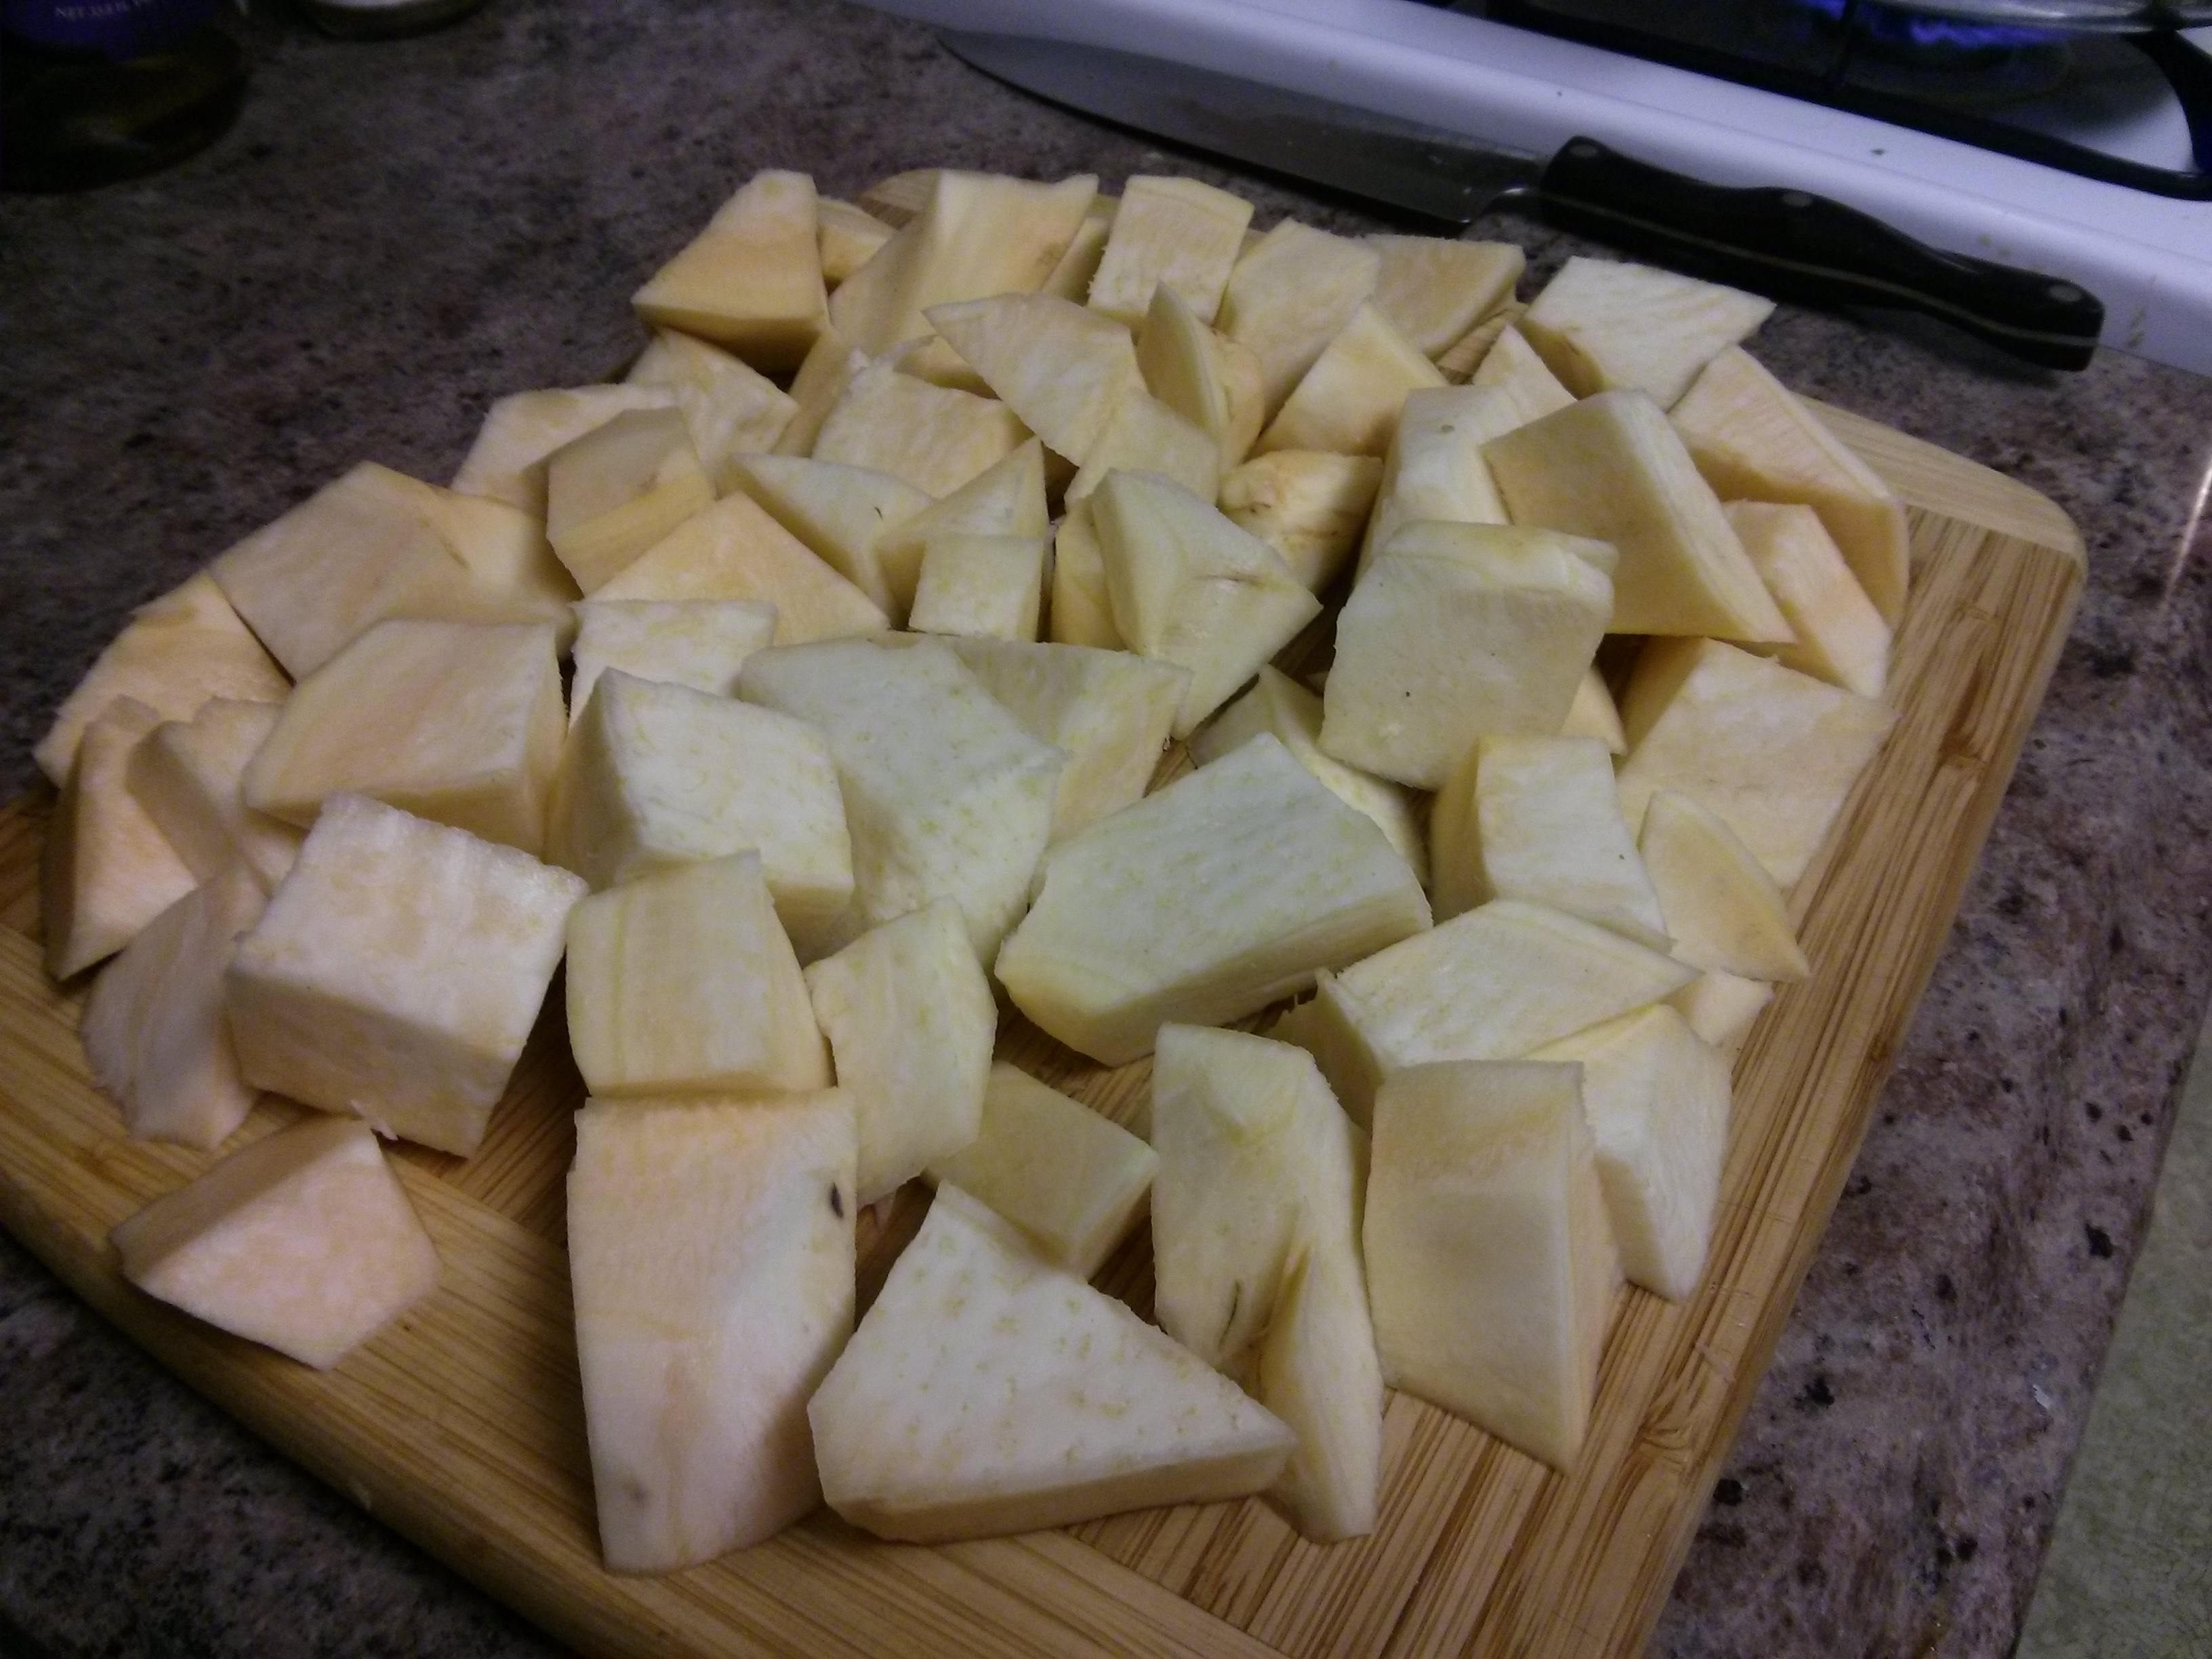
Then I cut the halves in half, cut the resulting pieces in half again, and ended up with eight pieces.

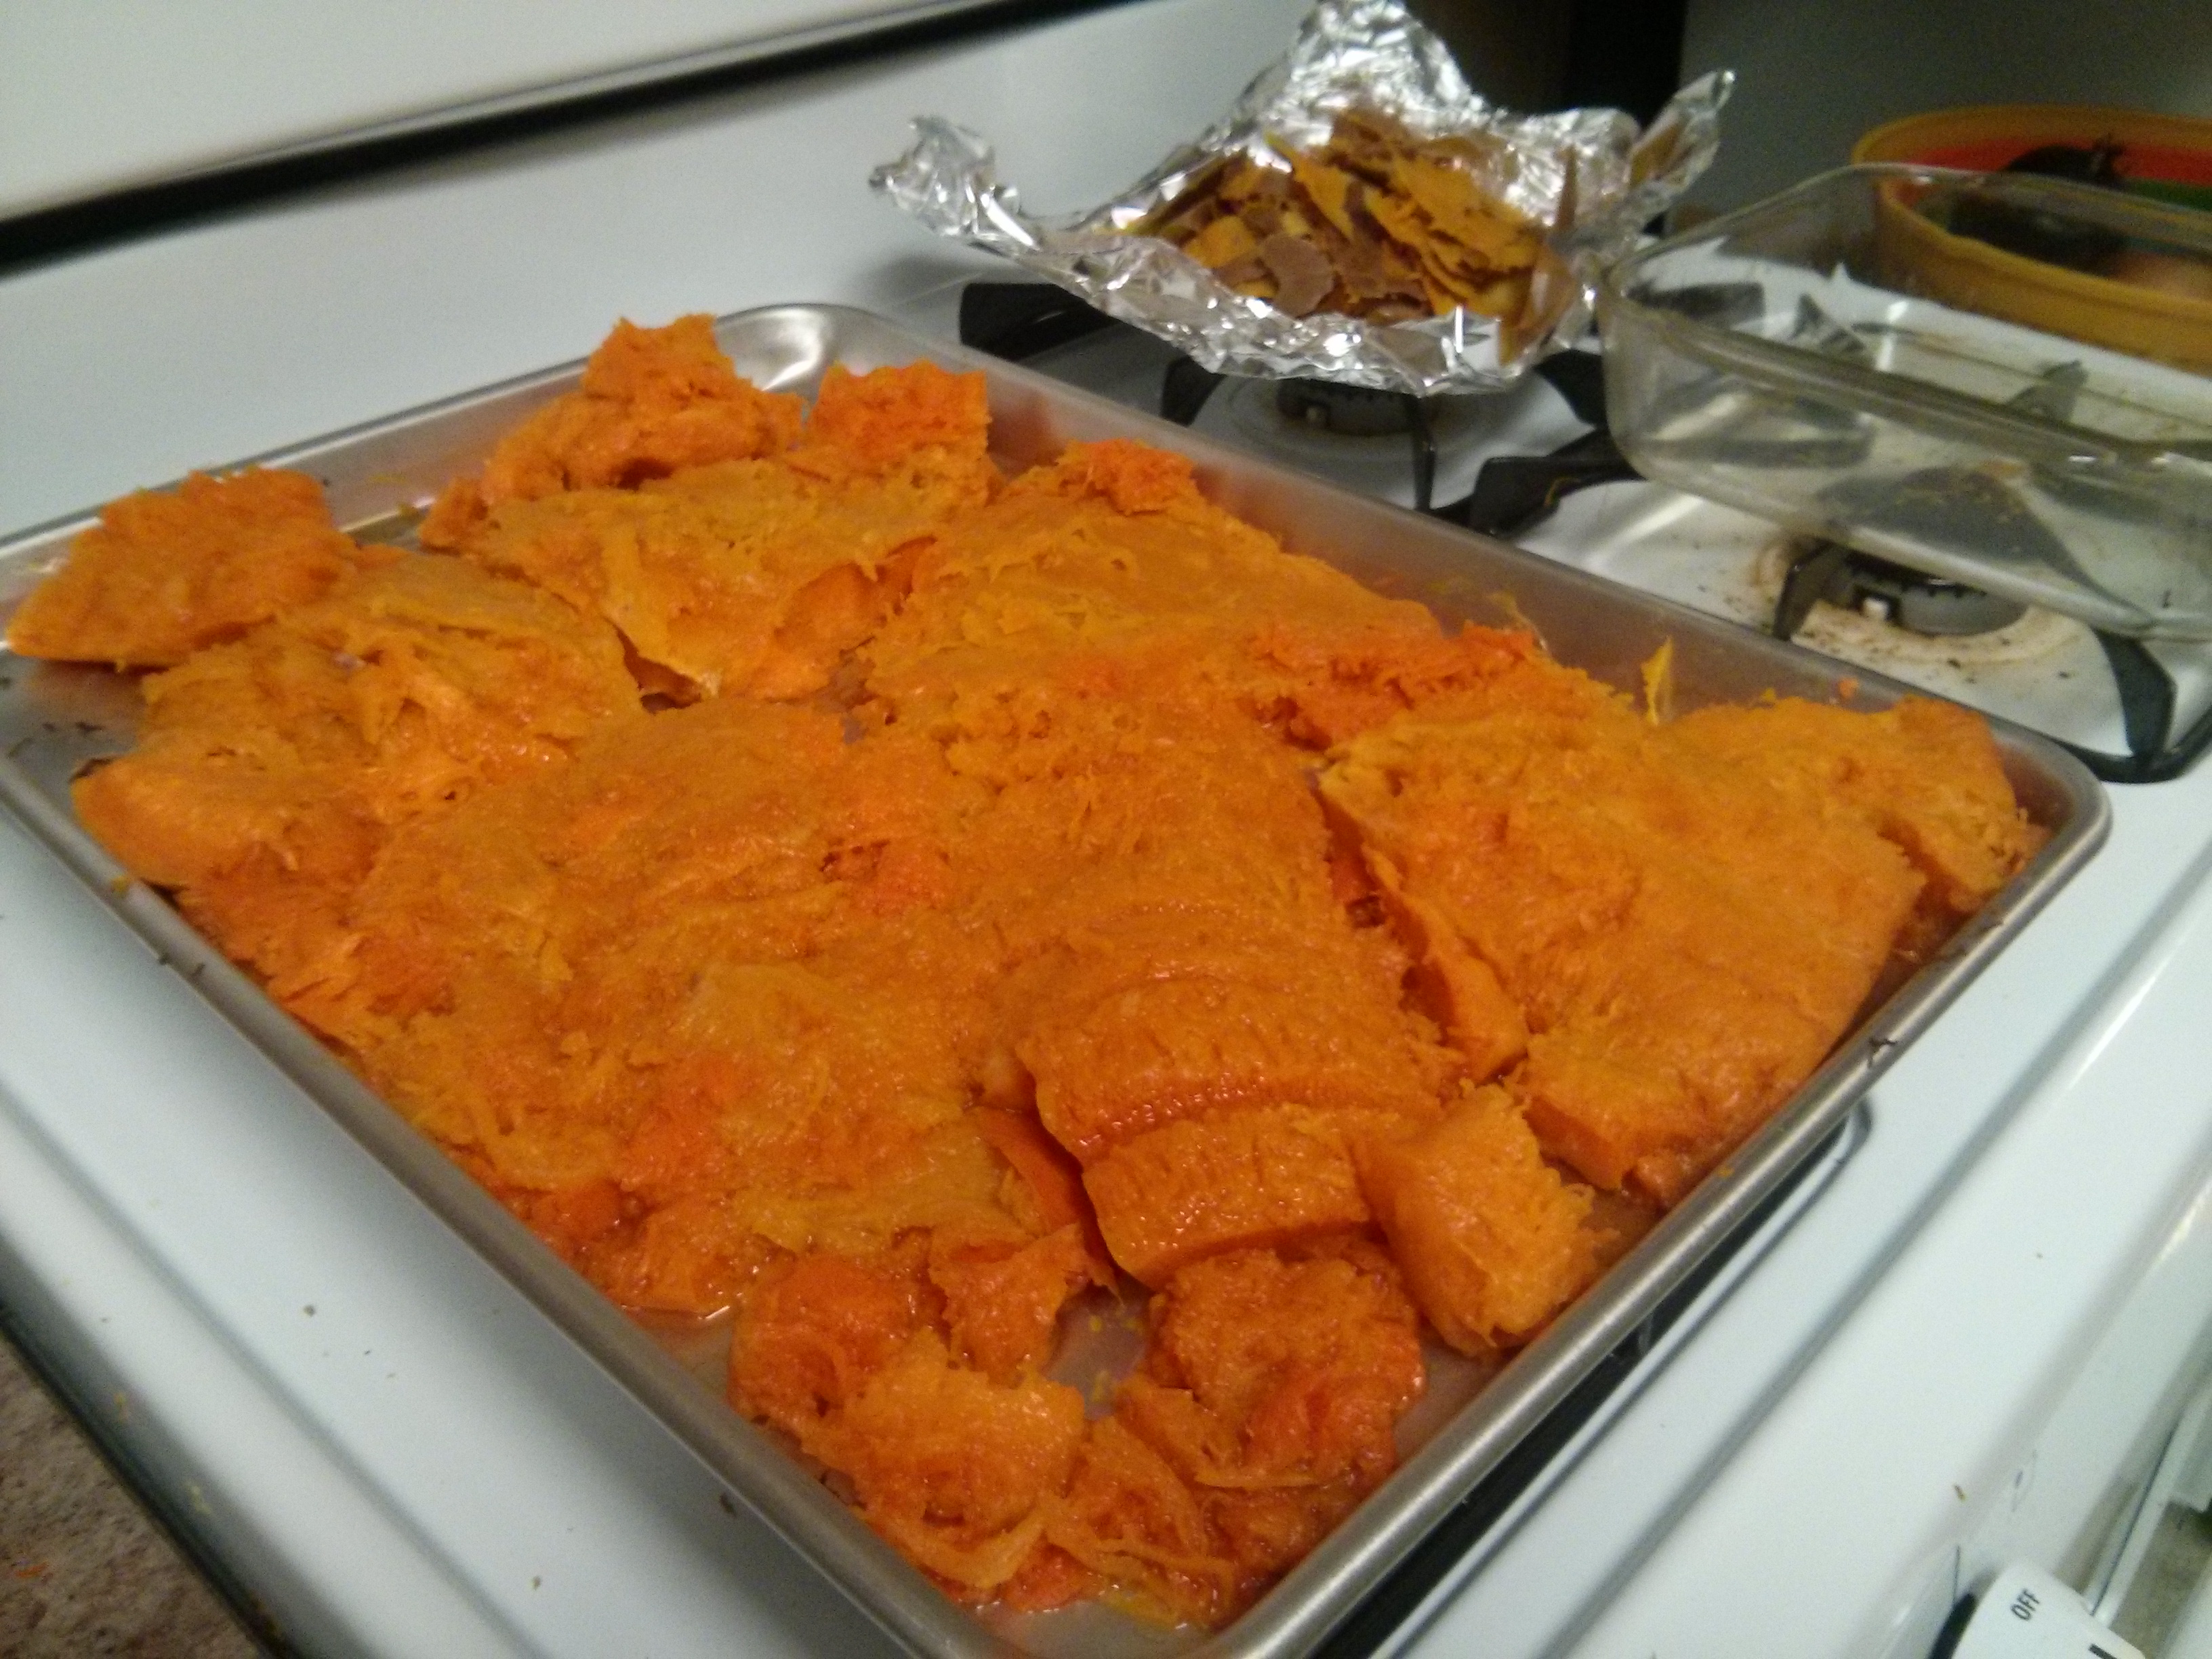
The next step was to bake the pumpkin pieces. The face-down arrangement is the easiest, so that’s what I went with. To do a comparison, I put two of the pieces in a separate dish with the 1/4 cup of water and covered it with foil. Then I put them all in the oven for 1 hour at 375 degrees.

1 hour at 375 degrees turned out to be just right for this pumpkin. When I poked the pieces at that point with a knife and the knife went through easily, I knew they were done. The two baking dish arrangements also worked out well, with similar results.

Two of the face-down pieces after baking
After letting the pumpkin pieces cool for 10 minutes, I peeled the skins.
And then I got out the Foley Mill.

This is one of my favorite steps of the process, as there’s a certain mechanical pleasure that comes with turning the mill. The ability to transform pumpkin flesh into pumpkin puree, using only your own power, is also one of those fun forms of culinary magic. If you’re ever at a rummage sale and see one, it could very well be one of the best $1-2 investments you make all day.
Once you have the mill, the only other thing you need is a pot to put underneath it, to collect the puree.

On this day, the one cheese pumpkin produced close to a full pot of puree.


I’ll estimate the it’s about 4/5 full, and given the size of the pot (2 1/2 quarts), that means I made 64 oz of fresh pumpkin puree, or the equivalent of more than four 15-oz cans!
Now all that’s left to do is make some pumpkin pie! And pumpkin soup, pumpkin pancakes, pumpkin ravioli, pumpkin chocolate chip cookies, and pumpkin recipe yet to found or suggested. If you know of a good one, let me know! There is a good chance I’ll have enough pumpkin to make it 🙂